
There is a pie that appears at every summer gathering I host from the moment strawberries hit their peak until the last decent berries of the season disappear from the market, and it earns more immediate, more enthusiastic responses than anything else on the dessert table — a fresh strawberry pie with whole ripe strawberries standing upright in a shiny, ruby-red glaze inside a buttery, golden crust, topped at serving time with billowing fresh whipped cream. It is one of the most visually beautiful pies available at any time of year, and the flavor — pure, bright, intensely fresh strawberry, lightly sweetened and perfectly glazed — is so genuinely true to the raw fruit that people who claim to not particularly love pie eat two slices and then quietly attempt a third.
What makes this pie so genuinely special is the no-bake nature of the filling — the strawberries are never cooked, never heated, never subjected to anything that would compromise their raw, forward, vivid flavor. The glaze that coats them is made by cooking a small portion of crushed berries into a simple syrup with cornstarch that produces a glossy, deeply colored, lightly thickened coating that holds the berries in place and amplifies their natural flavor rather than transforming it. Every slice reveals a cross-section of whole glistening berries in a brilliant red glaze against the pale, buttery crust — it looks as impressive as any pie that took three times the effort.
This post covers the classic fresh strawberry pie in complete detail — the buttery homemade crust, the glaze technique, the berry arrangement, the whipped cream service — plus variations for different occasions and preferences: a cream cheese layer version that adds a rich, tangy layer between crust and berries; a no-bake graham cracker crust version for the easiest possible preparation; a strawberry lemon version with bright citrus throughout; a mascarpone cream version for dinner party occasions; and a mini tart version using the same components in individual portions. Every version is genuinely beautiful and genuinely outstanding.
Let's make the most beautiful pie of the summer!
WHY YOU WILL LOVE THIS RECIPE
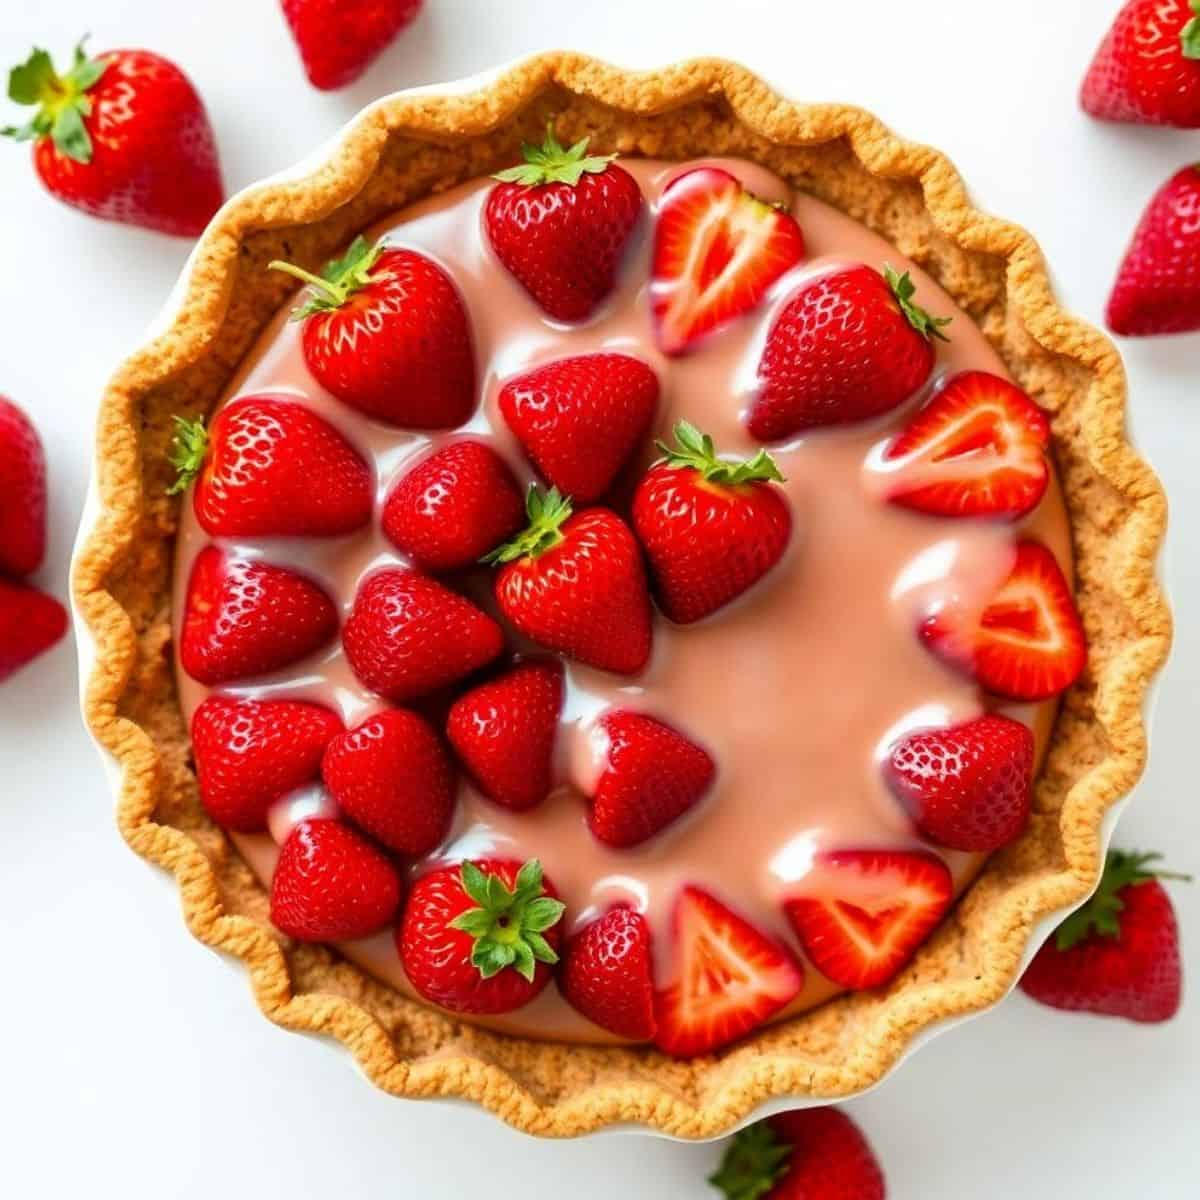
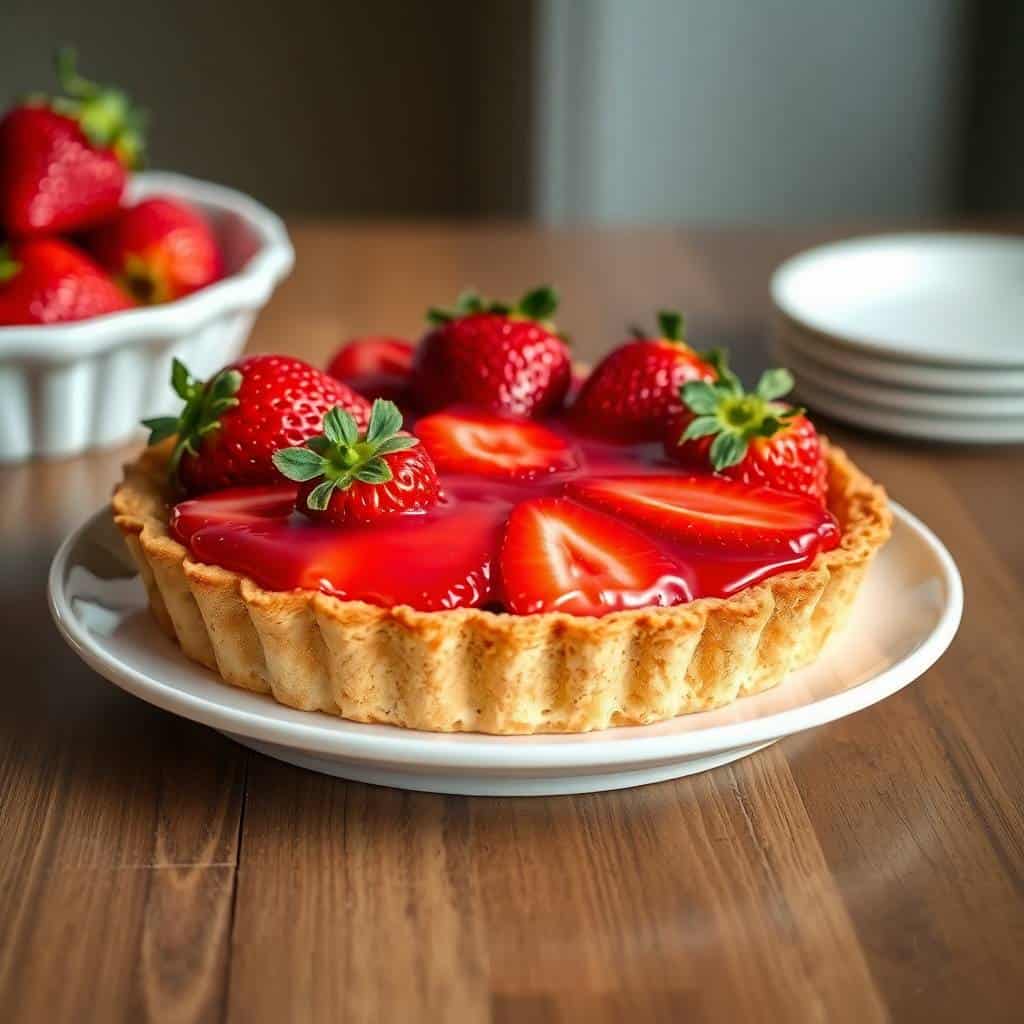
- The Most Visually Stunning Summer Pie Available: Whole strawberries arranged tip-up in a shiny crimson glaze inside a golden crust — no decoration, no garnish, and no additional presentation effort are required to produce one of the most beautiful pie presentations in the entire pastry category. The natural color and shape of peak-season strawberries do all the visual work. Setting this pie on a table produces a genuine visual stop-and-stare moment that is immediate and universal regardless of the audience.
- The Freshest Strawberry Flavor of Any Pie Format: Because the strawberries are never cooked — only glazed with a small amount of cooked glaze — the flavor of every bite is pure, forward, raw strawberry rather than the softer, more jammy flavor of baked strawberry pie. The difference is remarkable and is specifically what makes this pie so appropriate for peak-season berries: the extraordinary strawberry flavor of June berries is fully preserved and fully expressed rather than transformed into something different by baking.
- Make-Ahead Friendly for Summer Entertaining: The pie crust can be baked up to 3 days ahead and stored at room temperature. The glaze can be made the morning of. The assembled pie refrigerates beautifully for up to 24 hours before serving — the glaze holds the berries in place and the pie can travel to any gathering in its pie dish without any disassembly or careful handling required beyond keeping it level. Add the whipped cream at serving time for the freshest presentation.
- No Oven Required for the Filling — Perfect for Hot Weather: The pie crust requires baking, but everything after that — the glaze, the berry arrangement, the assembly — is a stovetop and refrigerator operation. On the hottest days of summer when oven use is genuinely miserable, this pie produces a genuinely impressive, genuinely special dessert with a maximum of 15 minutes of oven time for the crust and zero additional heating required. If using a graham cracker crust (no baking required), the entire pie can be made without turning on the oven at all.
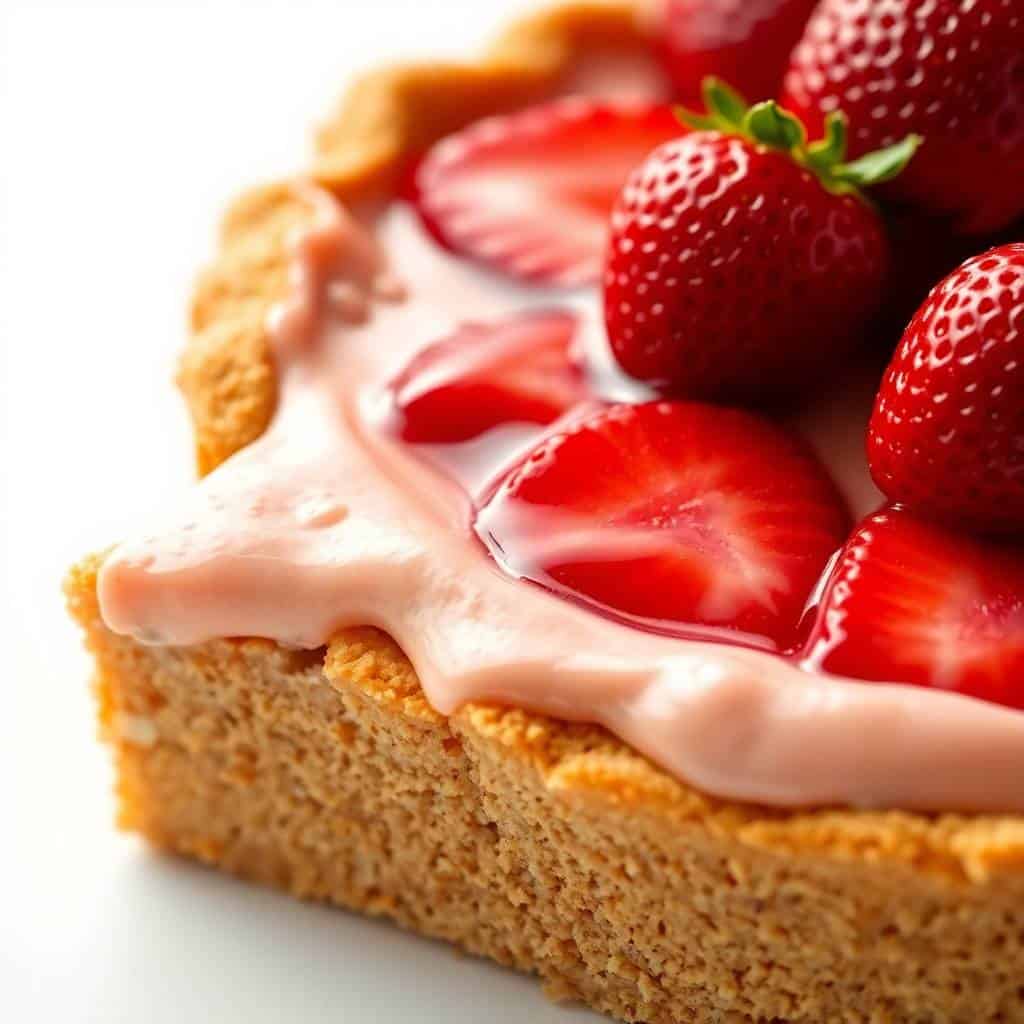
- The Cream Cheese Layer Variation Is the Most Crowd-Pleasing Version: A thin layer of sweetened cream cheese spread across the bottom of the baked crust before the glazed strawberries are arranged on top adds a rich, tangy, creamy element that transforms the clean simplicity of classic fresh strawberry pie into something more substantial and more indulgent — the cream cheese layer is visible in every slice as a white band between the golden crust and the ruby berries, it adds flavor complexity, and it prevents the crust from becoming soggy from the glaze. It is the version that earns the most enthusiastic responses at any gathering.
- The Best Possible Use of Peak Strawberry Season: A fresh strawberry pie made from the deeply fragrant, intensely sweet, brilliantly red strawberries of peak June season is a genuinely different food experience from the same pie made with off-season berries — the peak-season version tastes extraordinary and the off-season version tastes merely good. This is the pie to make specifically during the 2–3 week window when local strawberries are at their absolute best, repeated as many times as the season allows. Find more strawberry inspiration in our strawberry freezer jam and our strawberry galette.
INGREDIENTS
- The Crust:
- 1.25 cups all-purpose flour
- ½ teaspoon salt
- 1 tablespoon sugar
- ½ cup (1 stick) cold unsalted butter, cut into small cubes
- 3–4 tablespoons ice water
- Alternatively: 1 store-bought refrigerated pie crust round, or 1 pre-made graham cracker crust for a no-bake version
- The Strawberry Filling and Glaze:
- 2.5 lbs fresh strawberries — the best available, as ripe and fragrant as possible. Divided: 1 cup for the glaze, remainder for the filling
- ¾ cup granulated sugar
- 3 tablespoons cornstarch
- ½ cup water
- 1 tablespoon fresh lemon juice
- Pinch of salt
- For Serving:
- 1 cup cold heavy whipping cream
- 2 tablespoons powdered sugar
- ½ teaspoon pure vanilla extract
DIRECTIONS
- Step No.1: Make and blind bake the pie crust
Combine flour, salt, and sugar in a large bowl. Add cold butter cubes and work into the flour using a pastry cutter, two forks, or your fingertips until the mixture resembles coarse sand with pea-sized butter pieces remaining — visible butter pieces are what create flakiness and they must not be completely worked in. Add ice water one tablespoon at a time, tossing with a fork after each addition, until the dough just holds together when pressed — do not over-mix or the crust becomes tough. Form into a disk, wrap in plastic, and refrigerate for at least 1 hour. On a lightly floured surface, roll to an 11-inch circle, approximately ⅛ inch thick. Transfer to a 9-inch pie dish, pressing firmly into the bottom and sides. Trim to a 1-inch overhang and fold under, crimping decoratively. Prick the bottom all over with a fork. Refrigerate 30 minutes. Blind bake: line with parchment paper, fill with pie weights or dried beans, and bake at 375°F for 20 minutes. Remove weights and parchment and bake 10–15 more minutes until the crust is deep golden and completely dry. Cool completely before filling — a warm crust melts the glaze and makes the filling sag.
- Step No.2: Prepare the strawberries
Hull all the strawberries. Select the most uniform, most visually beautiful berries for the filling — these will be the whole berries arranged in the pie and they will be on full display in every slice. Select 1 cup of the softer, less perfect berries (the ones with slight bruises or irregular shapes) for the glaze — these will be cooked down completely and their appearance doesn't matter. Hull the glaze strawberries and crush or roughly chop them — they just need to release their juice for the glaze. For the filling berries: if they are small or medium-sized, leave them whole with their pointed tip upward for the most dramatic visual presentation. If they are very large, halve them lengthwise so the cut side faces down in the glaze for a flatter, more stable arrangement.
- Step No.3: Make the strawberry glaze
Combine the 1 cup of crushed glaze strawberries, water, sugar, cornstarch, lemon juice, and pinch of salt in a medium saucepan. Whisk thoroughly to dissolve the cornstarch before turning on the heat — lumpy glaze is caused by adding cornstarch to hot liquid rather than cold. Cook over medium heat, stirring constantly, for 8–10 minutes until the mixture comes to a full boil. Continue cooking and stirring for 2 full minutes after the boil begins — this full 2-minute boil is necessary to cook out the starchy taste of the cornstarch and to fully activate the thickening. Remove from heat. The glaze should be thick, glossy, deep red, and coat the back of a spoon heavily. If it seems thin, return to heat and cook 2 more minutes. If lumpy, strain through a fine-mesh sieve. Cool to room temperature — the glaze should be fluid enough to coat the berries but thick enough to cling to them. If it sets too thick as it cools, whisk in a tablespoon of warm water to loosen.
- Step No.4: Glaze the berries and assemble
In a large bowl, gently toss the whole filling strawberries with approximately two-thirds of the cooled glaze — use a wide silicone spatula and fold gently rather than stirring vigorously, which damages the berries. Every berry should be evenly and generously coated with glaze. Arrange the glazed berries in the completely cooled pie crust in a tight, overlapping pattern with the tips pointing upward — work from the outside edge toward the center, placing each berry tip-up and slightly overlapping the previous one in a circular pattern. The arrangement should look generously full with no gaps in the crust visible between berries. Pour the remaining one-third of the glaze over the arranged berries to fill any gaps and create a uniform glossy surface across the entire pie. Refrigerate uncovered for 2–3 hours minimum until the glaze is completely set and the pie holds its shape when a slice is removed.
- Step No.5: Whip the cream and serve
Immediately before serving, beat cold heavy cream with powdered sugar and vanilla in a chilled bowl using a hand or stand mixer on high speed until firm, billowing peaks form — the cream should hold its shape definitively when the beaters are lifted. Either spoon the whipped cream over the entire pie surface for a full coverage presentation or serve it alongside in a bowl for individual application at the table. Slicing: use a sharp knife dipped in hot water and wiped dry between each cut for the cleanest slices — a cold, dry knife drags through the glaze and displaces the berries. Serve immediately after slicing for the freshest presentation and the most impressive visual impact of each portion showing the full cross-section of glazed berries against the golden crust.
TIPS FOR SUCCESS
- Use Peak-Season Strawberries and Select for Uniformity: The filling strawberries are on full display throughout the entire pie and their appearance is as important as their flavor — select berries that are similar in size for the most uniform, most impressive presentation. Very large berries and very small berries in the same pie create an uneven surface and an inconsistent slice-to-slice experience. If the berries available are variable in size, sort them as you hull: use the largest for the outer ring, medium for the middle, and smallest for the center for a naturally graduated arrangement that looks intentional and beautiful.
- Cool the Glaze to Room Temperature Before Coating the Berries: Hot or even warm glaze poured over fresh strawberries begins cooking them — the berries turn soft, lose their color vibrancy, and release juice into the glaze that thins it. The glaze must be genuinely at room temperature before it contacts the raw berries. If time is short, spread the cooked glaze on a wide plate or sheet pan to cool more quickly — the greater surface area accelerates cooling from 30 minutes to 10–15 minutes. The cooled glaze should be thick enough to cling to a spoon held upside down for 3–4 seconds before dripping.
- Blind Bake the Crust Until Genuinely Deep Golden: A pale, under-baked pie crust for a fresh strawberry pie will soften significantly from the glaze moisture during the refrigeration period and produce a soggy, fragile crust by serving time. The crust must be baked until genuinely deep golden and completely dry — it should look slightly darker than you're comfortable with. This thorough blind-baking creates a moisture barrier that prevents the glaze from penetrating into the crust and maintains a crisp, buttery texture through the refrigeration period and into serving.
- Refrigerate for the Full Setting Time Before Slicing: The glaze needs 2–3 hours of refrigeration to set firmly enough to hold the berries in place when the pie is sliced — a pie sliced before the glaze is fully set produces slices where the berries slide off the cut surface and the glaze runs. The fully set pie holds each slice intact with berries adhering to the glaze layer. If possible, refrigerate overnight for the most stable set and the most beautiful slices — overnight refrigeration produces the cleanest, most impressive cross-sections of any serving window.
- Add Whipped Cream Only at Serving Time: Whipped cream applied to the pie more than 30–60 minutes before serving deflates, weeps, and produces a wet, flat layer that looks considerably less impressive than freshly whipped cream. Make the whipped cream immediately before bringing the pie to the table and either apply it at the last moment or serve it alongside in a bowl. For a more stable whipped cream that can be applied up to 4 hours ahead, make a stabilized version: beat 4 oz softened cream cheese until smooth, add powdered sugar and vanilla, then add cold heavy cream and beat to stiff peaks. This stabilized version holds its shape for 4–6 hours without weeping.
- Use a Hot, Wiped Knife for Every Cut: A clean, hot knife dipped in hot water and dried between each cut is the difference between slices that look like they came from a professional kitchen and slices where the glaze drags and the berries displace. Keep a tall glass of hot water and a clean kitchen towel beside the pie for slicing — dip, wipe, cut one slice, dip, wipe, cut the next. This technique takes 20 extra seconds per slice and produces a dramatically more impressive result than cutting with a cold, unwashed knife.
VARIATIONS
- Cream Cheese Fresh Strawberry Pie: Spread a layer of sweetened cream cheese across the bottom of the completely cooled, blind-baked crust before adding the glazed strawberries — beat 8 oz softened cream cheese with ¼ cup powdered sugar, 1 teaspoon vanilla, and 2 tablespoons sour cream until completely smooth and fluffy. Spread in an even layer approximately ¼ inch thick across the entire crust surface. Refrigerate 30 minutes until the cream cheese layer firms slightly, then arrange the glazed strawberries on top. This cream cheese layer is the single variation that most consistently earns the most enthusiastic responses — it adds richness, tangy complexity, and a visual white layer in every slice that makes the pie look even more beautiful. It also acts as a moisture barrier that prevents any crust sogginess. This is the version to make for any occasion where you want the maximum possible impact from fresh strawberry pie.
- No-Bake Graham Cracker Crust Fresh Strawberry Pie: Replace the pastry crust with a graham cracker crust — crush 1.5 cups graham crackers, mix with 5 tablespoons melted butter and 3 tablespoons sugar, press firmly into a 9-inch pie dish and refrigerate for 1 hour until set. No baking required. The graham cracker crust adds a honey-sweet, slightly crunchy note that complements the fresh strawberry filling differently than a pastry crust — less buttery and more cookie-like, slightly sweeter, and genuinely outstanding in its own right. This no-bake version is the most practical for very hot days and produces a beautifully presented pie in under 30 minutes of active work.
- Strawberry Lemon Fresh Pie: Add the zest of 2 lemons to the glaze as it cooks and increase the lemon juice in the glaze to 3 tablespoons. Add 1 teaspoon of lemon zest to the whipped cream. The lemon version is brighter, more citrusy, and more complex than the classic — the lemon sharpens the strawberry flavor and adds a dimension that makes the pie taste slightly less sweet and significantly more vibrant. This is the version for guests who find standard strawberry desserts too sweet and want something with more edge and brightness.
- Mascarpone Cream Fresh Strawberry Pie: Replace the standard whipped cream topping with a mascarpone cream — beat 8 oz mascarpone cheese with 3 tablespoons powdered sugar and 1 teaspoon vanilla until smooth, then fold in ½ cup whipped heavy cream to lighten. Spread or pipe across the entire top of the assembled and set pie before serving, or serve alongside. The mascarpone cream is richer, slightly denser, and more deeply flavored than whipped cream — it has a subtle tanginess and a complexity that pairs extraordinarily well with fresh strawberries and makes the pie suitable for genuinely formal dining occasions. Garnish with a few whole perfect strawberries and fresh mint for the most elegant presentation.
- Mini Fresh Strawberry Tarts: Use the same crust recipe pressed into 4-inch individual tart pans with removable bottoms — press approximately 2 tablespoons of dough into each pan and blind bake at 375°F for 15–18 minutes until deep golden. Cool completely, fill each tart shell with a thin layer of cream cheese mixture if desired, then arrange 5–8 small glazed strawberries tip-up in each individual shell. Individual fresh strawberry tarts are one of the most impressive dessert presentations possible for a dinner party — each guest receives a perfect, individual glazed tart that looks genuinely professional and takes no additional skill beyond careful strawberry selection and arrangement. Make the tart shells up to 3 days ahead and assemble up to 6 hours before serving.
SERVING AND STORAGE
Serving
Bring the whole pie to the table before slicing so every guest can appreciate the full visual impact of the arranged glazed berries before the first cut. Apply or serve whipped cream at the table for the freshest presentation. Use a sharp, hot knife wiped clean between each cut for the cleanest slices. Serve immediately after slicing — the cross-section of glazed berries against the crust is the most impressive presentation moment of the entire recipe and it loses some of its visual impact as the slice sits on the plate. Pair with our strawberry lemonade concentrate for the most complete strawberry summer dessert experience.
Storage
Fresh strawberry pie stores refrigerated loosely covered for up to 2 days — the crust softens slightly on day two from the glaze moisture but remains pleasant. After 2 days, the berries begin to release juice into the glaze and the overall quality diminishes. The pie does not freeze well in its assembled form. For best results, plan to serve within 24 hours of assembly. The baked pie crust stores at room temperature wrapped in plastic for up to 3 days — assembling with fresh glaze and berries on the day of serving or the morning of the event produces the freshest possible result. The glaze stores refrigerated for up to 3 days — rewarm gently in a saucepan before using if it has set too firm.
FAQ
Strawberry pie glaze that doesn't set properly has one of three causes: insufficient cornstarch, insufficient cooking time, or too much liquid. The cornstarch must be whisked into the cold liquid before heating — if added to hot liquid it clumps rather than dissolving properly and produces a lumpy, weak glaze. The boil must be maintained for a full 2 minutes after it begins — a brief boil that is immediately removed from heat doesn't fully activate the cornstarch's thickening power. If the glaze is still thin after cooling, return it to the heat with an additional teaspoon of cornstarch dissolved in 1 tablespoon of cold water and boil again for 2 minutes. A properly set glaze should coat the back of a spoon and hold a clear path when a finger is drawn through it.
Frozen strawberries can be used for the glaze component — the berries are cooked down and their appearance and texture don't matter. However, frozen strawberries should not be used for the whole berry filling — freezing destroys the cell structure of strawberries and produces berries that are mushy, waterlogged, and visually unattractive when thawed, none of which produces the firm, glistening, beautiful berry presentation that defines fresh strawberry pie. The whole filling berries must be fresh. If fresh berries are not available or out of season, consider making our strawberry galette or another baked strawberry preparation that benefits from the cooked, softened texture of frozen berries.
Preventing a soggy crust in fresh strawberry pie requires two approaches used together: first, blind bake the crust until it is thoroughly deep golden and completely dry — an under-baked crust has no resistance to moisture absorption from the glaze. Second, apply one of the following moisture barriers before adding the berries: brush the inside of the baked crust with a thin layer of melted white chocolate and allow it to set (the chocolate creates a waterproof layer); brush with a thin coating of beaten egg white and bake briefly at 375°F for 3 minutes until set; or use the cream cheese layer variation which provides both a moisture barrier and additional flavor. The most effective and most flavorful moisture barrier is the cream cheese layer — it is the recommended approach for any occasion where the pie will sit for more than a few hours before serving.
Yes — fresh strawberry pie can be made the day before and refrigerated overnight, and this is actually the recommended approach for the cleanest, most stable slices. The overnight refrigeration allows the glaze to set completely and the berries to adhere thoroughly, producing slices where the berries stay in place when cut rather than sliding. The crust will soften slightly overnight from the glaze moisture — this softening is noticeable but not objectionable to most people. For maximum crust crispness, use the cream cheese moisture barrier layer and assemble the pie the morning of the event rather than the night before. The pie will hold well for up to 24 hours refrigerated — beyond 24 hours, berry quality diminishes.
The term 'strawberry pie' covers two genuinely different preparations. Fresh strawberry pie uses raw, uncooked whole strawberries set in a cooked glaze inside a pre-baked crust — the berries are never heated and their raw, vivid, fresh flavor is completely preserved. It requires no baking of the filling and is served cold. Baked strawberry pie uses cooked strawberries in a thickened filling baked inside a double pie crust or lattice — the berries are cooked during baking and develop a softer, deeper, more jammy flavor. Both are genuinely outstanding with different flavor profiles and different best occasions. Fresh strawberry pie is for peak-season berries at their most vibrant; baked strawberry pie is for a more deeply flavored, more warming preparation appropriate in any season.
This fresh strawberry pie is the peak-season dessert that earns the most immediate, most enthusiastic visual and flavor responses of anything on a summer table — make it once during the best 2 weeks of strawberry season and it becomes the recipe your guests request every summer without fail.
Make the cream cheese layer version for the most crowd-pleasing result, or the mascarpone cream version for the most elegant dinner party finish. Pair with our strawberry freezer jam, our strawberry galette, and our balsamic roasted strawberries for the complete peak-season strawberry dessert collection. 🍓🥧✨
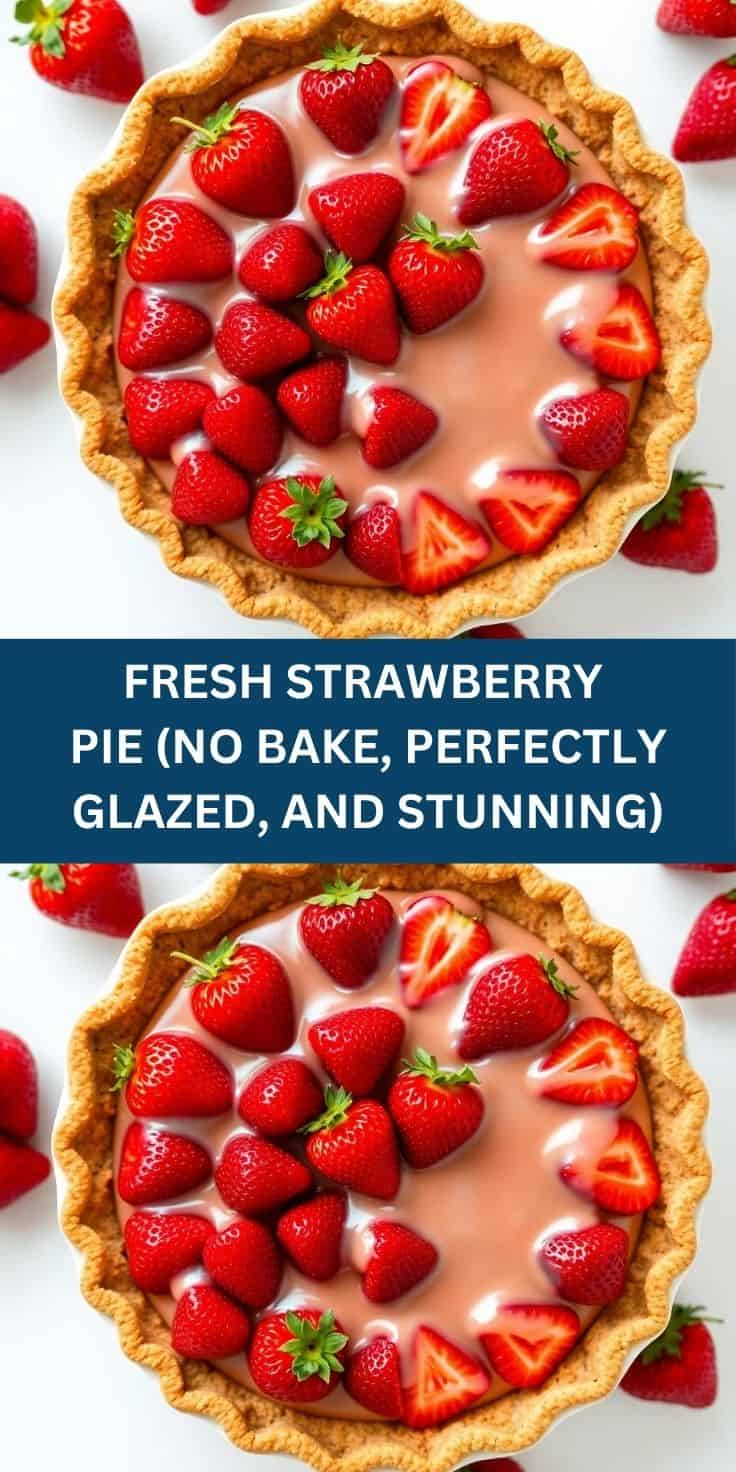
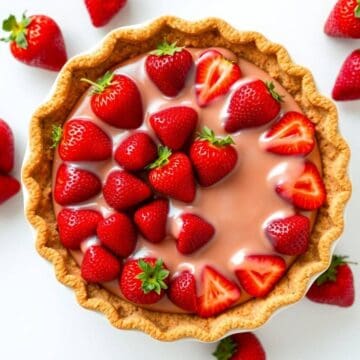
FRESH STRAWBERRY PIE (NO BAKE, PERFECTLY GLAZED, AND STUNNING)
Equipment
- 9-inch pie dish
- Saucepan
- Mixing bowls
- Whisk
Ingredients
Crust:
- 1 ½ cups graham cracker crumbs
- ⅓ cup butter melted
- 2 tablespoon sugar
Strawberries:
- 4 cups fresh strawberries halved
Glaze:
- ¾ cup granulated sugar
- 2 tablespoon cornstarch
- 1 ¼ cups water
- 1 package strawberry gelatin mix
Instructions
Make Crust:
- Mix graham cracker crumbs, melted butter, and sugar. Press into a 9-inch pie dish and chill.
Prepare Glaze:
- In a saucepan, whisk sugar, cornstarch, and water. Cook over medium heat until thickened, then stir in strawberry gelatin until dissolved. Let cool slightly.
Assemble Pie:
- Arrange fresh strawberries in the chilled crust.
Add Glaze:
- Pour cooled glaze evenly over strawberries, making sure all fruit is coated.
Chill:
- Refrigerate for at least 4 hours until fully set.
Serve:
- Slice and serve chilled, optionally topped with whipped cream.
Notes
- Use ripe but firm strawberries for best texture.
- Allow glaze to cool slightly before pouring to avoid wilting fruit.
- Best served within 24–48 hours for freshness.





Comments
No Comments