
The Victoria sponge is the English cake that requires the least explanation to the greatest number of people. Two layers of vanilla-scented butter sponge, a layer of good jam, whipped cream, a dusting of icing sugar. It is the cake my mother-in-law made for every occasion of note, and the one my husband requests for his birthday annually despite the availability of more elaborate options. He considers it the correct cake, meaning all other cakes are acceptable variations on what a cake should be.
The traybake format was my solution to making a Victoria sponge for Saad's end-of-year school gathering — an event attended by forty children and twenty parents, at a garden party in June, requiring a cake that could be transported without a cake box, cut into individual pieces without a cake stand, and served without plates larger than a napkin. The traybake addressed all four requirements. Twenty-four squares from one rectangular tin, each one a complete Victoria sponge experience: sponge, jam, cream, icing sugar.
The British summer garden party context is not incidental. The Victoria sponge is specifically a garden party cake — it is best at cool room temperature, it does not require refrigeration for a few hours, the icing sugar dusting survives a light breeze, and the cream is stabilised enough to hold during the walk from the kitchen to the garden. It is the cake that was designed, in the way that some foods are designed by decades of use rather than by a single recipe, for exactly this occasion.
I have made this for school events, for summer lunches with family, and for a particular Saturday afternoon when my husband's colleagues arrived unexpectedly and I needed to produce something that looked both deliberately made and appropriate to the occasion. The Victoria sponge traybake succeeded on both counts.
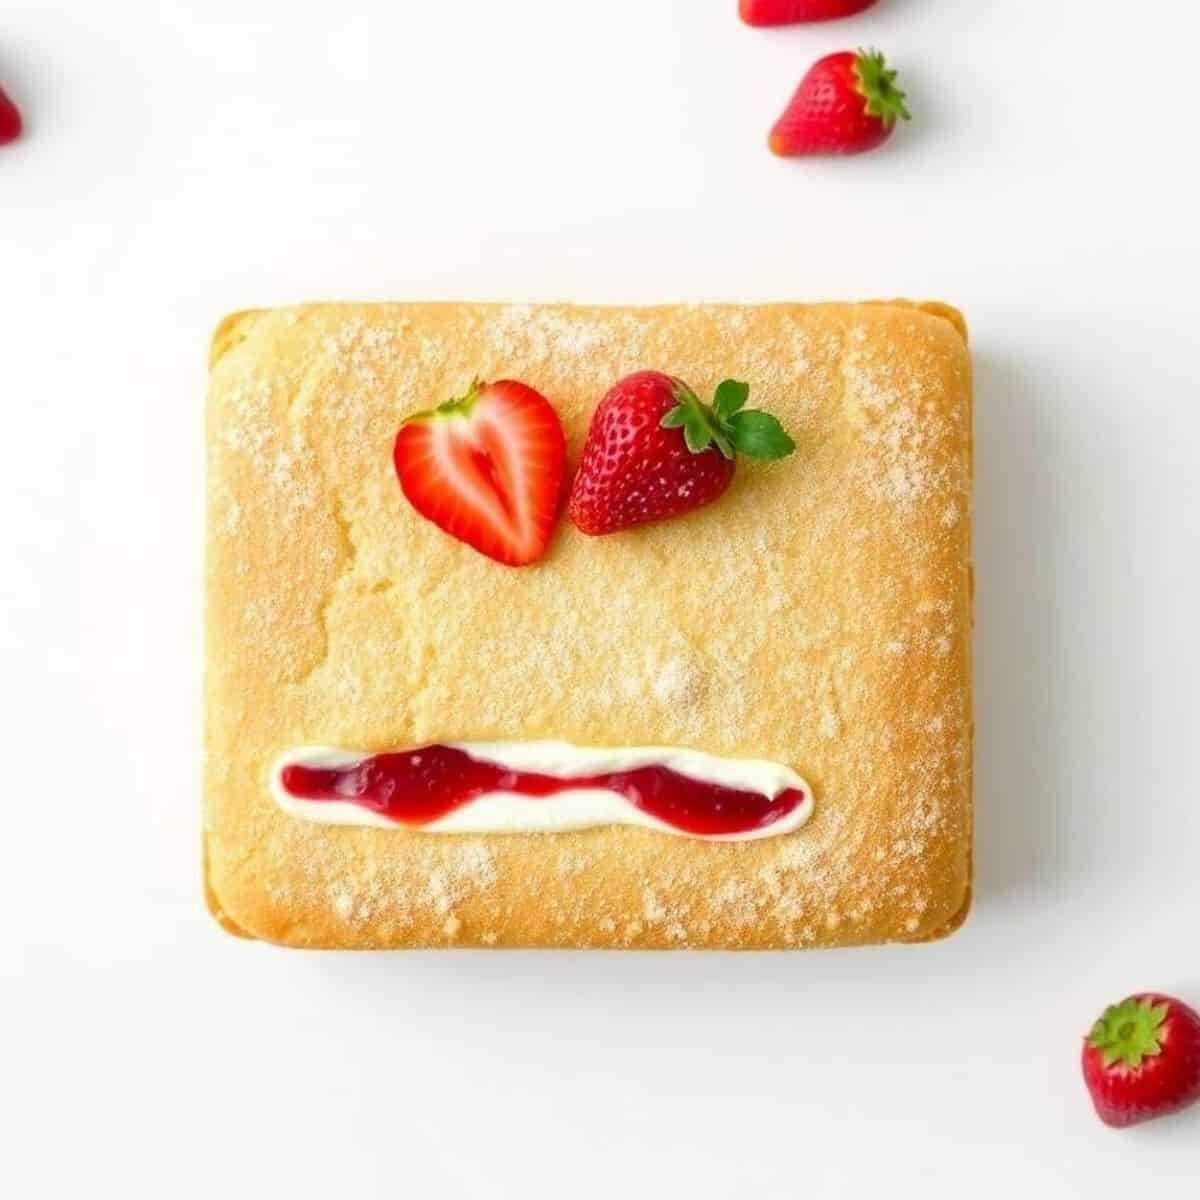
Why You'll Love This Recipe
- Serves 20 from one tin — the garden party cake that requires no cake stand or special serving: A standard 9x13 inch (23x33cm) baking tin produces a sponge that cuts into 20 generous squares or 24 smaller ones. No round layers to transport, no cake stand needed, no dome to protect. Cut at the garden party, served on napkins, done in 2 minutes.
- Classic Victoria sponge in a format that is genuinely easier than the traditional round: The traybake format eliminates the main challenge of a traditional Victoria sponge: the even splitting of a round sponge into two layers. The traybake makes one deep sponge, splits it horizontally with a long serrated knife, fills it, and cuts into squares. The result is identical in flavour; the process is substantially simpler.
- The all-in-one mixing method — butter, eggs, flour, and sugar all at once: The classic Victoria sponge uses the creaming method: cream butter and sugar, add eggs one at a time, fold in flour. The all-in-one method combines all ingredients simultaneously and beats for 2 minutes. It produces an identical result in half the time, which is the correct approach for a traybake that is already making baking more practical.
- Stabilised cream that holds for 4 hours without refrigeration: Lightly whipped double cream is stabilised in this recipe by the addition of 1 tablespoon of icing sugar and ½ teaspoon of vanilla. This produces a cream that holds its shape and does not weep or separate for 4 to 5 hours at cool room temperature — long enough for any garden party duration.
- Freezes as assembled squares for up to a month — make it the week before: Individual assembled squares can be frozen on a baking sheet until solid, then transferred to a container. They thaw at room temperature in 45 minutes and look exactly as they did before freezing. Make the traybake the week before the garden party and serve thawed squares — no one has ever identified a frozen-and-thawed Victoria sponge square.
Ingredients
- For the sponge batter:
- 225g (8 oz) unsalted butter, softened to room temperature — it should leave an indent when pressed (if too cold, the all-in-one method will not work and the cake will be lumpy)
- 225g (8 oz) caster sugar (superfine sugar) — regular granulated sugar works but caster dissolves more readily in the all-in-one method
- 4 large eggs, at room temperature — cold eggs cause the batter to curdle, which produces a denser sponge
- 225g (8 oz / 1¾ cups) self-raising flour — or substitute 225g plain flour plus 2¼ teaspoons baking powder and ½ teaspoon fine salt
- 1 teaspoon baking powder (in addition to the self-raising flour — creates a lighter, higher-risen traybake)
- 2 tablespoons whole milk
- 1 teaspoon pure vanilla extract
- Pinch of fine salt (even if using self-raising flour — salt enhances the flavour)
- For the filling and topping:
- 200g (7 oz) good quality strawberry jam — or raspberry jam, which is slightly more traditional in British baking
- 300ml (10 fl oz) double cream (heavy whipping cream — minimum 35% fat, essential for whipping)
- 1 tablespoon icing sugar (powdered sugar) plus 2 to 3 tablespoons more for dusting the top
- ½ teaspoon pure vanilla extract
- Optional decoration: fresh strawberries, halved, placed on each square; a few fresh mint leaves
Directions
- Step 1: Prepare the tin and preheat the oven. Preheat the oven to 180°C/350°F (fan 160°C/320°F if using a fan oven — fan ovens run hotter and can cause uneven browning on a shallow traybake). Grease a 23x33cm (9x13 inch) deep-sided baking tin generously with softened butter, paying particular attention to the corners. Line the base and long sides with one piece of baking parchment, pressing the parchment into the corners and leaving an overhang of about 3cm on the long sides — this overhang acts as a handle to lift the finished sponge cleanly from the tin. The preparation of the tin is more important for a traybake than for individual cakes because the sponge must release cleanly to be split and filled.
- Step 2: Make the all-in-one sponge batter. Weigh the softened butter, caster sugar, self-raising flour, baking powder, eggs, milk, vanilla, and salt into a single large mixing bowl. Using an electric hand mixer or a stand mixer fitted with the paddle attachment, beat all the ingredients together on medium-low speed for 30 seconds until roughly combined, then increase to medium-high and beat for a full 2 minutes. The batter should look very smooth, pale, and slightly airy — it will have increased in volume slightly and fall from the beaters in thick ribbons when the beaters are lifted. If the batter looks curdled or grainy, the butter was too cold: continue beating and it will come together, or add one additional tablespoon of milk. Scrape down the sides of the bowl once during beating.
- Step 3: Transfer batter to the tin and level it carefully. Scrape the batter into the prepared tin using a spatula, getting every bit out of the bowl. Spread the batter to the corners and edges of the tin using the spatula, then hold the tin with both hands and gently shake it from side to side — this levels the batter more effectively than spreading alone. For a perfectly even surface, wet your fingertips lightly and press the batter flat. An uneven surface produces a sponge with a pronounced dome in the centre that is difficult to split evenly. The batter should fill the tin to approximately 2cm depth at this stage.
- Step 4: Bake 22 to 25 minutes — without opening the oven during baking. Place the tin on the centre rack of the preheated oven. Bake for 22 to 25 minutes without opening the oven door during the first 20 minutes — the sponge needs consistent heat to rise evenly, and early temperature drops cause it to sink in the centre. The sponge is done when: it has pulled slightly away from the sides of the tin, the top is uniformly golden-brown, it springs back immediately and completely when pressed lightly in the centre with one finger, and a skewer inserted into the thickest part (the centre) comes out completely clean with no batter or wet crumbs. If the skewer has wet batter on it, bake 3 more minutes and test again.
- Step 5: Cool completely before splitting — this step cannot be rushed. Remove the tin from the oven. Cool in the tin for 10 minutes — the sponge needs to firm up slightly before it can be handled without breaking. After 10 minutes, use the parchment overhang to lift the sponge onto a wire cooling rack. Peel away the parchment from the base and sides. Allow the sponge to cool completely to room temperature — minimum 45 minutes, ideally 1 hour. A warm sponge splits unevenly because the crumb is still tender and the heat from the centre causes condensation under the cream filling. Attempting to split or fill a warm sponge is the single most common cause of a broken or soggy Victoria sponge.
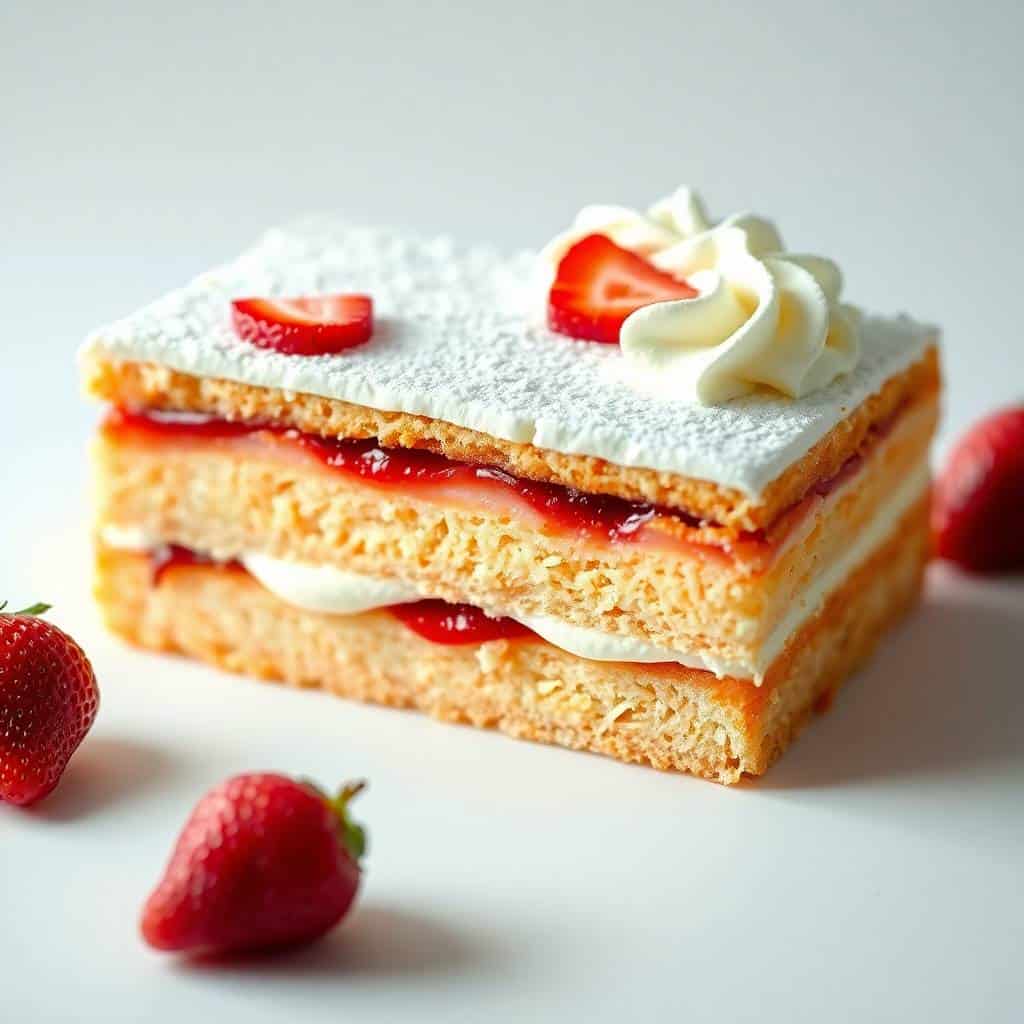
- Step 6: Split the sponge, apply the filling, and cut into squares. Place the completely cooled sponge on a large cutting board. Using a long serrated bread knife, split the sponge horizontally into two equal layers. To do this accurately: hold the knife horizontally at the midpoint of the sponge's height, draw the knife through the sponge in slow, smooth, sawing motions, rotating the board rather than sawing in a single straight line. Lift the top layer and set aside. Spread the strawberry jam over the bottom layer in an even, generous layer — spread to within 1cm of the edges to prevent it squeezing out when the top is replaced. Whip the double cream with 1 tablespoon of icing sugar and vanilla to soft-to-medium peaks — it should hold its shape when the whisk is lifted but not be grainy or stiff. Spread the whipped cream over the jam in an even layer. Carefully replace the top layer of sponge, pressing very gently to level. Dust the top generously with icing sugar through a sieve. Cut into 20 squares (4 cuts lengthways, 4 cuts crossways) using a sharp knife wiped clean between cuts.
Tips for Success
- Butter must be genuinely soft — this determines whether the all-in-one method works. The all-in-one method requires butter that is soft enough to press an indent into with a finger without resistance. Cold butter does not incorporate properly and produces a lumpy, curdled batter. Remove butter from the refrigerator 1 hour before baking in summer, 2 hours in a cold kitchen. If short on time: cut into 1cm cubes and microwave in 10-second bursts, checking after each, until softened but not melted.
- Eggs must be at room temperature — cold eggs cause curdling. Cold eggs dropped into room-temperature butter cause the fat in the butter to solidify around the cold egg proteins, producing a curdled-looking batter. Cold-egg curdled batter produces a denser sponge. Remove eggs from the refrigerator at the same time as the butter.
- Cool completely before splitting — this is non-negotiable. A warm sponge is fragile at the crumb level. The heat from the centre of the sponge softens the jam and cream on contact, producing a soggy filling and a structurally compromised cake. The cooling step feels like it is delaying the reward, but it is the step that determines whether the finished traybake holds together when cut.
- Use a jam that is thick and not too sweet — it determines the filling quality. Thin or overly sweet jam runs out from the sides of the sponge when the layers are pressed together and produces a sticky, messy filling. Good-quality strawberry or raspberry jam with a high fruit content is thick enough to spread and stay in place. Heat the jam for 10 seconds in the microwave and stir if it seems too stiff to spread; the warmth makes it more pliable without liquefying it.
- Dust the icing sugar immediately before serving, not before transporting. Icing sugar dusted on a cream-topped cake absorbs into the cream over time and disappears. For transport: leave the icing sugar off. At the garden party or immediately before serving, dust the top generously through a small sieve. The fresh icing sugar gives the white, professional finish that defines the Victoria sponge aesthetic.
Variations
- Lemon Victoria sponge traybake: Add the zest of 2 lemons to the batter with the vanilla. Replace the strawberry jam with lemon curd. Replace the vanilla in the cream with the juice of ½ lemon. Dust with icing sugar. The lemon version has a brighter, more summery flavour that is particularly appropriate for a garden party.
- Chocolate Victoria sponge traybake: Replace 30g of the self-raising flour with 30g of good quality cocoa powder. Add 1 additional tablespoon of milk. Replace the strawberry jam with a chocolate ganache (100g dark chocolate melted with 4 tablespoons of cream, cooled until spreadable). Fill with vanilla cream as directed.
- Strawberry and cream traybake (fresh fruit version): Replace the jam layer with 300g of fresh strawberries, hulled and thinly sliced. Spread the whipped cream on the bottom layer first, then arrange the sliced strawberries over. This version is better made and served the same day — fresh fruit releases moisture overnight.
- Individual Victoria sponge cupcakes: Use the same batter to fill 24 greased and lined muffin cups to ¾ full. Bake at 180°C/350°F for 16 to 18 minutes. Cool completely. Core each cupcake and fill with jam and cream. Dust with icing sugar. This is the individual serving format for situations where cutting a traybake is impractical.
- Gluten-free Victoria sponge traybake: Replace self-raising flour with a 1:1 gluten-free self-raising flour blend. Add ½ teaspoon of xanthan gum if the blend does not already contain it. The all-in-one method works identically. Baking time may be 2 to 3 minutes longer — check with a skewer.
How to Serve
Transport the assembled traybake with the squares uncut if possible — it is easier to transport as a whole piece and cut at the destination. If transporting in squares, use a baking tin lid or a large tray and leave space between pieces so the cream does not transfer. The assembled traybake holds well at cool room temperature (below 20°C) for up to 4 hours. In warm summer weather above 22°C, the cream may begin to soften after 2 hours — keep in a cool bag for outdoor events. Dust icing sugar at the garden party rather than before transport.
How to Store
The filled and assembled traybake keeps in the refrigerator for up to 2 days — cover loosely with cling film so the icing sugar does not smear. The cream absorbs the jam slightly overnight, which deepens the flavour. The unfilled, uncut sponge keeps at room temperature wrapped in cling film for 2 days, or in the freezer for up to 1 month. Freeze assembled squares individually: freeze on a baking sheet until solid, then store in a container with parchment between layers. Thaw at room temperature for 45 minutes to 1 hour before serving.
Related Recipes You Might Like
If you loved this recipe, here are a few more from the site:
- 23 Best Fresh Peach Recipes for Summer Baking — more summer baking recipes for garden party season
- 35 No-Bake Summer Desserts — more summer party desserts for warm weather gatherings
- 29 Easy Blackberry Recipes — blackberry jam made from scratch for the filling
- 27 Best Picnic Finger Foods — more transportable food for outdoor summer occasions
- Chocolate Zucchini Muffins — another crowd-baking recipe for school or family events
Frequently Asked Questions
What is the difference between a traybake and a layer cake?
A traybake is baked in a single rectangular tin (typically 9x13 inches) and split horizontally after baking, rather than baked as two separate round layers. The traybake format produces more uniform portions when cut into squares, is easier to transport, and requires no round cake tins. The flavour and texture are identical to a traditional layer cake. The main difference is structural: the traybake produces a slightly more compact, even crumb than a round layer cake because the wider, shallower tin promotes more even heat distribution.
Can I use regular cream instead of double cream?
Double cream (35%+ fat) is essential for a cream that whips to the correct consistency and holds its shape. Single cream (18% fat) does not whip. If double cream is unavailable, use whipping cream (30% to 36% fat), which whips well. As a substitute for a garden party situation where the cream needs to hold for several hours, combine 250ml of heavy cream with 2 tablespoons of full-fat cream cheese — beat together until stiff peaks form. The cream cheese stabilises the whipped cream significantly.
How do I stop the sponge from sinking in the middle?
Four causes: oven door opened too early (before 20 minutes), oven temperature too high causing the outside to set before the inside rises, too much raising agent (baking powder), or underbaking. The prevention: do not open the oven before 20 minutes, verify oven temperature with an oven thermometer (domestic ovens often run 15 to 20 degrees off), measure baking powder precisely, and use the springback test plus a skewer before declaring it done.
Can I make this recipe without an electric mixer?
Yes — with some additional effort. The key is that the butter must be very soft. Use a large bowl and a wooden spoon. Beat the softened butter and sugar together vigorously for 3 to 4 minutes by hand until very pale and fluffy — this is the creaming step that the all-in-one method skips. Add eggs one at a time, beating well after each. Fold in flour with a large metal spoon. The hand-beaten version takes longer but produces an excellent result. A balloon whisk is helpful for the initial butter and sugar stage.
How far in advance can I make the traybake?
The unfilled sponge can be made up to 2 days in advance and stored at room temperature wrapped in cling film, or up to 1 month ahead and frozen. Fill and assemble the day before the garden party for the best result — the jam and cream have time to meld with the sponge overnight, which improves the flavour. Dust icing sugar immediately before serving. Assembled squares freeze for up to 1 month.
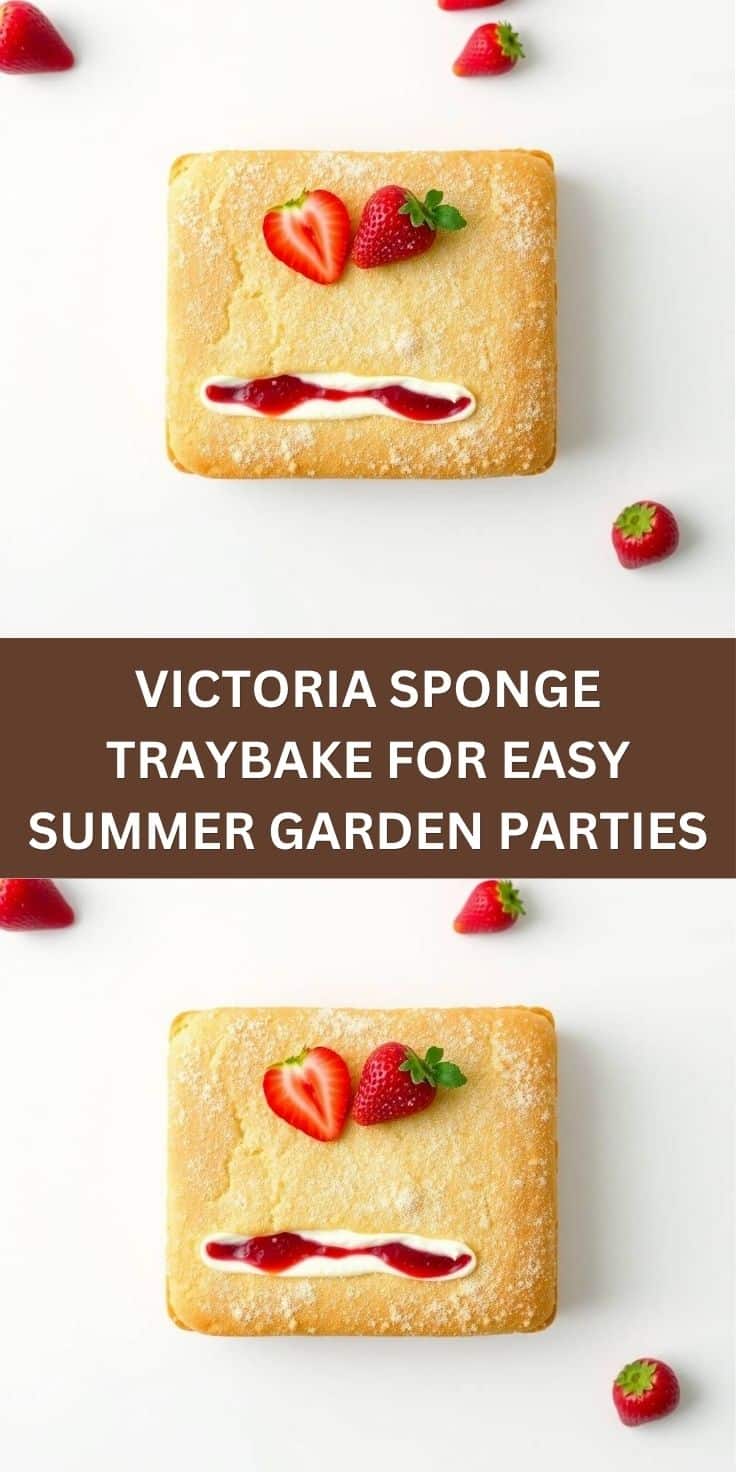

VICTORIA SPONGE TRAYBAKE FOR EASY SUMMER GARDEN PARTIES
Equipment
- 9x13-inch baking pan
- Parchment paper
- Large mixing bowl
- Hand mixer or stand mixer
- Rubber spatula
- Wire cooling rack
Ingredients
For the Vanilla Sponge:
- 1 cup unsalted butter, softened
- 1 cup granulated sugar
- 4 large eggs
- 2 teaspoons vanilla extract
- 2 cups self-rising flour
- 1 teaspoon baking powder
- ¼ cup milk
For the Filling and Topping:
- ¾ cup strawberry jam
- 1 ½ cups heavy whipping cream
- 2 tablespoons powdered sugar
- 1 teaspoon vanilla extract
- 2 cups fresh strawberries, sliced
- 1 cup fresh raspberries
- as needed powdered sugar, for dusting
Instructions
Prepare the Pan and Oven
- Preheat the oven to 350°F (175°C). Line a 9x13-inch baking pan with parchment paper, leaving a little overhang on the sides for easy lifting.
Cream the Butter and Sugar
- In a large mixing bowl, beat the softened butter and granulated sugar with a hand mixer until pale, light, and fluffy, about 3–4 minutes.
Add the Eggs
- Add the eggs one at a time, beating well after each addition. Mix in the vanilla extract.
Add the Dry Ingredients
- Add the self-rising flour and baking powder. Mix gently, then add the milk and stir just until the batter is smooth. Avoid overmixing.
Bake the Sponge
- Spread the batter evenly in the prepared pan. Bake for 22–25 minutes, until golden and a toothpick inserted into the center comes out clean.
Cool Completely
- Leave the cake in the pan for 10 minutes, then lift it out using the parchment paper and transfer to a wire rack. Cool completely before assembling.
Add the Jam
- Spread the strawberry jam evenly over the completely cooled sponge.
Whip the Cream
- Beat the heavy cream, powdered sugar, and vanilla extract until soft-to-medium peaks form. Do not overwhip.
Decorate the Traybake
- Spread or spoon the whipped cream over the jam. Arrange the sliced strawberries and raspberries across the top.
Slice and Serve
- Dust lightly with powdered sugar, slice into 12 squares, and serve immediately or refrigerate until ready for your garden party.
Notes
- Party Friendly: A traybake is easier to transport, slice, and serve than a traditional layered Victoria sponge cake.
- Fresh Summer Flavor: Strawberries, raspberries, whipped cream, and strawberry jam create a light and classic seasonal dessert.
- Do Not Overwhip: Stop whipping the cream once soft-to-medium peaks form to keep the topping smooth and fluffy.
- Make Ahead: Bake the sponge one day ahead, but add the cream and fresh berries shortly before serving.
- Storage: Refrigerate leftovers in an airtight container for up to 2 days, although the fresh berries are best on the first day.





Comments
No Comments