
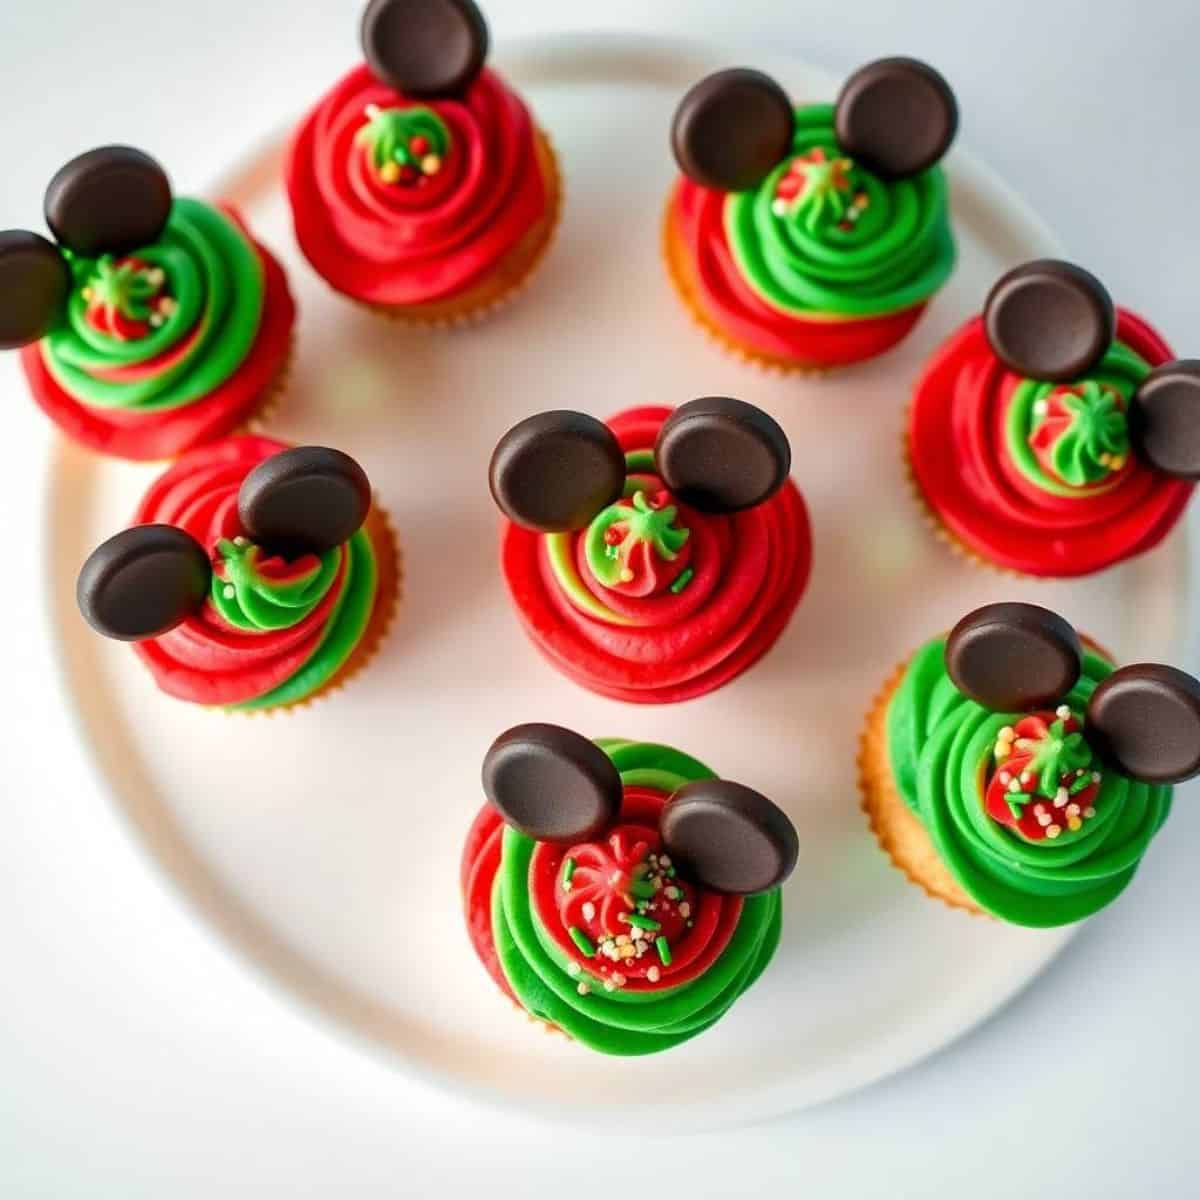
Bring some Disney magic to your holiday season with these adorable Mickey Mouse Christmas cupcakes. With simple ingredients and a playful design, these cupcakes bring smiles and sweetness to any Christmas table or party.
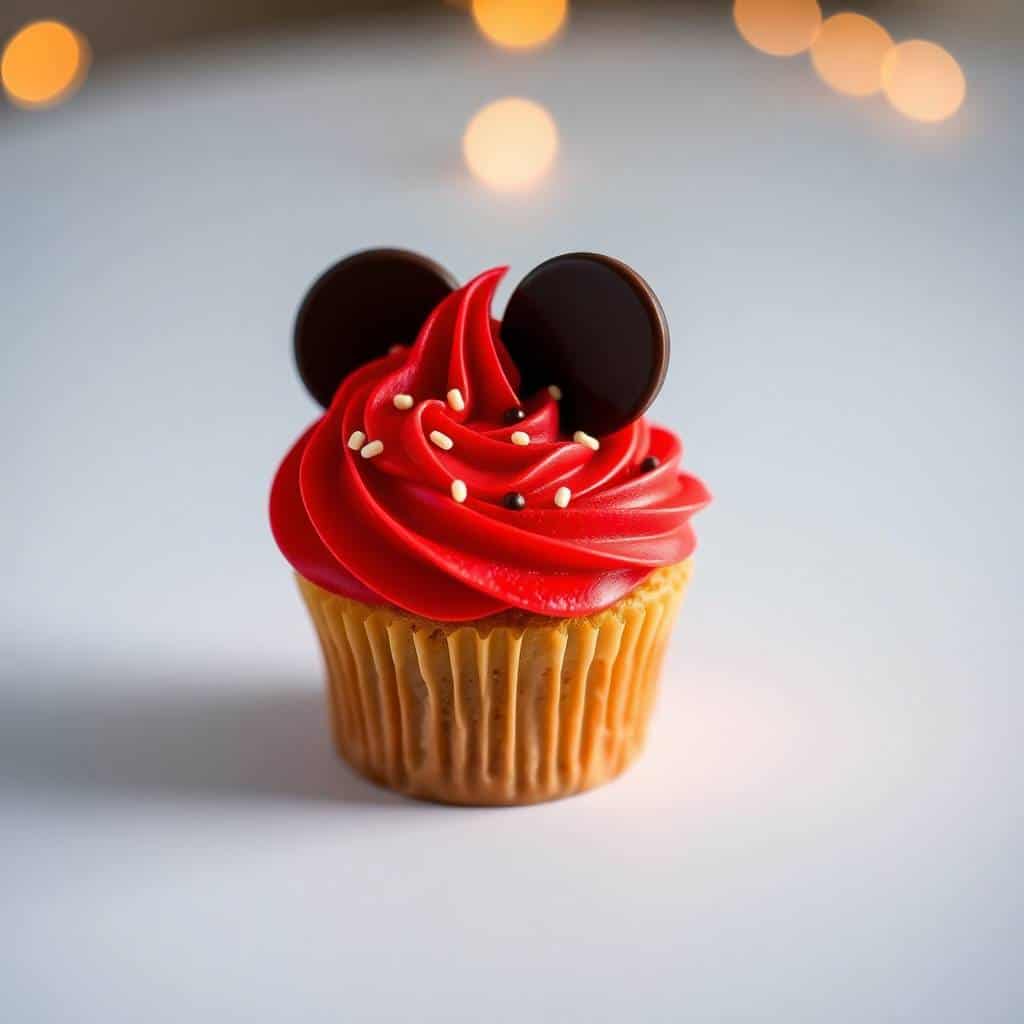
The base is a soft, fluffy cupcake—vanilla or chocolate—decorated with vibrant frosting and Mickey’s signature ears. They’re a fun, festive treat that’s perfect for kids and grown-up Disney fans alike.
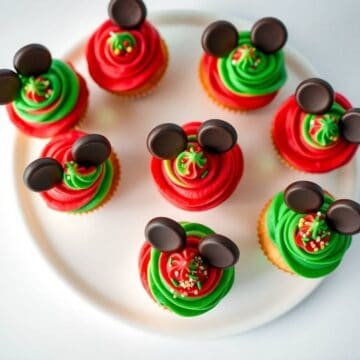
Red, green, and white toppings make them merry, while chocolate cookie ears give them that unmistakable Mickey Mouse silhouette. They’re showstoppers without needing professional baking skills.
These cupcakes are great for baking with children. Kids will love helping decorate, and they’ll be thrilled to show off their Mickey creations. Plus, the final result is so cheerful and photogenic that they’ll be a hit on social media too!
Simple, festive, and magical, these cupcakes add a touch of Disney cheer to your holiday baking—guaranteed to delight everyone who sees and eats them. Use your favourite cupcake recipe or a mix—whatever’s easiest for you.
WHY YOU WILL LOVE THIS RECIPE
- Whimsical Appeal: These cupcakes are irresistibly cute and bring Disney charm to your holiday dessert table.
- Kid-Friendly Fun: Children love decorating them and will enjoy every step of the process.
- Simple Ingredients: Uses basic pantry items and cookies for Mickey’s ears—easy to find and assemble.
- Great for Parties: Ideal for Christmas gatherings, school events, and cookie exchanges.
- Customisable Flavours: Use vanilla, chocolate, or any cupcake base you like.
- No Special Tools: No fancy baking equipment required to make them look festive.
- Holiday Cheer: Red and green decorations give them a festive pop of colour and seasonal charm.
INGREDIENTS
- 12 baked cupcakes (vanilla or chocolate)
- 1 cup buttercream or frosting (red, green, or white)
- Red and green sprinkles or candies
- 24 mini chocolate cookies (for Mickey ears)
- Black decorating gel (optional for outlines)
- Cupcake liners (festive or plain)
- Piping bag and tips (optional but helpful)
DIRECTIONS
- Step No.1: Bake the cupcakes
Prepare your favourite vanilla or chocolate cupcake recipe or box mix. Let the cupcakes cool completely before decorating.
- Step No.2: Colour the frosting
Divide the frosting and tint with red, green, or white food colouring. Use separate bowls for each colour. Stir until evenly mixed.
- Step No.3: Frost the cupcakes
Use a piping bag or spoon to frost each cupcake in swirls or smooth layers, depending on your desired look.
- Step No.4: Add Mickey’s ears
Insert one mini chocolate cookie on each side of the cupcake to represent Mickey’s ears. Push gently so they stay upright.
- Step No.5: Decorate with holiday cheer
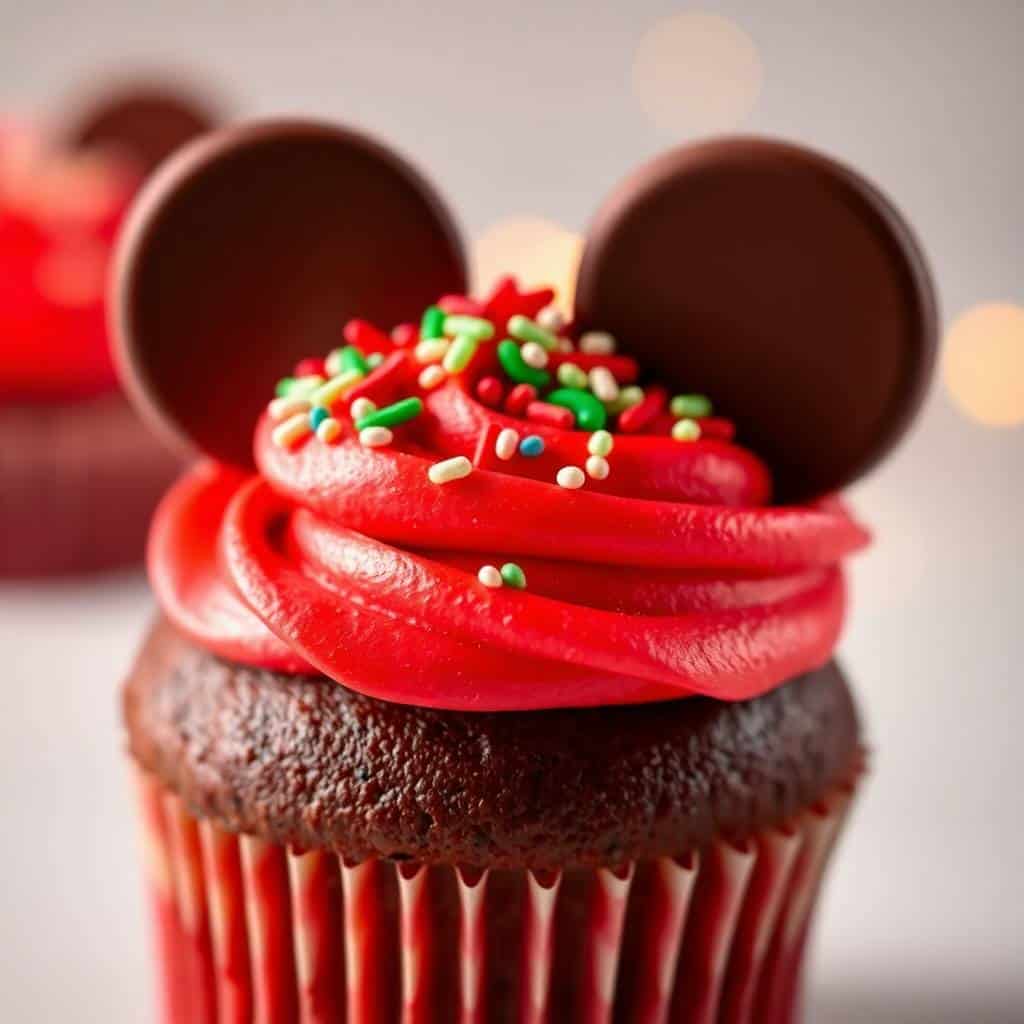
Sprinkle festive toppings over the frosting—use red and green sprinkles, candies, or even edible glitter for sparkle.
- Step No.6: Outline or embellish (optional)
Use black gel or small frosting details to outline Mickey’s features or add cute bows or buttons if desired.
TIPS FOR SUCCESS
- Cool cupcakes completely: Frosting warm cupcakes causes the frosting to melt and slide off, ruining your decoration.
- Use sturdy cookies: Choose mini cookies that stay upright when inserted into frosting for the best ear effect.
- Prep toppings in advance: Have all sprinkles, cookies, and bows ready before you begin decorating to make the process smooth.
- Test frosting consistency: Make sure your buttercream is stiff enough to hold its shape when piped.
- Use a large tip: A big piping tip gives a beautiful swirl that serves as a great base for all decorations.
- Refrigerate before serving: Chill decorated cupcakes for 20–30 minutes to help the frosting and ears stay in place.
- Avoid overloading: Don’t overcrowd the top—keep decorations balanced so they stay secure and look tidy.
VARIATIONS
- Chocolate peppermint version: Add peppermint extract to chocolate cupcakes and top with crushed candy canes for extra festive flair.
- Minnie Mouse design: Add mini bows to the ears to turn them into adorable Minnie Mouse Christmas cupcakes.
- Fondant ears: Use black fondant circles instead of cookies for a smooth, sleek Mickey Mouse ear look.
- Vanilla with raspberry filling: Inject a bit of raspberry jam inside vanilla cupcakes for a surprise fruity bite.
- Use marshmallows: Slice large marshmallows for fluffy ears if you don’t have cookies on hand.
- Red velvet base: A red velvet cupcake adds a deep red hue and rich flavor, perfect for Christmas celebrations.
- Sprinkle surprise inside: Fill cupcakes with festive sprinkles inside for a fun, surprising bite when you take a bite.
SERVING AND STORAGE
Serving
Serve at room temperature on a festive platter with Mickey-themed picks or sprinkles for added decoration and fun.
Storage
Store in an airtight container at room temperature for 1–2 days or refrigerate up to 5 days for best freshness.
FAQ
A: Absolutely! Just decorate pre-made cupcakes to save time and still enjoy festive fun.
A: Mini Oreos or chocolate wafers work great—they’re small, round, and sturdy.
A: Freeze undecorated cupcakes, then frost and add ears after thawing for best results.
A: Use natural food colouring from fruits or vegetable-based gels for subtle hues.
A: Yes! Kids love the theme and can even help decorate during the party.
These Mickey Mouse Christmas cupcakes are a delightful blend of festive fun and Disney charm.
With just a few basic ingredients and a playful design, they bring joy to any holiday event.
Whether you’re a Disney lover or simply want to serve something adorable and delicious, these cupcakes are the answer.
They’re easy enough to make with children and impressive enough to serve at a holiday party.
From the bright colours to the iconic Mickey ears, every detail adds to the cheer.
Make a batch and watch smiles appear around your table!
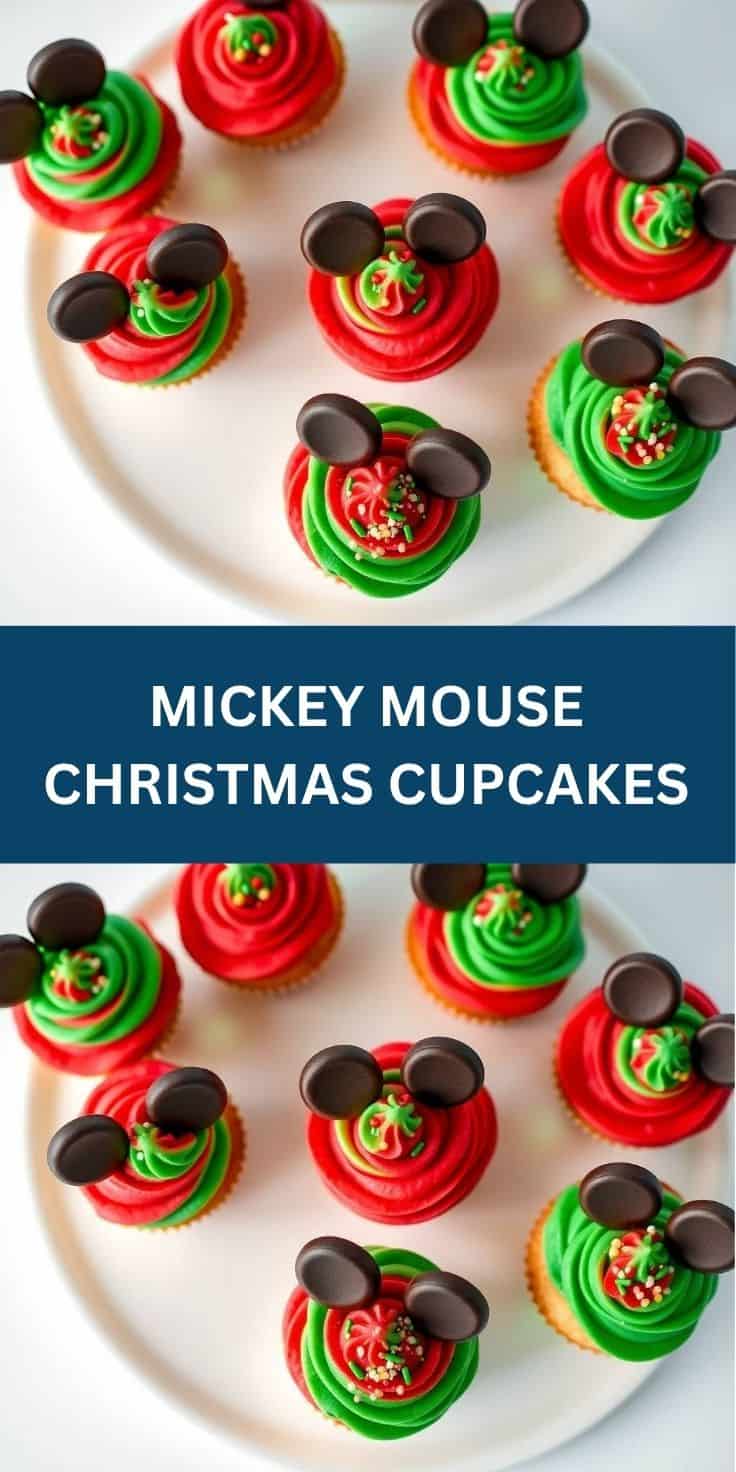
MICKEY MOUSE CHRISTMAS CUPCAKES
Ingredients
For the Cupcakes:
- 1 cup all-purpose flour
- ½ cup unsweetened cocoa powder
- 1 teaspoon baking powder
- ½ teaspoon baking soda
- ¼ teaspoon salt
- ½ cup granulated sugar
- ½ cup brown sugar
- ½ cup vegetable oil
- 2 large eggs
- ½ cup buttermilk
- 1 teaspoon vanilla extract
For the Frosting:
- ½ cup unsalted butter softened
- 1 ½ cups powdered sugar
- 2 tablespoons heavy cream or milk
- ½ teaspoon peppermint or vanilla extract
- Red and green food coloring optional
For Decoration:
- Mini chocolate sandwich cookies for Mickey ears
- Holiday sprinkles
- Red cupcake liners
Instructions
Preheat Oven:
- Preheat your oven to 350°F (175°C). Line a muffin tin with 12 red cupcake liners.
Make Cupcake Batter:
- In a large bowl, whisk together flour, cocoa powder, baking powder, baking soda, salt, and both sugars. Add oil, eggs, buttermilk, and vanilla extract. Beat until smooth and combined.
Bake:
- Divide batter evenly into liners. Bake for 18–20 minutes, or until a toothpick inserted comes out clean. Cool completely before decorating.
Prepare Frosting:
- Beat butter until fluffy. Gradually add powdered sugar. Mix in cream and extract. Add food coloring if desired.
Decorate:
- Frost each cupcake and press two mini cookies into the top for ears. Add sprinkles for holiday flair.
Notes
Cupcakes can be made a day in advance and stored unfrosted in an airtight container. Customizing the Theme:
Swap sprinkles or food colors to match other holidays or character themes. Serving Suggestions:
Great for holiday parties, Christmas movie nights, or Disney-themed celebrations. Storage Tips:
Store in a sealed container at room temperature for 2 days or refrigerate up to 4 days.
Mickey Mouse Christmas Cupcakes
Ingredients
For the Cupcakes:
- 1 box chocolate cake mix plus ingredients on box
- ½ teaspoon peppermint extract optional for holiday flavour
For the Frosting:
- 1 cup unsalted butter softened
- 3 –4 cups powdered sugar
- 2 –3 tablespoons milk or cream
- 1 teaspoon vanilla extract
- Red or green food colouring
For Decoration:
- 24 mini Oreos for Mickey ears
- Holiday sprinkles or red/green sanding sugar
- Christmas cupcake toppers optional
Instructions
Bake Cupcakes:
- Prepare and bake the chocolate cupcakes according to package instructions. Allow them to cool completely before decorating.
Make Frosting:
- In a bowl, beat the butter until creamy. Gradually mix in powdered sugar, vanilla, and milk until smooth. Tint with red or green food colouring.
Frost the Cupcakes:
- Pipe or spread frosting on each cooled cupcake.
Decorate:
- Insert two mini Oreos into each cupcake to make Mickey ears. Add holiday sprinkles or Christmas-themed toppers for extra flair.
Notes
Cupcakes can be baked a day ahead. Frost just before serving for best presentation. Customizing the Look:
Use white frosting and coconut flakes for a snowy theme or add candy canes for a peppermint Mickey twist. Serving Suggestions:
Perfect for school parties, Disney-themed Christmas gatherings, or festive dessert tables. Storage Tips:
Store in an airtight container at room temperature for up to 2 days, or refrigerate if using dairy-based decorations.





Comments
No Comments