
Saad asked me to make this every single weekend for two months straight. That's how I know a recipe has actually worked.
White Trash snack mix is one of those things that sounds almost too simple — you're basically tossing cereal, pretzels, and candy together and drowning it all in melted white chocolate. But the ratio matters, the chocolate matters, and honestly, the way you let it set matters too. I burned my first batch of white chocolate by rushing the microwave and ended up with a grainy, sad coating that didn't stick to anything properly. The second time I slowed down, stirred between every 30-second interval, and the whole thing came together perfectly.
I make this mostly around the holidays and for movie nights, but I've also thrown it together for birthday parties and school events. It travels well — I've packed it in little mason jars and given it as gifts, and people always ask for the recipe. If you're looking for something no-bake that you can make ahead, this is it. The whole batch comes together in about 20 minutes, and then you just wait for it to set. That's the hardest part, honestly, because Saad keeps hovering around the tray.
One thing to know going in: use good white chocolate. I've made this with those budget-brand white baking chips and the coating was waxy and didn't taste like much. The 12 oz bag of almond bark from Walmart or good-quality white chocolate chips (Ghirardelli works well) makes a real difference. If you want another no-bake dessert with that same creamy chocolate vibe, my Chocolate Banana Pudding Fluff uses a similar approach and is just as much of a crowd favorite with the kids.
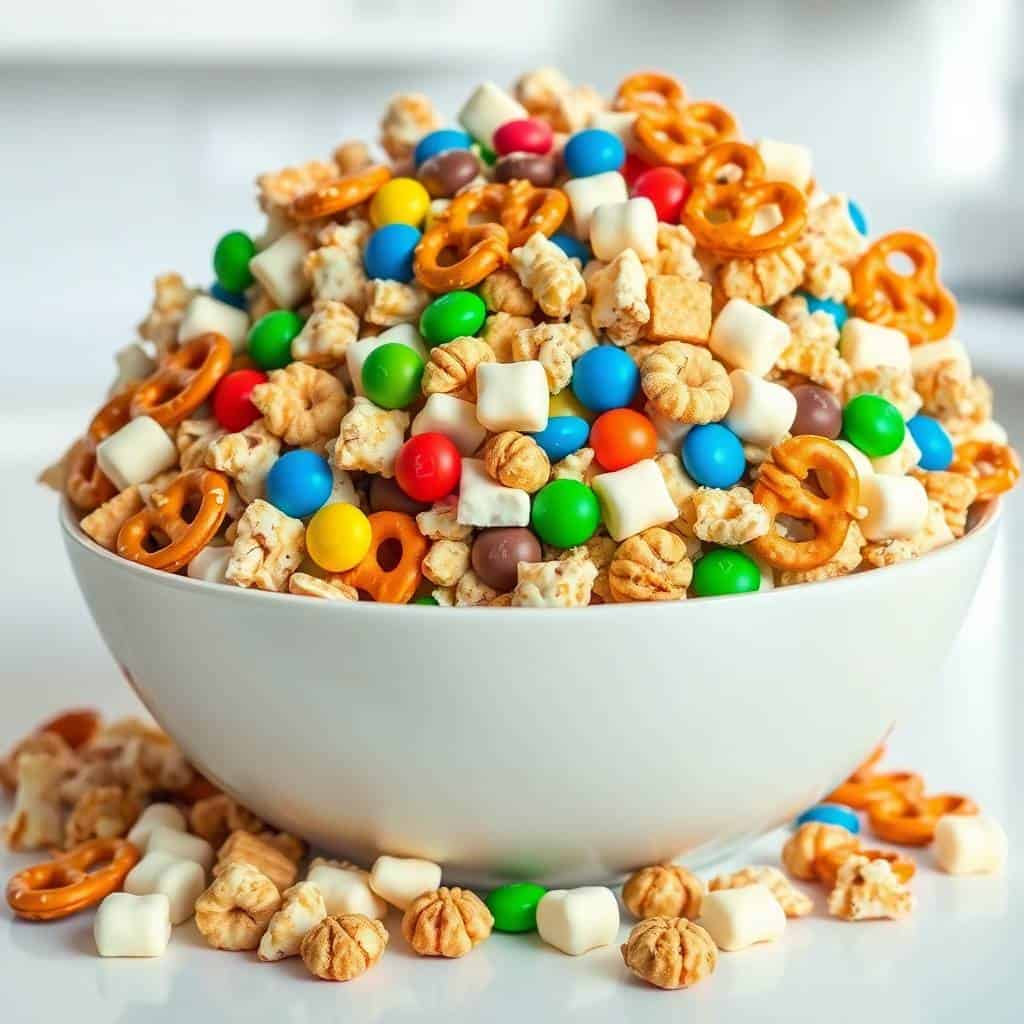
Why You'll Love This Recipe
- No oven, no stress: This is fully no-bake, which means I can make it even when my kitchen is already a disaster from cooking dinner. There's no temperature to monitor, no timer to watch, and no risk of burning the house down. The most technical thing you'll do is melt chocolate in the microwave — and even that's forgiving if you go slow.
- Sweet and salty in every handful: The pretzels bring the salt, the M&M's bring the sweetness, and the white chocolate ties everything together into something you can't stop reaching for. It's not one-note. There's crunch from the cereal, chew from the marshmallows if you add them, and that slightly salty pretzel hit that keeps it interesting.
- Works for gifting: I've packed this into mason jars, treat bags, and small tins and it always looks more impressive than the effort that went into it. It holds up for up to two weeks at room temperature, so you can make it days ahead of a party or holiday gathering without worrying about it going stale.
- Easy to customize: This recipe is genuinely flexible. Swap in seasonal M&M colors for Christmas or Easter, toss in dried cranberries, skip the peanuts if allergies are a concern. I've made probably six or seven versions of this by now and every single one got eaten.
- Kids can actually help: There are no sharp tools and no hot pans involved. Once the chocolate is melted (that part I handle), the kids can do the mixing, the spreading, and obviously the taste-testing. It's one of the few recipes where I genuinely want their help rather than just tolerating it.
Ingredients
- 3 cups Rice Chex cereal
- 3 cups Corn Chex cereal
- 2 cups mini pretzels (or pretzel sticks)
- 1½ cups salted peanuts (skip if nut-free)
- 1 cup M&M's (holiday colors if you want the festive look)
- 1 cup mini marshmallows (optional but Saad always votes yes)
- 1 bag (12 oz) white chocolate chips or almond bark — almond bark melts smoother
- 1 tablespoon coconut oil (optional — helps the chocolate coat more evenly)
Directions
- Step 1: Mix the dry ingredients. In the biggest bowl you own, combine the Rice Chex, Corn Chex, pretzels, peanuts, M&M's, and marshmallows if using. Give it a gentle toss — you want everything mixed but not crushed. The cereal breaks easily, so be a little careful here.
- Step 2: Melt the chocolate slowly. Put the white chocolate chips (or almond bark) and coconut oil in a microwave-safe bowl. Microwave in 30-second intervals, stirring between each one. This usually takes 2 to 3 rounds for me. Don't rush it — the moment you push past melted into hot, white chocolate seizes up and goes grainy and there's no fixing it.
- Step 3: Pour and coat. Pour the melted chocolate over the dry mix in a steady stream while gently folding with a rubber spatula. Work quickly but don't panic — you have a couple of minutes before it starts to set. Make sure every piece gets some chocolate on it.
- Step 4: Spread it out. Line a large baking sheet with parchment paper (not wax paper — wax paper can stick in humid conditions, I learned that the hard way). Spread the coated mix out in a single layer as best you can. It doesn't have to be perfect.
- Step 5: Let it set, then break it up. Leave it at room temperature for about an hour, or speed it up in the fridge for 20–30 minutes. Once the chocolate is fully set and firm, break it into clusters with your hands. That's it — done.
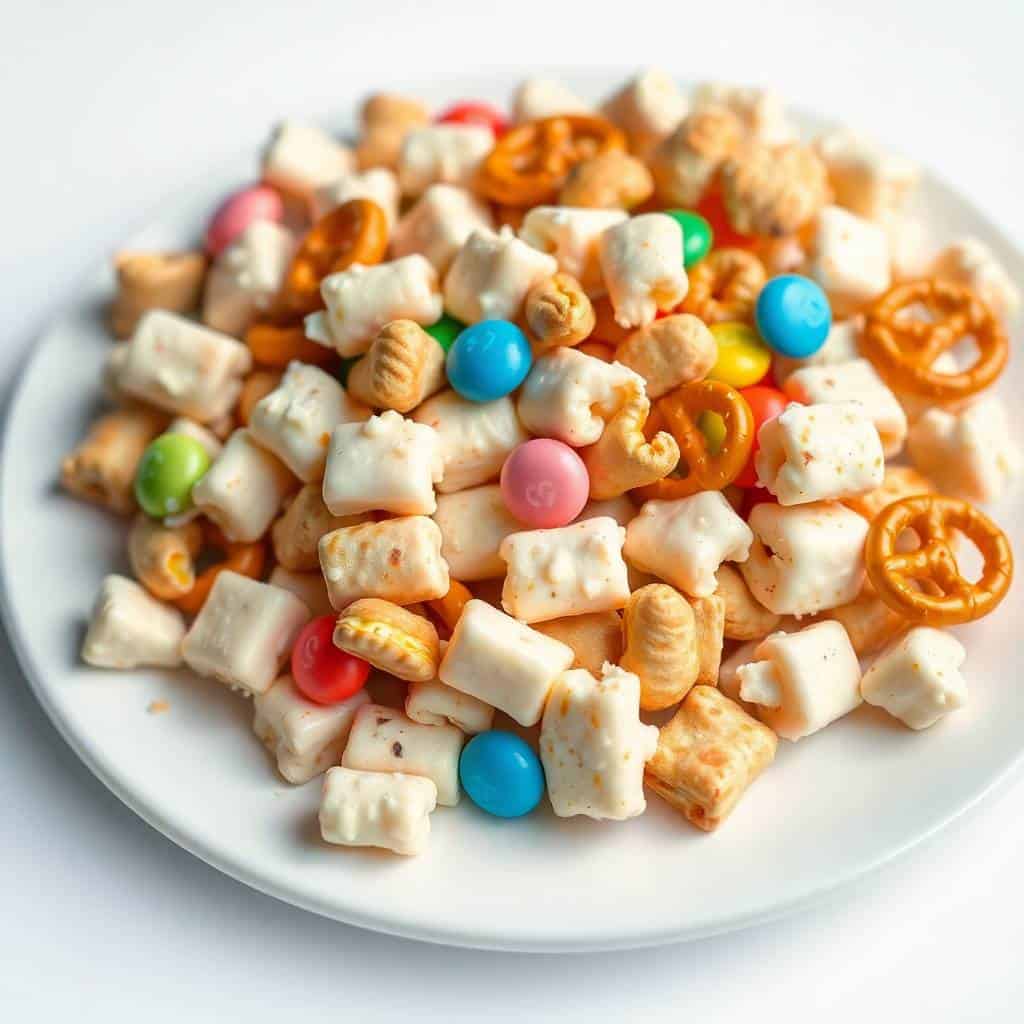
Tips for Success
- Go slow with the chocolate: I cannot stress this enough. The single most common mistake with this recipe is overheating the white chocolate. It goes from perfectly melted to a clumpy, grainy mess in about 15 extra seconds. Thirty-second intervals, stir every time, stop the moment it's smooth. If it looks 80% melted, just stir — the residual heat finishes the job.
- Use a big enough bowl: The first time I made this I used a medium mixing bowl and chocolate went everywhere when I tried to fold it. You need a bowl that gives you room to actually toss and fold without everything spilling. My biggest stainless steel bowl works perfectly — it's the same one I use for no-bake cheesecake prep.
- Don't refrigerate to store: I know it's tempting to just put the whole thing in the fridge, but the temperature change causes condensation, which makes the mix soft and soggy. Room temperature in an airtight container is the way to go. It keeps for up to two weeks this way.
- Add M&M's after coating if you want clean colors: If you mix the M&M's in with the dry ingredients, they get coated in chocolate too — which is fine. But if you want those bright, clean candy colors to show, fold them in after you've already coated the base mix. Either way tastes the same; it's just a visual difference.
- Double the batch if you're gifting: I always make a double batch when I'm putting this together for the holidays. A single batch disappears at my house before I've even managed to portion out the gift jars. Two batches cost maybe $12 total from Walmart or Aldi and give you enough to gift and still have plenty at home.
Variations
- Christmas version: Use red and green M&M's, add crushed candy canes on top before it sets, and toss in a handful of mini marshmallows. This is the version I make every December and it looks genuinely festive. If you're doing a full holiday dessert spread, these Strawberry Kiss Cookies are a nice contrast alongside it.
- Nut-free version: Just leave out the peanuts entirely and add more pretzels or an extra cup of Chex to fill the volume. The texture is still great. I make this version when I'm bringing it to school events because nut allergies are so common and I'd rather not stress anyone out.
- Popcorn add-in: Swap out one cup of the Chex for freshly popped plain popcorn. It makes the mix lighter and adds a slightly buttery flavor that goes surprisingly well with the white chocolate. Just make sure the popcorn is completely cooled before you mix it in or the chocolate will melt unevenly.
- Dark or milk chocolate swap: The name says white chocolate and that's the classic version, but I've made this with milk chocolate chips too and it's a completely different, slightly richer thing. Dark chocolate works if you want it less sweet — good for adults who find the original too sugary. All three versions are genuinely good.
- Dried fruit addition: A handful of dried cranberries or dried cherries tossed into the mix adds a tart, chewy contrast that cuts through the sweetness really nicely. I tried this version during Thanksgiving and it went over well — feels slightly more grown-up than the straight candy version.
Serving and Storage
Serving
Pile it into a big bowl for movie nights and let everyone grab handfuls — that's the casual way. For parties, I portion it into small paper cups or clear treat bags. For gifting, mason jars work beautifully; tie a ribbon around the lid and it looks like you put in way more effort than you did. If you're putting together a holiday snack table, this sits well next to something like these Strawberry Kiss Cookies since the colors and textures contrast nicely.
Storage
Store in an airtight container at room temperature — a zip-top bag works fine, a lidded tin works better. It keeps well for up to two weeks. Do not refrigerate; the moisture from the fridge softens the coating and makes the cereal go stale faster. Keep it away from direct heat or sunlight too, since the chocolate will melt if it gets warm enough. I usually just leave it on my counter in a sealed container and it's fine for well over a week — though at my house it never lasts that long.
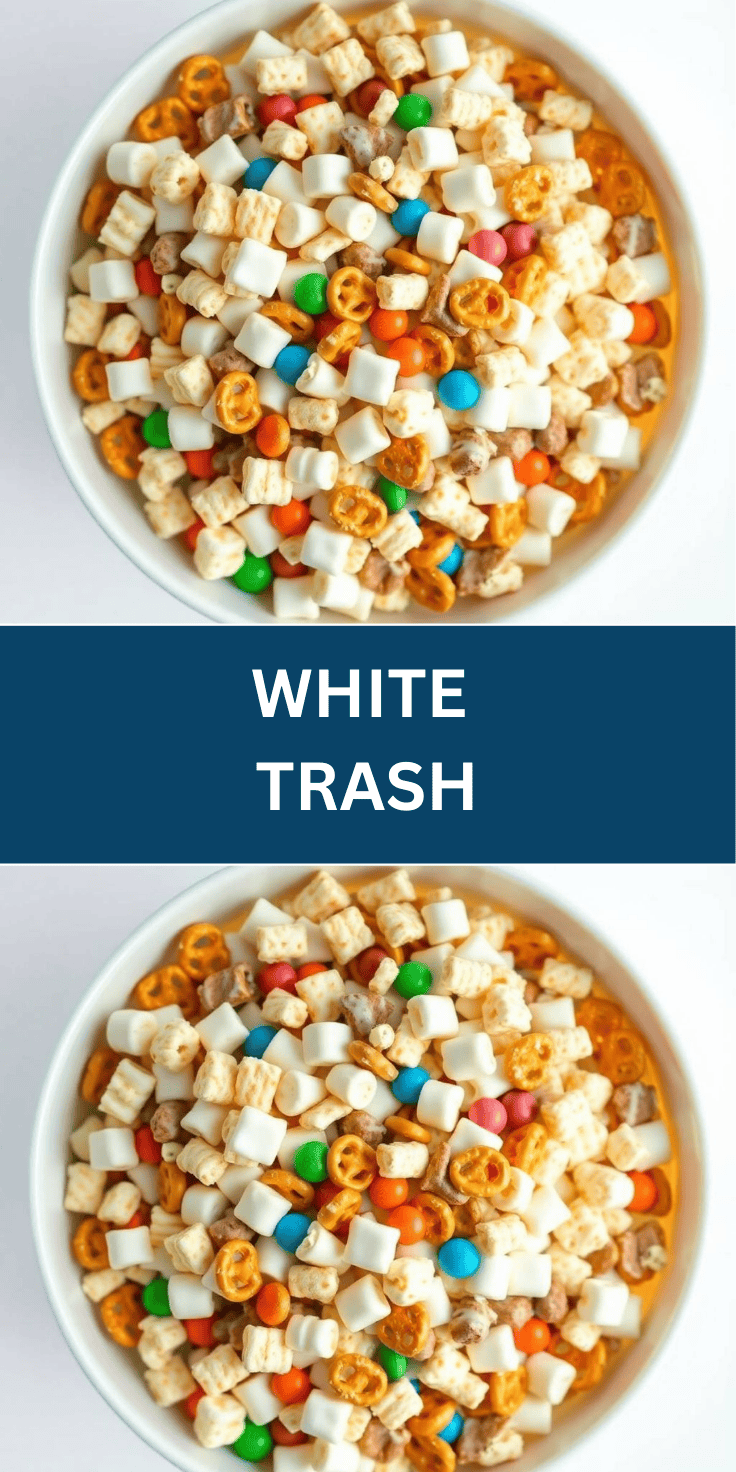
Frequently Asked Questions
Can I make this snack mix ahead of time?
Yes, and I'd actually recommend it. The mix is completely fine at room temperature for up to two weeks in an airtight container. I usually make it 2–3 days before a party or before I need to hand out gifts, which takes the pressure off completely.
Can I freeze White Trash snack mix?
I wouldn't. Freezing and thawing causes condensation, which softens the chocolate coating and makes the cereal go soggy. Since it keeps so well at room temperature, there's really no need to freeze it anyway.
What can I use instead of white chocolate chips?
Almond bark is actually my first choice — it melts more smoothly and coats evenly without needing coconut oil. You can find it at Walmart, Target, or most grocery stores near the baking aisle. Vanilla candy melts also work well. Avoid cheap generic white baking chips if you can; they tend to be waxy and the flavor is flat.
Can I make this gluten-free?
You can — Rice Chex and Corn Chex are both labeled gluten-free. Just swap in gluten-free pretzels (Snyder's makes a good one) and check that your M&M's and white chocolate are certified gluten-free as well. The recipe itself doesn't need any other changes.
How do I package this for gifting?
Mason jars are my go-to — they're cheap, they seal well, and they look nice with a ribbon or a little tag. Treat bags tied with twine work too, and you can fit a good portion into a small decorative tin. Let the mix set and harden completely before you pack it, otherwise it'll stick together into one big clump inside the jar.
WHITE TRASH
Ingredients
- 3 cups Rice Chex cereal
- 3 cups Corn Chex cereal
- 2 cups mini pretzels
- 1½ cups salted peanuts
- 1 cup M&M’s holiday colours optional
- 1 12 oz bag white chocolate chips or almond bark
- Optional: 1 cup Cheerios or small marshmallows
Instructions
- In a large bowl, mix together Rice Chex, Corn Chex, pretzels, peanuts, and M&M’s.
- Melt the white chocolate chips or almond bark in a microwave-safe bowl, stirring every 30 seconds until smooth.
- Pour melted chocolate over the dry mix and gently stir to coat everything evenly.
- Spread mixture on wax paper or a baking sheet to cool and harden.
- Once set, break into clusters and serve or store.
Notes
- Make Ahead: Store in an airtight container at room temperature for up to 2 weeks. Great for gifting!
- Customizing the Flavour: Swap M&M’s for mini marshmallows, or add crushed candy canes for a festive twist.
- Serving Suggestions: Serve in festive paper cups or mini bowls for parties or movie nights.
- Allergy-Friendly Options: Use nut-free candies and omit peanuts if needed. Choose dairy-free white chocolate to make it vegan.
- Storage Tips: Keep in a cool, dry place. Do not refrigerate, as it may cause condensation and make the mix soggy.
This is genuinely one of the easiest things I make, and it always looks more impressive than the effort involved. No oven, no special equipment, maybe 20 minutes of actual work and then you just wait. I love that about it. Most recipes that are this quick don't taste like much, but this one actually delivers — the white chocolate sets into something that holds the whole mix together in clusters, and every handful has that sweet-salty balance that keeps you going back for more.
I've made this for Christmas gatherings, Eid get-togethers, birthday parties, and random Tuesday movie nights. It adapts to any occasion just by swapping out the M&M colors or adding seasonal mix-ins. The base recipe stays the same every time. If you want another no-bake option that's just as low-effort but a little more elegant-looking, my No-Bake Cheesecake Jars are worth bookmarking for the same kind of occasion.
The next time you need to bring something to a party and you don't have the energy to bake, make this. Pack it into jars, toss it in a bowl, or just eat it straight off the parchment paper — all three are valid options in my house. 🍬✨
If you liked this recipe, here are a few more you might want to try next:
- Chocolate Banana Pudding Fluff — another no-bake crowd favorite that comes together in minutes
- No-Bake Cheesecake Jars with Berries — creamy, pre-portioned, and great for parties
- Strawberry Kiss Cookies — easy baked cookies that look great on a holiday dessert table
- Honey Garlic Chicken Bites — for when you need something savory to balance out all the snack mix
- Shrimp, Corn, Potatoes, and Smoked Sausage Foil Packs — a full dinner that's just as easy as this recipe



Comments
No Comments