
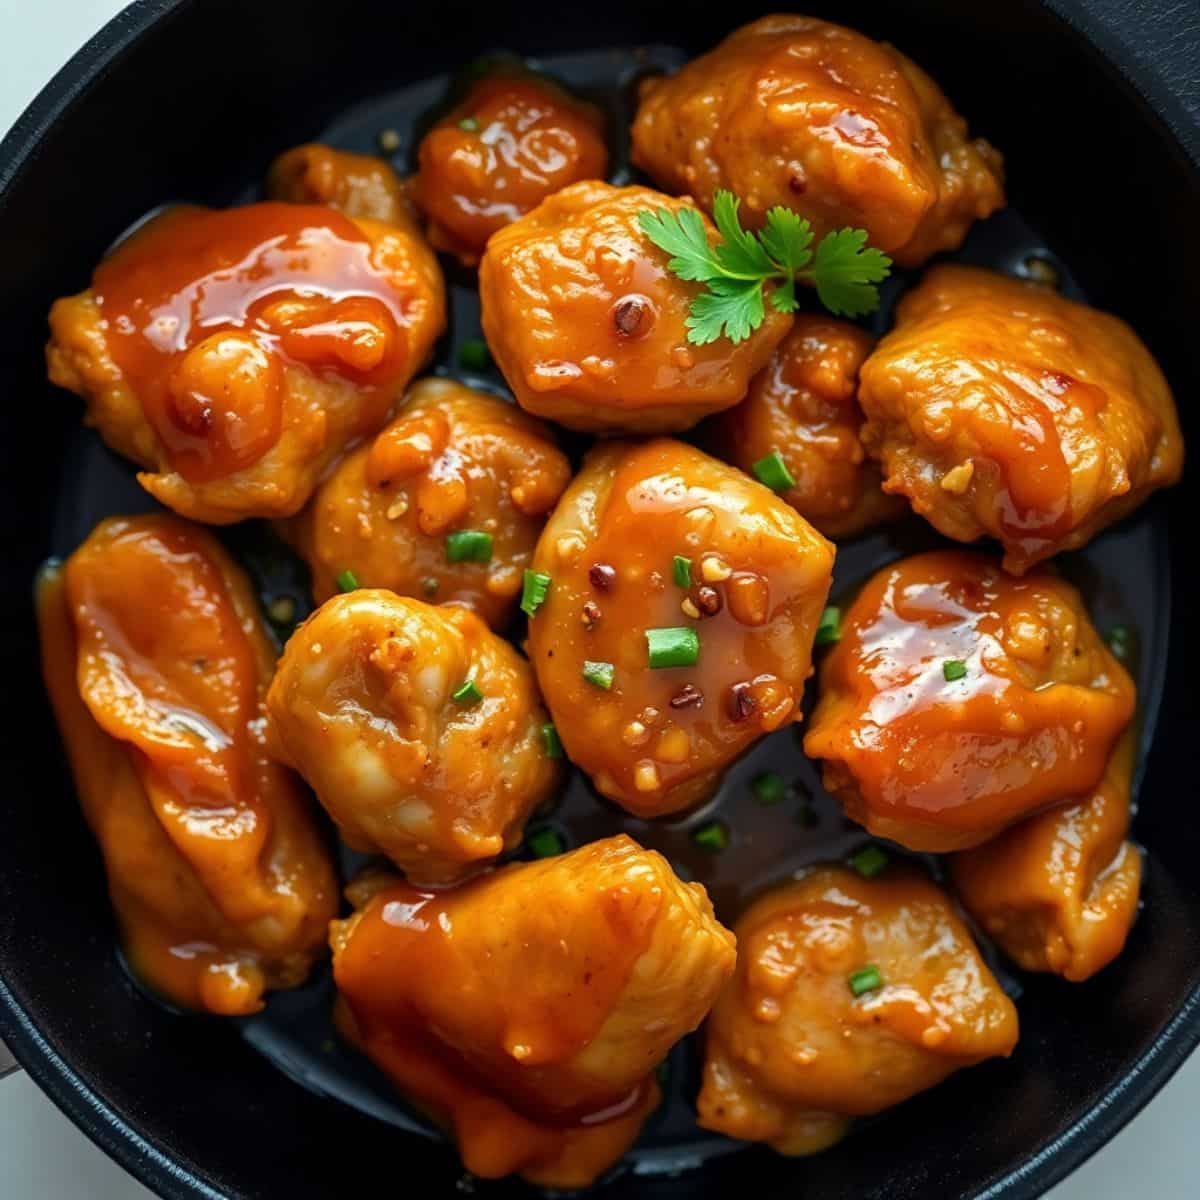
Tuesday nights are my chaos nights. Both kids have activities, my husband gets home late, and by 7pm everyone is hungry and nobody wants to wait. Honey garlic chicken bites are what I cook on Tuesday nights. Twenty minutes, one skillet, four pantry ingredients for the sauce — and the whole family actually sits down and eats without complaint, which is its own kind of miracle.
What makes this recipe work is the sauce-to-technique ratio. The honey caramelizes in the skillet and coats the chicken in a glossy, sticky glaze that looks like it took effort. It didn't. You're just cooking garlic for 30 seconds, whisking four things together, and letting heat do the rest. The key is patting the chicken completely dry before it goes in the pan — I learned that the hard way after three batches that came out pale and steamed instead of golden. Dry chicken, hot pan, don't crowd it. That's the whole method.
Saad likes this over rice with a little extra sauce spooned on top. Zainab picks out the chicken pieces and ignores everything else, which is very on-brand for her. My husband adds red pepper flakes to his plate. I've also served this as a party appetizer with toothpicks and a bowl of dipping sauce — it disappears in minutes. If you want something similarly quick and satisfying on a weeknight, my Creamy Sun-Dried Tomato Chicken Pasta is another one that comes together fast without feeling like a shortcut.
One thing to know going in: this is a high-heat, fast-cook recipe. Stay at the stove. Once the honey hits the pan, it can go from golden to burnt in under a minute if you walk away. Keep stirring in those last two minutes and you'll be fine. I burnt my first batch because I answered a phone call. Don't answer the phone.
Why You'll Love This Recipe
- It's actually done in 20 minutes: Not "20 minutes if you're a professional chef" — actually 20 minutes. There's no marinating, no oven preheating, no resting time. You cut the chicken, heat the skillet, and cook the sauce in the same pan. I've timed it. On a slow night it might hit 25, but that's including the time I spent looking for the soy sauce.
- One pan, minimal cleanup: The chicken sears in the skillet, you make the sauce in the same skillet, the chicken goes back in the same skillet. Nothing extra to wash. I don't even wipe out the pan between steps — those browned bits left from the chicken dissolve into the sauce and make it taste better.
- The sauce is genuinely flexible: More honey if you want it sweeter. More soy sauce if you want it saltier. A spoonful of sriracha if you want heat. A squeeze of lime at the end if you want brightness. I've made this recipe probably 40 times and no two batches have been exactly the same because I adjust based on what's in front of me.
- Works as dinner or as a party snack: Over rice it's a full weeknight meal. Served on a platter with toothpicks it's an appetizer that disappears at parties. I've done both. The appetizer version is especially good alongside something like my Chicken Caesar Pinwheels when I'm putting out a spread.
- Budget-friendly ingredients: Chicken breast or thighs, honey, soy sauce, garlic, and vinegar. Everything comes from a regular grocery store — Walmart, Aldi, wherever you shop. I usually have all of this already. The most expensive thing in this recipe is the chicken, and even that costs very little per serving.
Ingredients
- 1 lb (about 500g) boneless, skinless chicken breasts or thighs, cut into bite-sized pieces
- 2 tablespoons olive oil
- Salt and pepper to taste
- ¼ cup honey
- 3 tablespoons soy sauce (low-sodium recommended)
- 2 tablespoons garlic, minced (about 4-5 cloves)
- 1 tablespoon rice vinegar (or apple cider vinegar)
- 1 teaspoon grated fresh ginger (optional but worth it)
- ½ teaspoon red pepper flakes (optional)
- 1 tablespoon sesame seeds, for garnish (optional)
- Chopped green onions, for garnish (optional)
A few notes on ingredients: Low-sodium soy sauce really matters here because the sauce reduces and concentrates. Regular soy sauce can make the finished dish too salty. If you need gluten-free, coconut aminos or tamari swap in 1:1. For the honey, anything works — clover, wildflower, whatever's in your pantry. Maple syrup is the best substitute if you're out. And on the ginger: I know it says optional, but I always include it. Even just one teaspoon makes the sauce taste noticeably more complex.
Directions
- Prep the chicken: Cut chicken into roughly 1 to 1.5-inch pieces — try to keep them even so they cook at the same rate. Pat them completely dry with a paper towel, then season generously with salt and pepper. Drying the chicken is the most important step in the whole recipe. Moisture on the surface creates steam in the pan, and steam means no golden crust.
- Sear the chicken: Heat olive oil in a large skillet over medium-high heat until shimmering. Add the chicken in a single layer — don't pile it in. If your pan isn't big enough to give each piece a little space, cook in two batches. Cook for 7 to 8 minutes, stirring occasionally, until the chicken is golden brown and cooked through to 165°F (74°C). Remove from the skillet and set aside on a plate.
- Make the sauce: While the chicken cooks, whisk together the honey, soy sauce, vinegar, and ginger in a small bowl so it's ready to go. Once the chicken is out, reduce the heat to medium. In the same skillet (don't wipe it out), add the minced garlic and cook for about 30 seconds, stirring constantly. Watch it closely — garlic burns fast and burnt garlic will wreck the whole sauce.
- Simmer the glaze: Pour in the honey-soy mixture and stir to combine. Let it come to a simmer and cook for 2 to 3 minutes until it thickens slightly and starts to look glossy. When it coats the back of a spoon, it's ready. Add the red pepper flakes now if you're using them.
- Coat the chicken: Return the cooked chicken to the skillet and toss to coat everything evenly in the sauce. Cook for another 2 to 3 minutes, stirring constantly. This is when the honey caramelizes around the chicken and gets that deep, sticky finish. Stay at the stove and keep stirring — honey moves fast over heat.
- Serve: Remove from heat, garnish with sesame seeds and green onions if using, and serve immediately. The sauce tightens up as it cools, so eat this hot.
Tips for Success
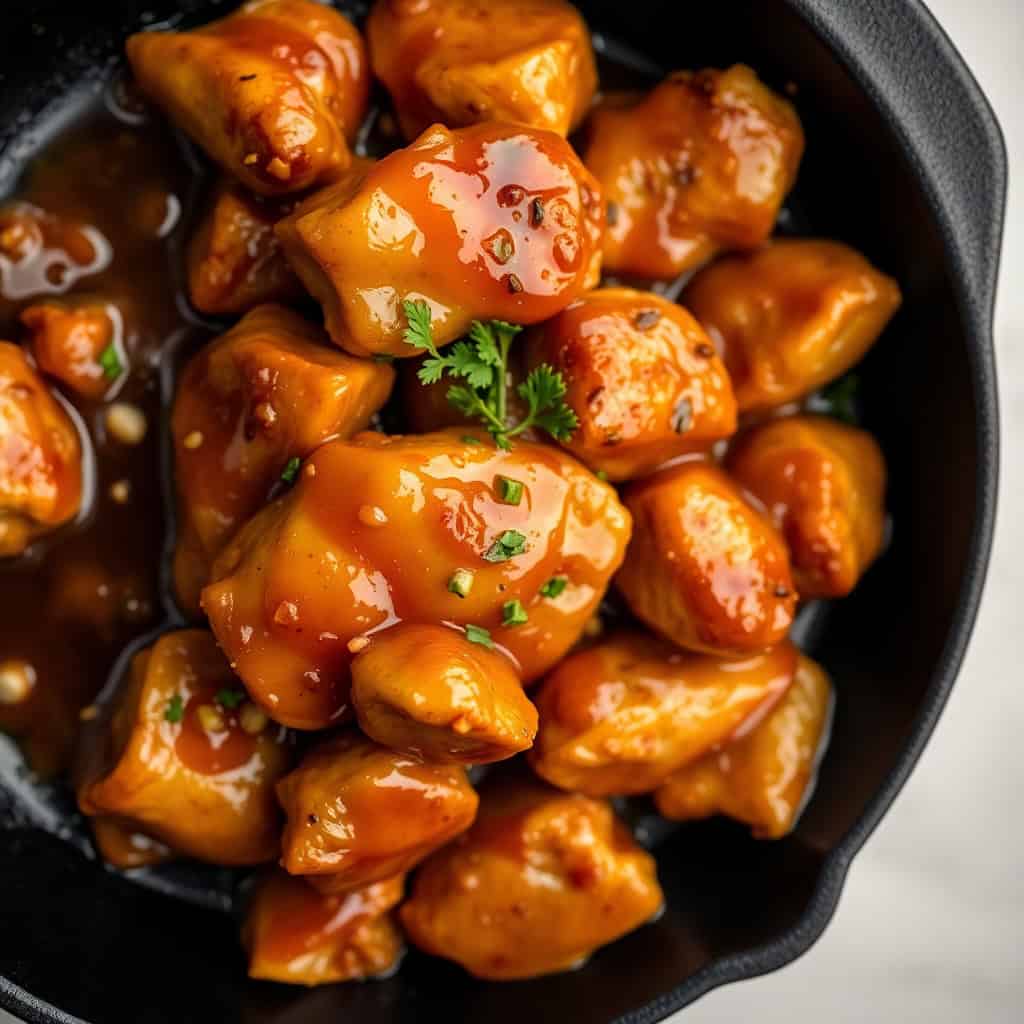
- Pat the chicken dry — seriously: I know I already said this in the directions but it deserves its own tip because it makes such a big difference. I used to skip this step and wonder why my chicken came out pale and soft instead of golden. Excess moisture on the surface steams the chicken rather than searing it. Thirty seconds with a paper towel changes the entire result.
- Cook the chicken in batches if needed: A crowded pan drops the temperature and turns your sear into a steam. I know it adds five minutes, but the difference between crowded chicken and properly spaced chicken is the difference between soft pale bites and ones with a proper golden crust. Use any wide, heavy skillet — cast iron and stainless steel both work well. Non-stick is fine too, though you'll get slightly less browning.
- Taste the sauce before adding the chicken back: Once the glaze has simmered for a couple of minutes, taste it. This is your moment to adjust. Too sweet? Add a splash more vinegar. Too salty? A tiny drizzle more honey. Needs heat? Add more red pepper flakes. Fixing it now is easy. Fixing it once the chicken is back in is harder.
- Don't walk away in the last two minutes: The final caramelizing stage is where things can go wrong fast. Honey burns quickly, especially over medium heat in a thin glaze. I answer a text once and came back to a dark, slightly bitter sauce. Keep stirring and keep your eyes on the pan. Those two minutes are what make the coating sticky and deep — just don't let them go too far.
- Use a meat thermometer if you have one: Chicken breast dries out fast once it goes past 165°F. A cheap instant-read thermometer (you can get one for under $15 at Walmart) removes all guesswork. I used to cut pieces open to check — which lets all the juices run out. A thermometer is cleaner, faster, and more accurate.
Variations
- Add vegetables to the skillet: After the sauce simmers, toss in broccoli florets, sliced bell peppers, snap peas, or baby bok choy and let them cook for 3 to 4 minutes before adding the chicken back. They soak up the glaze beautifully and turn this into a complete one-pan dinner without any extra effort. This is my go-to on nights when I want to get vegetables into the kids without a side dish argument.
- Make it crispy: Toss the raw chicken pieces in a thin, even coat of cornstarch before they go into the skillet. The cornstarch creates a crispier shell that holds the glaze even better and gives you a satisfying crunch in every bite. It adds about two minutes of prep and makes a noticeable difference in texture — especially if you're serving this as an appetizer.
- Serve over noodles: The sticky honey garlic sauce coats noodles beautifully. Lo mein, rice noodles, soba, or even regular spaghetti all work. Toss the noodles in the sauce first, then pile the chicken on top. It's a completely different vibe from the rice bowl version — a little more like a takeout noodle dish, which is exactly what I'm going for on some nights.
- Sheet pan version: If you don't want to stand at the stove, spread seasoned chicken pieces and vegetables (broccoli, bell pepper, zucchini) on a sheet pan and bake at 400°F for 20 minutes. Make the sauce separately on the stovetop, pour it over, and return to the oven for 5 more minutes. Slightly less caramelized than the skillet version, but completely hands-off — which matters on certain nights.
- Party appetizer version: Double the batch, serve on a platter with toothpicks, and put a small bowl of the extra sauce on the side for dipping. I've brought this to gatherings alongside my Ooey-Gooey Garlic Butter Bacon Ranch Pizza Rolls and both plates empty at the same speed. Scale up to 3 lbs of chicken if you're feeding a crowd.
Serving and Storage
Serving
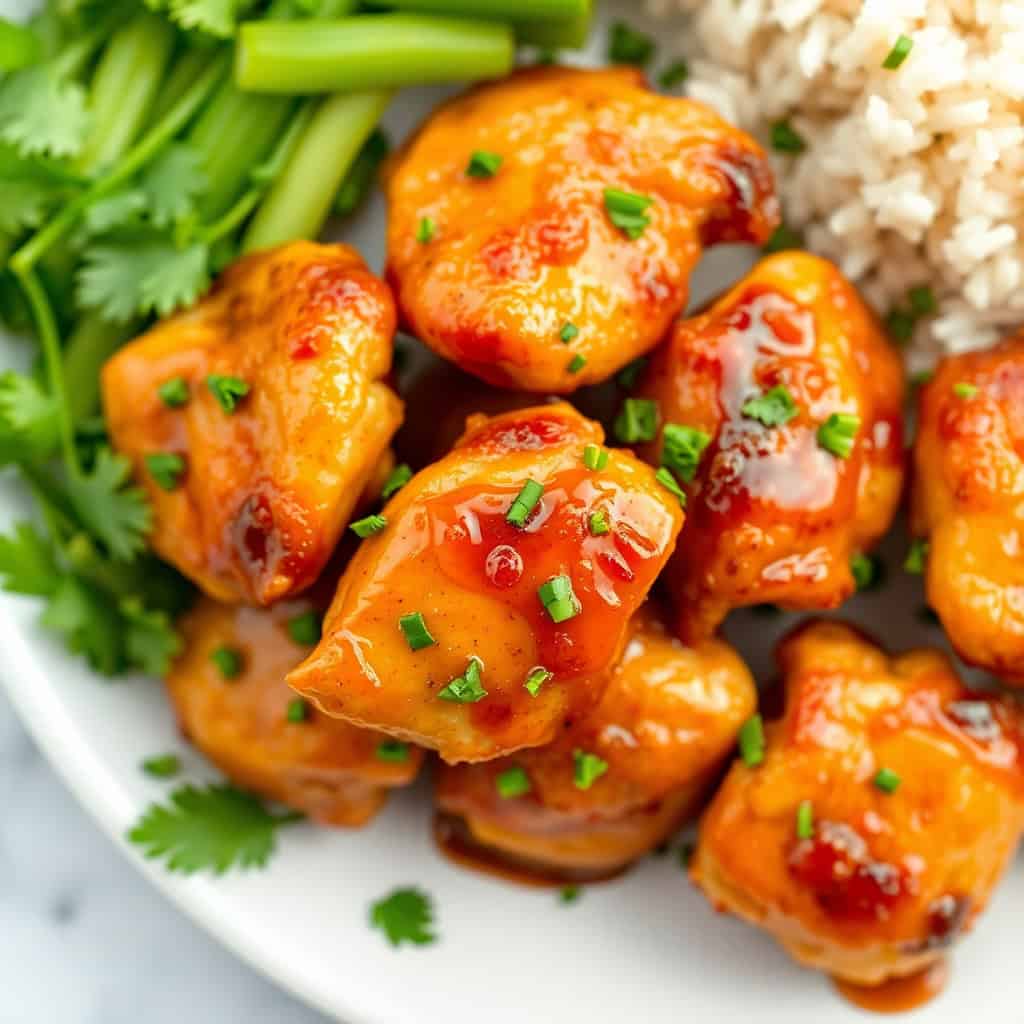
The most straightforward way to serve this is over steamed jasmine rice with a sprinkle of sesame seeds and chopped green onions. The rice soaks up the extra sauce and makes every forkful better. Steamed broccoli, roasted green beans, or a simple cucumber salad all make easy sides. For a dinner party or casual gathering, serve the bites on a platter with toothpicks — this is the presentation where they really shine. If you're building a full spread of finger food, these work well alongside something like my Pickle Wrap Dip for variety.
Storage
Leftovers keep well in an airtight container in the refrigerator for up to 3 days. The sauce will thicken once chilled — that's normal. To reheat, put the chicken in a skillet over medium-low heat with a splash of water or chicken broth and stir until the sauce loosens up and everything is warmed through. The microwave works too — cover loosely and heat in 30-second bursts, stirring between each one. To freeze: cool completely, transfer to a freezer-safe bag or container, and freeze for up to 2 months. Thaw overnight in the fridge before reheating. For meal prep, the chicken and sauce can be made separately up to 2 days ahead and combined in a hot skillet for 3 to 4 minutes just before serving.
Frequently Asked Questions
Can I use frozen chicken for this recipe?
You can, but thaw it completely first. Cooking from frozen leads to very uneven results — the outside overcooks while the inside is still raw, and the excess water released in the pan will prevent the chicken from browning properly. Thaw overnight in the refrigerator, or under cold running water if you're in a hurry.
Can I make this ahead of time?
Yes. Cook the chicken and prepare the sauce separately, store them in separate airtight containers in the fridge for up to 2 days, then combine in a hot skillet for 3 to 4 minutes just before serving. Storing them together ahead of time tends to make the chicken absorb all the sauce and go a bit soft, so keeping them separate gives you a much better result when you reheat.
Can I substitute the honey with something else?
Maple syrup is the closest substitute — same consistency, similar sweetness, and it works really well in this sauce. Agave nectar and brown sugar dissolved in a splash of warm water both work too. The flavor will shift slightly depending on what you use, but the technique stays exactly the same.
Can I bake the chicken instead of cooking it on the stovetop?
Yes. Season the chicken pieces and bake at 400°F (200°C) for 15 to 18 minutes until cooked through. Make the honey garlic sauce separately on the stovetop, toss the baked chicken in it, and return everything to the oven for 3 to 5 more minutes until the glaze is sticky. You'll get slightly less caramelization than the skillet version, but it's a good hands-off option for larger batches.
How do I make this recipe gluten-free?
Swap the regular soy sauce for tamari or coconut aminos — both are gluten-free and work as a direct 1:1 substitution. Coconut aminos is slightly sweeter and milder, tamari is closer to soy sauce in flavor. Everything else in the recipe is naturally gluten-free, so that one swap is all you need.

This is one of those recipes that I genuinely make on rotation — not because I'm out of ideas, but because it reliably works on nights when I need dinner fast and don't have energy to think too hard. The sauce takes four ingredients and about five minutes. The chicken cooks in one pan. And there's something satisfying about watching the glaze go glossy and sticky right at the end, coating every piece in that deep caramel color. It's a small thing, but I notice it every time.
If you want to make a full weeknight dinner out of this, the rice bowl with steamed broccoli is the move. If you're cooking for guests or putting out snacks for a game night, double the batch and serve it on a platter. I've done both more times than I can count. On nights when I want something with a completely different flavor profile but the same low-effort energy, my Copycat Cheesecake Factory Shrimp Scampi Linguine scratches a similar itch — quick, satisfying, and the kind of thing that makes dinner feel a little more special than it has any right to on a weeknight.
If you make this, leave a comment and tell me how you served it. Over rice? On noodles? With toothpicks at a party? I'm always curious what actually happens in other people's kitchens. 🍯🔥🥢
If you liked this recipe, here are a few more you might want to try next:
- Creamy Sun-Dried Tomato Chicken Pasta — another fast skillet chicken dinner with a sauce worth soaking up
- Chicken Caesar Pinwheels — great for when you want something easy to serve as an appetizer or lunch
- Ooey-Gooey Garlic Butter Bacon Ranch Pizza Rolls — if you're putting out snacks and want something that disappears fast
- Copycat Cheesecake Factory Shrimp Scampi Linguine — for when you want a restaurant-style dinner without leaving the house
- Pickle Wrap Dip — a crowd-pleasing snack that pairs perfectly alongside the chicken bites at a gathering
HONEY GARLIC CHICKEN BITES
Ingredients
- 500 g boneless skinless chicken breasts or thighs, cut into bite-sized pieces
- 2 tablespoon olive oil
- ¼ cup honey
- 3 tablespoon soy sauce
- 2 tablespoon garlic minced
- 1 tablespoon rice vinegar or apple cider vinegar
- ½ teaspoon crushed red pepper flakes optional
- Salt and pepper to taste
- 1 tablespoon sesame seeds optional, for garnish
- Chopped green onions for garnish (optional)
Instructions
- Heat olive oil in a large skillet over medium-high heat.
- Season the chicken pieces with salt and pepper, then add them to the skillet. Cook for 7-8 minutes, or until the chicken is browned and cooked through.
- While the chicken is cooking, prepare the sauce by mixing honey, soy sauce, minced garlic, and rice vinegar in a bowl.
- Once the chicken is cooked, reduce the heat to medium-low and pour the honey garlic sauce over the chicken. Stir well to coat the chicken pieces evenly.
- Cook for another 2-3 minutes, allowing the sauce to thicken and become sticky. If you like a little heat, add the crushed red pepper flakes.
- Once the chicken is coated in the thick sauce, remove from heat.
- Garnish with sesame seeds and chopped green onions, if desired. Serve immediately.
Notes
- You can use chicken thighs for a juicier bite, or stick with chicken breasts for a leaner option.
- For extra crunch, add toasted sesame seeds or serve with a side of crispy vegetables.
- To make the dish spicier, add more crushed red pepper flakes or a dash of sriracha to the sauce.
- Serve the chicken bites with a side of steamed rice or as part of a salad.
- If you’re short on time, you can bake the chicken at 400°F (200°C) for 15 minutes and then toss in the sauce for a hands-off version.
- Leftovers can be stored in the fridge for up to 3 days and can be reheated in the microwave or on the stovetop.





Comments
No Comments