
Grilled corn on the cob was the first thing my husband ever grilled successfully, which matters as the origin story of this recipe because he approached the grill for the first time with the specific anxiety of someone who has read extensively about grilling, owns proper tongs, has formed opinions about charcoal versus gas, and is consequently more nervous than someone who has simply never thought about it at all — and grilled corn was the recipe that converted all that preparatory anxiety into actual confidence at an actual grill.
The reason grilled corn is the ideal first-time grilling project is structural: corn in its husk is essentially self-insulating, the husk signals doneness visually (charred outer leaves = done interior), the internal temperature window is wide enough that a few minutes of uncertainty either direction produces no meaningful quality difference, and there is no raw-meat food safety variable that makes first-time grillers genuinely nervous because they understand that undercooked corn is inconvenient rather than dangerous.
Saad's relationship with grilled corn is one of the most straightforward food enthusiasms he maintains — he eats it from the cob with both hands, rotating methodically, without any of the selective eating behavior he applies to almost every other food category, which I attribute to the combination of the charred flavor he associates with outdoor cooking and the permission implicit in eating something from the cob with both hands in a setting where napkins are abundant and expectations are low.
Zainab eats grilled corn cut from the cob and served in a bowl with butter — a preparation adjustment that takes 90 seconds with a sharp knife and produces her enthusiastic participation in a dinner item she would otherwise observe with polite disinterest, which is the kind of low-effort accommodation that makes the difference between a dinner everyone eats and a dinner requiring parallel construction.
My mother in Pakistan boils corn in spiced water and serves it with chaat masala and lime — the roasted corn cart in Karachi that she describes from her childhood is the South Asian parallel to the American backyard grilled corn tradition, both driven by the same discovery that corn's natural sugars concentrate and caramelize under direct heat in a way that boiling simply cannot replicate, and that the result is worth the additional effort regardless of whether the heat source is a cart fire in Karachi or a Weber kettle in suburban America.
This recipe covers four different methods for grilling corn — in the husk, in foil, directly on the grates, and on a stovetop grill pan for people who want grilled corn flavor without outdoor grill access — because the best method genuinely depends on what equipment you have, how much preparation time you want to invest, and what final texture and char level you are aiming for, and a first-time griller deserves to understand all four options before choosing one.
The seasoned butter section is where this recipe becomes genuinely personal — the compound butters here range from the simplest salted-only version that lets the charred corn flavor carry the dish, to the Pakistani chaat masala butter that my mother recognized from the Karachi corn cart tradition, to the elote-inspired version that applies Mexican street corn flavors to the same perfectly grilled cob.
For nervous first-time grillers specifically: this recipe includes the information about how the grill should sound, what the corn should smell like at different stages, what visual cues indicate different doneness levels, and how much flexibility the recipe actually has in practice — because the anxiety of first-time grilling is often about not knowing what normal looks and sounds and smells like, and the most useful thing this recipe can provide is specific sensory descriptions that replace uncertainty with recognition.
Whether you are grilling for the first time and want a recipe with a genuine tolerance for beginner timing variations, feeding a crowd at a Fourth of July cookout where corn is the most requested side dish, making a summer weeknight dinner that uses the grill without requiring the attention level of a protein preparation, or simply want the best possible recipe for a side dish that costs under $0.60 per ear and produces more table enthusiasm than almost anything else at a summer gathering, this is the grilled corn recipe that earns its place in every summer grilling rotation.
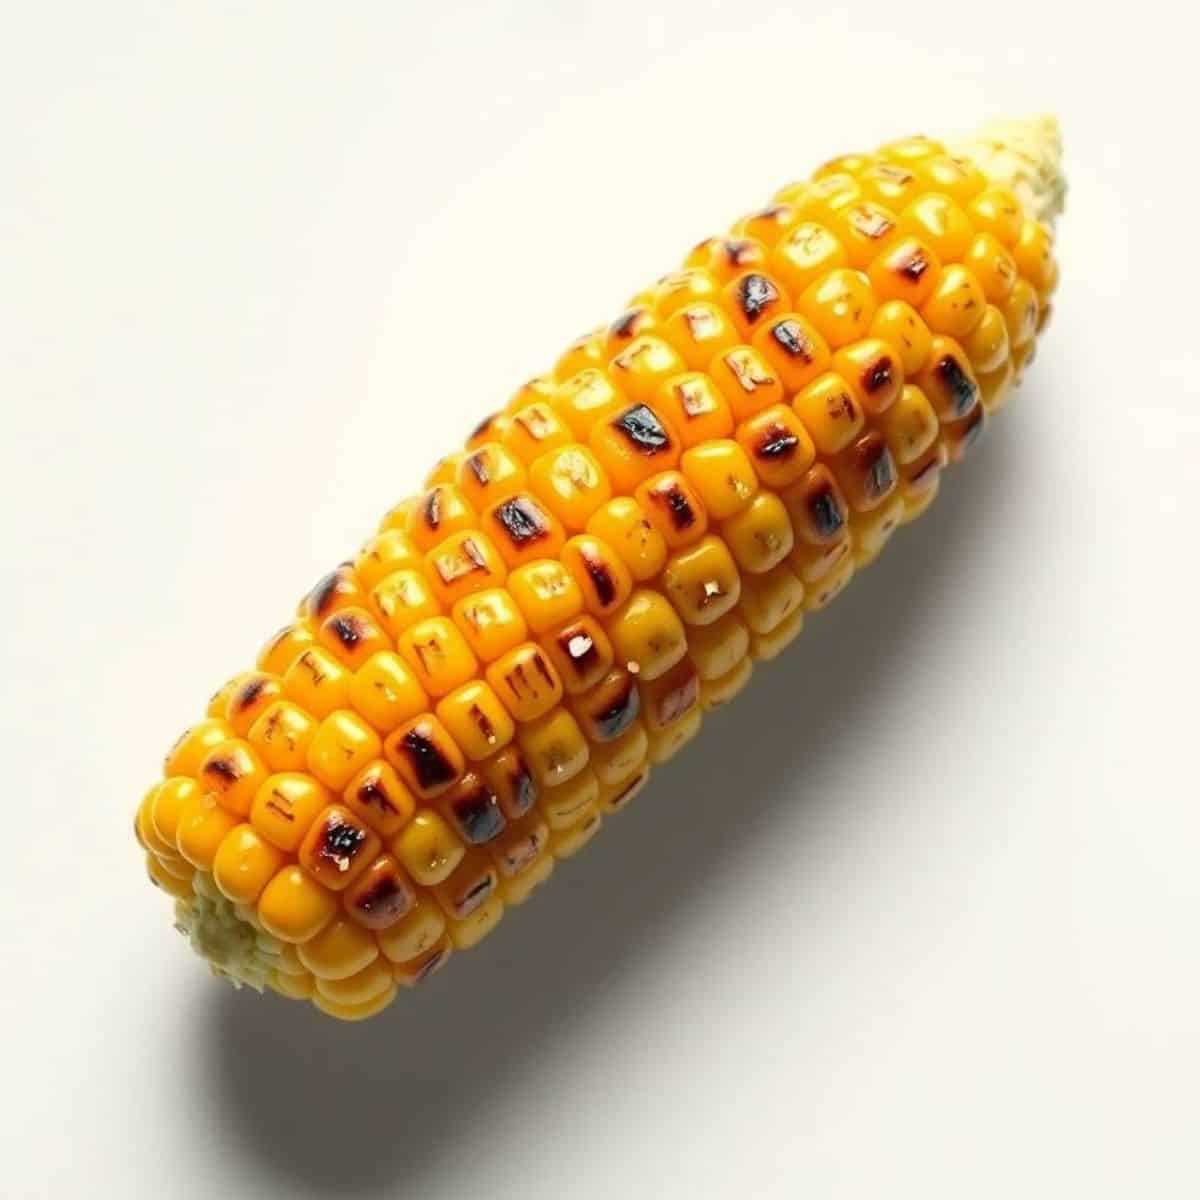
Why You'll Love This Grilled Corn Recipe
- Four methods covered — works with any equipment you own: The husk-on method produces the most forgiving result with the widest timing tolerance. The foil method produces the most consistent steamed-then-charred texture. The direct grates method produces the most char and the most intensely roasted flavor. The stovetop grill pan method produces genuine grill marks and roasted flavor without any outdoor equipment. Choose the method that matches your situation — all four produce excellent grilled corn.
- Corn is the most forgiving thing you can grill: The timing window for grilled corn spans 8-10 minutes in either direction with no meaningful quality loss. At 15 minutes it is done; at 20 minutes it is still excellent; at 25 minutes the kernels are slightly firmer and the char is deeper, which some people actively prefer. There is no undercooking risk that produces food safety concerns, no temperature probe required, and no narrow window of perfection that disappears in the 90 seconds between checking and serving. This is the specific quality that makes corn the ideal confidence-building grilling recipe.
- Six compound butter variations — something for every palate: From the simplest salted butter to chaat masala-lime to elote-style cotija and from herbed garlic to honey-chipotle, the compound butter is where grilled corn becomes a personalized dish rather than a generic side. Make one butter for the table or make two contrasting variations and let everyone choose — the two-butter presentation is the low-effort upgrade that makes corn feel like a considered choice rather than a default addition to the grill.
- Under $0.60 per ear — the most economical summer grilling item: Fresh corn in season costs $0.25-$0.60 per ear depending on the market and region. A seasoned butter made at home from pantry ingredients adds approximately $0.10 per ear. At $0.35-$0.70 per complete serving, grilled corn is the summer grill item that feeds the most people at the lowest cost while producing the most genuine enthusiasm from every age group at the table.
Ingredients
- 4-6 ears fresh corn (as many as your grill accommodates)
- 2 tablespoon neutral oil or olive oil (for direct grill method only)
- Basic seasoned butter (choose one or make multiple):
- 4 tablespoon unsalted butter, softened
- ½ teaspoon salt
- Optional additions — choose one variation below
Six Compound Butter Variations
- Classic salted (the starting point): 4 tablespoon softened butter + ½ teaspoon flaky sea salt. The corn's own caramelized flavor carries the dish completely — this is the butter for people who want to taste what properly grilled corn actually tastes like before adding anything else.
- Garlic herb: 4 tablespoon butter + 2 garlic cloves minced + 1 tablespoon fresh parsley + 1 teaspoon fresh thyme + ½ teaspoon salt. The butter my husband requests at every summer grilling session.
- Chaat masala lime (Sana's Pakistani-American version): 4 tablespoon butter + 1 teaspoon chaat masala + ½ teaspoon Kashmiri chili powder + zest and juice of 1 lime + ½ teaspoon salt. The compound butter my mother in Pakistan recognized immediately as the flavour of the Karachi corn cart translated into a butter format — the tangy-spicy-limey profile that elevates plain grilled corn into a dish with genuine character and the most distinctive flavor in this collection.
- Elote-style: 4 tablespoon butter + ½ teaspoon chili powder + ¼ teaspoon cumin + zest of 1 lime + ½ teaspoon salt. Brush on the corn after grilling and immediately roll in crumbled cotija cheese + squeeze extra lime.
- Honey chipotle: 4 tablespoon butter + 1 tablespoon honey + 1 teaspoon chipotle adobo sauce + ½ teaspoon smoked paprika + ½ teaspoon salt. The sweet-smoky-heat combination that my husband's colleagues request when he hosts summer gatherings.
- Brown butter with sage: Brown 4 tablespoon butter in a small pan until nutty and golden amber. Remove from heat, add 3 fresh sage leaves (they'll sizzle and crisp), ½ teaspoon salt. Brush over hot grilled corn. The most sophisticated compound butter in this collection — nutty, aromatic, autumnal in flavor despite being a peak summer preparation.
Four Grilling Methods
- Method 1 — Husk-On (Best for first-time grillers — most forgiving):
- Soak whole corn ears (husks on, silk intact) in cold water for 15-20 minutes. The soaking serves two purposes: it moistens the husks so they steam rather than burn during grilling, and it provides a buffer against the direct heat that prevents the kernels from overcooking before the husks have charred. This step can be skipped on a lower-heat grill but is recommended for new grillers who want maximum timing flexibility.
- Place soaked corn directly on grill grates over medium-high heat (about 400°F). The grill should produce a steady sizzle when the corn is placed — if there is no sound, the grill is not hot enough; if there is a sharp crackle and immediate smoke, reduce the heat slightly.
- Grill 15-20 minutes total, turning every 4-5 minutes using long tongs. The outer husk leaves will char, blacken, and occasionally flame briefly — this is correct and expected, not a sign of burning. The charring of the outer husks is what creates the steam chamber inside that cooks the corn. The corn is done when the outer husks are deeply charred all around and the silk coming from the top has turned completely brown.
- Remove from grill using long tongs. Let rest 3-4 minutes — the husk is extremely hot and will burn fingers. Peel back the charred outer husks from the base toward the tip, using the remaining inner husks as a handle. Roll back the green inner husks to expose the kernels. The corn should be fully cooked, slightly caramelized, and fragrant with a light smoky note.
- Apply compound butter immediately while the corn is hot enough to melt it.
- Method 2 — Foil-Wrapped (Best for guaranteed even cooking):
- Shuck corn completely — remove all husks and silk. Rinse and pat dry.
- Brush each ear lightly with oil or softened butter. Season with salt and any dry spices from your chosen compound butter variation.
- Wrap each ear individually in a double layer of heavy-duty aluminum foil, sealing tightly at both ends. The foil wrap creates a sealed steam chamber that cooks the corn perfectly evenly.
- Grill over medium-high heat for 15-20 minutes, turning every 5 minutes. The foil is opaque so visual cues are unavailable — rely on timing only. At 15 minutes the corn will be fully cooked but pale; at 20 minutes it will have some light caramelization where the foil contacts the kernels directly.
- Open carefully — the foil packet contains very hot steam that releases toward your face when opened. Fold back from the far end first. Brush with compound butter and serve.
- Method 3 — Direct on Grates (Best for maximum char and flavor — slightly less forgiving):
- Shuck corn completely. Brush all sides with oil — oil prevents the kernels from sticking to the grates and promotes even browning on the exposed surfaces.
- Place oiled corn directly on grill grates over medium-high direct heat. The corn should produce an immediate audible sizzle on contact — this sear is what builds the charred spots that distinguish the direct-grate method from the other three.
- Grill 10-12 minutes total, turning every 2-3 minutes to expose all sides to the heat. Look for golden-brown to darkened spots on the kernels at the contact points — these are the caramelized sugars browning and concentrating, not burning. Some black kernels in scattered spots are correct and desirable; a completely blackened ear is overcooked.
- Remove when kernels show golden-to-dark coloring on all sides and the corn smells sweet and slightly smoky. Apply compound butter immediately — the direct-grate method produces the hottest corn surface of all four methods and the butter melts most completely and evenly.
- Method 4 — Stovetop Grill Pan (Best when no outdoor grill is available):
- Shuck corn completely. Brush all sides with oil.
- Heat a cast-iron grill pan over high heat for 3-4 minutes until very hot — a drop of water should evaporate immediately on contact. The grill pan must be genuinely hot before the corn goes on, or the kernels will steam rather than char against the ridges.
- Place corn on the hot grill pan. Cook 2-3 minutes per side, turning to expose 3-4 different sides, for a total of 10-12 minutes. The ridges of the grill pan will produce char lines on the kernels rather than overall charring — the result is visually distinctive with the parallel char marks running along the cob.
- The kitchen will produce significant smoke during this method — run the exhaust fan and open a window before starting. The smoke is the same Maillard reaction that produces the flavor at an outdoor grill and is an unavoidable feature of indoor high-heat corn cooking rather than a sign of burning.
- Apply compound butter and serve immediately.
Tips for First-Time Grillers
- What your grill should look and sound like when it is ready for corn: For a gas grill: preheat on high with the lid closed for 10-15 minutes until the thermometer reads 400-450°F. For a charcoal grill: coals are ready when they are covered in grey ash and glow orange when you blow gently — this takes about 20-25 minutes after lighting. The corn should sizzle audibly the moment it contacts the grates. If it doesn't sizzle, the grill is not hot enough; wait 5 more minutes before adding the corn.
- Long tongs are not optional — they are a safety requirement. Corn must be turned every 4-5 minutes during grilling. Reaching across a hot grill without long tongs (at least 16 inches) to turn corn is the specific scenario that produces burned forearm hair and a resolved commitment to proper equipment. The $8 investment in long grilling tongs is the single most important tool purchase for a first-time griller.
- The husk will catch fire briefly — this is normal. When grilling corn in the husk, the dry outer leaves will occasionally ignite with a small flame during the first few minutes as moisture evaporates. This is completely normal and the flame self-extinguishes within seconds as the soaked inner husks dampen the fire. A spray bottle of water nearby can extinguish any flame that persists more than 5 seconds, but in practice the brief flare-up is the expected visual experience rather than a warning signal.
- Choose corn at the peak of freshness for the best result. The sweetness of grilled corn depends entirely on the freshness of the corn — corn begins converting its sugar to starch from the moment it is harvested, which means day-old corn from the grocery store is significantly less sweet than corn from a farmers market purchased the same morning. For the best grilled corn: buy it the day you grill it, keep it refrigerated until grilling time, and grill within 6 hours of purchase.
- Make the compound butter at least 30 minutes before grilling. Compound butter needs time to allow the flavors of the aromatics, spices, and herbs to infuse into the butter. Butter made immediately before use tastes of individual components rather than a unified compound. Make it when you start the grill preheat or earlier — the 20-30 minute infusion window makes a detectable flavor difference in the finished corn.
Variations
- Elote (Mexican street corn) full preparation: Use the direct grate method for maximum char. While corn is hot, brush with a mixture of 3 tablespoon mayonnaise + 2 tablespoon sour cream + ½ teaspoon chili powder + ½ teaspoon garlic powder. Roll the mayonnaise-coated corn in crumbled cotija cheese, pressing gently so the cheese adheres. Dust with extra chili powder and squeeze fresh lime juice over everything. This is the full street corn preparation rather than just the elote-inspired butter, and it produces a genuinely transformative version of what started as plain corn on the cob.
- Pakistani chaat corn (Sana's street corn version): Grill corn by any method. Brush immediately with the chaat masala lime butter. Squeeze one half lime over the hot buttered corn. Dust with additional chaat masala and a pinch of Kashmiri chili. Optionally finish with a sprinkle of sev (thin chickpea noodles available at South Asian grocery stores) for the textural contrast my mother in Pakistan adds to her version. The result is the closest possible home recreation of the spiced roasted corn sold from carts outside Pakistani schools and cricket stadiums.
- Grilled corn salad (for ears that are too charred for cob eating): If any ears come off the grill more charred than intended, cut the kernels off the cob and toss with cherry tomatoes, red onion, lime juice, olive oil, fresh cilantro, salt, and crumbled feta for a charred corn salad that turns an over-grilled ear into one of the best summer salads on the table. This recovery technique makes grilling corn completely mistake-proof — even an overcooked ear becomes an excellent dish.
- Grilled corn for a crowd — batch timing: A standard 22-inch kettle grill accommodates 6-8 ears simultaneously. For a party of 12-16 people (2 ears each), this means two batches of 8 ears each — approximately 40 minutes of total grill time for the corn alone. Strategy for large batches: grill the first batch, wrap in foil to stay warm, and grill the second batch. The foil-wrapped first batch will stay hot and excellent for up to 20 minutes while the second batch finishes.
Serving and Storage
How to Serve
Serve grilled corn immediately from the grill while the kernels are at maximum sweetness and the butter is actively melting — grilled corn held for more than 15 minutes loses both heat and the caramelized sweetness that distinguishes it from boiled corn. For a party: bring corn to the table directly from the grill on a large platter with compound butters in small dishes alongside for self-service. For children: cut kernels from the cob before serving using a sharp knife held at a slight angle — run the blade down the cob from top to bottom, rotating to remove all kernels into a bowl, add a small pat of butter and a pinch of salt, and serve in a bowl with a spoon for the cleanest possible corn-eating experience for young children who find the cob format challenging to manage independently.
How to Store
Grilled corn is best eaten immediately and is not a make-ahead item in its on-the-cob form. However, grilled corn kernels (cut from leftover or specifically grilled-for-storage ears) keep excellently in an airtight container in the refrigerator for up to 3 days and are genuinely excellent cold or reheated in salads, grain bowls, tacos, or quesadillas. Frozen grilled corn kernels keep for 3 months — spread on a sheet pan to freeze individually before transferring to a freezer bag. Reheated in a skillet with a small amount of butter for 3-4 minutes, the kernels recover most of their original roasted flavor and provide the taste of peak summer corn to dishes made in October.
Related Recipes You'll Love
- 18 Fourth of July Cookout Recipes
- Make-Ahead Firecracker Coleslaw
- 17 Low-Carb Fourth of July BBQ Sides
- 25 Air Fryer Summer Dinners
- 22 Quick Summer Weeknight Dinners
How do I know when grilled corn is done?
For husk-on corn: the outer husks will be deeply charred all around and the silk at the tip will be completely brown and dry — this takes 15-20 minutes over medium-high heat. For foil-wrapped corn: rely entirely on timing — 18-20 minutes over medium-high heat. For direct grate corn: the kernels will show golden-to-dark spots at the contact points and the corn will smell sweet and slightly smoky — about 10-12 minutes total with regular turning. For all methods: if you are uncertain, peel back a small section and press a kernel with your thumbnail — a fully cooked kernel releases starchy juice easily; a raw kernel feels firm and releases clear juice with more resistance.
Can I grill corn ahead of time for a party?
Yes — grill up to 30 minutes ahead, wrap each ear in foil immediately after removing from the grill, and place wrapped ears in a cooler without ice (the cooler retains heat). Foil-wrapped grilled corn will stay hot and excellent for up to 30 minutes using this method. Beyond 30 minutes the texture begins to soften and the kernels lose some of their caramelized character. For very large parties where two full batches of corn are required, grill the first batch while guests arrive and the second batch as the first batch is being eaten — the staggered timing means hot corn is always available.
Does soaking corn before grilling actually make a difference?
Yes for husk-on grilling — the soaking adds moisture to the husks that slows their burning and allows the inner steam environment to develop properly, giving the corn more time at temperature before the husks dry out completely. The difference is approximately 4-6 additional minutes of timing flexibility before the husks burn past the point of functioning as a steam chamber. For foil-wrapped and direct grate methods, soaking is irrelevant because the husks have been removed. For first-time grillers using the husk-on method: the 15-minute soaking is a recommended confidence buffer that eliminates the need for precise timing vigilance.
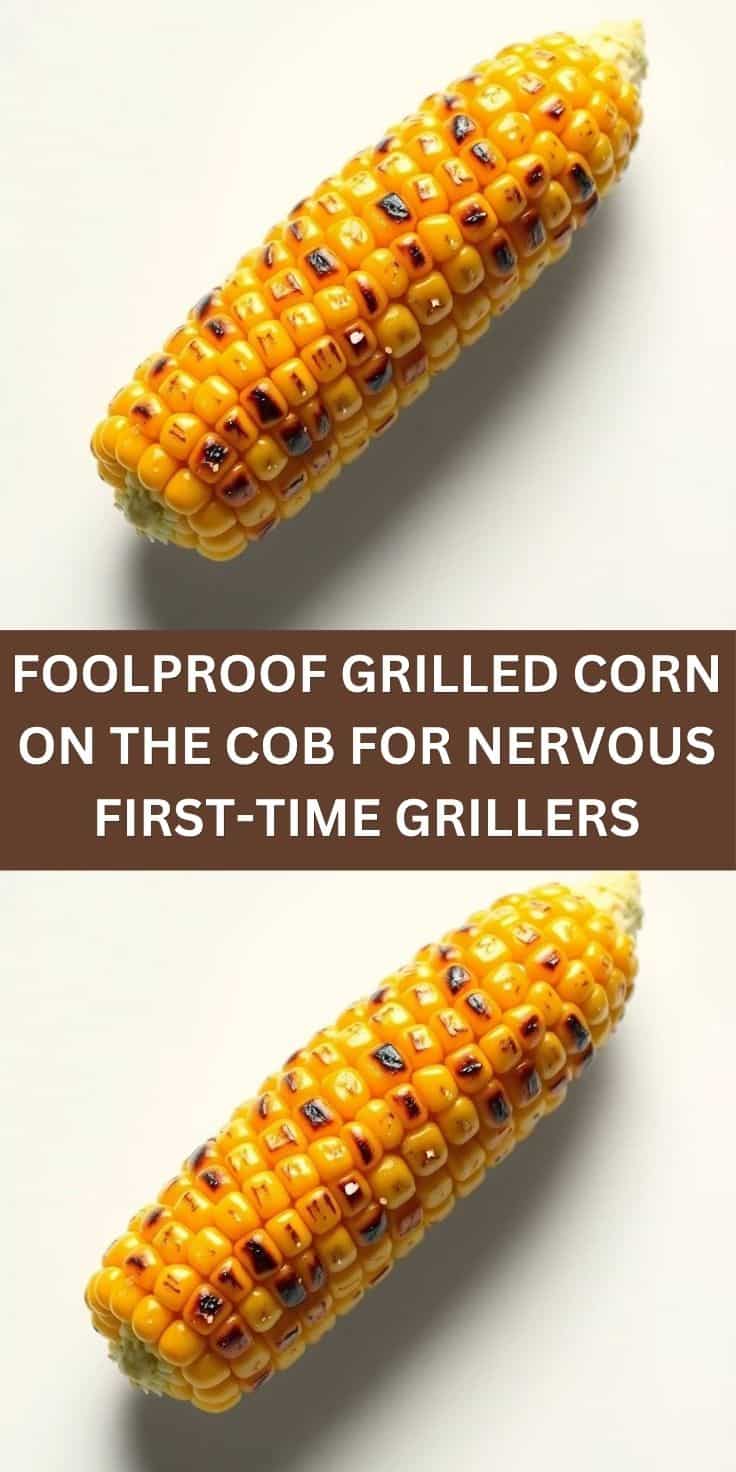
FOOLPROOF GRILLED CORN ON THE COB FOR NERVOUS FIRST-TIME GRILLERS
Equipment
- Outdoor grill or grill pan
- Tongs
- Basting brush
- Small bowl
Ingredients
For the Grilled Corn:
- 6 ears corn on the cob, husked
- ¼ cup butter, melted
- 1 tablespoon olive oil
- ½ teaspoon salt
- ¼ teaspoon black pepper
Optional Toppings:
- 2 pieces lime wedges
- ½ teaspoon chili powder
- ¼ cup Parmesan cheese, grated
- 2 tablespoons fresh parsley or cilantro, chopped
Instructions
Preheat Grill
- Preheat grill to medium-high heat and lightly oil the grates.
Prepare Corn
- Brush corn with olive oil and season lightly with salt and pepper.
Grill Corn
- Place corn on the grill and cook for 10–15 minutes, turning every few minutes until lightly charred on all sides.
Add Butter
- Brush grilled corn with melted butter while still hot.
Serve
- Add optional toppings like lime, chili powder, or Parmesan and serve warm.
Notes
- Beginner-Friendly: Simple steps make grilling stress-free.
- Flavor Boost: Butter adds richness, while char adds smoky taste.
- Customization: Try Mexican-style elote toppings for extra flavor.
- Quick Side: Perfect for BBQs and summer dinners.
- Tip: Don’t overcook—turn often for even charring.




Comments
No Comments