
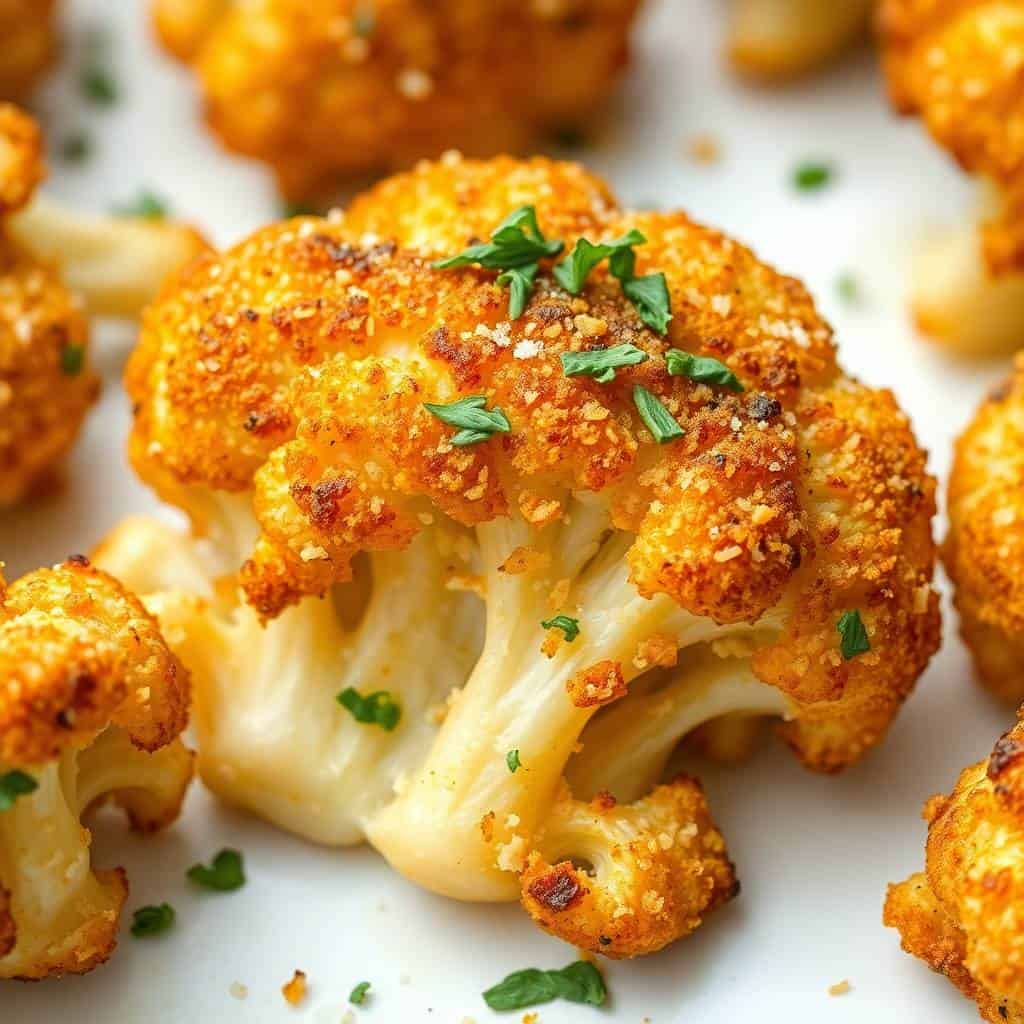
I used to think cauliflower needed to be hidden — buried in a curry, mashed into something else, disguised beyond recognition. Then I started roasting it at high heat with parmesan and realized I'd been wrong about this vegetable for years. The edges go golden and almost crispy, the cheese sticks and browns, and the whole tray disappears faster than I expected the first time I made it.
What makes this work is two things: really dry florets and a hot oven. I made the mistake early on of skipping the drying step — tossed the cauliflower straight from a rinse into the bowl and wondered why it came out steamed and soft. Once I started patting the florets completely dry with a kitchen towel before seasoning, the texture changed completely. The parmesan gets a chance to actually crisp up instead of just sticking in wet clumps. It's one of those small things that makes a real difference.
I make this at least once a week these days, usually as a side dish alongside whatever protein I'm cooking. My husband eats it alongside vegan garlic noodles when we're doing a lighter dinner. Saad, who generally refuses vegetables unless they're fried or covered in cheese, actually reaches for these. That alone says something.
The whole thing comes together in about 45 minutes, most of which is hands-off oven time. You don't need anything special — a sheet pan, a bowl, and an oven that gets hot. I usually cut the cauliflower in the morning and leave it in the fridge so dinner prep is even faster. Just be ready to eat it straight from the oven; it loses its crunch quickly once it sits.
Why You'll Love This Recipe
- The texture is genuinely crispy: I don't say that lightly — I've had plenty of "crispy" roasted vegetable recipes that came out soft and sad. This one actually delivers. The combination of high heat, dry florets, and parmesan creates edges that crunch when you bite into them. The inside stays tender, so you get both things at once.
- It works on weeknights: Prep takes maybe 10 minutes, then the oven does the rest. I can chop the cauliflower, toss it in seasoning, slide the tray in, and come back half an hour later. On nights when I'm already tired and still need to get dinner on the table, that kind of recipe is what I reach for.
- The ingredient list is short: One head of cauliflower, olive oil, garlic, paprika, parmesan, salt, pepper. That's it. I usually have all of this without needing to make a special trip. The parmesan is the only thing that might feel like a specific purchase, but a small block from Walmart or Aldi lasts for several batches.
- Kids will actually eat it: Saad is not an easy sell on vegetables. But anything that's golden, cheesy, and slightly crunchy has a real shot. He eats these like they're snack food. I've started making a full large head specifically so there are enough for everyone — a half head disappears in minutes.
- It goes with almost anything: I've served this next to grilled chicken, alongside pasta, on top of a grain bowl, and straight off the pan as a snack. It also works as a starter if you're having people over — put out a bowl with some dipping sauce and it goes quickly. Much easier than anything that needs to be assembled or timed carefully.
Ingredients
- 1 large head of cauliflower, cut into florets
- 3 tablespoons olive oil
- ¼ cup grated Parmesan cheese (freshly grated if possible — the pre-shredded kind doesn't stick as well)
- 2 cloves garlic, minced
- ½ teaspoon smoked paprika
- Salt and black pepper to taste
- Fresh parsley for garnish (optional)
Directions
- Preheat the oven: Set your oven to 425°F (220°C) and line a sheet pan with parchment paper. You want the oven fully preheated before the cauliflower goes in — I've rushed this step before and the florets just sat there steaming in a lukewarm oven instead of roasting. Give it a full 10–15 minutes to come up to temperature.
- Dry the cauliflower: After washing the florets, spread them on a clean kitchen towel and pat them dry. This is the step I used to skip, and it always showed in the results. Moisture is the enemy of crispiness here — even a little dampness will make them steam instead of brown.
- Season and coat: In a large bowl, toss the cauliflower with olive oil, minced garlic, paprika, salt, and pepper. Make sure every floret gets coated — I use my hands for this, it's faster and more thorough than tongs or a spoon.
- Add the Parmesan: Sprinkle the grated Parmesan over the seasoned cauliflower and toss again gently. You want the cheese to stick to the oil coating on each piece. Don't worry if some falls off — it'll crisp up on the pan and you can scoop it over the top when you serve.
- Roast: Spread the florets in a single layer on the prepared pan, making sure they're not touching each other. Roast for 25–30 minutes, flipping halfway through. They're done when the edges are deep golden and the cheese is browned in spots.
- Serve immediately: Transfer to a plate or serving dish, scatter with fresh parsley if you're using it, and get it on the table while it's hot. The crispiness fades as it cools, so this is one dish where you want to eat it right away.

Tips for Success
- Dry the florets completely: I know I said this already but I'm saying it again because it matters more than anything else in this recipe. The first three times I made this, two of them came out steamed and soft because I didn't dry properly. Use a kitchen towel, not a paper towel — paper towel doesn't absorb enough. Pat until you stop seeing any surface moisture.
- Don't crowd the pan: If the florets are touching, they'll steam each other instead of roasting. I learned this the hard way with a small pan — everything in the middle turned soft while the edges crisped up. Use your biggest sheet pan, and if you have a lot of cauliflower, split it between two pans. It's worth the extra washing up.
- Use freshly grated Parmesan: The shelf-stable powdery stuff in the green can doesn't crisp up the same way. Freshly grated Parmesan has more moisture and fat, which means it melts and browns into those little crispy cheese bits. A small wedge from the cheese section at any grocery store will give you much better results than a jar of the pre-ground powder.
- Cut the florets to a similar size: If some pieces are large and some are small, the small ones will burn before the large ones are cooked through. I aim for roughly 1½-inch pieces. It doesn't need to be exact — just try to avoid having any pieces that are dramatically bigger or smaller than the others.
- Flip halfway and don't skip it: The bottom of each floret gets more direct heat from the pan, so flipping ensures both sides brown. I set a timer for 15 minutes so I don't forget. Use a spatula, not tongs — tongs tend to knock the cheese coating off.
Variations
- Spicy version: Add ¼ teaspoon of cayenne or a generous pinch of red pepper flakes to the seasoning mix. My husband always adds extra chili to his plate anyway, so I've started building it into the recipe. The heat works really well against the salty, nutty parmesan — it balances rather than overpowers.
- Lemon and herb: Add the zest of one lemon to the seasoning bowl, and scatter fresh rosemary or thyme over the pan before roasting. This version feels a bit more dinner-party, and it pairs especially well if you're serving it alongside fish. I also sometimes squeeze a little lemon juice over it right before serving.
- Cheddar and Parmesan blend: Replace half the Parmesan with finely shredded sharp cheddar. The cheddar melts differently and gives you a slightly more indulgent, gooey finish rather than crispy bits. Zainab prefers this version — she likes when the cheese is more melted than crunchy.
- Breadcrumb crust: Mix 2 tablespoons of panko breadcrumbs into the Parmesan before tossing. The panko adds an extra layer of crunch and helps the cheese coating stick. This is my go-to when I'm serving this as an appetizer rather than a side dish — it looks more impressive and holds up a bit longer before going soft.
- Vegan swap: Use nutritional yeast instead of Parmesan — about 3 tablespoons. It won't crisp up exactly the same way, but it adds a savory, nutty flavor that works. This version is good if you're cooking for someone who doesn't do dairy; it still tastes like a properly seasoned roasted vegetable rather than a sad substitution.
Serving and Storage
Serving
Serve this hot, straight from the oven. I usually bring the whole sheet pan to the table and let everyone take directly from it — less dishes, and it keeps the cauliflower warmer longer than transferring to a bowl. It works as a side dish next to grilled chicken or fish, or alongside crispy Parmesan smashed potatoes if you're doing a full vegetarian spread. For a dipping sauce, ranch or garlic aioli are both good calls. A simple yogurt dip with a squeeze of lemon also works if you want something lighter.
Storage
Store leftovers in an airtight container in the fridge for up to 3 days. Honestly, the texture changes significantly once it's been refrigerated — it goes from crispy to soft. To bring it back, reheat in the oven at 400°F for about 8–10 minutes on a dry sheet pan. The microwave will just make it soggy. Don't bother freezing it; the texture after thawing isn't great and it's fast enough to make fresh that it's not worth the effort.
Frequently Asked Questions
Can I use frozen cauliflower instead of fresh?
You can, but you need to thaw it completely first and then dry it very thoroughly — frozen cauliflower holds a lot of water, and if any of that moisture is still there when it goes in the oven, you'll end up with steamed florets instead of roasted ones. I've done it in a pinch and it works, but the texture is never quite as good as fresh. If fresh cauliflower is available, use it.
Can I make this in an air fryer?
Yes, and honestly the air fryer gives you great results. Cook at 400°F for 15–18 minutes, shaking the basket halfway through. You'll need to work in batches if you're making a full head of cauliflower, since crowding the air fryer basket causes the same steaming problem as crowding a sheet pan. The cheese can sometimes stick to the basket, so a light spray of oil on the basket before loading helps.
Is this recipe gluten-free?
The base recipe is naturally gluten-free — cauliflower, olive oil, garlic, Parmesan, and spices are all fine. If you're cooking for someone with celiac disease or a serious gluten intolerance, just check your Parmesan and spice labels to make sure there's no cross-contamination warning. Most block Parmesan is fine, but some pre-grated versions have anti-caking agents that could be an issue.
What dipping sauce goes best with this?
Ranch is the classic and it works well. I also like a simple garlic aioli — just mayo, minced garlic, a squeeze of lemon, and a pinch of salt. If you want something with a kick, sriracha mayo is good. For a lighter option, stir together plain yogurt, lemon juice, and a little cumin. All of these take about two minutes to throw together and make the cauliflower feel more like a proper appetizer.
Can I prep this ahead of time?
You can cut and season the cauliflower a few hours ahead and keep it in the fridge, but I'd hold off on adding the Parmesan until right before it goes in the oven — the cheese gets a bit wet if it sits on the florets too long. I often do all the chopping in the morning and then do the final toss and roast right before dinner. That makes weeknight timing much easier.

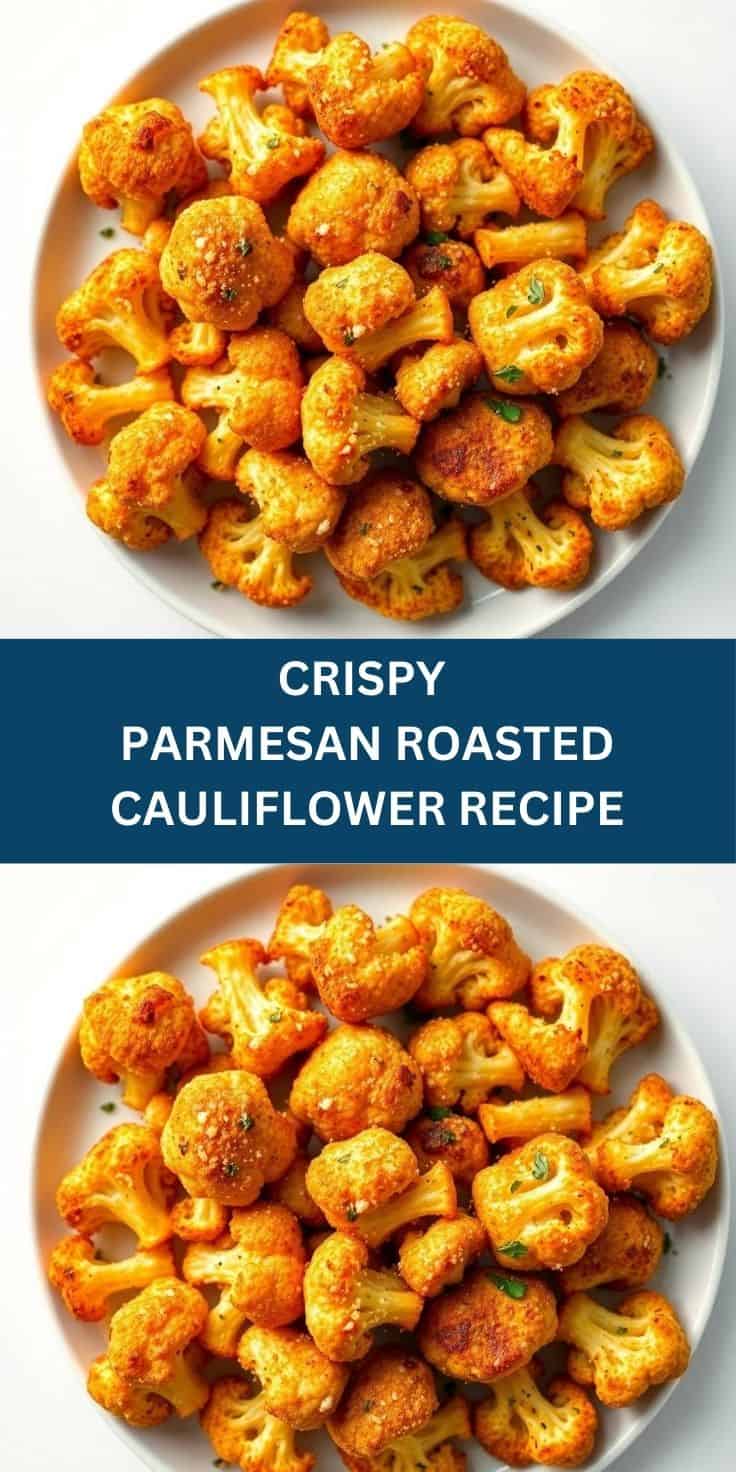
CRISPY PARMESAN ROASTED CAULIFLOWER RECIPE
Ingredients
- 1 head cauliflower cut into florets
- 3 tablespoons olive oil
- ¼ cup grated Parmesan cheese
- 2 cloves garlic minced
- ½ teaspoon paprika
- Salt and pepper to taste
- Optional: chopped parsley for garnish
Instructions
- Preheat Oven: Preheat oven to 425°F (220°C). Line a baking sheet with parchment paper.
- Prepare Cauliflower: In a large bowl, toss cauliflower florets with olive oil, garlic, paprika, salt, and pepper. Sprinkle Parmesan cheese and toss again.
- Roast: Spread cauliflower in a single layer on the prepared baking sheet. Roast 25–30 minutes, flipping halfway, until golden and crispy.
- Serve: Garnish with parsley if desired and serve hot.
Notes
- Make Ahead: Prepare cauliflower ahead and refrigerate; roast just before serving.
- Flavor Variations: Add red pepper flakes, lemon zest, or Italian herbs for extra flavor.
- Serving Suggestions: Serve as a side with chicken, fish, or pasta, or enjoy as a healthy snack.
- Storage Tips: Store leftovers in an airtight container in the fridge for up to 2 days; reheat in the oven to retain crispiness.
This is one of those recipes I keep coming back to because it requires almost no thought and the result is always reliable. I've made it on quiet Sunday afternoons and on frantic Tuesday evenings when dinner needed to happen fast, and it holds up both ways. The 45 minutes includes a full preheat, so the actual active work is closer to 10 minutes — the rest is just waiting and flipping once.
If you're new to roasting vegetables and the results have disappointed you before, this recipe is a good one to try. The parmesan coating makes the flavors more forgiving — even if the timing is slightly off, you've got the cheese to carry you. I've pulled this out of the oven a few minutes late before and it still worked. It's not a fussy recipe.
If you want something sweet after this, I'd point you toward my no-bake Oreo mud pie — zero oven required and the kids always ask for it on nights when we've already had a warm, savory dinner. It's a good balance. 🥦✨
If you liked this, here are a few more recipes worth trying:
- Crispy Parmesan Smashed Potatoes — same cheesy-crispy idea, different vegetable, equally good
- Vegan Garlic Noodles — a great pairing if you're building out a lighter dinner
- Cilantro-Lime Avocado Salsa — works as a dipping sauce or a fresh topping alongside roasted vegetables
- No-Bake Oreo Mud Pie — when you want dessert without turning on the oven again
- Cinnamon Apple Snickerdoodle Cookies — a good baking project for the weekend when the oven's already warm




Comments
No Comments