
Cheeseburger sliders are the ultimate comfort food, combining everything you love about classic burgers into bite sized portions for any occasion. They are easy to love, and guaranteed to disappear fast once served at gatherings.
These sliders are baked together in one pan, allowing the flavors to meld beautifully while saving time and effort. Soft buns soak up savory juices, melted cheese adds richness, and seasoned beef delivers heartiness in every bite enjoyable.
Perfect for parties, game days, or family meals, cheeseburger sliders please crowds without complicated preparation. You can assemble them quickly, and serve them warm straight from the oven, making hosting feel relaxed and stress free always.
They bring nostalgic flavors together with convenience, making them ideal for dinners. With minimal prep and steps, it is approachable for beginners yet satisfying for experienced home cooks seeking reliable, delicious results everytime.
Whether you are feeding a hungry family or entertaining friends, these cheeseburger sliders deliver familiar flavors. This recipe focuses on simplicity, balance, and bold flavor, using everyday ingredients you likely already have on hand.
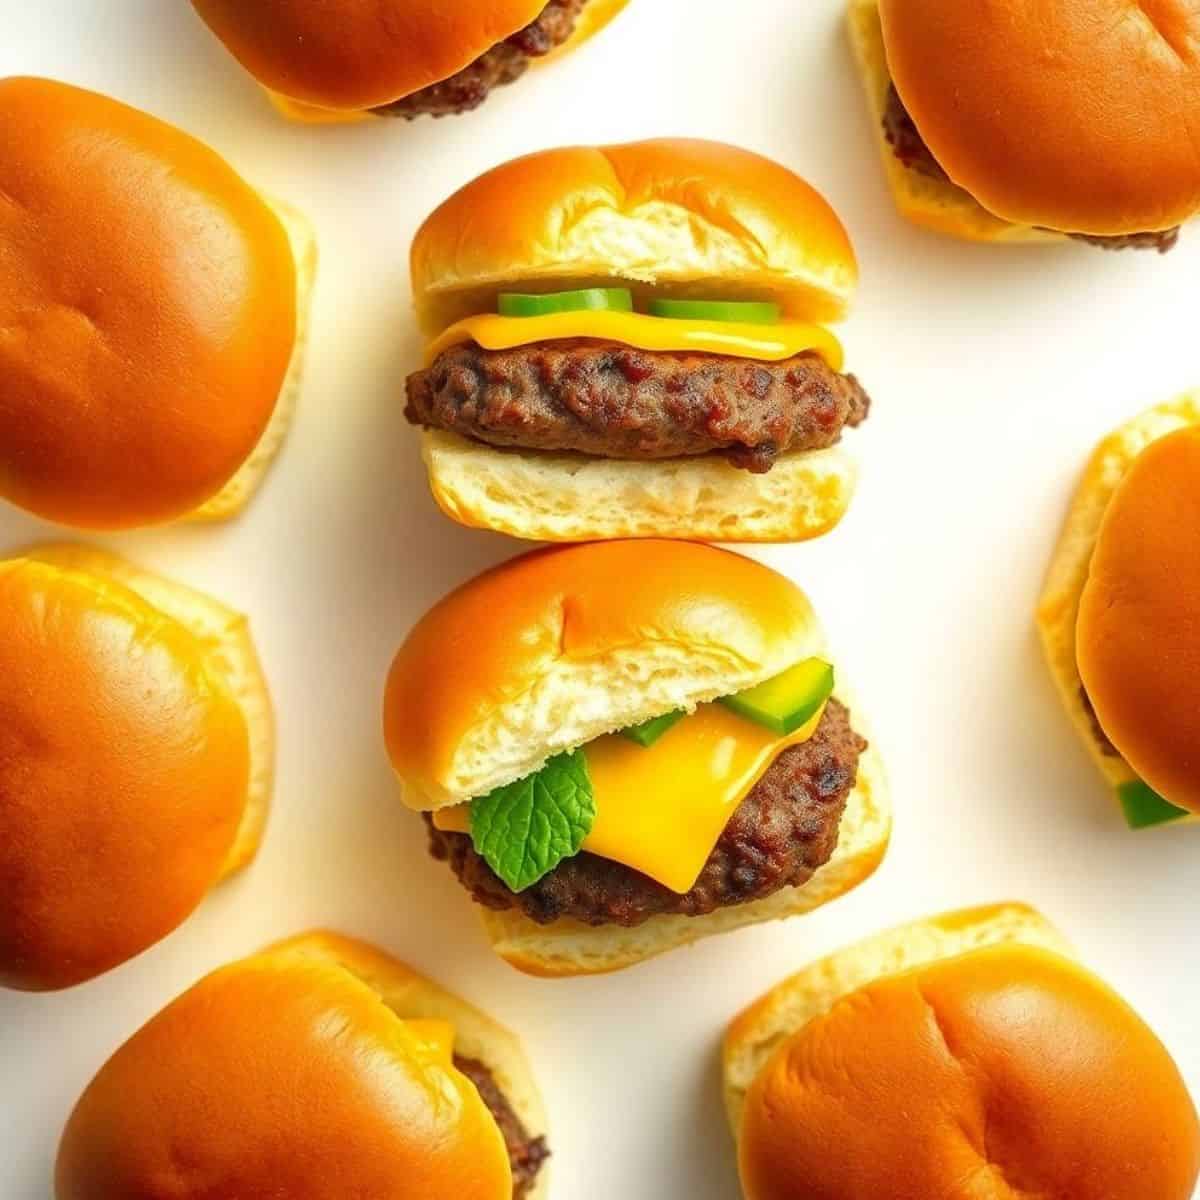
WHY YOU WILL LOVE THIS RECIPE
- Classic Cheeseburger Flavor: These cheeseburger sliders deliver classic diner flavor with juicy beef, melty cheese, and soft buns, creating a comforting bite that feels nostalgic, indulgent, and perfectly balanced every single time served.
- One Pan Convenience: Everything bakes together in one pan, saving cleanup time while ensuring even cooking, cohesive flavors, and beautifully melted cheese across every slider without constant attention or complicated techniques at home.
- Perfect for Sharing: Perfectly sized portions make these sliders ideal for sharing, letting guests sample multiple bites without commitment while still feeling satisfied, full, and happy throughout meals or celebrations with friends present.
- Simple Ingredients: This recipe uses simple, accessible ingredients, meaning you can prepare delicious sliders anytime without specialty shopping, expensive components, or complicated prep, making it dependable for busy schedules and family nights.
- Easy Customization: Cheeseburger sliders are endlessly customizable, allowing you to adjust seasonings, cheeses, and toppings to suit picky eaters, adventurous palates, or dietary preferences with ease for gatherings, parties, and casual meals.
INGREDIENTS
- Slider buns
- Ground beef
- Salt
- Black pepper
- Garlic powder
- Onion powder
- Cheddar or American cheese slices
- Butter
- Sesame seeds (optional)
- Pickles (optional)
- Ketchup and mustard (optional)
DIRECTIONS
- Step No.1: Prepare the beef
In a skillet over medium heat, cook the ground beef until browned, breaking it apart evenly. Season with salt, pepper, health benefits of garlic powder, and onion powder, then drain excess grease.
- Step No.2: Assemble the buns
Slice slider buns horizontally as a whole slab. Place the bottom layer into a greased baking dish, keeping buns connected for easy assembly.
- Step No.3: Add filling
Spread the cooked beef evenly over the buns, then layer cheese slices on top, covering the surface for consistent melting.
- Step No.4: Top and butter
Place the top buns over the cheese. Brush melted butter evenly across the tops and sprinkle with sesame seeds if using.
- Step No.5: Bake
Cover loosely with foil and bake in a preheated oven until cheese melts and sliders are heated through. Remove foil briefly to lightly brown tops.
- Step No.6: Slice and serve
Remove from oven, let rest briefly, then cut into individual sliders and serve warm with desired toppings or sauces.

TIPS FOR SUCCESS
- Soft Buns Matter: Use fresh, soft slider buns to ensure they absorb flavor without becoming soggy during baking and maintain ideal texture inside.
- Season Well: Season the beef generously before cooking so every bite tastes savory, well balanced, and satisfying without relying on extra toppings.
- Foil First: Cover sliders loosely with foil while baking initially to prevent over browning and promote even melting of cheese and buns.
- Rest Before Cutting: Let sliders rest briefly after baking so juices redistribute and buns hold together when serving warm, neat, and mess free.
- Clean Cuts: Use a sharp knife or spatula to separate sliders cleanly without tearing the buns or disturbing the melted cheese layers.
- Prep Ahead: Prepare toppings and sauces ahead of time to streamline assembly and keep the cooking process relaxed organized, efficient, and enjoyable.
VARIATIONS
- Lighter Option: Swap ground beef for ground turkey or chicken to create lighter sliders that still deliver juicy texture, savory seasoning, and satisfying flavor while fitting different dietary preferences for many families.
- Cheese Choices: Experiment with cheeses like cheddar, American, pepper jack, or Swiss to change flavor profiles, melt quality, and richness while keeping the classic cheeseburger essence intact for variety across different occasions.
- Gourmet Add Ins: Add caramelized onions, sautéed mushrooms, or crispy bacon layers to elevate texture and depth, turning simple sliders into gourmet style bites everyone will notice and request again at gatherings later.
- Spicy Kick: Create a spicy version by mixing hot sauce or chili powder into the beef and using pepper jack cheese for sliders with bold heat and personality that stand out instantly.
- breakfast sliders: Turn them into breakfast sliders by adding scrambled eggs and bacon, pairing savory beef with morning flavors for a fun twist on brunch favorites served warm with coffee or juice.
- Sweet Rolls: Use Hawaiian sweet rolls instead of regular buns to add subtle sweetness that contrasts beautifully with savory beef, cheese, and toppings creating irresistible balance kids and adults both love alike.
SERVING AND STORAGE
Serving
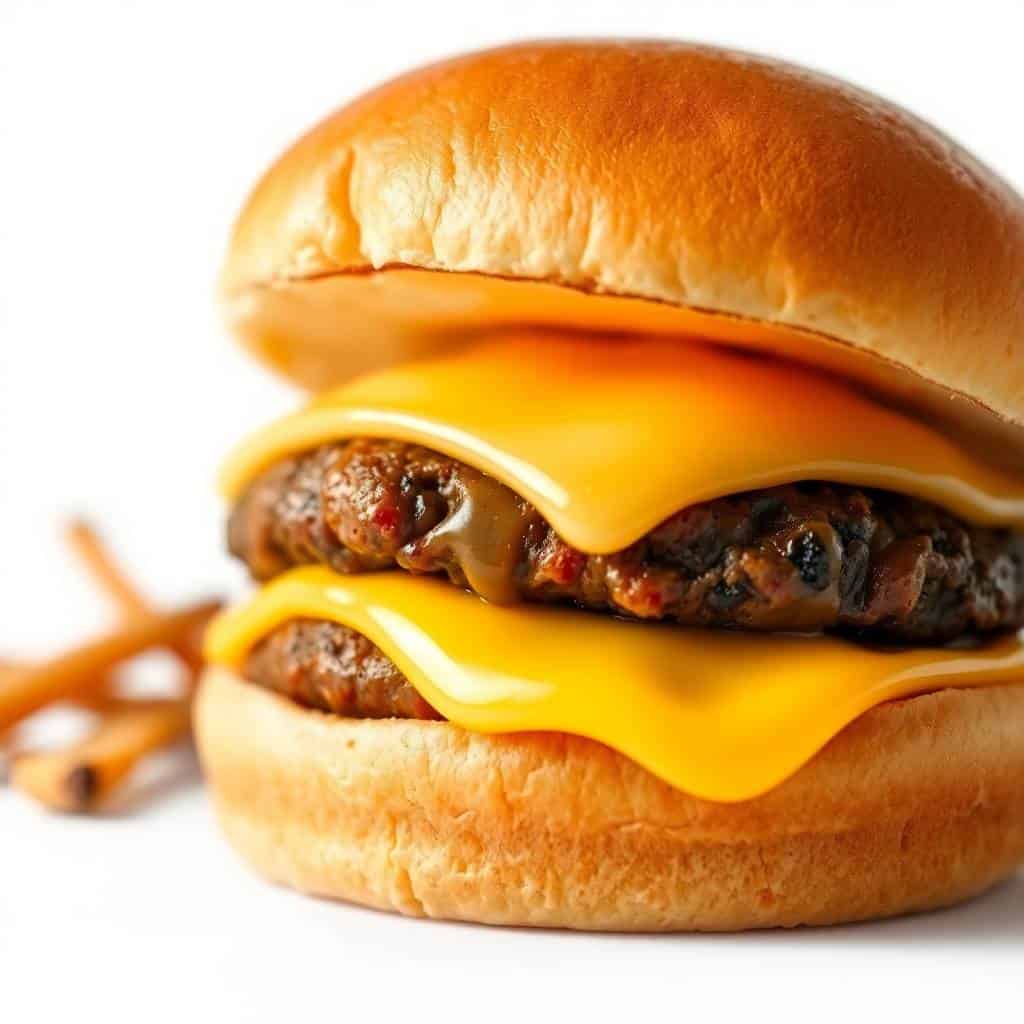
Serve cheeseburger sliders hot from the oven with pickles, fries, or salad for an easy, satisfying meal everyone will love.
Storage
Store leftover sliders in an airtight container in the refrigerator for up to three days, reheating gently before serving again.
FAQ
Yes, you can assemble them ahead, refrigerate, and bake just before serving for best texture and flavor.
American and cheddar melt smoothly, but Swiss and pepper jack also work well depending on flavor preference.
They freeze best before baking. Wrap tightly, freeze, then thaw and bake when ready to serve.
Use fresh buns, drain beef well, and avoid excessive sauces inside before baking.
An oven works best, but you can finish assembled sliders covered in a large skillet on low heat.
Cheeseburger sliders are a recipe you will return to again and again because they balance flavor, convenience, and comfort so effortlessly. They capture everything people love about burgers while offering a fun format perfect for gatherings.
Whether you are cooking for a crowd or preparing a simple dinner, this recipe adapts beautifully to your needs. It is quick enough for weeknights yet impressive enough for entertaining guests without adding stress, or complicated requirements.
Even beginners can achieve delicious results, while experienced cooks enjoy customizing flavors and presentations for parties, holidays, casual meals, and special occasions throughout year.
Simple, satisfying, and endlessly adaptable, cheeseburger sliders prove that great food does not need to be complicated to impress people and bring everyone together.


CHEESEBURGER SLIDERS
Ingredients
For the Burger Filling:
- 1 lb ground beef
- 1 teaspoon salt
- ½ teaspoon black pepper
- 1 teaspoon garlic powder
For Assembly:
- 12 slices cheddar cheese
- 12 slider buns
- 2 tablespoons butter melted
Instructions
Prepare Beef:
- Preheat oven to 180°C (350°F). Season ground beef with salt, pepper, and garlic powder.
Cook Beef:
- Cook beef in a skillet over medium heat until fully browned. Drain excess grease.
Assemble Sliders:
- Place bottom halves of slider buns in a baking dish. Spread cooked beef evenly and top with cheese slices.
Bake:
- Cover with top buns, brush with melted butter, and bake for 15–20 minutes until cheese is melted.
Serve:
- Remove from oven, slice, and serve warm.
Notes
- Make Ahead: Beef can be cooked in advance and assembled just before baking.
- Variations: Add pickles, onions, or special sauce for classic cheeseburger flavor.
- Serving Suggestions: Great with fries, coleslaw, or potato wedges.
- Allergy-Friendly: Use gluten-free slider buns if needed.
- Storage Tips: Store leftovers in the refrigerator for up to 3 days and reheat before serving.




Comments
No Comments