
I made this for the first time on a Tuesday night when I had a bag of frozen ravioli sitting in the freezer and absolutely no energy to do anything complicated. I'd seen a version of it floating around online for a while and kept thinking it seemed too easy to actually be good. It's not too easy — it's genuinely that good. The no-boil part alone made me want to hug whoever figured that out.
What makes this work is the cheese layer. I know some versions use only ricotta, but swapping in sour cream with the cream cheese gives you this tangy, almost silky layer that holds everything together without feeling heavy. The cream cheese needs to be properly softened — I made that mistake the first time, tried to rush it, and ended up with lumps in my cheese mixture that never fully melted out. Now I pull it out of the fridge at least 30 minutes before I start.
My husband asks for this on cold evenings, which in Pakistan means the winter months, but I make it year-round now because it reheats so well. Saad once ate it for lunch three days in a row without complaining, which in ten-year-old terms is a five-star review. If you're looking for something that works for a weeknight dinner but also doesn't embarrass you when you bring it to a potluck, this is it. I've served it to guests twice and both times someone asked for the recipe before they left.
One thing to set your expectations right: this is a rich dish. It's not light, it's not subtle, and it doesn't try to be. If you want something on the lighter side for a weeknight, check out my Crack Chicken Casserole — that one's creamy too but skips the pasta. This ravioli casserole is firmly in the comfort food category, and I mean that as a compliment.
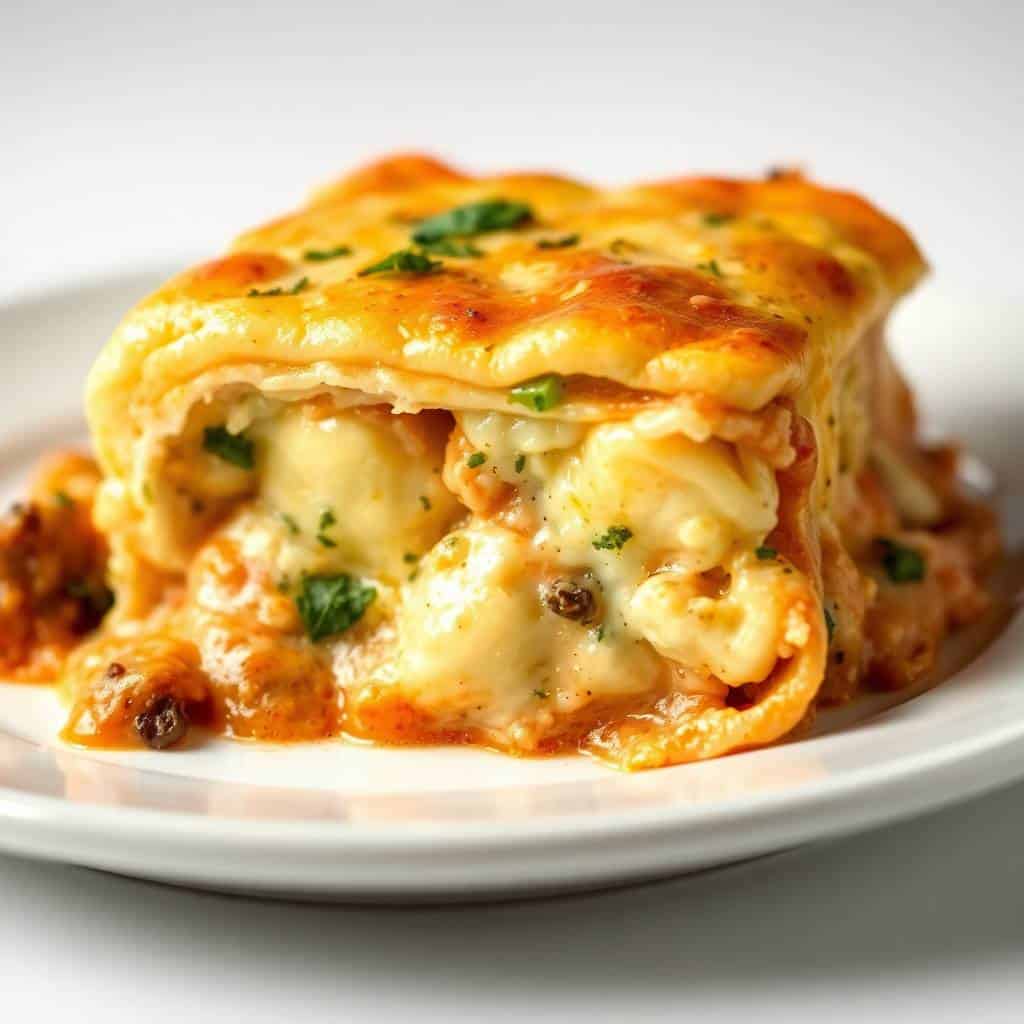
Why You'll Love This Recipe
- No boiling the ravioli: I was skeptical the first time I skipped this step. I kept thinking the ravioli would come out crunchy or undercooked. But the sauce and the steam from the covered baking dish do all the work — the ravioli come out perfectly tender every single time. It genuinely cuts the active prep time in half and means one less pot to wash.
- That cream cheese and sour cream layer: This is the part that makes people ask what your secret is. It's not just melted cheese — it's a thick, tangy, creamy layer that sits between the ravioli and keeps everything from drying out during the bake. I've tried substituting it with just ricotta and it's not the same. The sour cream adds something you'll notice when it's missing.
- It actually reheats well: A lot of pasta bakes go rubbery or dry in the microwave the next day. This one doesn't — probably because of all the cheese holding moisture in the layers. I reheat it covered with a damp paper towel in the microwave for about 2 minutes and it comes back almost exactly as good as the night before. Sometimes I think it's better the next day once everything has had time to settle.
- Minimal hands-on time: Brown the meat, mix the cheese layer, then you're basically just stacking things in a dish. I've made this on nights when I had less than 20 minutes of actual energy to give, and it still worked. The oven does the heavy lifting and you can sit down while it bakes.
- Freezer-friendly before baking: I sometimes put together two dishes at once — bake one that night, freeze the other unbaked. When I pull the frozen one out later, I thaw it overnight and bake as normal. It's basically free dinner on a future busy night. If you're already making the mess anyway, doubling the batch takes almost no extra effort.
Ingredients
- 1 (25 oz) bag frozen cheese ravioli
- 1 (24 oz) jar marinara sauce
- 1 lb ground beef or Italian sausage
- 1 teaspoon Italian seasoning
- 1 (8 oz) block cream cheese, softened (pull it out of the fridge at least 30 minutes early)
- 1 cup sour cream
- 2 cups shredded mozzarella cheese
- ½ cup grated Parmesan cheese
- Fresh basil or parsley for garnish (optional)
Directions
- Step 1: Preheat and prep your dish — Heat your oven to 375°F (190°C) and lightly grease a 9x13-inch baking dish. I use a bit of cooking spray or just rub the sides with a thin layer of butter. This makes serving and cleanup much easier later.
- Step 2: Brown the meat — In a large skillet over medium heat, cook the ground beef or sausage until browned all the way through. Drain off the excess fat — don't skip this or your sauce will be greasy. Stir in the marinara sauce and Italian seasoning, then let it simmer for about 5 minutes so the flavors come together.
- Step 3: Make the cheese layer — In a bowl, mix the softened cream cheese, sour cream, and 1 cup of the shredded mozzarella until smooth. This is where temperature really matters — if your cream cheese is still cold, you'll fight lumps the whole time. A fork works fine here; you don't need a mixer.
- Step 4: Layer the casserole — Start with a thin layer of meat sauce spread across the bottom of the dish (this stops the ravioli from sticking). Add half the frozen ravioli in a single layer, then drop spoonfuls of the cheese mixture over the top and spread gently. Add half the remaining meat sauce, then sprinkle 1 cup of mozzarella. Repeat the layers — ravioli, cheese mixture, meat sauce — and finish with the Parmesan over the top.
- Step 5: Bake covered, then uncovered — Cover tightly with foil and bake for 20 minutes. The foil traps steam which is what cooks the frozen ravioli through without drying out the top. Remove the foil and bake another 10–15 minutes until the cheese is bubbling and starting to turn golden at the edges.
- Step 6: Rest before cutting — Let the casserole sit for 5 minutes before you serve it. I know it's hard to wait, but the layers need a minute to settle or everything slides apart when you try to cut it. Garnish with fresh basil or parsley if you like.
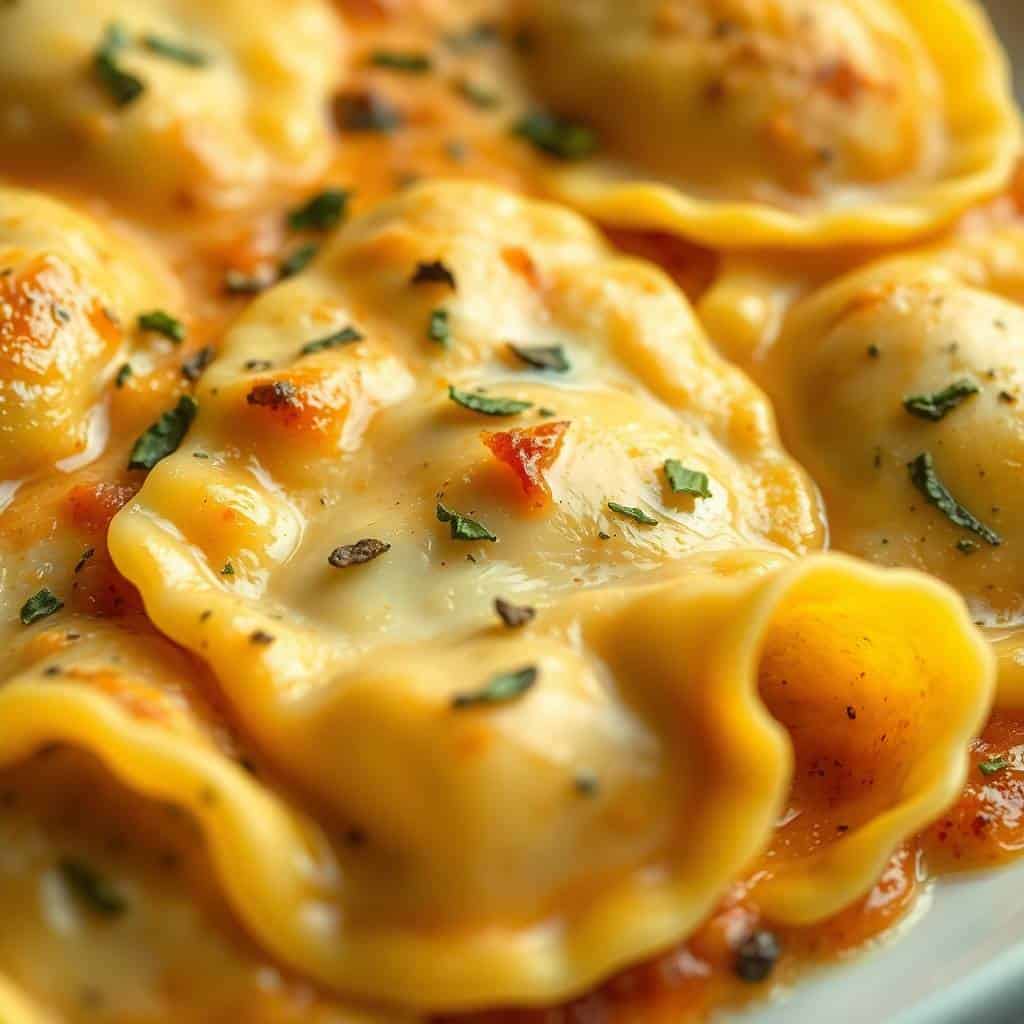
Tips for Success
- Soften the cream cheese fully: This is probably the most important tip I can give. Cold cream cheese will not blend smoothly with the sour cream no matter how hard you stir, and those lumps stay lumpy through the whole bake. I leave mine out for 30 minutes minimum, or if I forget, I cut it into small cubes and microwave in 10-second bursts until just soft. Don't let it melt — you just want it pliable.
- Don't skip the bottom layer of sauce: The first time I made this I was too conservative with the sauce on the bottom and the ravioli stuck to the dish in spots. A generous thin layer of meat sauce across the entire bottom of the pan keeps everything from bonding to the dish and also gives the ravioli something to absorb from underneath as it bakes.
- Keep the foil on for the full 20 minutes: I've been tempted to pull it early to check on things and it always sets back the cooking. The steam inside the foil is what softens the frozen ravioli — if you let it escape too soon, you end up with parts that are still firm in the middle. Set a timer and trust the process.
- Drain the meat well: I press the cooked meat against the side of the skillet with a spoon and tilt the pan to drain the fat before adding the marinara. If you leave the fat in, your sauce ends up greasy and it makes the whole bottom of the casserole pool with oil. It takes 30 extra seconds and it matters.
- Let it rest before serving: Five minutes feels like nothing but it's the difference between neat squares and a cheese avalanche when you try to plate it. The layers need a moment to firm up slightly after coming out of the oven. Cover loosely with the foil you just removed and give it that time — you won't regret it.
Variations
- Spinach ravioli instead of cheese: Trader Joe's and most grocery stores carry spinach-and-cheese ravioli in the frozen section, and it works beautifully in this dish. You get a little more depth from the spinach and it makes the casserole feel slightly less heavy. My husband actually prefers this version — he says it cuts through the richness a bit.
- Italian sausage instead of ground beef: If you swap the beef for Italian sausage (mild or hot), the whole flavor of the dish shifts in a really good direction. The sausage has fennel and spices already built in, so you end up with a more complex meat layer without doing anything extra. I use this version when I'm making it for guests.
- Vegetarian version: Skip the meat entirely and sauté some diced zucchini, mushrooms, and bell peppers in a bit of olive oil before mixing with the marinara. It gives the sauce body and you honestly don't miss the meat. Use a good, chunky marinara — Rao's from Costco works really well here if you can get it.
- Add a spicy layer: Stir a pinch of red pepper flakes into the meat sauce, or use hot Italian sausage instead of mild. My husband always adds a shake of chili flakes to his plate anyway, so I've started building it into the sauce to save him the step. You can also stir a tablespoon of Calabrian chili paste into the marinara for something a little more layered.
- Ground turkey for a lighter build: I've made this with ground turkey several times when I didn't have beef on hand. The texture is slightly different but honestly once everything is layered and baked you barely notice. Season the turkey well since it's blander than beef — add a little extra Italian seasoning and a pinch of garlic powder to compensate.
Serving and Storage
Serving
I serve this straight from the baking dish with a big spoon and let people help themselves. Garlic bread on the side is almost mandatory — you want something to scoop up the extra sauce. A simple green salad with a sharp vinaigrette balances out all the richness. I add extra Parmesan to the table because in my house there's no such thing as enough Parmesan. If you're serving guests, let it rest the full 5 minutes so you can cut it into actual squares instead of scooping.
Storage
Leftovers go into an airtight container in the fridge and keep well for up to 4 days. To reheat, microwave individual portions covered with a damp paper towel for about 2 minutes — this keeps the edges from drying out. For a larger portion, reheat covered in the oven at 325°F (165°C) for 20 minutes. To freeze, assemble the unbaked casserole, cover tightly with foil, and freeze for up to 2 months. Thaw overnight in the fridge before baking as directed.
Frequently Asked Questions
Can I use fresh ravioli instead of frozen?
Yes, fresh ravioli works. Because it's already soft, it cooks faster than frozen, so I'd reduce the covered baking time to about 15 minutes and keep an eye on it. The no-boil method still works — just watch that the ravioli doesn't get mushy. Fresh cheese ravioli from the refrigerated section at the grocery store is a great option here.
Can I assemble this casserole ahead of time?
Absolutely. I've assembled it the night before, covered it with foil, and kept it in the fridge for up to 24 hours before baking. When it goes in cold from the fridge, I add about 5 extra minutes to the covered bake time just to account for the temperature difference. It's one of the reasons this works so well for dinner parties — you do all the prep the day before and just pop it in the oven when you need it.
Can I freeze the casserole?
Yes, and I highly recommend freezing it before baking rather than after. Assemble everything in a freezer-safe dish, cover tightly with foil, and freeze for up to 2 months. Thaw it overnight in the fridge, then bake as normal. If you freeze it already baked, the texture of the ravioli changes a bit when reheated — still fine, but not quite as good as baking it fresh from the thawed assembled state.
Do I have to use sour cream in the cheese layer?
The sour cream is what gives the cheese layer its tang and keeps it from being too dense. If you don't have it, plain Greek yogurt is the closest substitute and works nearly as well. You can also use extra ricotta cheese — the layer will be a little thicker and less tangy but still delicious. I wouldn't skip the cream cheese though; that's the part that holds everything together and gives it that rich texture.
How do I know when the casserole is done?
Look for bubbling around the edges and golden spots on the cheese on top. If you're unsure, press down gently on the center with a spoon — if it springs back slightly and feels soft all the way through rather than firm or crunchy, the ravioli is cooked. The internal temperature should reach around 165°F (74°C) if you want to use a thermometer. A few golden-brown spots on the cheese top is usually my signal that it's ready.
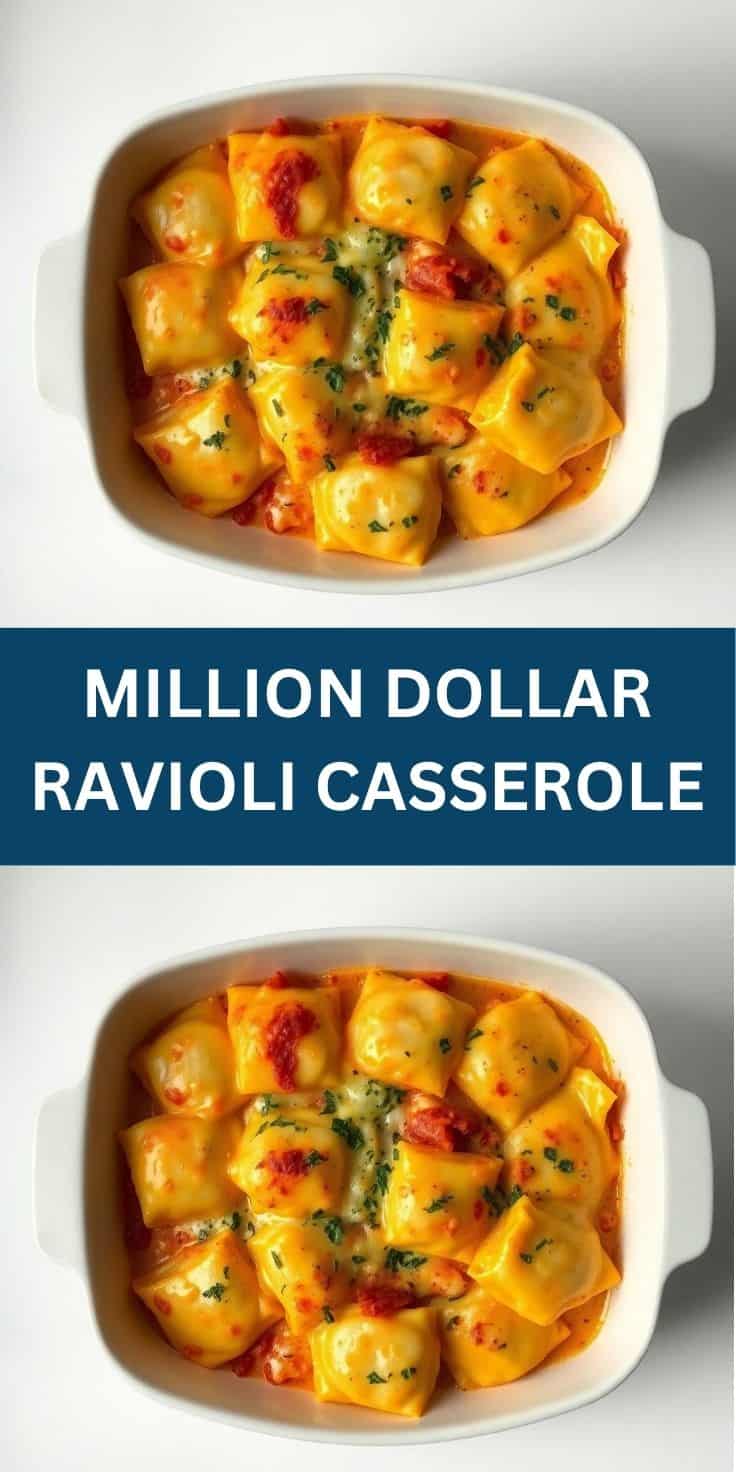
MILLION DOLLAR RAVIOLI CASSEROLE
Ingredients
- 1 25 oz bag frozen cheese ravioli
- 1 24 oz jar marinara sauce
- 1 lb ground beef or Italian sausage
- 1 teaspoon Italian seasoning
- 1 8 oz block cream cheese, softened
- 1 cup sour cream
- 2 cups shredded mozzarella cheese
- ½ cup grated Parmesan cheese
- Fresh basil or parsley for garnish optional
Instructions
Preheat the Oven:
- Preheat oven to 375°F (190°C). Lightly grease a 9x13-inch baking dish.
Cook the Meat:
- In a skillet, cook ground beef or sausage over medium heat until browned. Drain excess fat. Stir in marinara sauce and Italian seasoning. Simmer for 5 minutes.
Mix the Cheese Layer:
- In a bowl, mix softened cream cheese, sour cream, and 1 cup mozzarella until smooth.
Assemble the Casserole:
- Spread a thin layer of meat sauce in the baking dish. Layer half of the frozen ravioli, then half the cream cheese mixture, half the remaining meat sauce, and 1 cup mozzarella. Repeat the layers. Top with Parmesan cheese.
Bake:
- Cover with foil and bake for 20 minutes. Uncover and bake another 10–15 minutes until bubbly and golden.
Serve:
- Let sit for 5 minutes before serving. Garnish with fresh herbs if desired.
Notes
Assemble the casserole up to a day in advance. Refrigerate and bake when ready. Freezing:
This dish freezes well. Cover tightly and freeze before baking. Thaw overnight and bake as directed. Variations:
Use spinach ravioli for a veggie twist or swap the beef for ground turkey.
This is one of those recipes that's now just part of my regular rotation without me even deciding to make it so. It started as a Tuesday experiment and turned into the thing my family asks for when they want something that feels like a real sit-down dinner without me spending two hours in the kitchen. I love that it all comes together in one dish and that the cleanup is manageable even on a school night.
If you're planning a weekend where you want to get ahead on meals, I'd seriously consider making a double batch — one to eat that day and one to freeze unbaked for later. The second one has saved me more times than I can count. Pair it with something simple from the dessert side of things — even something like my Chocolate Ooey Gooey Cake if you want to go full comfort mode for the evening.
I'm not going to tell you this is authentic Italian cooking — it's absolutely not, and nobody in Italy is layering frozen ravioli with sour cream and calling it dinner. But it's genuinely satisfying, it's real food made from ingredients you can find at any grocery store, and it delivers exactly what it promises. On a cold evening with garlic bread and people you like sitting around the table, that's more than enough. 🍝❤️
If you made this and liked it, here are a few more recipes from my kitchen you might want to try next:
- Crack Chicken Casserole (Creamy, Cheesy & Low-Carb Dinner) — another one-dish dinner that reheats beautifully
- Chocolate Ooey Gooey Cake — the dessert that makes the most sense after a meal this rich
- Shrimp Dip — great for a starter before the casserole hits the table
- Biscoff Cheesecake with Cookie Butter Swirl (No Water Bath) — if you want something impressive for dessert without the stress
- Pecan Pie Dip — a quick sweet bite that





Comments
No Comments