
I made this casserole on a Tuesday night when I had leftover rotisserie chicken sitting in the fridge and zero energy to think about dinner. I threw it together in about 15 minutes, slid it into the oven, and by the time I'd wiped down the counter and helped Zainab with her homework, it was bubbling away and smelling incredible. My husband walked into the kitchen, looked at it, and said "make this again." That was three weeks ago and I've made it twice since.
What makes this one work is the ratio of cream cheese to sour cream — it keeps the filling rich without going heavy and dense. The ranch seasoning does a lot of the flavour work so you don't need to fuss with a long spice list. I mix half the cheese into the filling and save the other half for the top, which gives you that layer of melted, slightly crispy cheese on top that's honestly the best part of any casserole.
This is on my regular weeknight rotation now, especially when I've got cooked chicken I need to use up. I've also made it on Sunday afternoons and portioned it out for the week — it reheats really well, which is more than I can say for a lot of casseroles. If you're also looking for easy weeknight dinners, my Meatloaf Grilled Cheese is another one that comes together fast without much thinking.
One thing to know before you start: the cream cheese needs to be genuinely softened. I've tried rushing it by using cold cream cheese straight from the fridge and it doesn't mix smoothly — you end up with chunks in the filling. Give it at least 20 minutes on the counter, or microwave it for 15 seconds if you forgot to take it out. That's the only thing you really need to get right.

Why You'll Love This Recipe
- It comes together in one bowl and one pan: I mix everything in a large bowl, scrape it into the baking dish, and that's it. There's no sauce to make separately, no layering steps, nothing complicated. On nights when I've already done a full day of work and still need to get food on the table, this is the kind of recipe I reach for.
- Uses up leftover chicken in a way that actually tastes good: Leftover chicken can be dry and sad on its own. Folded into a creamy, cheesy base and baked until everything melds together, it's a completely different situation. I use rotisserie chicken most of the time, but grilled chicken works just as well.
- Low-carb without tasting like diet food: I'm not strictly keto, but I do try to keep weeknight dinners reasonably balanced. This casserole is filling and rich without being heavy in a bad way. Nobody at my table has ever looked at this and thought "oh, this is the healthy version of something." It just tastes like a really good casserole.
- Reheats well for meal prep: I make a double batch on Sunday sometimes because it disappears fast during the week. It keeps in the fridge for four days and comes back to life beautifully in the microwave — which honestly isn't true of most cheesy baked dishes. The filling stays creamy instead of turning grainy or separating.
- The whole family eats it without negotiation: That's honestly the bar I'm working with. My husband will eat almost anything, but Saad has opinions. He ate two servings of this and asked if there was more. That tells me everything I need to know.
Ingredients
- 3 cups cooked shredded chicken (rotisserie works perfectly here)
- 8 oz cream cheese, softened to room temperature
- 1 cup shredded cheddar cheese
- ½ cup cooked and crumbled bacon (about 5–6 slices)
- ½ cup sour cream
- ¼ cup chopped green onions
- 1 teaspoon garlic powder
- Salt and pepper to taste
- Cooking spray or a little butter for greasing the dish
Directions
- Preheat the oven: Set your oven to 350°F (175°C) and grease a 9x13-inch baking dish with cooking spray or a thin layer of butter. Getting the dish greased before you mix anything means you're not scrambling for it with cheesy hands later.
- Mix the filling: In a large bowl, combine the softened cream cheese, sour cream, garlic powder, salt, and pepper. Mix until smooth — this is where it matters that your cream cheese is actually soft. Then add the shredded chicken, half the cheddar, half the bacon, and half the green onions. Fold everything together until evenly combined.
- Transfer to the baking dish: Scrape the mixture into your prepared dish and spread it out into an even layer with a spatula. It's thick, so take a minute to push it into the corners so it bakes evenly.
- Add the toppings: Scatter the remaining cheddar and bacon across the top. This top layer gets golden and slightly crispy in the oven, which is the best part, so don't skip it or skimp on it.
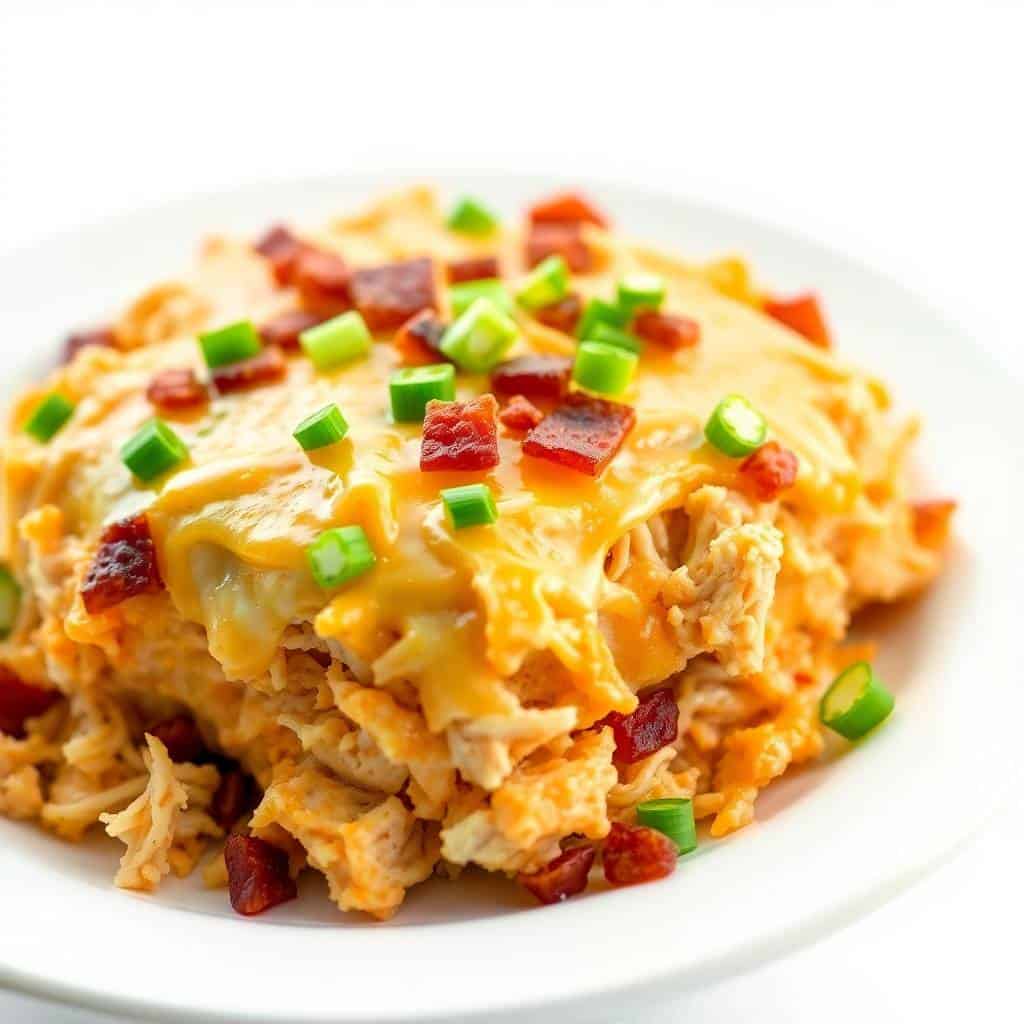
- Bake: Bake for 25–30 minutes, until the cheese on top is melted and the edges are bubbling. I usually check it at 25 minutes — if it's bubbling and the top has some colour, it's done. Let it rest for 5 minutes before serving, then garnish with the remaining green onions.
Tips for Success
- Soften the cream cheese before you start: I mentioned this in the intro but it's worth saying again because I ignored this advice once and ended up with a lumpy filling that never fully smoothed out. Set it on the counter at least 20 minutes before you plan to cook. If you forgot, 15 seconds in the microwave helps but don't go longer — you want soft, not melted.
- Pat the bacon dry after cooking: If there's too much grease on your bacon when you fold it into the filling, it can make the whole casserole a bit oily at the bottom. I cook my bacon in a skillet, drain it on paper towels, and give it a gentle press before chopping it. Takes 30 seconds and makes a real difference.
- Don't overbake it: The first time I made this I left it in for 35 minutes because I wanted the top to get more colour, and the filling started to separate a little at the edges. 25–30 minutes is the right window. If your oven runs hot, check at 22 minutes. The casserole should be bubbling at the edges and the cheese on top should be melted — that's your signal.
- Let it rest before scooping: Five minutes off the oven makes a difference. The filling firms up slightly and scoops cleaner rather than sliding around in the dish. I know it's hard to wait when it smells that good, but it's worth it.
- Use a fork to shred chicken while it's still warm: If you're shredding your own chicken rather than using rotisserie, do it when the chicken is still warm. Cold cooked chicken shreds into stiff, stringy pieces. Warm chicken pulls apart much more easily and the strands are more tender in the final dish.
Variations
- Buffalo version: Add 2–3 tablespoons of hot sauce (Frank's RedHot works well) to the filling mixture before baking. The cream cheese base tames the heat a little so it doesn't go too spicy, but you still get that tangy buffalo flavour throughout. My husband adds extra hot sauce on top when serving, which is his version of every dish.
- Add broccoli or spinach: Stir in 1 cup of steamed broccoli florets or a big handful of fresh spinach when you fold in the chicken. Both work really well with the creamy base and keep it low-carb. In Pakistan, we'd probably add something with more spice, but with this American casserole base, the mild vegetables fit naturally.
- Swap the cheese: Cheddar is what I use most, but pepper jack gives it a spicy kick, and Monterey Jack makes it milder and stretchier. Gouda melts beautifully if you want something a little smoky. Whatever cheese you use, shred it yourself from a block — pre-shredded cheese has a coating on it that stops it from melting as smoothly.
- Turkey instead of chicken: After Thanksgiving (or any time I've made a roast), I swap in shredded turkey and it works exactly the same way. The flavour is slightly different — turkey is a little richer — but the whole casserole holds together just as well. Good way to use up holiday leftovers.
- Add a crunchy low-carb topping: Crush a handful of pork rinds and scatter them across the top before baking for a texture contrast. It sounds odd but works surprisingly well — gives you that crunch you'd normally get from breadcrumbs, without the carbs. I've also used crushed almonds and that works too, though the flavour is more noticeable.
Serving and Storage
Serving
I serve this straight from the baking dish, scooped with a big spoon. On its own it's a full meal, but if I want to round it out I'll serve it alongside a simple green salad or some roasted zucchini. You can also serve it over cauliflower rice if you want more volume while keeping the carbs low. I sometimes set out a bowl of my Garlic Parmesan Dip on the side as a condiment — it sounds extra but it really works with the cheese base of this casserole.
Storage
Store leftovers in an airtight container in the fridge for up to 4 days. Reheat individual portions in the microwave for 60–90 seconds, or cover the whole dish with foil and warm it in the oven at 325°F (160°C) for about 15 minutes. To freeze, let the casserole cool completely, then wrap it tightly or portion it into freezer containers. It keeps in the freezer for up to 2 months. Thaw overnight in the fridge before reheating — don't try to reheat it from frozen or the texture goes off.
Frequently Asked Questions
Can I freeze this casserole?
Yes, it freezes well. Let it cool completely first, then wrap it tightly or portion it into airtight containers. It keeps for up to 2 months in the freezer. When you're ready to eat it, thaw it overnight in the fridge and reheat in the oven at 325°F covered with foil until warmed through — about 20 minutes. Reheating from frozen tends to make the texture watery, so the overnight thaw is worth the planning ahead.
Can I use canned chicken instead of fresh or rotisserie?
You can, though I'd only reach for it as a last resort. Canned chicken has a softer, more uniform texture that can get a bit mushy when it bakes in a creamy filling. If you use it, drain it really well and press out as much liquid as you can before mixing it in. Rotisserie chicken gives you the best texture and flavour with the least effort, which is why that's what I default to.
Is this recipe actually keto-friendly?
Yes — there are no grains, no starchy fillers, and the main ingredients are all high in fat and protein. The only thing to check is your ranch seasoning packet, since some store-bought mixes contain a small amount of sugar or starch. If you're strictly keto, look for one with no added sugars, or make your own with dried dill, garlic powder, onion powder, and parsley. I'm not strictly keto myself, but I've made this for people who are and they've had no issues.
Can I assemble this ahead of time?
Yes, and I do this regularly. Mix everything together, spread it into the greased baking dish, cover tightly with plastic wrap, and refrigerate for up to 24 hours before baking. When you're ready, pull it from the fridge while the oven preheats, then bake as directed. You might need an extra 5 minutes in the oven since you're starting from cold. It's a great Sunday-prep strategy for busy weeknights.
What can I serve alongside this to keep it low-carb?
A simple green salad is the easiest option — just dressed with olive oil and lemon. Roasted zucchini or asparagus both work well alongside the richness of the casserole. Steamed broccoli is another good one, especially if you didn't already stir it into the filling. Cauliflower mash is my go-to when I want something that feels more substantial — it pairs with this the same way mashed potatoes would pair with a regular bake, just without the carbs.

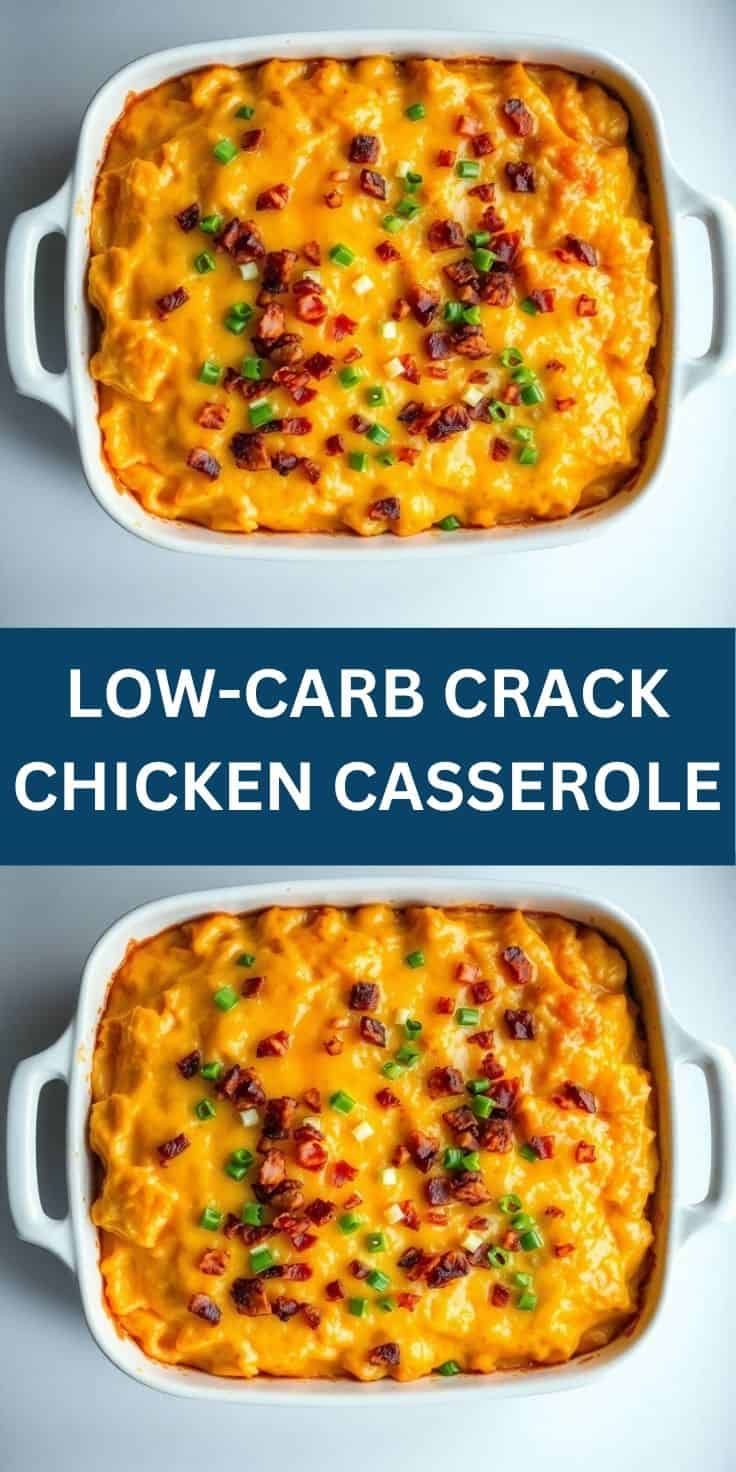
LOW-CARB CRACK CHICKEN CASSEROLE
Ingredients
- 3 cups cooked shredded chicken
- 8 oz cream cheese softened
- 1 cup shredded cheddar cheese
- ½ cup cooked and crumbled bacon
- ½ cup sour cream
- ¼ cup chopped green onions
- 1 teaspoon garlic powder
- Salt and pepper to taste
Instructions
Preheat Oven:
- Preheat oven to 350°F (175°C). Grease a 9x13-inch baking dish.
Mix Ingredients:
- In a large bowl, combine shredded chicken, cream cheese, cheddar cheese, bacon, sour cream, green onions, garlic powder, salt, and pepper. Mix well.
Bake:
- Transfer mixture to the prepared baking dish and spread evenly. Bake for 25–30 minutes, until bubbly and golden on top.
Serve:
- Garnish with extra green onions if desired. Serve warm.
Notes
- Make Ahead: Prepare the casserole mixture ahead and refrigerate before baking.
- Variations: Add chopped jalapeños for heat or use Monterey Jack cheese for a milder flavor.
- Serving Suggestions: Serve with a side salad or steamed vegetables for a complete low-carb meal.
- Allergy-Friendly: Gluten-free and low-carb; suitable for keto diets.
This casserole has quietly become one of the most-requested dinners in my house, which I didn't expect from something I threw together on a tired Tuesday. What I like most about it is that it doesn't require much from you — no special techniques, no fancy equipment, just a bowl and a baking dish and about 10 minutes of actual hands-on time. The oven does the rest.
I've brought it to a couple of family dinners too and it holds well in the dish — just cover it with foil if you're transporting it and reheat it at the destination. It's not a complicated dish to explain to anyone, which is part of why it travels well. Nobody asks "what's in it" in a suspicious way. They just eat it.
If you're in a cooking rut and need something that works without a lot of effort, this is the recipe I'd point you toward. And if you want something completely different for dessert after — something sweet and easy — my Strawberry Cake Donuts are baked not fried and ready in 30 minutes. Good contrast after a savory dinner like this one. 🍗🧀✨
If you liked this, you might also enjoy these:
- Meatloaf Grilled Cheese — another weeknight dinner that comes together fast with ingredients you already have
- Garlic Parmesan Dip — great as a side or dipping sauce alongside this casserole
- Tomato Zucchini Pasta — if you want a lighter, vegetable-forward dinner on rotation
- Strawberry Cake Donuts — baked, not fried, and ready in 30 minutes for when you want something sweet after dinner
- Reese's Peanut Butter Cheesecake Cookies — for when you need a genuinely indulgent dessert to follow a low-carb dinner





Comments
No Comments