
I made these strawberry oatmeal bars for the first time on a Saturday when I had a punnet of strawberries going soft on the counter and zero motivation to make anything complicated. I figured bars were forgiving — you press something into a pan, add fruit, crumble more on top, bake. And honestly? They turned out better than I expected on that first attempt, which almost never happens in my kitchen.
What makes these work is the ratio of butter to oats. I've seen versions online that skimp on the butter and you end up with dry, dusty crumble that doesn't hold together at all. This version uses enough melted butter that the base actually presses into a proper crust, and the topping gets genuinely golden and a little crispy at the edges. The combination of strawberry jam AND fresh strawberries in the filling is the other thing — jam gives you a glossy, concentrated layer, and the fresh fruit adds little pockets of real berry flavor that jam alone can't give you.
My kids call these "strawberry squares" and they show up in lunchboxes, on the breakfast table, and sometimes after dinner with a scoop of vanilla ice cream. Zainab likes them slightly warm. My husband eats them cold straight from the fridge with his morning chai. I've made them probably a dozen times now, and a batch rarely lasts more than two days in this house. If you're looking for something equally easy on the dessert side, my no-bake pecan pie balls have the same energy — simple ingredients, no drama, disappears fast.
One thing I'll set expectations on: let these cool completely before you slice them. I know it's hard. The first time I cut into them at 20 minutes, they completely fell apart — it was a crumbly mess that we ended up eating with spoons (still tasted good, but not exactly bars). Give them the full cooling time and they'll slice cleanly.
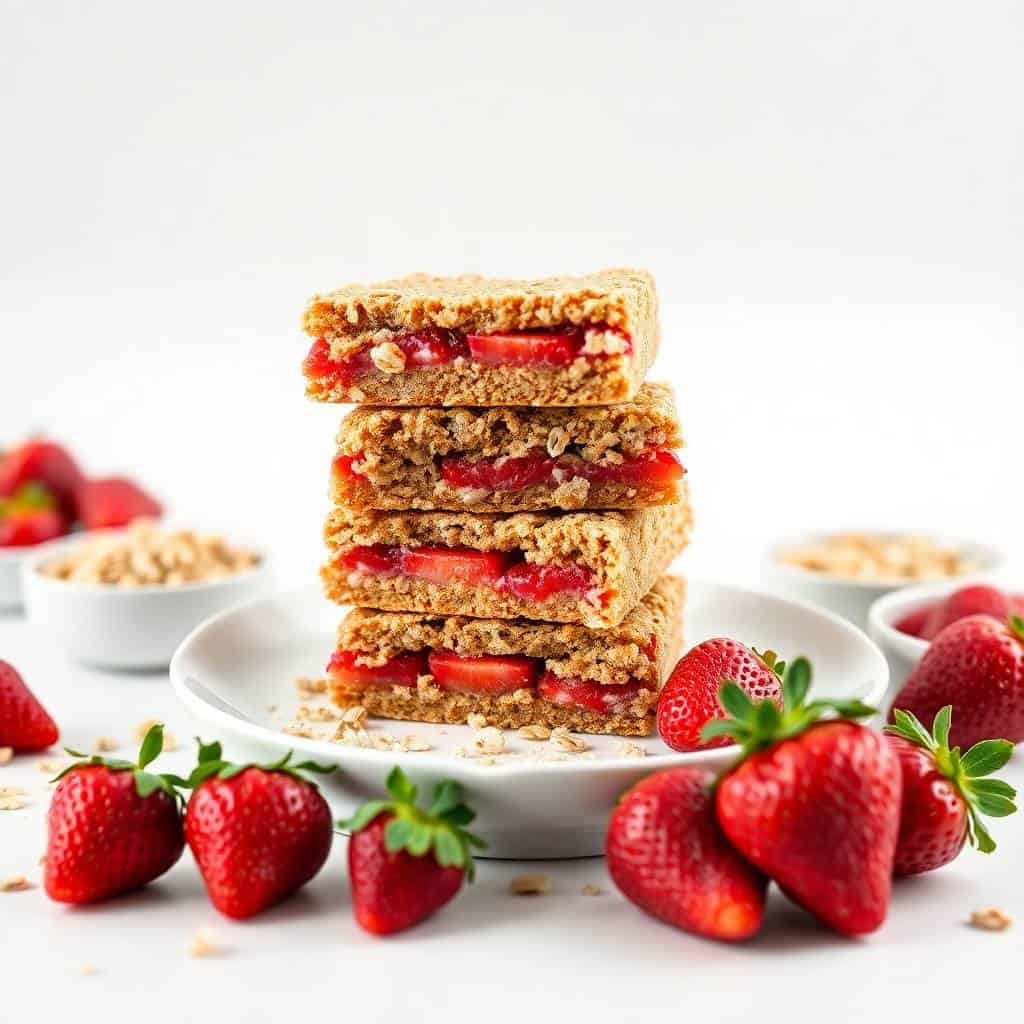
Why You'll Love This Recipe
- Only one bowl to wash: Everything for the crust and topping comes together in a single large bowl — dry ingredients, then melted butter stirred right in. I split off the topping portion, press the rest into the pan, and I'm done with the bowl. On busy weeknights when I'm already washing dinner dishes, this matters more than I can say.
- Works as breakfast or dessert without any modifications: I serve these at breakfast with no guilt because they're oats, a little sugar, and fruit — basically muesli in bar form. Then on the same day I'll warm one up at 9pm with ice cream and it feels completely like dessert. I haven't found many recipes that genuinely straddle both meals, but this one does it honestly.
- The ingredients are always in my kitchen: Rolled oats, flour, brown sugar, butter, and a jar of strawberry jam — I usually have all of these. The fresh strawberries are the only variable, and when they're not in season, I've used just a generous cup of good preserves and skipped the fresh fruit entirely. It still works.
- Kids actually eat them: Zainab went through a phase of refusing anything with visible fruit pieces. I started stirring the fresh strawberries gently into the jam layer so they were less obvious, and suddenly she had no objections. The sweetness from the jam does most of the heavy lifting, and the oat topping has enough of a cookie-like quality that it reads as a treat to kids.
- Easy to make ahead: I bake these on Sunday and they keep well through midweek. Slice them once cooled, layer with parchment in a container, and they hold their shape in the fridge for up to a week. I actually think they taste better on day two once everything has had time to settle.
Ingredients
- 1 ½ cups rolled oats (old-fashioned, not instant)
- 1 ¼ cups all-purpose flour
- ½ cup light brown sugar, packed
- ½ teaspoon baking soda
- ¼ teaspoon salt
- ¾ cup unsalted butter, melted
- 1 teaspoon vanilla extract
- ¾ cup strawberry jam or preserves (thick jam works best — avoid very runny varieties)
- 1 cup fresh strawberries, diced
- Zest of 1 lemon (optional, but I always add it)
Directions
- Preheat the oven: Set your oven to 350°F (175°C). Line an 8x8-inch baking pan with parchment paper, leaving a couple inches of overhang on two sides — this makes lifting the whole slab out later much easier. I've made the mistake of skipping parchment once and spent ten minutes trying to dig the bars out of the pan.
- Mix the dry ingredients: In a large bowl, stir together the rolled oats, flour, brown sugar, baking soda, salt, and lemon zest if you're using it. Make sure the brown sugar gets broken up and distributed evenly — lumps of packed sugar don't mix in properly later.
- Add the butter and vanilla: Pour in the melted butter and vanilla extract. Stir with a fork or wooden spoon until the mixture looks like damp, crumbly sand and there are no dry pockets of flour at the bottom. It should clump when you press it between your fingers.
- Form the crust: Take about two-thirds of the oat mixture and press it firmly into the prepared pan. I use the back of a measuring cup to really pack it down flat and even. A properly pressed crust holds together when sliced — a loosely patted one falls apart.
- Add the filling: Spread the strawberry jam evenly over the crust, going close to the edges. Then scatter the diced fresh strawberries over the jam layer. Try to spread them relatively evenly so every bar gets some fruit.
- Add the topping and bake: Sprinkle the remaining oat mixture over the strawberry layer. Don't press it down — just let it sit loosely on top so it bakes into a real crumble. Bake for 30–35 minutes, until the top is golden brown and you can see the filling bubbling up at the edges.
- Cool completely and slice: This is the hardest step. Let the bars cool in the pan for at least an hour, then lift out using the parchment overhang and slice into squares on a cutting board. If they're still warm, they'll crumble. I know from experience.
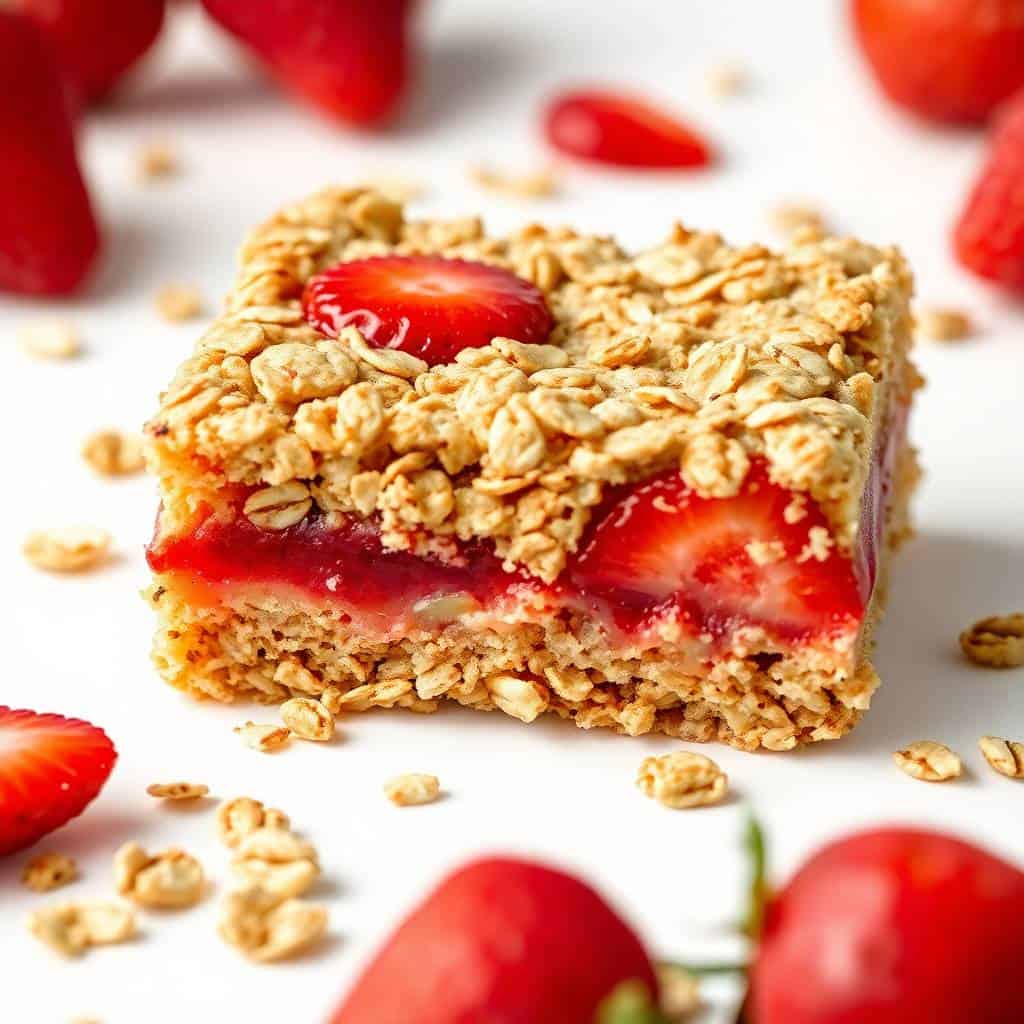
Tips for Success
- Use thick jam, not thin: I learned this after one batch where the jam was too runny — it soaked straight through the crust during baking and turned the bottom layer into a soggy layer instead of a biscuity base. Bonne Maman strawberry preserves or any store-brand thick jam from Walmart or Aldi works well. If your jam looks loose when you spoon it, reduce it in a small saucepan for a few minutes first.
- Pack the crust layer firmly: The crust needs to be genuinely pressed down, not just patted. I use the flat bottom of a measuring cup and press with real pressure across the whole surface. A well-packed crust holds its shape when you lift a bar out. A loosely pressed one crumbles into oat rubble the moment you pick it up.
- Don't skip the cooling time: I cannot stress this enough. These bars need to be fully cooled — not just warm, fully cooled — before you slice them. The jam layer stays molten for a long time even after the oats look done. I usually bake them in the afternoon and slice them in the evening, or bake the night before. An hour minimum; two hours is better.
- Fresh strawberries only — not frozen: I tried frozen strawberries once thinking it would be fine. Even after draining, they released so much liquid during baking that the filling turned watery and the bottom crust never crisped up properly. In strawberry season, fresh is the only way to go. Out of season, just skip the fresh berries and increase the jam to 1 full cup.
- Watch the oven, not the clock: Every oven runs slightly differently, and mine tends to run hot. Start checking at 28 minutes. You want the top to be genuinely golden — not pale, not dark brown — and the filling to be visibly bubbling around the edges. That bubbling is the sign the jam has cooked through and will set properly once cooled.
Variations
- Mixed berry filling: Replace half the strawberry jam with raspberry or blueberry jam, and use a mix of fresh berries in the filling layer. I made this version for Eid last year when I had leftover blueberries from another recipe and it was genuinely excellent — a little more tart than the straight strawberry version, which I actually preferred.
- Gluten-free version: Swap the all-purpose flour for a 1:1 gluten-free baking blend (Bob's Red Mill or King Arthur both work), and make sure your oats are certified gluten-free. The texture is very slightly more crumbly, but the flavor is identical. My neighbor who avoids gluten asks me to make this version specifically.
- Vegan adaptation: Replace the butter with melted coconut oil at the same quantity. The bars come out slightly less rich but they still have a good crumble and hold together well. The coconut flavor is subtle once baked and actually works nicely with the strawberry. I've made this for a friend who eats plant-based and she asked for the recipe.
- Nutty crumble topping: Stir ¼ cup of roughly chopped pecans or almonds into the topping portion of the oat mixture before sprinkling it over the filling. The nuts toast in the oven and add a crunch that contrasts nicely with the soft jammy center. This is how I'd serve these if I were bringing them to a dinner party rather than packing them in lunchboxes.
- Warm dessert with ice cream: In Pakistan, we'd probably serve something like this with cream or a simple custard. Here, I just warm a bar in the microwave for 20 seconds and put a scoop of vanilla ice cream alongside. The cold-warm contrast with the buttery oat base is really good. My husband requests this version specifically after weekend dinners.
Serving and Storage
Serving
At room temperature these bars are firm enough to pick up and eat like a granola bar — great for lunchboxes or a quick breakfast. Slightly warmed (20 seconds in the microwave), the jam gets soft and gooey and they feel much more like dessert. Serve warm ones on a plate with vanilla ice cream or a dollop of whipped cream if you want to make them feel a bit more special. They also pair well with a cup of tea or coffee — that's usually how I eat them at 3pm when the kids are home from school.
Storage
Store sliced bars in an airtight container at room temperature for up to 2 days — any longer at room temp and they can get a little soft from the jam. In the refrigerator they keep well for up to a week; I layer them with parchment paper so they don't stick together. For freezing, wrap individual bars in plastic wrap, then place in a zip-top freezer bag. They freeze for up to 2 months. Thaw overnight in the fridge, or unwrap and microwave for 30–45 seconds straight from frozen.
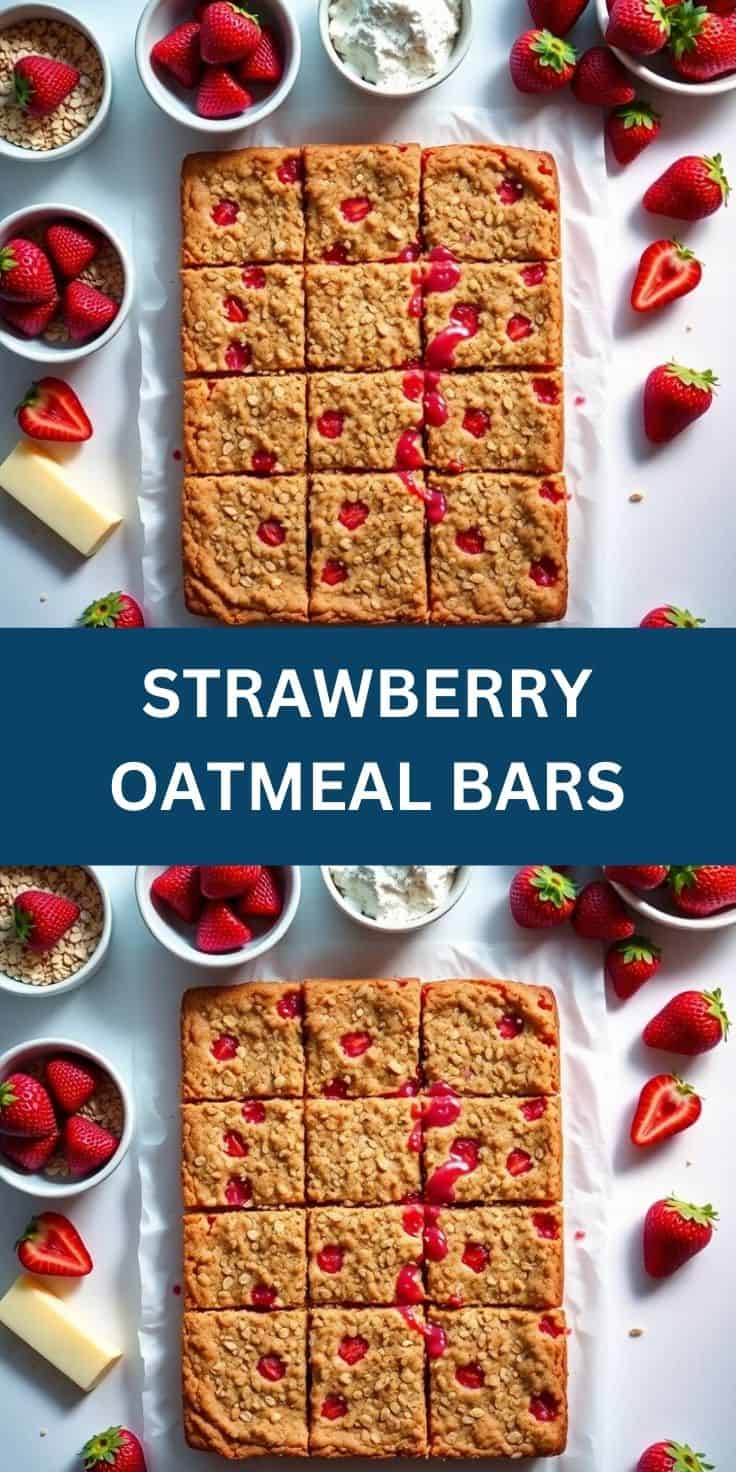
Frequently Asked Questions
Can I use frozen strawberries instead of fresh?
I wouldn't recommend it, honestly. Even if you thaw and drain them, frozen strawberries release a lot of liquid during baking and can make the bottom crust soggy. If fresh strawberries aren't in season, just skip them and use a full cup of thick jam instead — the bars still turn out great.
Can I double this recipe for a larger batch?
Yes, and I do this regularly because a single 8x8 pan disappears too fast in my house. Use a 9x13-inch pan and keep all the quantities doubled. Add about 5 minutes to the bake time, but start checking at the 35-minute mark. You're looking for golden edges and bubbling jam around the perimeter.
Can I freeze these bars?
Yes. Let them cool completely, slice, and wrap each bar individually in plastic wrap. Store in a freezer-safe bag for up to 2 months. To eat, thaw in the fridge overnight or microwave straight from frozen for about 30–45 seconds. They hold up well — the texture stays close to fresh-baked.
Can I use quick oats instead of rolled oats?
You can, but the texture changes noticeably. Rolled oats give you that slightly chewy, hearty bite in both the crust and the topping. Quick oats absorb more moisture and make everything a bit softer and more uniform — still tastes good, but you lose some of the contrasting texture that makes these bars interesting. I'd stick with old-fashioned rolled oats if you can.
What type of jam works best in this recipe?
Thick preserves or jam are what you want — something that holds its shape on a spoon rather than running off it. Bonne Maman, Smucker's, or any store-brand strawberry preserves work well. Avoid very loose or syrupy jam; it seeps into the crust during baking and prevents it from setting properly. If the jam you have seems thin, simmer it in a small saucepan for a few minutes to thicken it up before using.
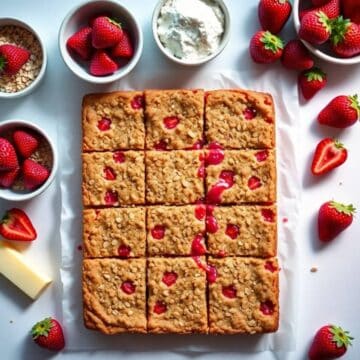
STRAWBERRY OATMEAL BARS
Ingredients
- 1 cup all-purpose flour
- 1 cup old-fashioned oats
- ½ cup brown sugar packed
- ¼ teaspoon salt
- ½ teaspoon baking powder
- ½ cup unsalted butter melted
- 1 teaspoon vanilla extract
- 1 cup strawberry jam or preserves
- Optional: ½ cup chopped fresh strawberries
Instructions
- Preheat Oven: Preheat oven to 350°F (175°C). Grease or line an 8x8-inch baking pan with parchment paper.
- Prepare Crust and Topping: In a bowl, mix flour, oats, brown sugar, salt, and baking powder. Stir in melted butter and vanilla until crumbly.
- Layer Bars: Press about two-thirds of the mixture into the prepared pan to form the crust. Spread strawberry jam evenly over the crust. Sprinkle remaining oat mixture on top, along with fresh strawberries if using.
- Bake: Bake for 30–35 minutes, until golden brown and bubbling at the edges.
- Cool and Serve: Allow to cool completely before cutting into bars.
Notes
- Make Ahead: Bars can be made a day in advance and stored at room temperature.
- Flavor Variations: Try with raspberry or blueberry jam for a twist.
- Serving Suggestions: Delicious on their own or with a scoop of vanilla ice cream.
- Storage Tips: Store in an airtight container at room temperature for 2–3 days or refrigerate for up to 1 week.
I keep coming back to this recipe because it requires almost no thought and the result is always something I'm genuinely happy with. There's something satisfying about a recipe that looks like you did more work than you actually did — these bars come out of the pan looking bakery-level, and nobody needs to know they took 15 minutes of hands-on time. I make them most often in summer when strawberries are good and cheap at the farmers market, but honestly they're worth making year-round with a good jar of preserves.
If you want something on the richer end of the dessert spectrum to round out a baking session, my flourless chocolate cake is the other recipe I make on repeat — it's fudgy, naturally gluten-free, and uses ingredients I almost always have. The two of them together make a really good spread if you're hosting and want to cover both a fruit-forward option and a chocolate one.
These bars have become one of those recipes I don't second-guess anymore. I just make them. If you have overripe strawberries on the counter right now, that's your sign. 🍓✨
If you made these and liked them, here are a few more things from my kitchen you might want to try:
- Pecan Pie Balls (No-Bake) — five ingredients, no oven, done in 20 minutes
- Best Flourless Chocolate Cake — rich, fudgy, and naturally gluten-free
- Baked Vegetable Casserole — if you need a savory counterpart to a sweet weekend spread
- Skinny Low-Fat Chicken Fettuccine Alfredo — for when you want something hearty after all the baking





Comments
No Comments