
Gently fold in the white chocolate chips until they are evenly distributed throughout the cookie dough.
white chocolate chips add a luscious contrast to the bold cocoa flavor, enhancing the overall taste and texture of the cookies. Whether you're a fan of red velvet cake or just love a unique twist on traditional cookies, this recipe delivers big.
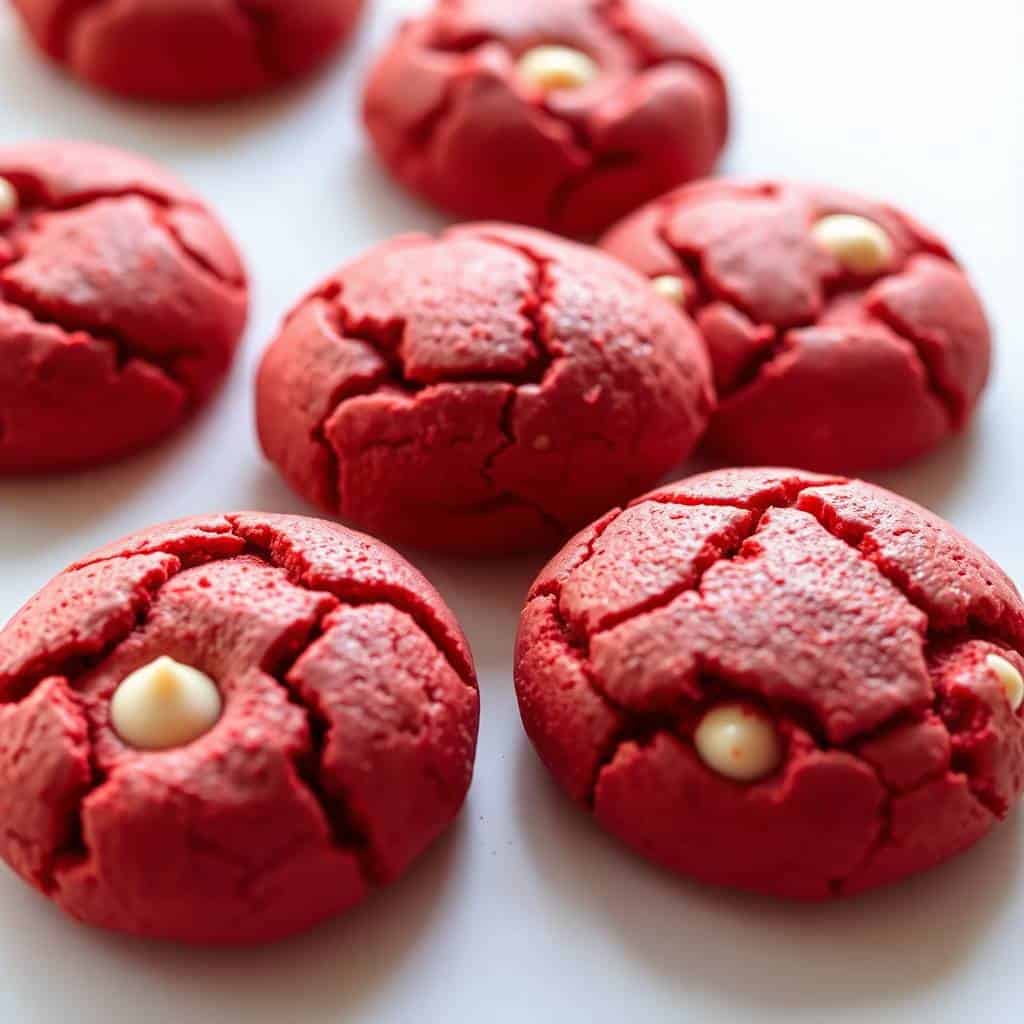
You don’t need to be a professional baker to achieve bakery-style results—this recipe is straightforward and easy to follow. Their deep red color and crackly tops make them visually stunning, sure to impress anyone at first glance.
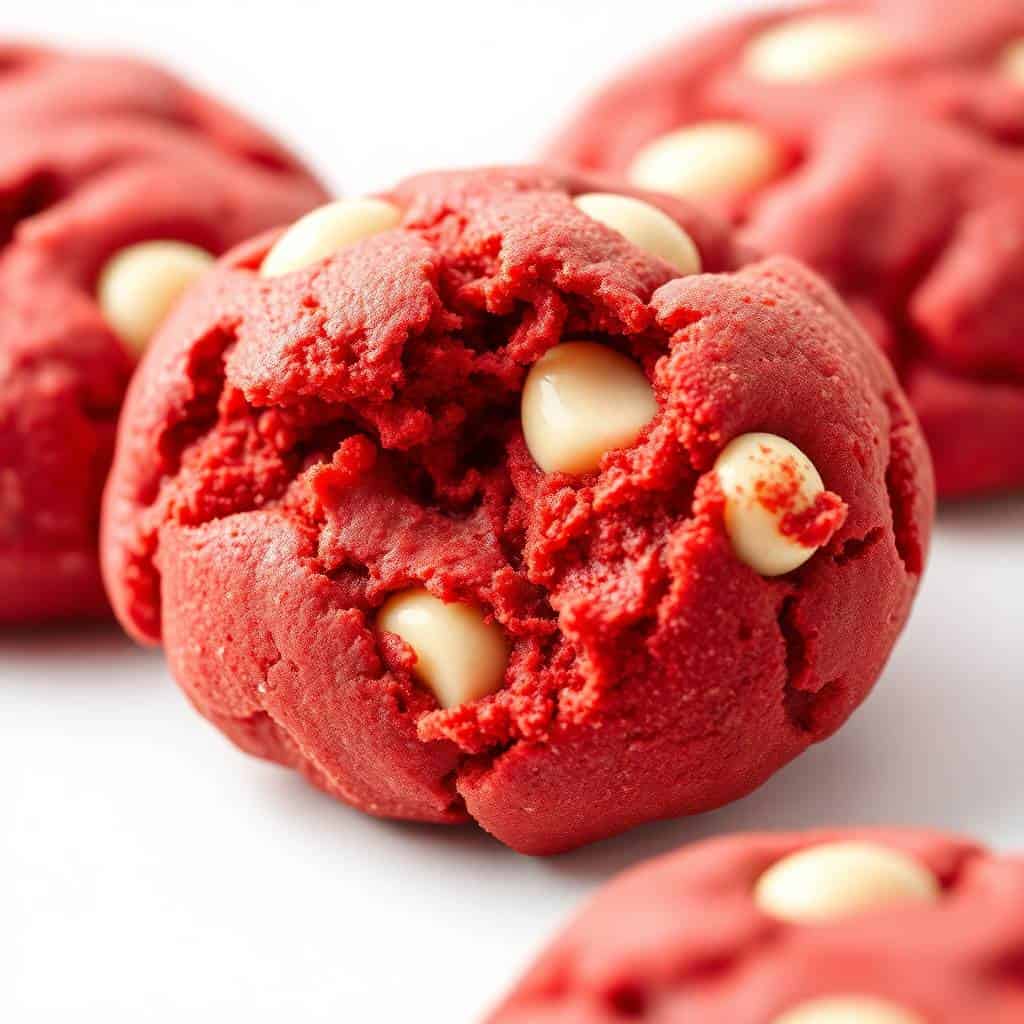
Perfectly soft in the center with slightly crisp edges, these cookies will become a fast favorite. They’re crowd-pleasers at bake sales, parties, or afternoon snacks with a glass of milk. The magic of Red Velvet Cookies lies in their texture and flavor.
These red velvet cookies also freeze beautifully, making them convenient for prepping ahead or enjoying whenever a cookie craving strikes. Each variation enhances the cookies while keeping them soft, moist, and visually appealing.
WHY YOU WILL LOVE THIS RECIPE
- Irresistible Flavor: Deep cocoa taste with a subtle tang makes every bite of these cookies rich, bold, and incredibly satisfying.
- Striking Appearance: The vibrant red color and snowy white chips create a stunning presentation that’s perfect for holidays or gifting.
- Soft and Chewy Texture: These cookies stay soft in the center with just the right amount of crispness around the edges.
- Easy to Make: No complicated steps—just mix, scoop, and bake using simple pantry ingredients and minimal equipment.
- Freezer Friendly: Bake ahead and freeze; they thaw beautifully for quick treats or last-minute guests.
- Customizable Add-ins: Add nuts, extra chips, or even a cream cheese swirl to tailor these cookies to your personal preference.
- Perfect for Gifting: Package these beautiful cookies in a tin or jar for a thoughtful homemade gift everyone will love.
INGREDIENTS
- 1 ½ cups all-purpose flour
- ¼ cup unsweetened cocoa powder
- ½ teaspoon baking soda
- ¼ teaspoon salt
- ½ cup unsalted butter, softened
- ¾ cup brown sugar, packed
- ¼ cup granulated sugar
- 1 large egg
- 1 tablespoon milk
- 2 teaspoons vanilla extract
- 1 tablespoon red food coloring
- ¾ cup white chocolate chips
DIRECTIONS
- Step No.1: Preheat the oven
Preheat your oven to 350°F (175°C) and line two baking sheets with parchment paper or silicone baking mats for easy cleanup.
- Step No.2: Mix dry ingredients
In a medium bowl, whisk together the flour, cocoa powder, baking soda, and salt until evenly combined. Set this mixture aside.
- Step No.3: Cream butter and sugars
In a large bowl, beat the softened butter, brown sugar, and granulated sugar together until light and fluffy, about 2-3 minutes.
- Step No.4: Add wet ingredients
Add the egg, milk, vanilla extract, and red food coloring to the butter mixture. Beat until everything is well incorporated and smooth.
- Step No.5: Combine mixtures
Gradually add the dry ingredients to the wet mixture, stirring just until combined. Avoid overmixing to keep the cookies tender.
- Step No.6: Fold in chocolate chips
Gently fold in the white chocolate chips until they are evenly distributed throughout the cookie dough.
- Step No.7: Scoop and bake
Using a cookie scoop, drop dough onto prepared baking sheets, spacing about 2 inches apart. Bake for 10-12 minutes until set at the edges.
- Step No.8: Cool and serve
Let cookies cool on the baking sheet for 5 minutes before transferring to a wire rack. Serve warm or once fully cooled.
TIPS FOR SUCCESS
- Use Room Temperature Butter: Soft butter creams better with sugar and helps achieve the right cookie texture and structure.
- Do Not Overmix: Overmixing dough activates gluten and leads to tough cookies—mix just until the flour disappears.
- Chill If Needed: If your dough is too soft, chill it for 20 minutes to prevent spreading during baking.
- Measure Flour Correctly: Spoon flour into your measuring cup and level it off to avoid dense, dry cookies.
- Use Gel Food Coloring: Gel food coloring provides vibrant color without altering the texture like liquid food coloring can.
- Even Cookie Sizes: Use a cookie scoop to ensure uniform cookies that bake evenly every time.
- Let Them Cool: Cookies continue to cook as they cool—remove from oven when edges are set but centers look slightly underbaked.
VARIATIONS
- Add Cream Cheese Chips: Swap white chocolate chips with cream cheese-flavored chips for extra tang and rich creaminess in every bite.
- Include Nuts: Add chopped pecans or walnuts for added crunch and nutty flavor that pairs well with red velvet.
- Chocolate Drizzle: Once cooled, drizzle with melted dark or white chocolate for an extra layer of decadence and presentation flair.
- sandwich cookies: Spread cream cheese frosting between two cookies for a decadent sandwich-style treat.
- Mini Version: Make bite-sized cookies using a smaller scoop—great for parties or portion control without sacrificing flavor.
- Stuff with Filling: Place a cream cheese ball or truffle inside dough balls for a gooey surprise center.
- Holiday Twist: Decorate with red and green sprinkles or heart-shaped confetti for themed treats.
SERVING AND STORAGE
Serving
Serve with a glass of cold milk or coffee for a delightful snack, dessert, or festive party treat.
Storage
Store in an airtight container at room temperature for up to 5 days or freeze for up to 2 months.
FAQ
Yes, beet powder or natural food coloring can be used, though the color may be less vibrant.
Yes, substitute with a 1:1 gluten-free flour blend. Check that all other ingredients are certified gluten-free as well.
Yes, substitute with a 1:1 gluten-free diet flour blend. Check that all other ingredients are certified gluten-free as well.
Butter is best for flavor and texture, but margarine can work. Avoid oil—it will make the dough too soft.
No, you can use milk, dark, or semi-sweet chocolate chips, though white pairs beautifully with the red velvet flavor.
Red velvet cookies offer more than just a pretty appearance—they deliver bold flavor and the kind of texture one craves.
With every bite, you get that classic cocoa richness, a touch of vanilla, and just enough tang to make them memorable.
They're versatile, too. You can dress them up for the holidays, gift them to friends, or stash a batch in the freezer.
Each cookie has that bakery-style feel without the effort, making them perfect for any day of the week.


RED VELVET COOKIES
Ingredients
- 2 ½ cups all-purpose flour
- 2 tablespoons cocoa powder
- 1 teaspoon baking soda
- ¼ teaspoon salt
- ½ cup unsalted butter softened
- ¾ cup granulated sugar
- ½ cup brown sugar packed
- 1 large egg
- 1 teaspoon vanilla extract
- 1 –2 teaspoons red food coloring
- 1 cup white chocolate chips or chunks
Instructions
- Preheat Oven: Preheat oven to 350°F (175°C). Line baking sheets with parchment paper.
- Mix Dry Ingredients: In a bowl, whisk together flour, cocoa powder, baking soda, and salt. Set aside.
- Make Dough: In a large bowl, beat butter and sugars until creamy. Add egg, vanilla, and red food coloring, mixing until combined. Gradually add dry ingredients, mixing until a dough forms.
- Add Mix-Ins: Fold in white chocolate chips or chunks.
- Shape Cookies: Scoop dough onto prepared baking sheets, spacing 2 inches apart.
- Bake: Bake 12–14 minutes or until edges are set. Cool on sheets 5 minutes before transferring to a wire rack.
Notes
- Make Ahead: Dough can be chilled for 1–2 days to enhance flavor.
- Flavor Variations: Add crushed peppermint for a holiday twist or swap white chocolate with dark chocolate.
- Serving Suggestions: Enjoy with milk, coffee, or tea for a festive treat.
- Storage Tips: Store in an airtight container at room temperature for up to 3 days; freeze for longer storage.





Comments
No Comments