
These Red Velvet Cheesecake Bites are rich, creamy, and loaded with classic red velvet flavour in every bite. With a deep red colour and a smooth cheesecake texture, they are the perfect combination of elegance and indulgence.
They start with a crisp chocolate cookie base that complements the creamy red velvet filling. Baked in a mini muffin tin, these bites are easy to serve and even easier to love. These are just the right size for parties and sharing.
The mild cocoa flavour and tangy cream cheese blend beautifully in this festive recipe. Whether you're making them for Christmas, Valentine's Day, or just because, these cheesecake bites are always a crowd-pleaser.
They’re beautiful on dessert platters and don’t require much decorating to impress. You can top them with whipped cream, a drizzle of chocolate, or red sprinkles to match any theme. One batch makes plenty to share—or keep all to yourself!
If you love red velvet cake and cheesecake, this recipe brings both worlds together. No slicing required—just peel off the wrapper and enjoy an indulgent, fudgy treat. Best of all, they can be made ahead and stored in the fridge or freezer.

WHY YOU WILL LOVE THIS RECIPE
- Bite-Sized Indulgence: Perfect portions that are easy to serve, eat, and share at parties or special gatherings.
- Red Velvet Perfection: Classic red velvet flavour with a hint of cocoa and cream cheese tang in every single bite.
- Smooth and Creamy: Silky cheesecake texture pairs beautifully with the crisp base for a satisfying mouthfeel.
- Festive and Fun: Bright red colour and elegant look make them perfect for holidays like Christmas or Valentine’s Day.
- No Mess, No Fuss: No slicing needed—just peel and pop! Super convenient for parties and events.
- Make-Ahead Friendly: These freeze and refrigerate well, so you can prep them ahead of time with no stress.
- Easy to Customise: Change toppings, crusts, or colours to match different seasons and occasions.
INGREDIENTS
- 12 chocolate sandwich cookies (like Oreos)
- 2 tablespoons melted butter
- 16 oz (450 g) cream cheese, softened
- ½ cup granulated sugar
- 2 large eggs
- ¼ cup sour cream
- 2 tablespoons cocoa powder
- 2 teaspoons red food colouring (gel or liquid)
- 1 teaspoon vanilla extract
- Pinch of salt
Optional Toppings:
- Whipped cream
- White chocolate drizzle
- Red or heart-shaped sprinkles
- Mini chocolate chips
DIRECTIONS
- Step No.1: Prepare the crust
Crush the chocolate cookies into fine crumbs, mix with melted butter, and press into lined mini muffin tins to form crusts.
- Step No.2: Preheat the oven
Preheat your oven to 325°F (160°C). Line a 24-cup mini muffin pan with paper liners for easy release.
- Step No.3: Make the filling
Beat cream cheese and sugar until smooth. Add eggs, sour cream, cocoa, food colouring, vanilla, and salt. Mix until well combined and creamy.
- Step No.4: Fill and bake
Spoon the mixture over the crusts in each liner. Bake for 16–18 minutes or until centres are set but still slightly soft.
- Step No.5: Cool and chill
Cool at room temperature for 30 minutes. Refrigerate at least 2 hours, or until firm. Add toppings just before serving.
TIPS FOR SUCCESS
- Use Soft Cream Cheese: Room temperature cream cheese makes the batter smoother and easier to mix.
- Don’t Overbake: Remove when centres still jiggle slightly—they’ll finish setting as they cool.
- Use Gel Colouring: Gel red food colouring provides a more vibrant colour without watering down the batter.
- Press Crust Firmly: Compact crusts hold better and give a satisfying crunch under the creamy filling.
- Chill Thoroughly: Refrigerating fully before serving improves texture and flavour.
- Keep It Neat: Use a piping bag or ziplock to fill muffin liners cleanly.
- Decorate Before Serving: Add toppings after chilling to prevent melting or sinking.
VARIATIONS
- Cookie Swap: Try graham crackers, ginger benefitssnaps, or red velvet cookies as a base instead of chocolate cookies.
- Chocolate Drizzle: Top with melted white or dark chocolate for extra richness and flair.
- Swirl in Cream Cheese: Add a plain cream cheese swirl for extra contrast and flavour.
- Heart-Shaped Liners: Use festive liners or shapes for Valentine’s Day or anniversaries.
- Add Mini Chips: Stir mini chocolate chips into the filling for a crunchy surprise.
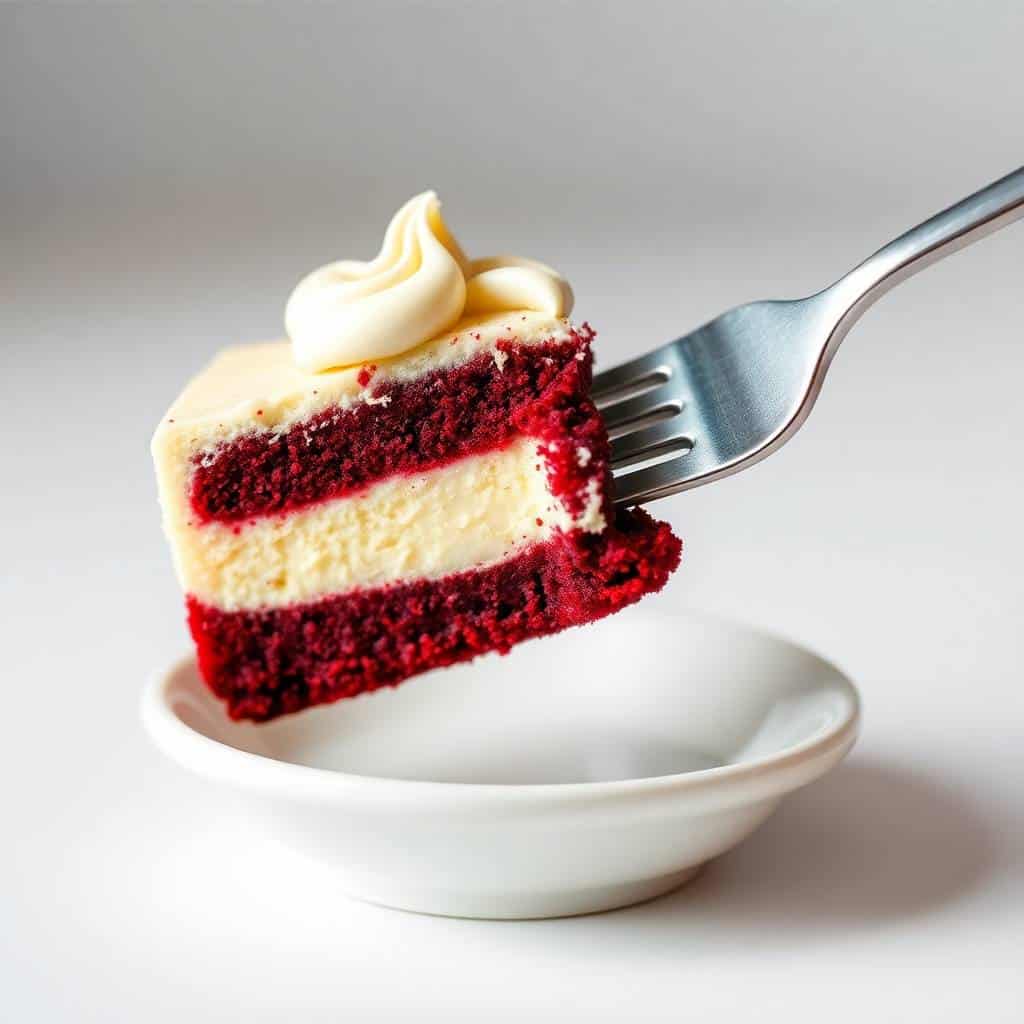
- Frost Like Cupcakes: Top with cream cheese frosting for a more decadent, layered treat.
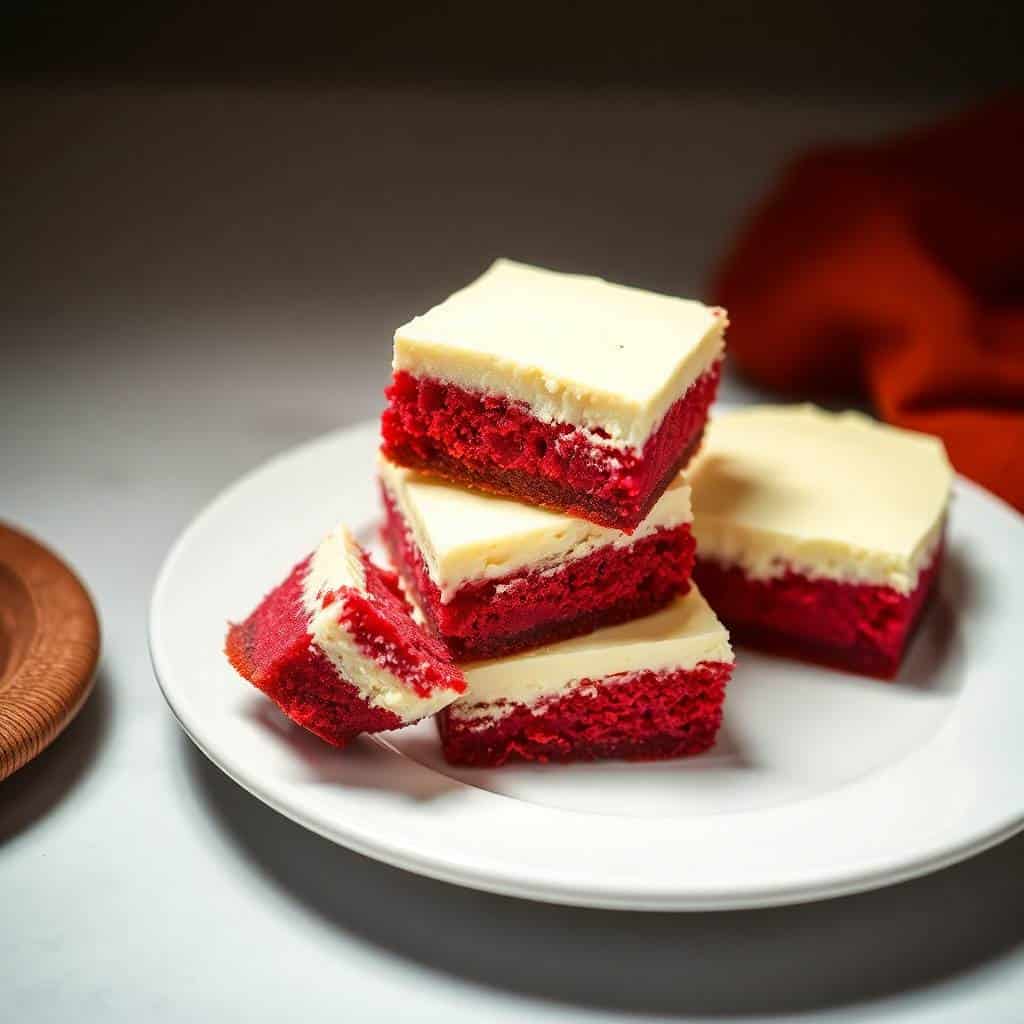
- Make It Full-Sized: Pour into an 8x8 pan for bars instead of individual bites.
SERVING AND STORAGE
Serving
Serve chilled with whipped cream and festive sprinkles for a holiday-ready bite-sized dessert that’s always a hit.
Storage
Refrigerate in a sealed container for 4–5 days. Freeze up to 1 month; thaw in the fridge before serving.
FAQ
Yes! Leave out the colouring and you’ll still have delicious cocoa-flavoured cheesecake bites with a natural tone.
Absolutely. Just use two mini muffin pans or bake in batches.
Yes. Freeze after chilling, then thaw overnight in the fridge before serving.
Full-fat cream cheese gives the best texture, but you can use low-fat for a slightly lighter version.
Don’t overmix the batter and avoid overbaking. Let them cool gradually for best results.
With their beautiful colour and elegant flavour, they’re perfect for celebrating any special occasion in style.
The mini size means no cutting or plating—just grab and go! You can customise the decorations to match any party theme.
Whether you're baking for a crowd or just treating yourself, these cheesecake bites are sure to please.
Keep a stash in your freezer for whenever the craving strikes—they’re impossible to resist!


RED VELVET CHEESECAKE BITES
Ingredients
For the Red Velvet Cake:
- 1 cup all-purpose flour
- 1 tablespoon cocoa powder
- ½ teaspoon baking soda
- ¼ teaspoon salt
- ½ cup vegetable oil
- 1 cup granulated sugar
- 1 large egg
- 1 tablespoon red food coloring
- ½ teaspoon vanilla extract
- ½ cup buttermilk
For the Cheesecake Filling:
- 8 oz 225g cream cheese, softened
- ¼ cup granulated sugar
- 1 large egg
- ½ teaspoon vanilla extract
Instructions
Preheat Oven:
- Preheat oven to 350°F (175°C). Line a 24-cup mini muffin tin with paper liners.
Make Red Velvet Cake Batter:
- In a bowl, whisk together flour, cocoa powder, baking soda, and salt. In another bowl, beat oil, sugar, egg, food coloring, vanilla, and buttermilk until smooth. Gradually add dry ingredients to wet ingredients.
Make Cheesecake Filling:
- In a separate bowl, beat cream cheese, sugar, egg, and vanilla until smooth.
Assemble Bites:
- Spoon about 1 tablespoon of red velvet batter into each mini muffin cup. Add 1 teaspoon of cheesecake filling on top. Swirl gently with a toothpick.
Bake:
- Bake for 22–25 minutes or until edges are set.
Cool and Chill:
- Cool completely, then refrigerate for at least 2 hours before serving.
Notes
Customisations: Top with mini chocolate chips or cream cheese frosting.
Serving Suggestions: Serve chilled at parties or as a sweet snack.
Storage Tips: Store leftovers in an airtight container in the fridge for up to 3 days.





Comments
No Comments