
Every December, I end up making at least three or four no-bake treats because my oven is already running nonstop with other things. These peanut butter snowballs are the ones I always come back to. They take about 45 minutes start to finish, most of that is just chilling time, and somehow they always disappear before I've even finished rolling the last batch.
What I love about this recipe is how forgiving it is. You're mixing peanut butter, softened butter, powdered sugar, and crushed graham crackers — that's basically it. No candy thermometer, no tempering chocolate, no weird technique. The graham cracker crumbs are what give these a little body and a gentle crunch that keeps them from being one-note sweet. I tried making them without the crackers once and they were too soft and too rich. The crackers matter.
Zainab is my holiday baking helper, and she loves rolling these into balls more than almost any other kitchen task I've given her. We make a double batch every time because one batch is genuinely not enough for our house — between the kids snacking while we roll and my husband finishing the rest after dinner, a single batch barely makes it to the fridge. If you're making these for a holiday platter or gifting, I'd do two batches without question. If you're also putting together a dessert spread, these sit nicely alongside something like my Heart Oreo Balls — different texture, same no-bake ease.
One thing to set expectations on: the powdered sugar coating is gorgeous right out of the fridge, but if they sit at room temperature for a while, the coating can look a bit absorbed and dull. My fix is to keep them chilled and do a quick second roll in powdered sugar right before serving. Takes thirty seconds and makes them look fresh and snowy again.
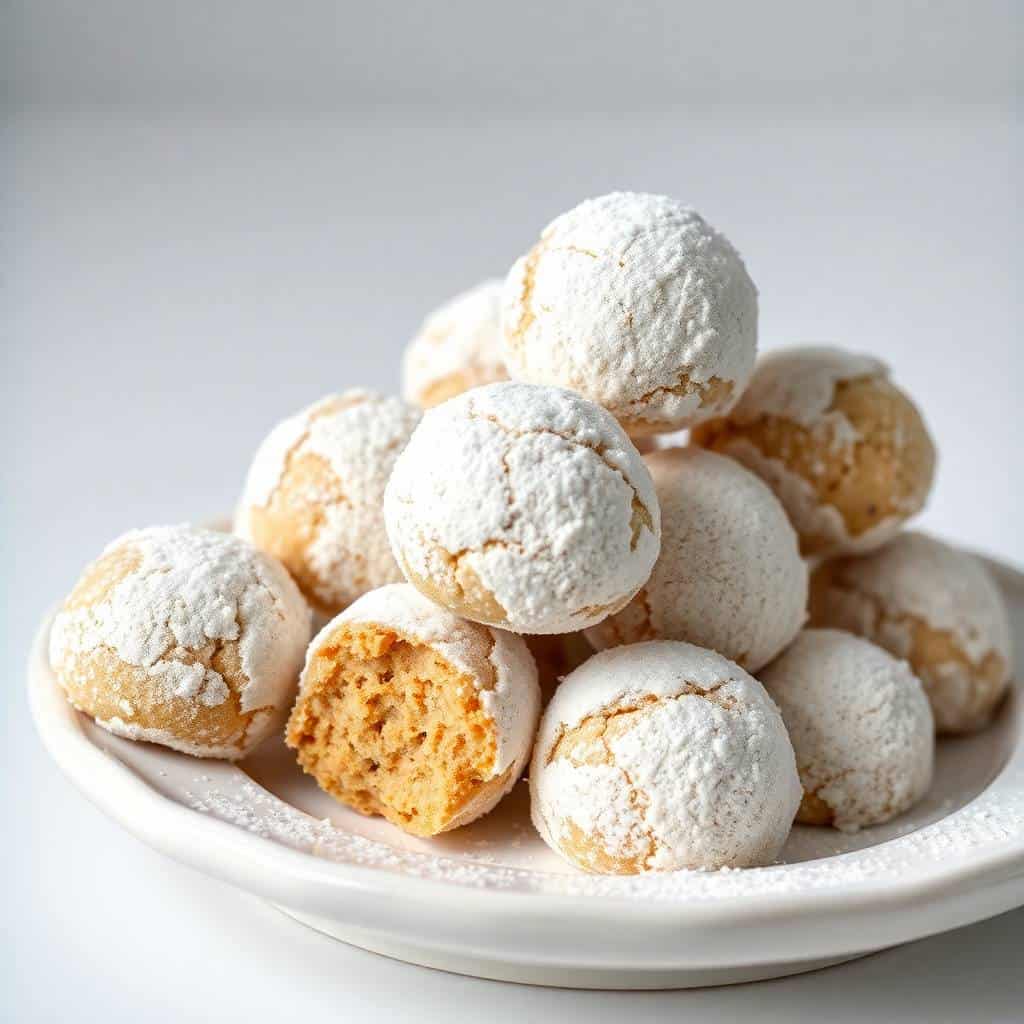
Why You'll Love This Recipe
- No oven needed: The whole recipe comes together without turning the oven on, which is genuinely useful during the holidays when the oven is already occupied. I've made these on Christmas Eve when every rack was taken and it felt like a small victory. They're also great for summer when you don't want to heat up the kitchen at all.
- Five ingredients, one bowl: There's no sifting, no separating eggs, no complicated steps. You mix everything in one bowl, refrigerate, roll, and coat. I've made these in under an hour including chill time when I needed something for a last-minute school event.
- They travel well: Unlike frosted cookies or anything with a glaze that smears, these hold their shape in a tin or container. I pack them in mini paper cups inside a holiday tin and they look like something from a bakery. They've survived a two-hour car trip in the winter without any issues.
- Kids can actually help: The rolling step is genuinely fun for kids and doesn't require sharp tools or hot surfaces. Zainab handles the powdered sugar coating and takes that job very seriously. It's one of those recipes where a child can be involved from start to finish without any stress on your end.
- Make-ahead friendly: You can make these three or four days before you need them and they actually get better as they sit — the flavors settle and the texture firms up nicely. I make them at the start of holiday week and they're ready whenever I need them for a platter or a gift.
Ingredients
- 1 cup creamy peanut butter
- ¼ cup unsalted butter, softened
- 1 cup powdered sugar, plus extra for rolling
- 1½ cups crushed graham cracker crumbs (about 10 full crackers)
- ½ teaspoon vanilla extract
- Pinch of salt
- Optional: mini chocolate chips or chopped peanuts for mixing in
Directions
- Step 1: Make the dough — In a large bowl, beat the peanut butter and softened butter together until smooth and combined. Add the powdered sugar, vanilla extract, and pinch of salt and mix until incorporated. Stir in the graham cracker crumbs until the mixture comes together into a firm, slightly sticky dough. If you're adding chocolate chips or chopped peanuts, fold them in now.
- Step 2: Chill the dough — Cover the bowl with plastic wrap and refrigerate for at least 30 minutes. This step is not optional — the dough is too soft to roll before chilling and will stick to your hands constantly. I've skipped this in a rush and ended up with messy, misshapen lumps. Just wait the 30 minutes.
- Step 3: Roll into balls — Once chilled, scoop the dough using a tablespoon or small cookie scoop and roll between your palms into smooth 1-inch balls. Place them on a parchment-lined baking sheet or plate as you go. If the dough starts sticking to your hands, run them under cold water and dry them before continuing.
- Step 4: Coat in powdered sugar — Pour a generous amount of powdered sugar into a shallow bowl and roll each ball until fully coated on all sides. The coating gives them the snowball look and adds a light sweetness to the outside.
- Step 5: Chill before serving — Put the coated snowballs back in the fridge for at least 15 minutes to firm up. Right before serving, give each one a quick second roll through the powdered sugar — this keeps them looking fresh and snowy rather than absorbed and patchy.
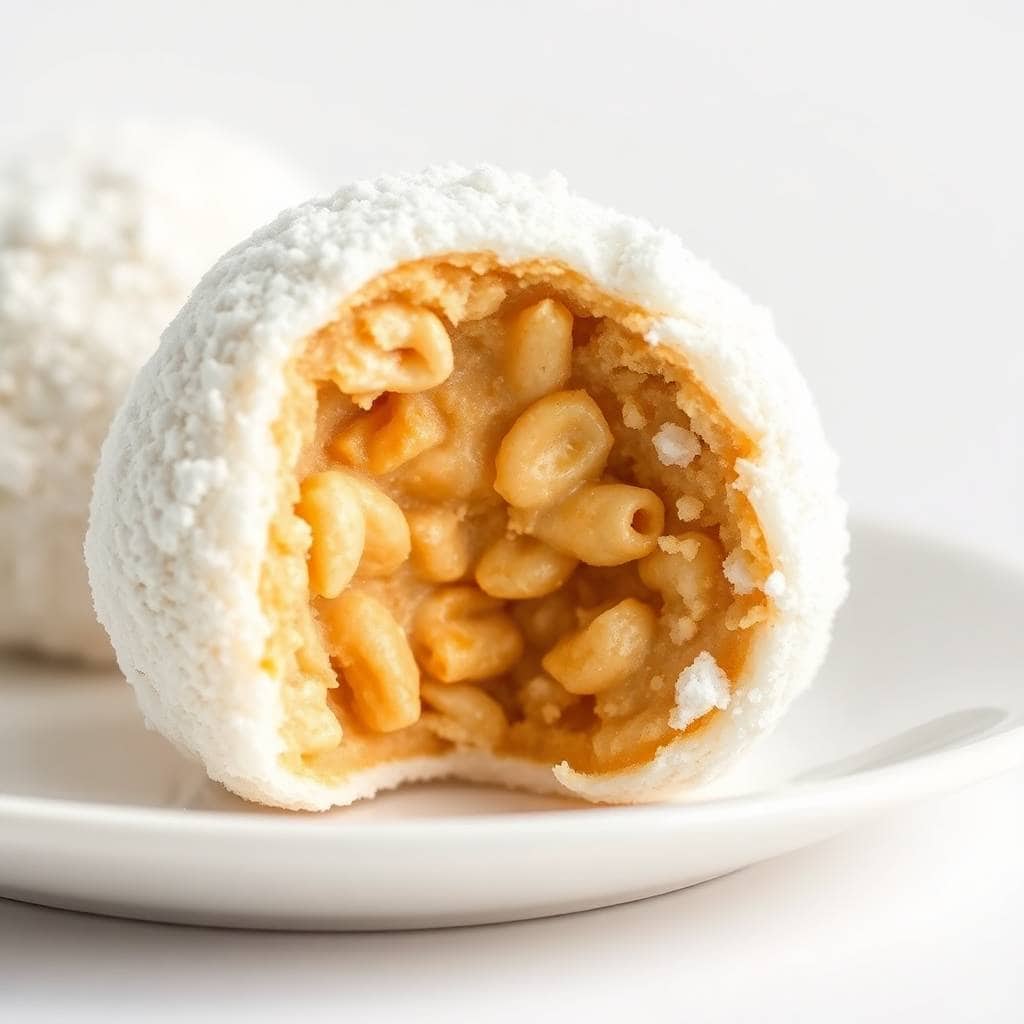
Tips for Success
- Don't skip the butter: The butter is what makes the dough bind properly and gives the snowballs a richer, smoother texture than peanut butter alone. The original recipe I tried years ago didn't include butter and the dough was crumbly and hard to roll. The butter makes a real difference.
- Use regular creamy peanut butter, not natural: I've tested this with natural peanut butter (the kind where the oil separates at the top) and the dough comes out oily and won't hold its shape well. Brands like Jif or Skippy work perfectly because the texture is consistent. If natural peanut butter is all you have, add an extra ¼ cup of powdered sugar and chill the dough longer.
- Crush the crackers fine: If your graham cracker crumbs are too coarse, the dough won't hold together smoothly. I put the crackers in a zip-lock bag and roll over them with a rolling pin until they're fine and sandy. A food processor works faster if you have one, but the bag method takes maybe two minutes and works just as well.
- Keep portions consistent: I use a tablespoon measure to scoop the dough before rolling so all the snowballs are the same size. Inconsistent sizes mean some chill faster than others, and when you're serving them on a platter they look much neater when they match. A small cookie scoop from any kitchen store for around $10 makes this even easier.
- Double-roll right before serving: The first coating soaks in a bit as the snowballs sit in the fridge. A quick second roll in powdered sugar right before you put them on the platter takes ten seconds per ball and makes them look freshly made even if you prepared them two days ago. I always have extra powdered sugar set aside for this.
Variations
- Chocolate-dipped version: After the first chill, dip the balls halfway into melted dark or white chocolate and let them set on parchment before the powdered sugar coat — or skip the sugar entirely for a cleaner look. White chocolate with a dusting of powdered sugar on top looks stunning on a holiday platter. This is the version I make when I want to give them as a gift because they look more finished.
- Crunchy peanut butter version: Swap the creamy peanut butter for crunchy and you get little bits of peanut throughout every bite. My husband prefers this version — he says the smooth ones are too uniform. It doesn't change the recipe at all, just the texture.
- Sweet and salty pretzel version: Replace half the graham cracker crumbs with finely crushed pretzels. The salt cuts through the sweetness in a really good way and adds a subtle crunch. This is my personal favorite variation — I make this version for myself and the classic for the kids.
- Almond butter version: Substitute the peanut butter with almond butter for a milder, slightly different flavor. This is a good option if you're making these for someone with a peanut allergy — just make sure your almond butter is a consistent, non-separating brand. The texture is almost identical and they're just as good.
- Warm spiced version: Add ½ teaspoon of cinnamon and a pinch of nutmeg to the dough. It gives them a warmth that feels very holiday, almost like a spiced cookie in snowball form. I pair these with my cinnamon honey butter toast at breakfast during the holidays and it's a very cozy combination.
Serving and Storage
Serving
Serve these cold, straight from the fridge. I arrange them in mini paper cupcake liners on a platter — it keeps them from rolling around and makes them look put-together without any extra effort. For gifting, I layer them in a tin between sheets of parchment with a little extra powdered sugar dusted over the top. They also look great next to something chocolatey like my Pistachio Pudding Sugar Cookie Bars on a holiday dessert spread.
Storage
Store in an airtight container in the refrigerator for up to one week. Keep layers separated with parchment paper so they don't stick together. For longer storage, freeze them on the parchment-lined tray first until solid, then transfer to a freezer bag — they'll keep for up to 3 months. Thaw in the fridge overnight before serving, then do a final roll through powdered sugar before putting them out.
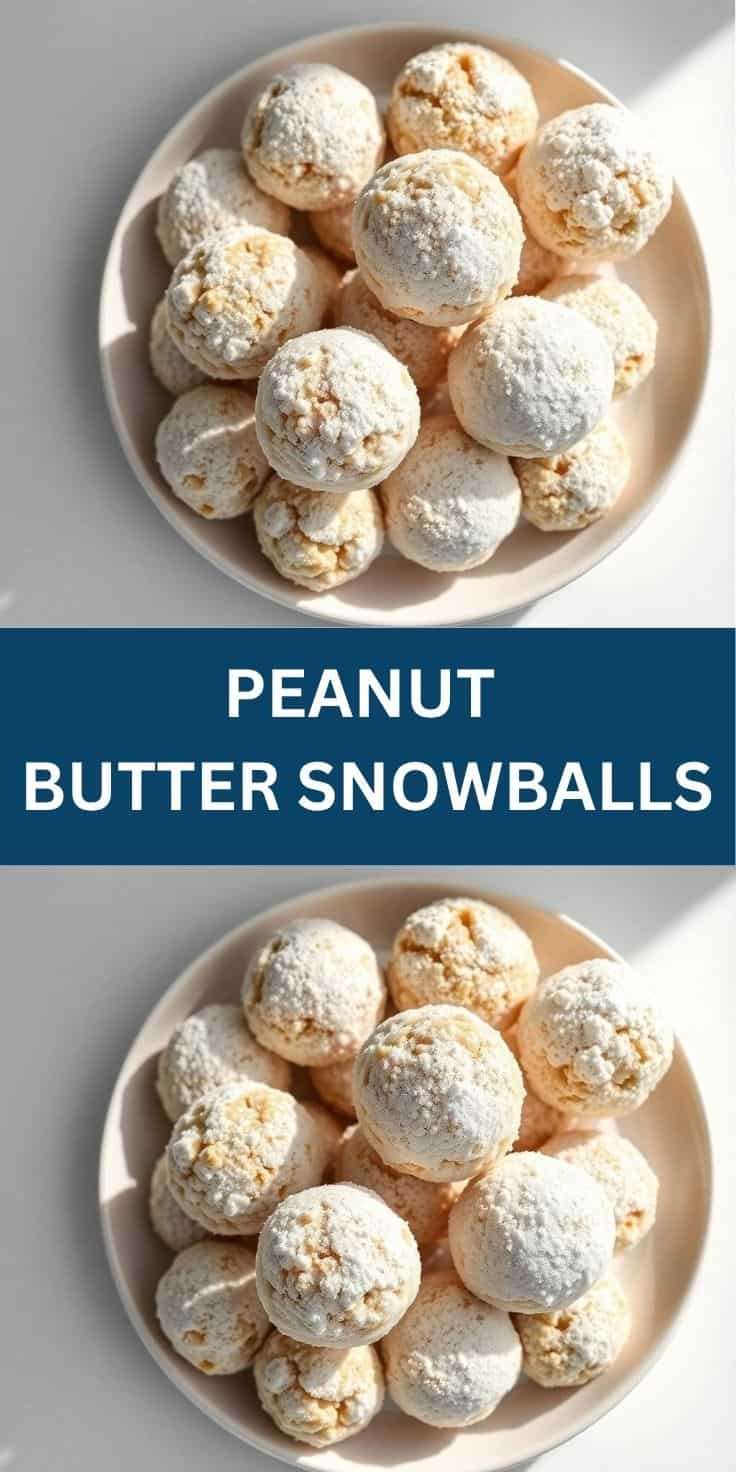
Frequently Asked Questions
Can I use natural peanut butter for these?
You can, but the result will be softer and a bit oilier because natural peanut butter has a higher oil content and inconsistent texture. If you go that route, add an extra ¼ cup of powdered sugar and give the dough a longer chill — at least an hour instead of 30 minutes. I'd really recommend sticking with a regular creamy brand like Jif or Skippy if you can.
How long do peanut butter snowballs keep in the fridge?
They keep well for up to one week in an airtight container in the fridge. I find the texture is actually best on day two or three once everything has settled. Just do a fresh roll in powdered sugar before serving if the coating has absorbed.
Can I freeze peanut butter snowballs?
Yes, and they freeze really well. Freeze them on a parchment-lined tray until solid, then transfer to a freezer bag. They'll keep for up to 3 months. Thaw in the fridge overnight and roll in a fresh coat of powdered sugar before serving — the coating doesn't survive freezing intact.
Can I make these gluten-free?
Yes — just swap the regular graham crackers for gluten-free ones. Most large grocery stores carry gluten-free graham crackers now; I've seen them at Walmart and Trader Joe's. Everything else in the recipe is naturally gluten-free, so it's an easy swap with no adjustment to quantities needed.
My dough is too soft to roll — what do I do?
This usually means the butter was too warm or the peanut butter was on the runny side. Just put the bowl back in the fridge for another 20–30 minutes. If it's still too sticky after that, mix in an extra 2 tablespoons of powdered sugar and chill again. Don't try to push through and roll it when it's soft — you'll end up with lumpy, messy balls that won't hold their shape.
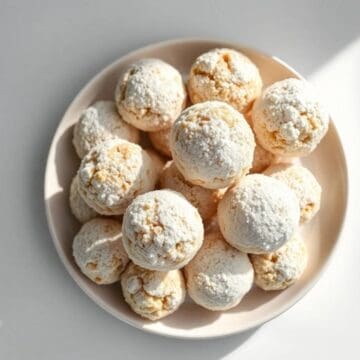
PEANUT BUTTER SNOWBALLS
Ingredients
- 1 cup creamy peanut butter
- ¼ cup unsalted butter softened
- 1 cup powdered sugar plus extra for rolling
- 1 ½ cups crushed graham cracker crumbs
- ½ teaspoon vanilla extract
- Pinch of salt
- Optional: mini chocolate chips or chopped peanuts for mixing in
Instructions
Make the Dough:
- In a large bowl, beat peanut butter and butter until smooth. Add powdered sugar, vanilla, and salt. Mix in graham cracker crumbs until well combined. Fold in chocolate chips or peanuts if using.
Shape and Chill:
- Roll mixture into 1-inch balls. Place on a parchment-lined tray and chill for 30 minutes.
Coat:
- Roll chilled balls in powdered sugar until fully coated. For an extra snowy look, roll again just before serving.
Notes
Make Ahead: Store in an airtight container in the fridge for up to 1 week or freeze for longer storage.
Dietary Swaps: Use a plant-based butter for dairy-free; use gluten-free graham crackers if needed.
Gifting Tip: Pack in mini paper cups and place in a festive tin for easy gifting.
I've made these snowballs every December for the past few years and they've become one of those things my family just expects to see on the counter during the holidays. There's nothing complicated about them, which is exactly why I keep coming back to this recipe — when the season gets hectic, I need things I can make on autopilot without pulling out a mixer or watching a timer carefully.
What I appreciate most is that they're genuinely good, not just easy. The combination of peanut butter, butter, and graham cracker crumbs hits a different note than something purely sweet — there's a little saltiness, a little crunch, and the powdered sugar coating keeps each bite light. I've brought these to school events, packed them into tins for neighbors, and put them out at family gatherings. They always go faster than I expect.
If you're building out a holiday treat spread, these pair really well alongside the Cranberry Walnut Bread — the tartness of the cranberry bread balances the richness of the snowballs nicely. And if you want another no-bake option in the same family, my Heart Oreo Balls use a similar method and are just as easy to make in a big batch.
Make a double batch. Roll them with your kids. Keep a tin in the fridge for the week. You will not regret it. 🎄❄️🥜
If you liked this recipe, here are a few more you might want to try:
- Heart Oreo Balls: No-Bake Valentine's Day Treat (3 Ingredients)
- Cranberry Walnut Bread
- Pistachio Pudding Sugar Cookie Bars
- Cinnamon Honey Butter
- Berry Refresher





Comments
No Comments