
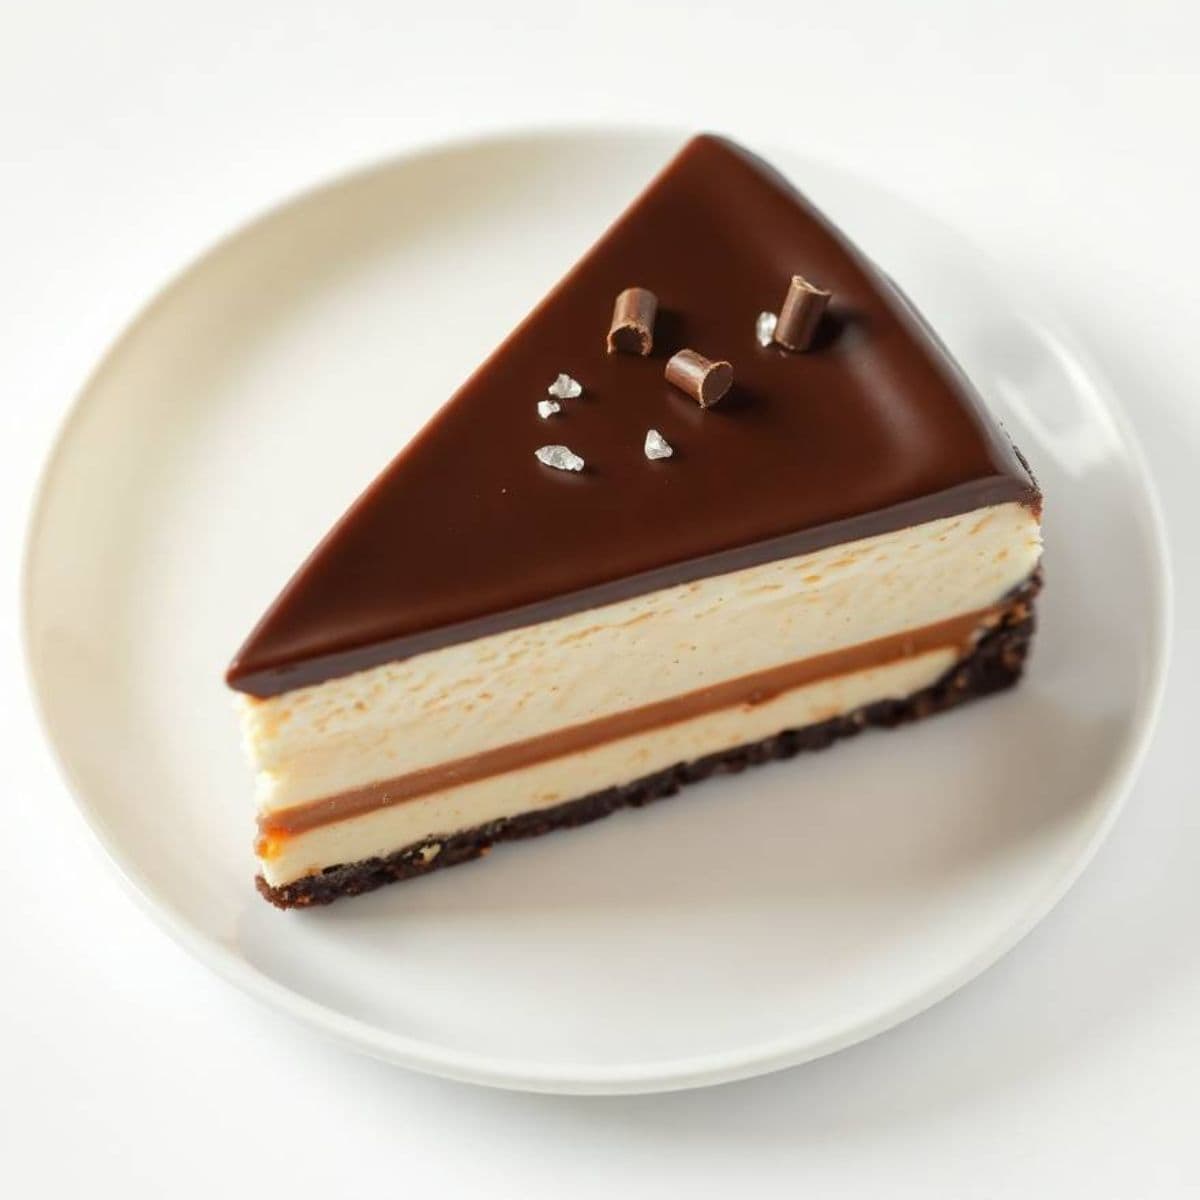
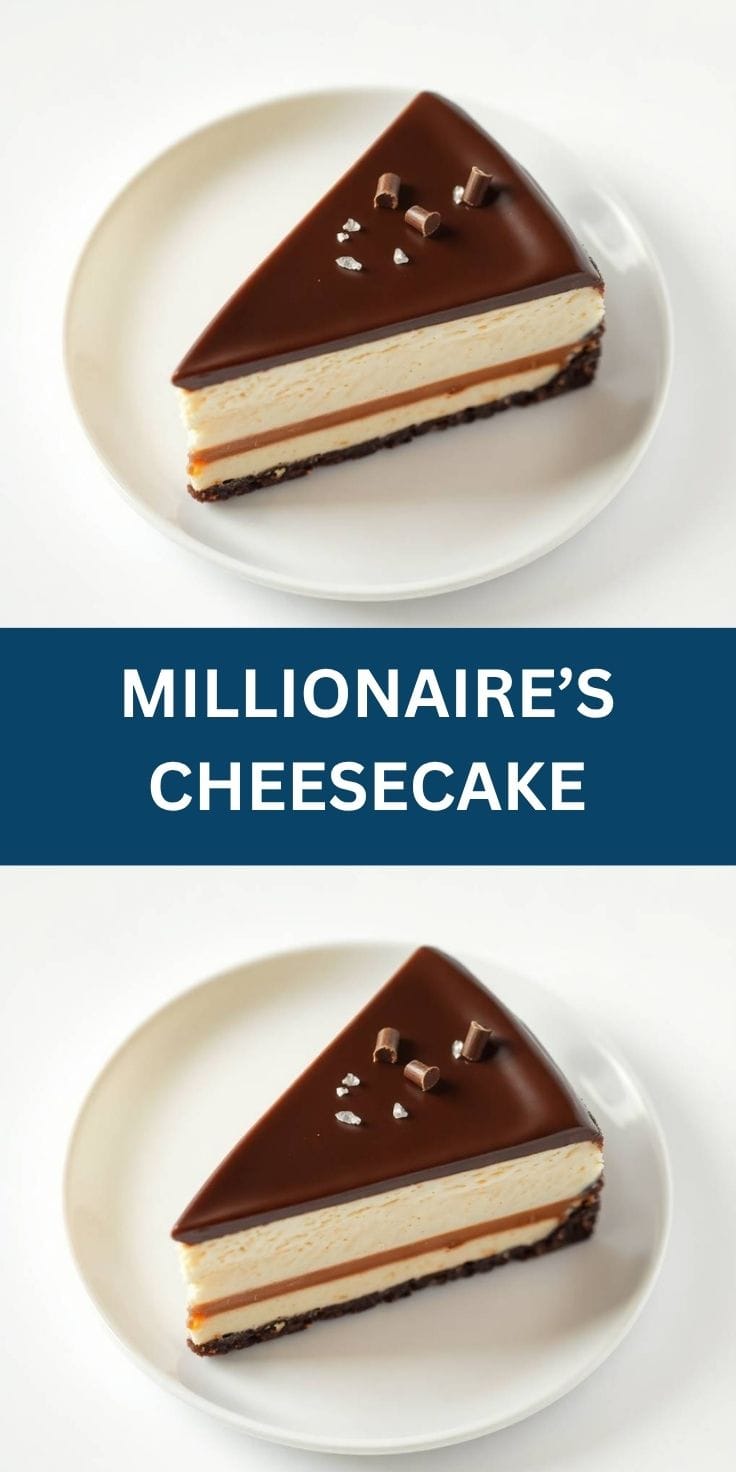
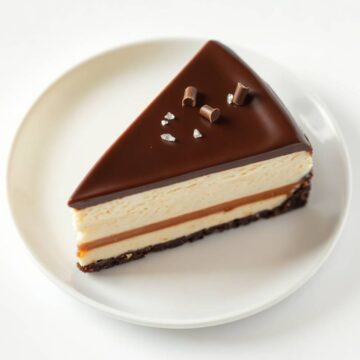
Millionaire’s Cheesecake is an indulgent dessert that combines the luxurious textures and flavours of a classic cheesecake with the irresistible richness of millionaire’s shortbread. No baking is required, and it’s surprisingly easy to assemble.
The base of this dessert features crushed biscuits mixed with melted butter, forming a crunchy layer that holds everything together. It’s a show-stopping treat perfect for birthdays, holidays, or any celebration when you want to impress.
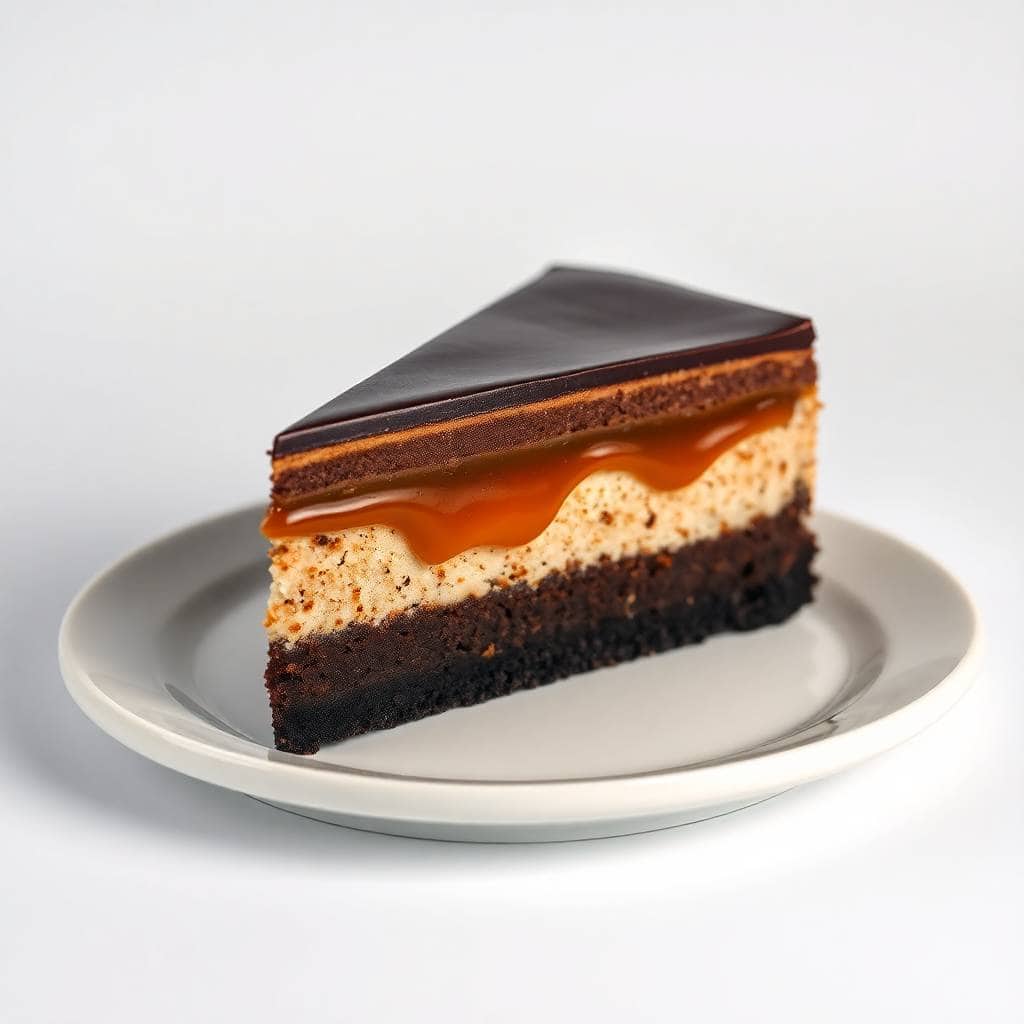
The real magic comes with the thick, gooey caramel layer, giving the cheesecake that signature millionaire’s twist. Each bite has crunch, creaminess, sweetness, and just the right amount of saltiness—perfectly balanced for dessert lovers.
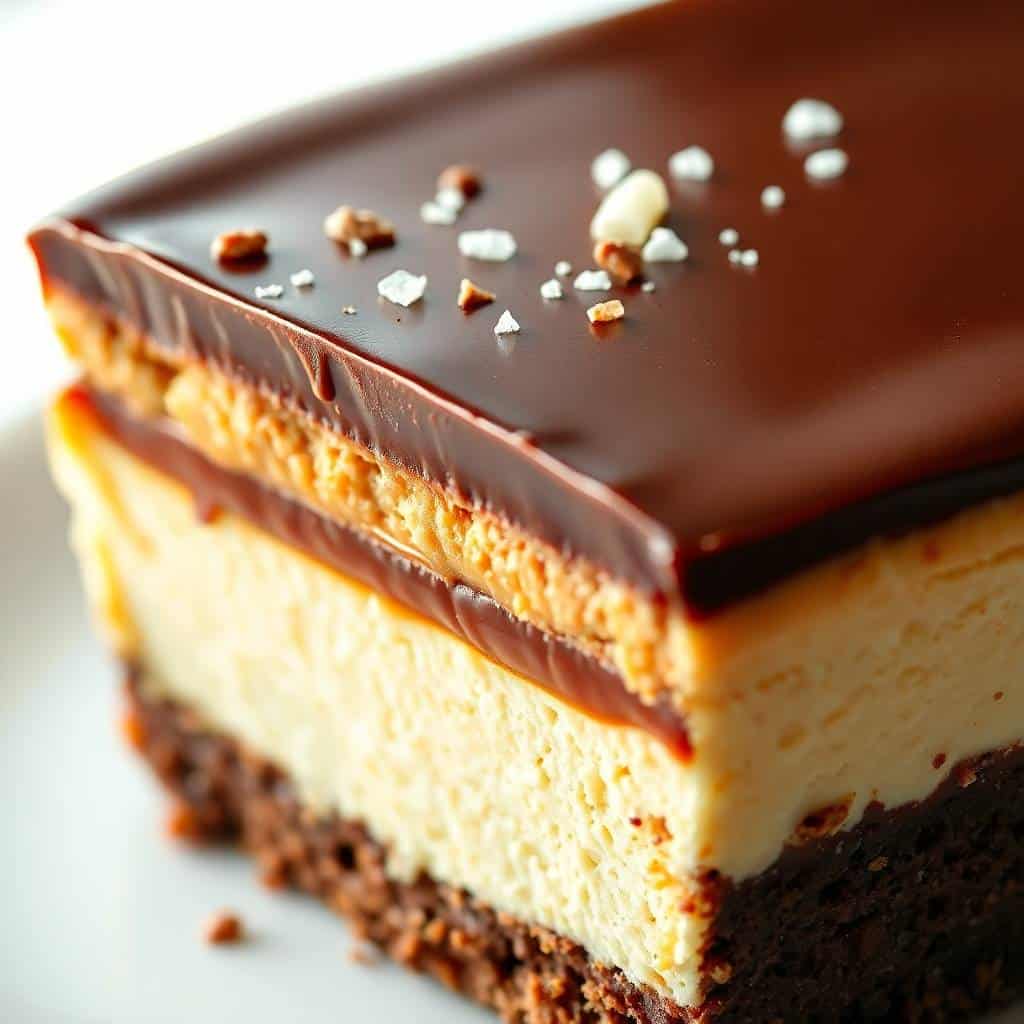
The final topping is a glossy chocolate ganache, which sets beautifully on top of the caramel and provides a slightly bitter contrast to the sweet filling below. On top of that is a silky smooth cream cheese layer that’s light yet rich.
Millionaire’s Cheesecake is perfect for making ahead, as it chills beautifully and holds its shape well. Whether you’re serving guests or simply treating yourself, it feels like a bakery-quality dessert you can easily prepare at home.
WHY YOU WILL LOVE THIS RECIPE
- No-Bake Wonder: You don’t need an oven to enjoy this cheesecake, making it quick, easy, and perfect for hot weather.
- Show-Stopping Layers: The biscuit, caramel, cheesecake, and ganache layers look impressive and taste even better.
- Decadent Texture: Creamy, smooth, crunchy, and gooey—all textures come together in one luscious bite.
- Perfect for Celebrations: It’s fancy enough for special occasions but easy enough for any time you want to treat yourself.
- Caramel Bliss: The thick layer of homemade or store-bought caramel adds a luxurious, buttery flavour to every slice.
- Make-Ahead Friendly: Chill it overnight and serve the next day—great for planning ahead.
- Crowd Favourite: Everyone—from kids to adults—loves this rich, chocolatey, caramel-filled dessert.
INGREDIENTS
- 250 g digestive biscuits (or graham crackers)
- 100 g unsalted butter, melted
- 400 g cream cheese, softened
- 100 g powdered sugar
- 1 teaspoon vanilla extract
- 300 ml double cream (heavy cream), whipped
- 300 g thick caramel sauce (homemade or store-bought)
- 150 g dark chocolate
- 75 ml double cream (for ganache)
- Pinch of sea salt (optional, for garnish)
DIRECTIONS
- Step No.1: Prepare the biscuit base
Crush the biscuits into fine crumbs and mix with melted butter. Press firmly into a springform tin and refrigerate for 30 minutes to set.
- Step No.2: Make the cheesecake layer
In a bowl, beat cream cheese, powdered sugar, and vanilla until smooth. Fold in whipped cream gently to keep it airy and light.
- Step No.3: Layer the cheesecake
Spread the cream cheese mixture evenly over the chilled biscuit base. Smooth the top and refrigerate for at least 1 hour.
- Step No.4: Add the caramel layer
Spread a thick layer of caramel sauce over the cheesecake. Make sure it covers evenly, then chill again for 30 minutes.
- Step No.5: Make and pour the ganache
Heat double cream and pour over chopped chocolate. Stir until smooth, then pour over the caramel layer and chill until set.
- Step No.6: Serve and garnish
Carefully remove from the tin. Garnish with sea salt flakes if desired. Slice with a warm knife for clean cuts.
TIPS FOR SUCCESS
- Chill each layer: Allow each layer to set before adding the next for neat, even layers that hold well.
- Use full-fat cheese: Full-fat cream cheese provides better texture and flavour than low-fat alternatives.
- Whip cream to soft peaks: Soft peaks help the cheesecake hold structure without becoming too stiff or airy.
- Warm knife trick: Dip your knife in hot water before slicing for cleaner, neater pieces.
- Use quality caramel: A rich, thick caramel enhances flavour—homemade or high-quality store-bought is ideal.
- Don’t rush chilling: Chill the whole cheesecake overnight for best results and easier slicing.
- Add sea salt: A sprinkle of sea salt on top enhances the caramel and chocolate flavours beautifully.
VARIATIONS
- Nutty crunch: Add chopped pecans or hazelnuts between layers for added texture and flavour.
- salted caramel: Use salted caramel for a delicious sweet-salty contrast.
- Biscoff base: Swap digestive biscuits with crushed Biscoff cookies for a spiced flavour twist.
- white chocolate ganache: Try white chocolate instead of dark for a sweeter, creamier topping.
- mini cheesecakes: Make in muffin tins for individual servings—great for parties or portion control.
- Flavour the cream: Add a touch of coffee or orange zest to the cream cheese for a subtle flavour boost.
- Add a fruit layer: Layer sliced bananas or strawberries beneath the caramel for a fruity surprise.
SERVING AND STORAGE
Serving
Serve chilled straight from the fridge, slicing with a hot knife for clean edges and neat layers every time.
Storage
Store in an airtight container in the fridge for up to 4 days or freeze slices individually for up to 1 month.
FAQ
Yes, store-bought caramel works perfectly—just make sure it's thick enough to hold its layer.
At least 4 hours, but overnight chilling gives the best texture and flavour.
Yes, use gluten-free biscuits or cookies for the base, and check your caramel for any gluten-containing additives.
Yes, freeze individual slices wrapped tightly. Thaw overnight in the fridge before serving.
Absolutely! It’s the perfect make-ahead dessert—prepare it the day before and chill until serving time.
Millionaire’s Cheesecake is a luxurious treat that brings together everything dessert lovers adore—creamy cheesecake, buttery caramel, a crunchy base, and silky ganache.
It’s the kind of dessert that draws compliments with every slice, and you don’t even have to turn on the oven.
This cheesecake also stores well, making it an ideal option for making ahead or freezing portions for later enjoyment.
You can easily adapt the layers by adding nuts, using a different biscuit base, or swapping dark chocolate for white.
MILLIONAIRE’S CHEESECAKE
Ingredients
For the Base:
- 300 g digestive biscuits or graham crackers, crushed
- 120 g unsalted butter melted
For the Caramel Cheesecake Layer:
- 400 g cream cheese softened
- 200 ml double cream heavy cream
- 200 g dulce de leche or thick caramel sauce
- 1 teaspoon vanilla extract
For the Chocolate Ganache Topping:
- 150 g dark or milk chocolate chopped
- 150 ml double cream
Optional Toppings:
- Caramel drizzle
- Chocolate curls or shavings
- Sea salt flakes
Instructions
- Make the Base:
- Mix crushed biscuits with melted butter. Press into the base of a springform tin (8 or 9-inch). Chill in the fridge while preparing the filling.
- Prepare the Cheesecake Layer:
- Beat cream cheese until smooth. In a separate bowl, whip the double cream until soft peaks form. Fold the whipped cream and vanilla into the cream cheese, then gently fold in the caramel.
- Assemble the Cheesecake:
- Spoon the caramel cheesecake mixture over the biscuit base. Smooth the top with a spatula. Refrigerate for at least 4 hours or overnight until set.
- Make the Ganache:
- Heat double cream in a saucepan until just simmering. Pour over chopped chocolate. Let sit for 1–2 minutes, then stir until smooth.
- Finish the Topping:
- Once the cheesecake is set, pour the ganache over the top. Gently spread it out evenly. Chill for another 30 minutes to firm up.
- Serve:
- Decorate with caramel drizzle, chocolate shavings, or sea salt. Slice and serve chilled.
Notes
Perfect for preparing a day in advance. Chill overnight for best texture. Customising Flavours:
Try a Biscoff base or add a layer of chopped toffee pieces for extra crunch. Serving Suggestions:
Serve chilled with coffee or as a showstopper at your next celebration. Allergy-Friendly Options:
Use gluten-free biscuits and dairy-free cream cheese and cream alternatives for a suitable version. Storage Tips:
Keep covered in the fridge for up to 4 days. Not suitable for freezing due to the cream-based filling.





Comments
No Comments