
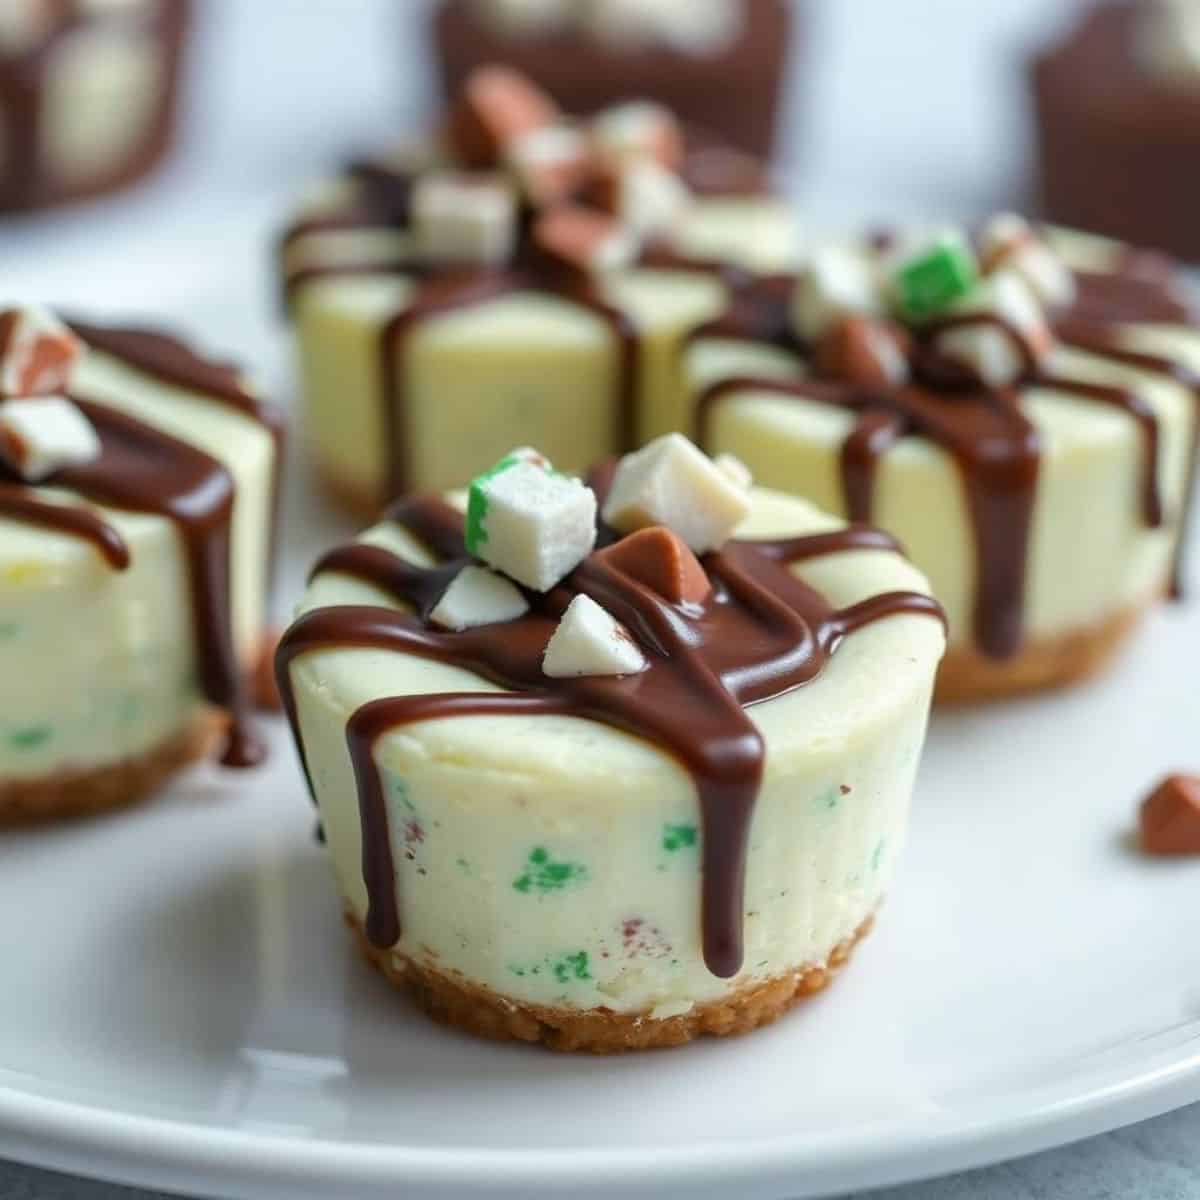
Zainab discovered Andes mints last Christmas when my husband brought home a bag from Costco, and she's been obsessed ever since. When she asked me if I could put them in cheesecake, I figured — why not? These little mint chocolate squares melt beautifully, and mini cheesecakes are honestly one of the most forgiving things you can bake.
What makes this version work is that the Andes mints go into the filling itself — chopped up and folded in — so you get that mint chocolate flavor in every single bite, not just in the topping. The graham cracker crust gives you something buttery and crunchy underneath, and the filling stays creamy without being dense. I use sour cream in the batter, which keeps things from going rubbery the way some mini cheesecakes can.
I make a double batch of these whenever we're having people over because a single batch of 12 disappears embarrassingly fast. Zainab will eat them straight from the fridge for breakfast if I let her. My husband piles extra chopped mints on top of his. Even Saad, who normally avoids anything "minty," ate three of these without complaint — which basically counts as a five-star review in this house.
One thing to know going in: these need fridge time. You can bake them in about 30 minutes, but they need at least 2 hours to fully set — overnight is better. I usually make them the evening before I need them, which actually makes everything easier on the day. If you're looking for something else to bring to a gathering, my Soft and Chewy M&M Chocolate Chip Cookies are another crowd favorite that travel really well.
Why You'll Love This Recipe
- The mint is baked right in: A lot of Andes mint desserts just use the chocolates as a garnish on top. Here, you chop them and fold them into the filling before baking, so the mint flavor runs through the whole cheesecake. The pieces melt slightly as they bake and then firm back up when chilled — you get little pockets of chocolate-mint throughout. It makes a real difference compared to just a drizzle on top.
- No water bath, no cracking drama: Full-size cheesecakes stress me out. The water bath, the cracking, the long bake time — mini cheesecakes skip all of that. Each one bakes in its own little liner, sets up in the fridge, and pops out cleanly. My first attempt cracked down the middle of a full cheesecake years ago and I swore off big cheesecakes for a while. These never crack.
- They're make-ahead friendly: The cheesecakes actually taste better on day two, after they've had a full night in the fridge. I bake them the evening before I need them, top them with extra Andes mint pieces in the morning, and they're ready to go. No last-minute stress, no rushing. That alone makes them worth making.
- Andes mints are easy to find year-round: You can pick them up at Walmart, Target, or most grocery stores — they're usually near the checkout candy or in the baking aisle. I've also seen them at Trader Joe's around the holidays. You don't need a specialty store or anything hard to source. A standard bag gives you more than enough for both the filling and the topping.
- 12 individual servings, no slicing required: Everyone gets their own cheesecake. No awkward cutting, no uneven slices, no serving drama. If you're bringing these somewhere, just stack them in a container and you're done. I've brought them to school events, family dinners, and Eid gatherings — they always look more impressive than the effort required to make them.
Ingredients
- For the crust:
- 1 ½ cups graham cracker crumbs
- ¼ cup granulated sugar
- ¼ cup unsalted butter, melted
- For the filling:
- 2 packages (8 oz each) cream cheese, softened
- ½ cup granulated sugar
- 2 large eggs
- 1 teaspoon vanilla extract
- 1 tablespoon all-purpose flour
- 10 Andes mints, chopped (plus extra for topping)
- ½ cup sour cream
- 2 tablespoon heavy cream (optional, for extra smoothness)
Directions
- Preheat the oven: Set your oven to 325°F (163°C) and line a standard 12-cup muffin tin with cupcake liners. Paper liners work better than silicone here — the cheesecakes peel away cleanly after chilling.
- Make the crust: In a medium bowl, stir together the graham cracker crumbs, sugar, and melted butter until it looks like wet sand and holds together when you press it. Press about 1 tablespoon of the mixture firmly into the bottom of each liner — I use the back of a measuring spoon to pack it down. Bake for 5 minutes, then pull them out and let them cool while you make the filling.
- Make the filling: In a large bowl, beat the softened cream cheese and sugar together until completely smooth — about 3 to 4 minutes. Don't rush this part; lumps now mean lumps in the finished cheesecake. Add the eggs one at a time, beating well after each one. Stir in the vanilla and flour.
- Fold in the good stuff: Gently fold in the chopped Andes mints, sour cream, and heavy cream if you're using it. You want to mix just until everything is combined — overmixing at this stage adds air, which can cause cracks.
- Fill and bake: Spoon the filling evenly into each muffin cup, filling each one about three-quarters full. Bake for 12 to 15 minutes. The edges should look set and the centers should still have a slight jiggle — like Jell-O, not liquid. They'll firm up completely in the fridge.
- Cool and chill: Let the cheesecakes cool in the tin for 10 minutes, then move them to the fridge. Chill for at least 2 hours, but overnight is better. Resist the urge to rush this — they need time to fully set.
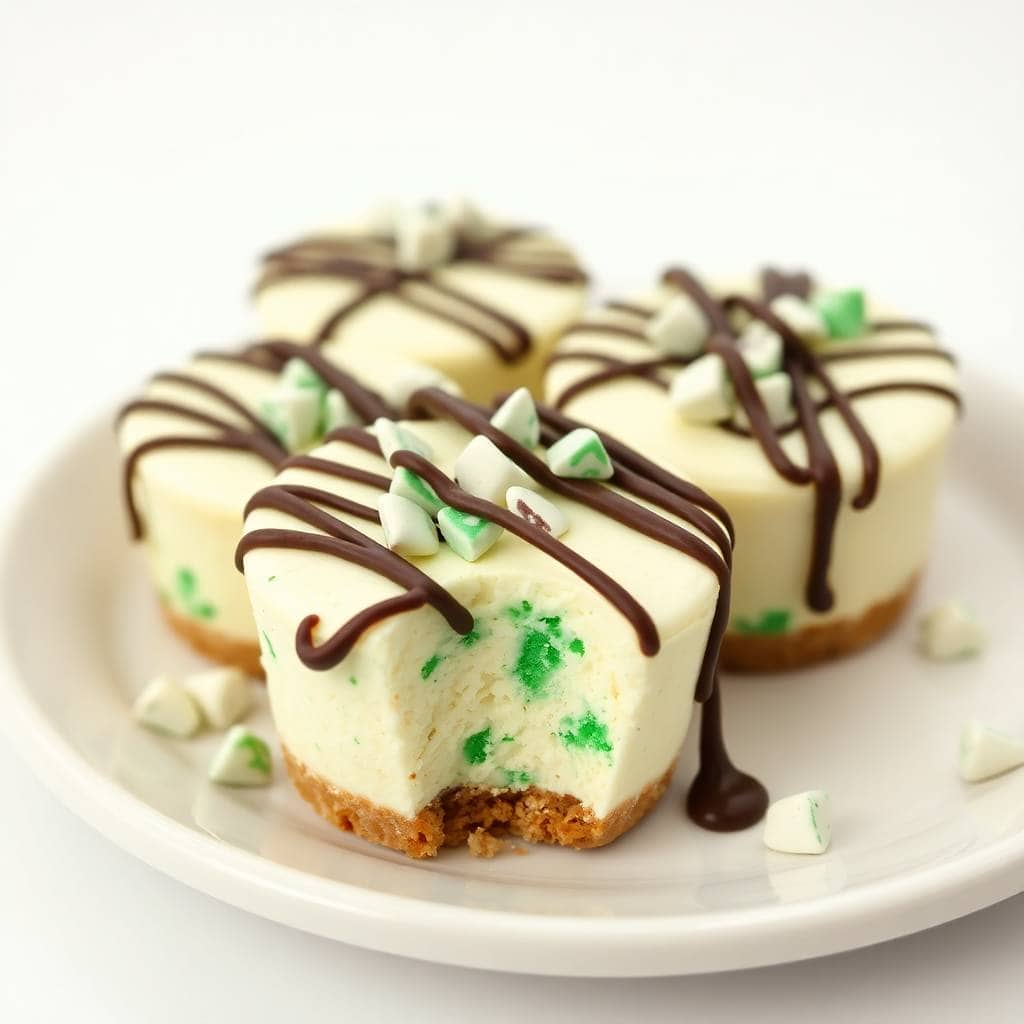
- Top and serve: Once chilled, scatter extra chopped Andes mints over each cheesecake. Serve cold, straight from the fridge.
Tips for Success
- Cold cream cheese will ruin your filling: I learned this the hard way — cold cream cheese doesn't beat smooth, it just beats lumpy. Pull it out of the fridge at least 30 minutes before you start, or microwave each block for 15 seconds if you forgot. You want it genuinely room temperature, soft enough to press a finger into easily. A smooth filling is the whole point here.
- Chop the Andes mints while they're cold: If you try to chop them at room temperature they get sticky and smear. Keep them in the fridge or freezer for 10 minutes before chopping and they'll cut cleanly into small pieces. A sharp knife and a quick rocking motion works fine — you don't need a food processor.
- The jiggle test is your friend: Pull the cheesecakes at 12 minutes and give the tin a gentle shake. The edges should be set and the centers should move like set Jell-O — a slow, unified wobble rather than a liquid ripple. If they look fully solid in the oven, they're already overdone. They'll crack as they cool and the texture goes from creamy to dense.
- Don't skip the flour: The tablespoon of flour in the filling might seem odd in a cheesecake, but it gives the structure a little extra stability, especially helpful in mini versions that bake quickly at high heat. I tested a batch without it once and they sank more in the middle after cooling. Not a disaster, but the version with flour holds its shape better.
- Wait to add the topping until after chilling: I used to add the chopped mints on top right after baking, before refrigerating. They'd get slightly soft and slide off when you picked up the cheesecake. Adding them after the cheesecakes are fully cold means they sit on top properly and stay put. Small thing, big difference in presentation.
Variations
- Oreo crust instead of graham cracker: Swap the graham cracker crumbs for crushed Oreos (without the filling scraped out) and skip the added sugar — the cookies are sweet enough on their own. The chocolate-on-chocolate-mint combination is really good. My husband actually prefers this version. Just pulse the Oreos in a zip-lock bag with a rolling pin if you don't have a food processor.
- Dark chocolate Andes mints: If you can find the dark chocolate version of Andes mints, use those instead. The mint flavor reads a bit stronger and the chocolate is less sweet, which balances the sweetness of the cheesecake filling nicely. I find them at World Market or sometimes Target around the holidays.
- Extra minty filling: If you want a more pronounced mint flavor throughout the cheesecake itself, add ¼ teaspoon of pure peppermint extract to the filling along with the vanilla. Start with just ¼ teaspoon — peppermint extract is strong and a little goes a long way. I did ½ teaspoon once and it tasted like toothpaste. Lesson learned.
- Berry topping variation: Skip the extra mint chocolates on top and use fresh raspberries or a quick strawberry compote instead. The tartness of the berries cuts through the richness of the cheesecake in a really good way, and it looks beautiful if you're putting these on a dessert table. This is a version I'd serve in summer when Andes mints feel a bit heavy.
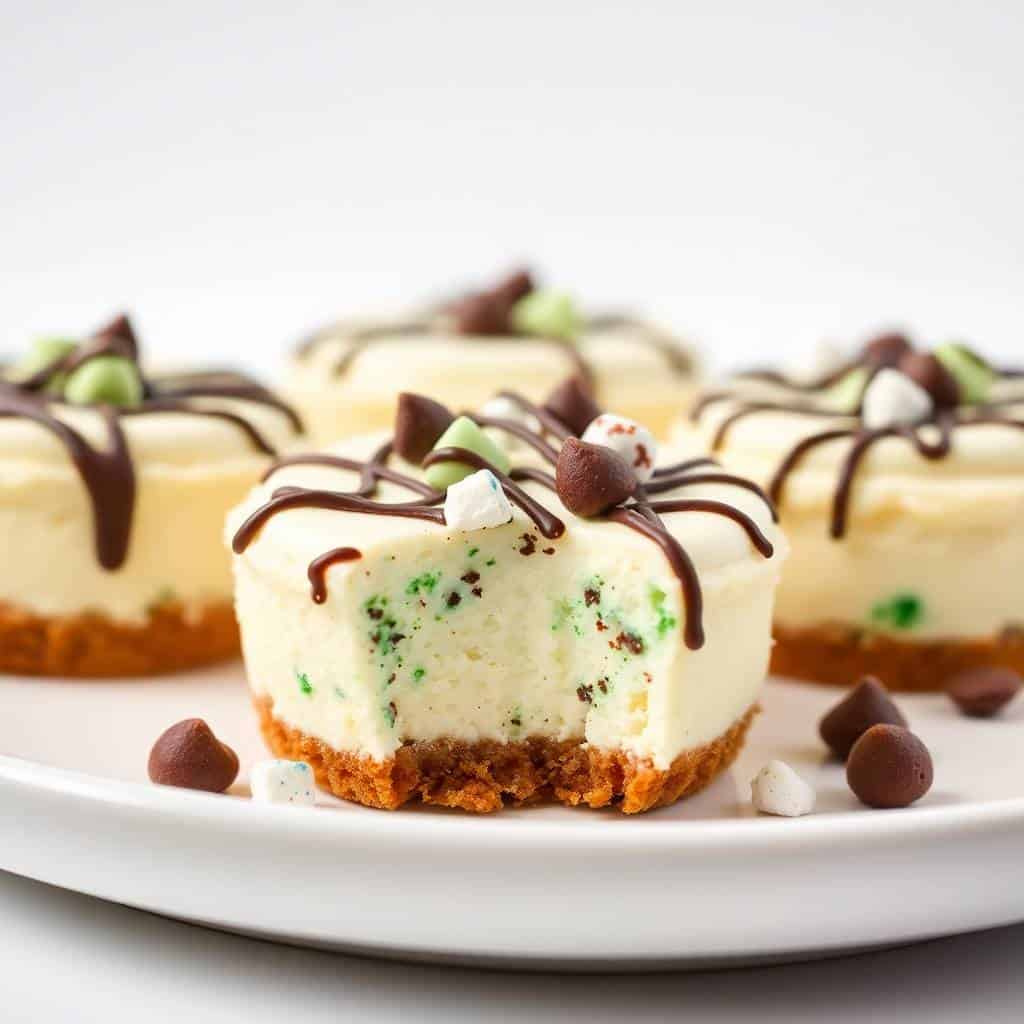
- Make them festive for the holidays: Drizzle a little melted white chocolate over the top alongside the Andes mint pieces and add a tiny sprig of fresh mint. They look like something from a bakery case and take about 3 extra minutes. I made these for a holiday cookie exchange last December and a few people asked if I'd bought them. That was a good night.
Serving and Storage
Serving
Serve these cold, straight from the fridge. They soften quickly at room temperature — the filling gets a bit too soft after about 30 minutes out, so I keep them chilled until right before serving. If you're setting up a dessert table, pull them out 10 minutes before guests arrive and add the mint topping then. They're also nice alongside a cup of strong tea or coffee, which balances the sweetness. For other desserts that work well at gatherings, my Buñuelos are always a hit too — completely different flavor profile but the same crowd-friendly individual-serving vibe.
Storage
Store in an airtight container in the refrigerator for up to 3 days. Keep the liners on until you're ready to eat them — they help the cheesecakes hold their shape. To freeze, place the cheesecakes (without the mint topping) on a sheet pan and freeze until solid, about 2 hours, then transfer to a zip-lock freezer bag. They'll keep for up to 1 month. Thaw overnight in the fridge and add fresh chopped Andes mints before serving.
Frequently Asked Questions
Can I make these mini cheesecakes ahead of time?
Yes, and I actually recommend it. They taste better after an overnight chill than they do after just 2 hours — the filling sets more completely and the flavors come together. Bake them the evening before you need them, refrigerate overnight, and add the mint topping the next day before serving.
Can I use a different mint chocolate instead of Andes mints?
You can, but Andes mints melt cleanly and have a good chocolate-to-mint ratio that works well folded into batter. York Peppermint Patties are too soft and add extra moisture. After Eight mints work in a pinch — similar size and texture. If you go with something different, keep the amount roughly the same by weight (about 2 oz chopped).
How do I know when the cheesecakes are done baking?
Check them at 12 minutes. The edges should look set and matte, and the centers should still have a slow, unified wobble when you gently shake the tin — not sloshing, just a gentle jiggle. If the centers look fully solid in the oven, they've gone a bit too far. Pull them out and trust that the fridge will finish the job.
Can I freeze these cheesecakes?
Yes. Freeze them without the mint topping — freeze on a flat surface first until solid, then transfer to a freezer bag. They keep well for up to a month. Thaw in the refrigerator overnight. Add fresh chopped Andes mints right before serving so the topping looks fresh.
My filling has lumps in it — what went wrong?
Almost always means the cream cheese was too cold when you started beating it. Cold cream cheese doesn't incorporate smoothly — it just breaks into chunks. Let it sit at room temperature for at least 30 minutes before you begin, or microwave each 8 oz block for 15 seconds. If you already have lumps, try pressing the filling through a fine mesh strainer before spooning it into the cups.


ANDES MINT MINI CHEESECAKES
Ingredients
For the crust:
- 1 ½ cups graham cracker crumbs
- ¼ cup granulated sugar
- ¼ cup unsalted butter melted
For the filling:
- 2 packages 8 oz each cream cheese, softened
- ½ cup granulated sugar
- 2 large eggs
- 1 teaspoon vanilla extract
- 1 tablespoon all-purpose flour
- 10 Andes mints chopped (plus extra for topping)
- ½ cup sour cream
- 2 tablespoon heavy cream optional, for extra smoothness
Instructions
- Preheat the oven to 325°F (163°C). Line a 12-cup muffin tin with cupcake liners.
- In a medium bowl, combine the graham cracker crumbs, sugar, and melted butter. Stir until the mixture is well combined and resembles wet sand.
- Press about 1 tablespoon of the graham cracker mixture into the bottom of each muffin liner to form a crust. Use the back of a spoon to press it down firmly.
- Bake the crusts in the preheated oven for 5 minutes, then remove from the oven and set aside to cool.
- In a large bowl, beat the softened cream cheese and sugar until smooth and creamy, about 3-4 minutes.
- Add the eggs, one at a time, mixing well after each addition. Stir in the vanilla extract and flour.
- Gently fold in the chopped Andes mints, sour cream, and heavy cream (if using).
- Spoon the cheesecake filling evenly into each muffin cup, over the cooled crusts.
- Bake for 12-15 minutes, or until the centers are set but slightly jiggly. The edges should be lightly golden.
- Remove from the oven and let the mini cheesecakes cool in the tin for 10 minutes. Then, transfer them to the fridge and chill for at least 2 hours, or until fully set.
- Once chilled, top each mini cheesecake with additional chopped Andes mints. Serve and enjoy!
Notes
- You can use a store-bought chocolate cookie crust if you prefer a quicker option.
- For a more intense mint flavor, melt a few Andes mints and swirl them into the cheesecake filling before baking.
- These mini cheesecakes can be stored in the fridge for up to 3 days or frozen for up to 1 month.
- To make these cheesecakes extra festive, drizzle melted chocolate over the top and garnish with mini chocolate chips or mint sprigs.
- For a lighter version, use reduced-fat cream cheese and sour cream.
These little cheesecakes have become one of my most-requested things to bring to gatherings, which I genuinely didn't expect when I was just trying to use up Zainab's Andes mint stash. What I like about them is that they look like you put in a lot more effort than you actually did — the green-and-white wrapper pieces on top make them look intentional and pretty without any extra decorating skills required.
The recipe is forgiving in a way full cheesecakes aren't. You don't need a stand mixer — a hand mixer works perfectly, and honestly I've even done it with a wooden spoon and some patience when my hand mixer was buried behind other stuff. The hardest part is waiting for the fridge time, which is not really hard at all.
If you make a batch on a weeknight when you need something for the weekend, they sit in the fridge getting better and you don't have to think about dessert again. That's really the kind of recipe I come back to — one that does its own work after the initial effort. If you want something savory to round out a dinner party menu, my Easy Baked Honey Dijon Chicken is another one that mostly takes care of itself once it's in the oven. 🍫✨
If you liked these, here are a few more recipes from the blog that are worth trying:





Comments
No Comments