
A fresh loaf of Hasselback Cheesy Bread is a warm, gooey snack that brings people together. The garlic adds depth, the butter brings richness, and the herbs elevate the overall taste with minimal effort. It’s hard to stop at one bite.
This cheesy bread features a crusty loaf sliced into deep pockets, stuffed with garlic butter and cheese. Once baked, the exterior turns crisp golden, while the inside melts beautifully. It's truly a dish that offers big results with little time.
You don’t need any fancy tools—just a good knife and a few basic ingredients. Whether you're a beginner cook or a seasoned one, you’ll find this recipe straightforward, rewarding, and endlessly adaptable for different tastes.
Kids, teens, and adults all rave about this bread. It pairs beautifully with pasta, soups, or even a hearty salad. Guests will think you spent hours in the kitchen. Make it once, and it’ll become a household favourite you’ll crave regularly.
And the best part? It’s the ultimate pull-apart food—warm, cheesy, and made for sharing. Make it for holidays, movie nights, or game days—this bread suits every occasion. It’s a visual showstopper, but the flavour and aroma steal the show.
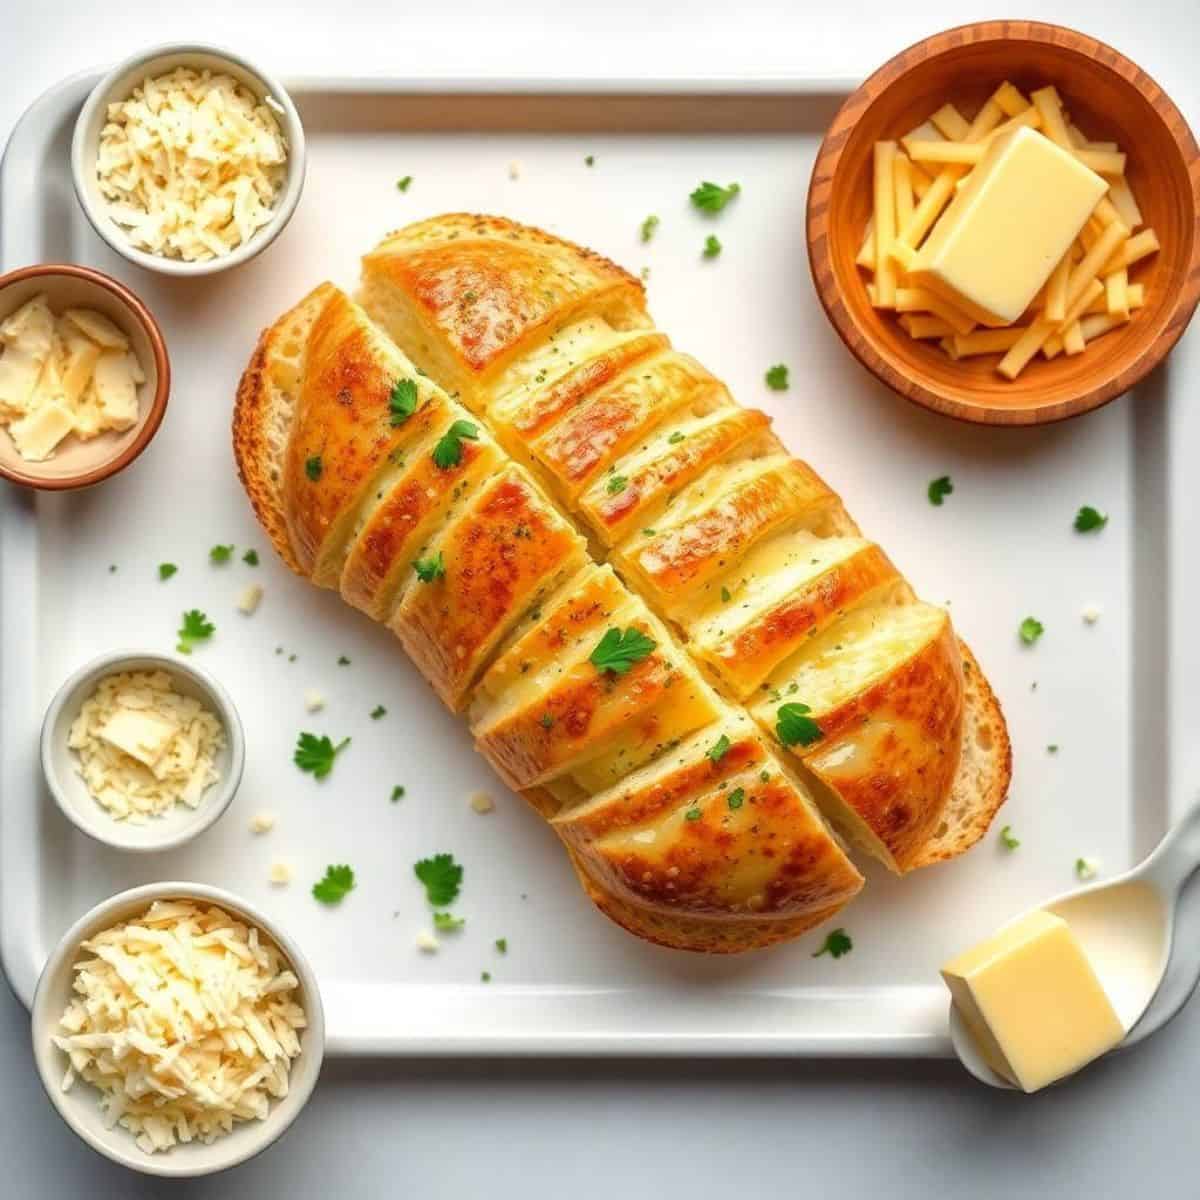
WHY YOU WILL LOVE THIS RECIPE
- Crispy Cheese-Filled Bites: The crispy crust and gooey cheese in every bite make this bread a dream come true for cheese lovers.
- Perfect for Entertaining: Guests love pulling apart cheesy slices, making it a great centrepiece for parties, holidays, and weekend dinners.
- Quick and Simple: No kneading or dough-making involved—just slice, stuff, and bake. It’s a great option for busy weeknights or lazy weekends.
- Irresistible health benefits of garlic Flavour: Garlic butter seeps into every slice, making the flavour rich, warm, and comforting from the inside out.
- Highly Customisable Recipe: Add your favourite cheeses, herbs, or toppings to match your taste—this recipe welcomes delicious personal twists.
- Visually Stunning Presentation: The hasselback-style cut looks impressive, making your table spread look restaurant-worthy with minimal effort.
- Kid and Crowd Favourite: Its cheesy, savoury profile makes it loved by children and adults alike—great for picky eaters or big gatherings.
INGREDIENTS
- 1 large crusty bread loaf (like Italian or sourdough)
- 1½ cups shredded mozzarella cheese
- ½ cup shredded cheddar cheese
- ½ cup unsalted butter, melted
- 3 cloves garlic, minced
- 2 tablespoons chopped fresh parsley
- ½ teaspoon dried oregano
- Salt, to taste
- Optional: crushed red pepper flakes or parmesan cheese for topping
DIRECTIONS
- Step No.1: Preheat the oven
Preheat your oven to 180°C (350°F). Line a baking tray with parchment paper to catch melted cheese and keep clean-up easy.
- Step No.2: Prepare the bread
Using a serrated knife, cut deep slices into the bread without going all the way through. Leave about 1 cm at the base intact.
- Step No.3: Make the garlic butter
In a bowl, mix melted butter, minced garlic, parsley, oregano, and salt. Stir well until everything is evenly combined and fragrant.
- Step No.4: Fill the bread slices
Carefully spoon or brush the garlic butter into each slice. Then, stuff mozzarella and cheddar cheese between the slits evenly.
- Step No.5: Bake until golden
Place the filled loaf onto the tray and bake for 15–20 minutes until the cheese is fully melted and the bread is golden brown.
- Step No.6: Serve warm and enjoy
Remove from the oven. Optional: sprinkle with parmesan or chilli flakes. Let cool slightly before serving warm for the best texture.
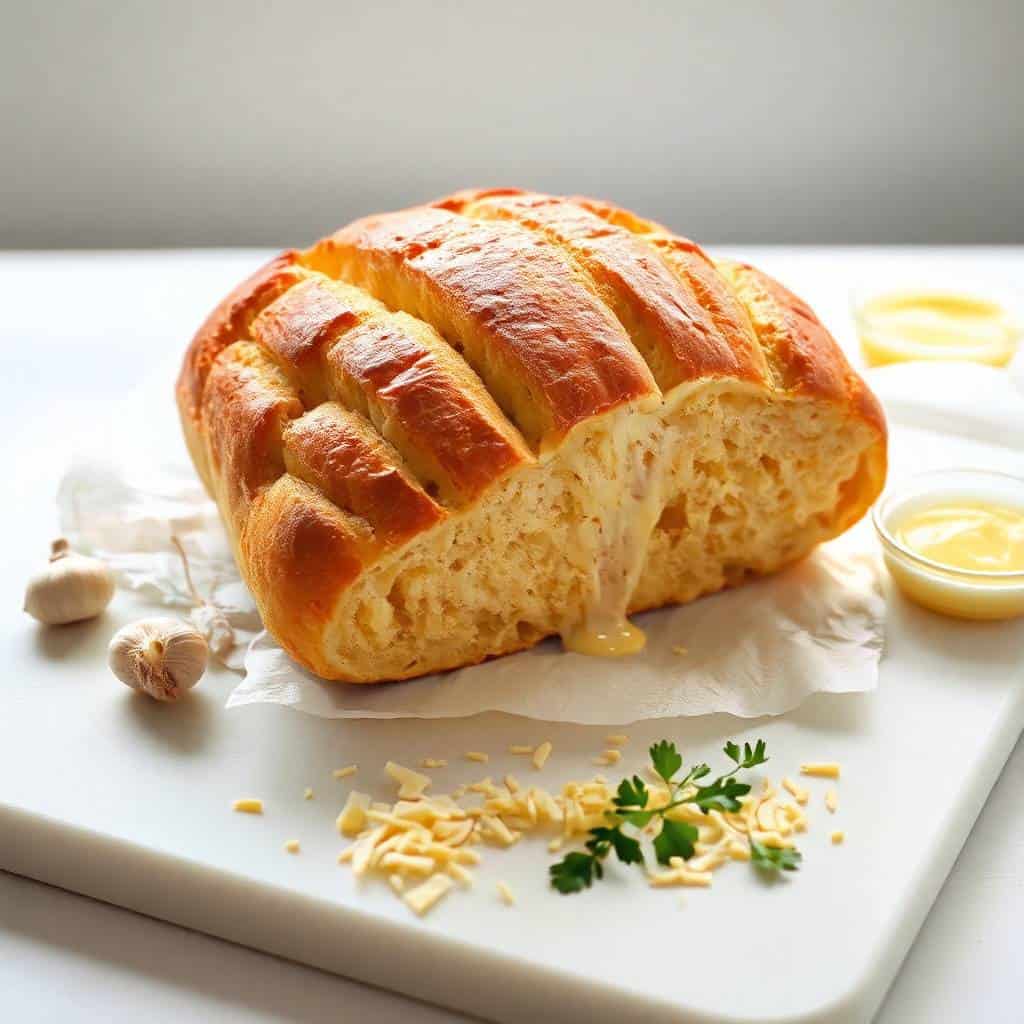
TIPS FOR SUCCESS
- Use Firm Crusty Bread: A crusty loaf holds shape and allows deep cuts without crumbling or getting soggy when filled and baked.
- Slice Evenly and Deeply: Make clean cuts deep enough to stuff but not so deep that the bread falls apart after baking.
- Fresh Garlic Works Best: Use freshly minced garlic for the richest, most aromatic flavour. Avoid using powdered garlic if possible.
- Be Generous with Filling: Don’t skimp on butter or cheese—more filling ensures each slice turns out gooey and delicious inside.
- Add Cheese After Butter: Brushing butter first helps flavour absorb better. Then add cheese for best melt and even distribution.
- Don’t Overbake: Keep an eye on it—too long in the oven can dry out the bread or burn the cheese.
- Serve Hot for Best Texture: This bread tastes best right from the oven. Prepare everything ahead, then bake fresh before serving.
VARIATIONS
- Add Crispy Bacon Bits: Sprinkle bacon into the slices before baking for a savoury crunch and smoky flavour that enhances every bite.
- Try Different Cheeses: Use provolone, Gouda, or fontina for a unique spin on flavour. Mix cheese types for a layered taste profile.
- Add Sliced Jalapeños: Want some heat? Stuff thin slices of jalapeños into the loaf with the cheese for a spicy kick.
- Spread Pesto Inside: Add basil pesto between the slices for a fresh, herby flavour twist that complements the cheesy filling beautifully.
- Make It Pizza-Style: Add sliced pepperoni, olives, or marinara sauce for a delicious pizza-flavoured version that kids especially love.
- Switch to Sweet Version: Use cinnamon butter and cream cheese for a sweet brunch or dessert-style loaf that’s warm and comforting.
- Top with Everything Seasoning: Sprinkle “everything bagel” seasoning on top before baking to add crunch and a savoury, garlicky finish.
SERVING AND STORAGE
Serving
Serve hot with a side of marinara, garlic dip, or soup. This bread is best enjoyed warm as an appetiser or side dish.
Storage
Wrap in foil and refrigerate. Reheat in oven at 160°C (320°F) for 10 minutes until cheese is melted and bread is warmed through.
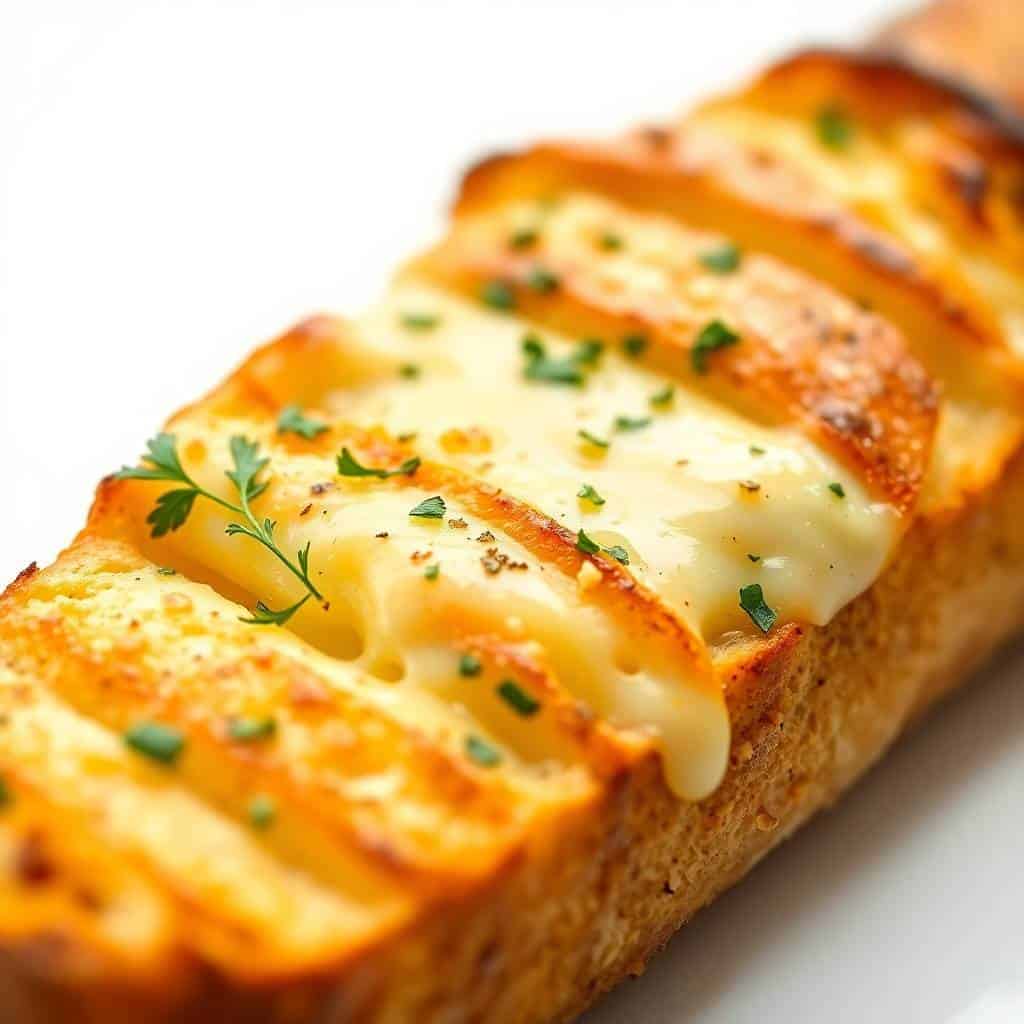
FAQ
Yes! French bread, ciabatta, or sourdough all work well. Just make sure it’s crusty and firm for best results.
You can assemble the bread ahead of time and refrigerate it. Bake just before serving to keep the texture fresh and crispy.
Mozzarella and cheddar work great, but you can mix in parmesan, provolone, or fontina for deeper, richer flavours.
Yes. Use your favourite gluten-free crusty bread. Be gentle with cuts as gluten-free loaves may be more delicate.
Microwaving works in a pinch, but oven reheating keeps the bread crispy and melts the cheese more evenly.
Hasselback cheesy bread is the definition of comfort food—easy to make, rich in flavour, and a total showstopper.
The crispy crust, warm garlic butter, and gooey cheese make it irresistible from the first slice to the last.
The hassle-free process means even beginner cooks can create something that looks and tastes like it came from a bakery.
Once you try this Hasselback Cheesy Bread, it will become a staple in your recipe collection.
Warm, cheesy, and endlessly customisable—it’s the kind of food that brings smiles with every bite.


HASSELBACK CHEESY BREAD
Ingredients
- 1 round loaf of sourdough or crusty artisan bread
- 1 ½ cups shredded mozzarella cheese
- ½ cup shredded cheddar cheese
- ¼ cup unsalted butter melted
- 2 tablespoons olive oil
- 3 cloves garlic minced
- 2 tablespoons chopped fresh parsley or 1 tablespoon dried
- ¼ teaspoon salt
- ¼ teaspoon black pepper
- Optional: red pepper flakes for extra heat
Instructions
Preheat Oven:
- Preheat the oven to 375°F (190°C). Line a baking sheet with foil.
Slice the Bread:
- Using a sharp serrated knife, slice the bread into 1-inch sections without cutting all the way through. Then turn and slice in the opposite direction to create a crosshatch pattern.
Prepare the Butter Mixture:
- In a small bowl, mix melted butter, olive oil, garlic, parsley, salt, and pepper.
Stuff and Brush:
- Gently open each cut and stuff with a mix of mozzarella and cheddar cheese. Brush the top and inside cuts with the garlic butter mixture.
Bake:
- Wrap the loaf loosely in foil and bake for 15 minutes. Uncover and bake for another 5–10 minutes until the cheese is fully melted and the top is golden.
Serve:
- Serve warm and pull apart to enjoy!
Notes
- Make Ahead:
You can prep the bread a few hours ahead and refrigerate. Bake just before serving. - Custom Flavours:
Try adding cooked bacon bits, caramelized onions, or spinach for extra flavour. - Serving Suggestions:
Pairs well with soups, pasta, or as a party starter with marinara or ranch dip. - Allergy-Friendly Options:
Use gluten-free bread and dairy-free cheese if needed. - Storage Tips:
Store leftovers in the fridge and reheat in the oven or air fryer for best texture.




Comments
No Comments