
Start your morning on a sweet, savory note with this easy breakfast cheese Danish. Its flaky layers and creamy filling make breakfast feel luxurious without extra effort.
Whether you are preparing a weekend brunch or a quick weekday treat, this Danish is designed for simplicity. Even novice bakers can achieve professional-tasting results.
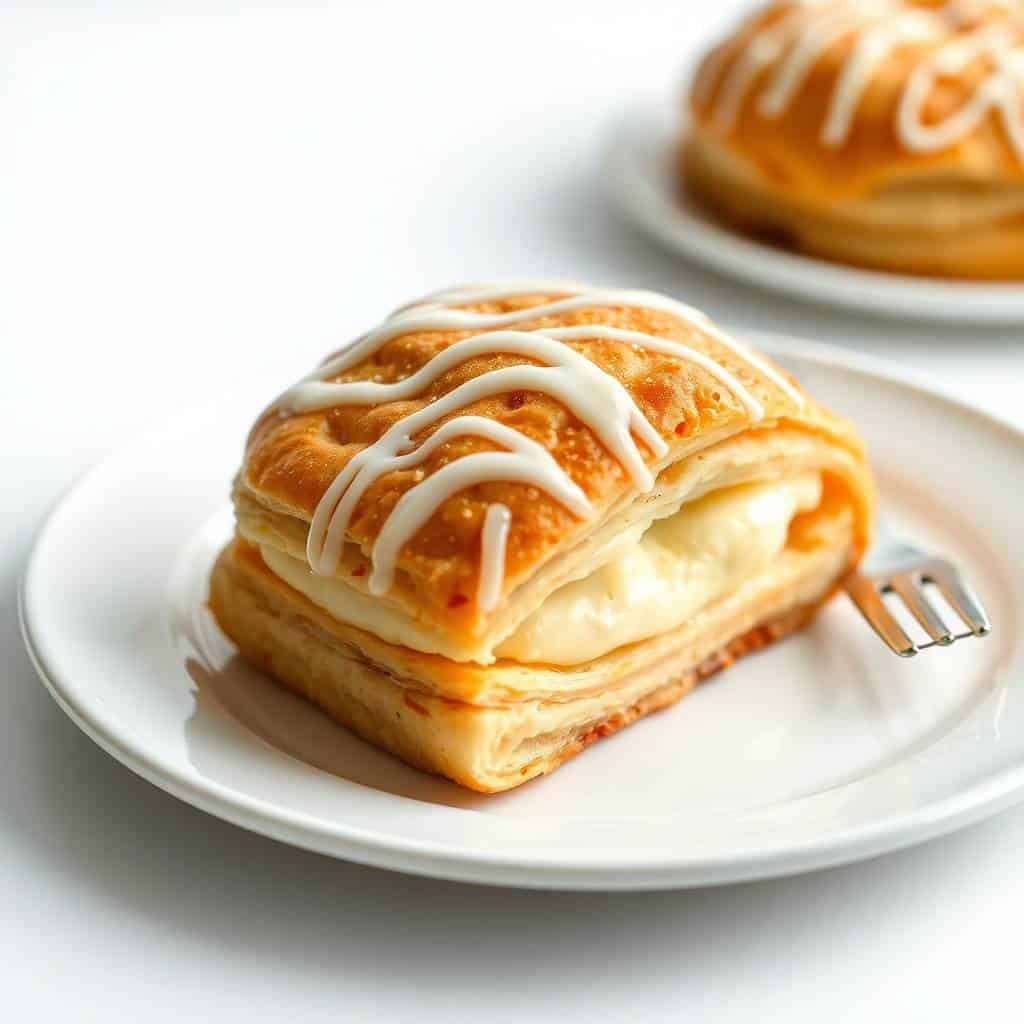
The cheese filling is rich yet light, blending perfectly with the buttery pastry. Each bite offers a satisfying contrast of textures that will leave everyone asking for seconds.
Not only is it delicious, but it also looks stunning. You can impress guests or family with its golden, glossy finish and inviting aroma straight from the oven.
Additionally, this recipe is versatile and forgiving. You can customize the filling or drizzle a sweet glaze to create endless variations while keeping the process stress-free.

WHY YOU WILL LOVE THIS RECIPE
- Quick and Easy: This Danish can be made in under 30 minutes, making mornings effortless yet indulgent.
- Flaky Perfection: The pastry layers are light, airy, and perfectly crisp, providing a delightful texture in every bite.
- Creamy Filling: The cheese mixture is rich and smooth, offering a luxurious flavor without being overly heavy.
- Family-Friendly: Loved by kids and adults alike, this Danish is perfect for breakfast, brunch, or snacks.
- Customizable Recipe: You can add fruits, nuts, or chocolate to create your own signature version quickly.
INGREDIENTS
- 1 sheet puff pastry, thawed
- 4 oz cream cheese, softened
- 2 tablespoon granulated sugar
- ½ teaspoon vanilla extract
- 1 egg, beaten (for egg wash)
- Optional: fruit jam, chocolate chips, or powdered sugar for topping
DIRECTIONS
- Step No.1: Preheat Oven
Preheat your oven to 400°F (200°C) and line a baking sheet with parchment paper.
- Step No.2: Prepare Filling
In a small bowl, mix softened cream cheese, sugar, and vanilla until smooth and creamy.
- Step No.3: Cut Pastry
Roll out the puff pastry sheet and cut it into rectangles or squares, about 4x4 inches each.
- Step No.4: Add Filling
Place a spoonful of the cheese mixture in the center of each pastry square, spreading slightly but not to edges.
- Step No.5: Fold and Seal
Fold corners toward the center or edges over filling, pressing lightly to seal and shape as desired.
- Step No.6: Brush with Egg
Brush each Danish with beaten egg to achieve a golden, glossy finish after baking.
- Step No.7: Bake
Place on the prepared sheet and bake 15–18 minutes until puffed and golden brown, then cool slightly before serving.
TIPS FOR SUCCESS
- Chill Pastry: Keep the puff pastry cold until ready to bake to ensure maximum flakiness and structure.
- Room Temperature Cheese: Softened cream cheese blends smoothly, preventing lumps in the filling for creamy results.
- Avoid Overfilling: Use a moderate amount of filling to prevent leakage during baking and messy cleanup.
- Even Baking: Place pastries evenly spaced to allow proper air circulation for uniform browning.
- Egg Wash Technique: Apply a light, even layer to enhance color without making it soggy.
- Cool Slightly: Allow the Danishes to cool 5–10 minutes to firm up the filling for easier handling.
VARIATIONS
- Fruit-Filled: Add a teaspoon of jam or fresh fruit to the filling for fruity sweetness in every bite.
- Chocolate Twist: Mix mini chocolate chips into the cream cheese for a dessert-style Danish variation.
- Nutty Delight: Sprinkle chopped nuts over the filling before baking for added texture and flavor.
- cinnamon sugar: Dust with cinnamon and sugar before baking to give a warm, spiced aroma.
- Glaze Finish: Drizzle simple powdered sugar glaze after baking for a sweet and glossy presentation.
- Savory Option: Substitute cream cheese with herbed cheese for a savory breakfast treat.
SERVING AND STORAGE
Serving
Serve warm directly from the oven or slightly cooled for breakfast, brunch, or afternoon snack indulgence.
Storage
Store in an airtight container for up to 2 days at room temperature, or refrigerate for 3–4 days freshness.

FAQ
Yes, thaw it according to package instructions before rolling and filling for best texture and rise.
You can assemble in advance and refrigerate, then bake fresh for 15–20 minutes before serving.
Yes, freeze after baking and cooling. Reheat in the oven for 5–7 minutes for a freshly baked taste.
cream cheese is ideal for smooth texture, but mascarpone or ricotta can be used for variation.
An additional egg wash before baking or light sugar glaze after baking gives an irresistible shiny finish.
The process is simple enough for beginners yet yields visually impressive results that taste like they came from a bakery.
Its versatility means you can experiment with sweet or savory variations, ensuring your mornings are never monotonous.
Even on busy days, assembling and baking this Danish takes under 30 minutes, providing a homemade, satisfying treat.
Whether served warm for breakfast, with coffee, or as an afternoon snack, it’s sure to delight and impress consistently.


EASY BREAKFAST CHEESE DANISH
Ingredients
For the Danish:
- 1 8-ounce package cream cheese, softened
- ¼ cup granulated sugar
- 1 teaspoon vanilla extract
- 1 17.3-ounce package puff pastry sheets, thawed
- 1 large egg for egg wash
- 1 tablespoon water
For the Glaze (Optional):
- ½ cup powdered sugar
- 1 tablespoon milk
- ¼ teaspoon vanilla extract
Instructions
Preheat the Oven:
- Preheat your oven to 400°F (200°C). Line a baking sheet with parchment paper.
Prepare the Filling:
- In a medium bowl, beat together cream cheese, sugar, and vanilla extract until smooth and creamy.
Assemble the Danish:
- Unfold puff pastry sheets and cut each into 4 squares. Place them on the prepared baking sheet. Spoon about 1 tablespoon of cream cheese filling into the center of each square. Fold the corners toward the center, pressing gently to seal.
Add Egg Wash:
- Whisk the egg with water and brush over the tops of each pastry for a golden finish.
Bake:
- Bake for 18–20 minutes, or until golden brown and puffed. Let them cool slightly on the baking sheet.
Add Glaze (Optional):
- Whisk together powdered sugar, milk, and vanilla. Drizzle over the warm pastries before serving.
Notes
- Make Ahead: Prepare the filling in advance and refrigerate until ready to use. Assemble and bake fresh for best results.
- Customizing the Flavor: Add a spoonful of fruit jam or pie filling under the cream cheese for a fruity twist.
- Serving Suggestions: Serve warm with coffee or tea for an indulgent breakfast treat.
- Storage Tips: Store leftovers in an airtight container in the fridge for up to 3 days. Reheat in the oven for crispiness.





Comments
No Comments