
Chocolate Protein Bliss Balls are perfect for anyone craving a tasty, nutritious snack without the hassle. These no-bake treats combine creamy peanut butter, cocoa, and protein powder for a rich chocolate flavor that satisfies sweet cravings.
Each bite offers a powerful protein punch to fuel your body and keep you energized throughout the day. Plus, these bliss balls suit many dietary needs, including gluten-free and paleo lifestyles, making them accessible to a wide range of people.
The recipe is simple and fast, making it ideal for busy schedules. You can customize the texture and taste by adding nuts, seeds, or dried fruits, ensuring variety for every palate. Store them properly to maintain freshness and enjoy anytime.
Whether you need a pre-workout boost, afternoon snack, or a guilt-free dessert, these bliss balls have you covered. They store well in the fridge, so you can prepare them ahead and enjoy whenever hunger strikes.
Get ready to make your own batch of chocolate protein bliss balls and enjoy a healthy treat that tastes like a decadent indulgence. This recipe is a delicious way to enjoy chocolate while nourishing your body.
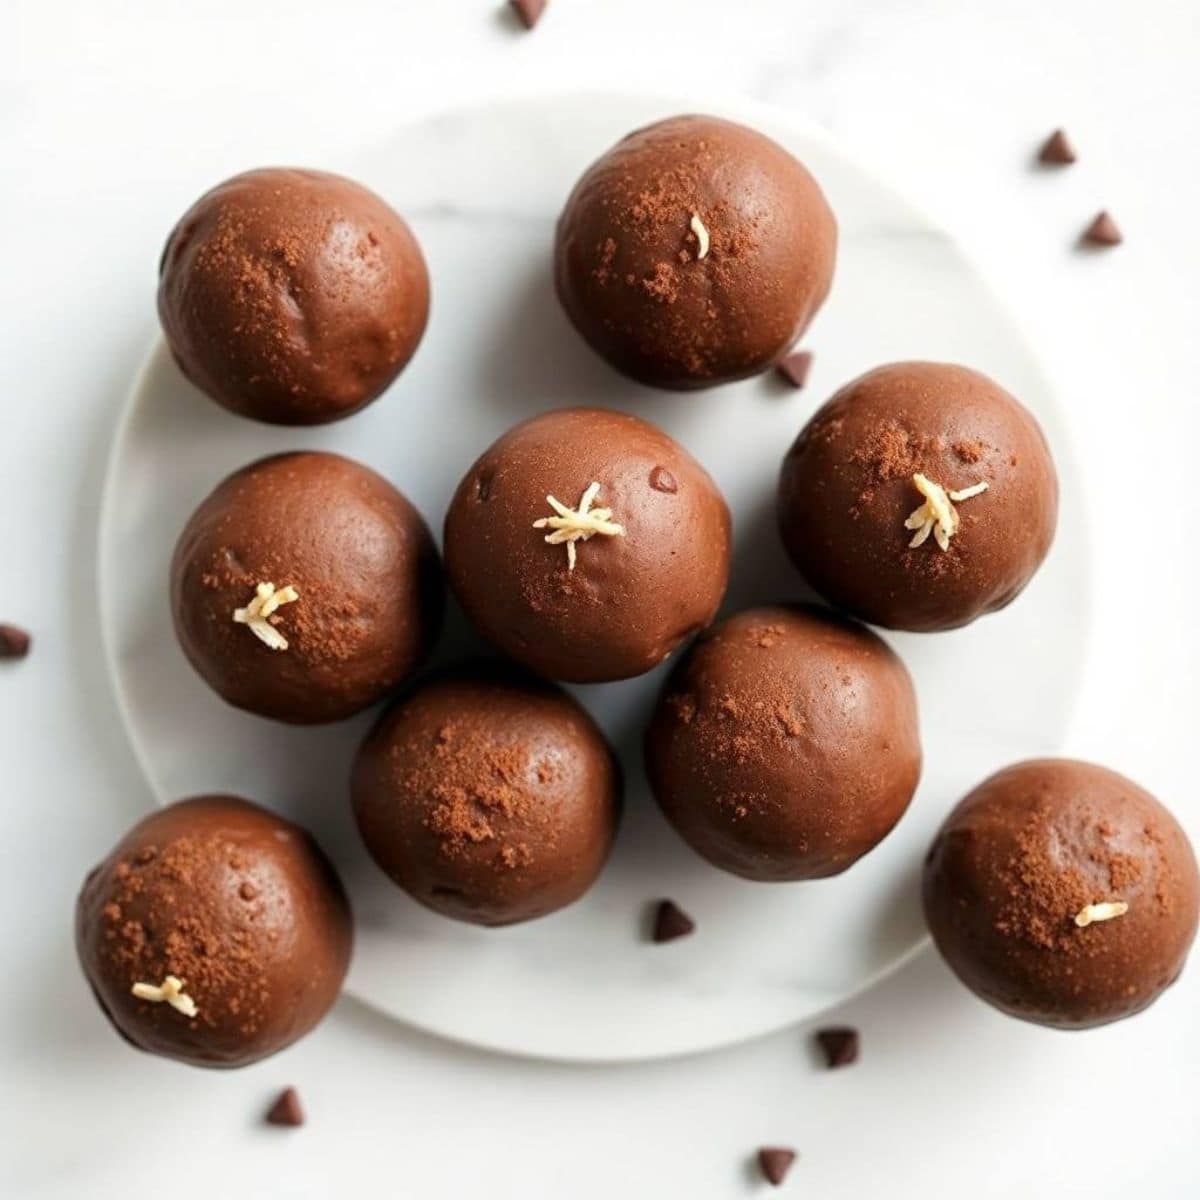
WHY YOU WILL LOVE THIS RECIPE
- Rich Chocolate Flavor: This recipe offers a smooth, indulgent chocolate taste that satisfies sweet cravings healthily and deliciously.
- High daily protein needs Content: Each bliss ball provides a solid protein boost, perfect for muscle repair and sustained energy.
- No-Bake Convenience: These bliss balls require no baking, allowing quick preparation with minimal effort.
- Versatile Ingredients: Easily customize with nuts, seeds, or dried fruits to create your favorite flavor combinations.
- Perfect On-the-Go Snack: Portable and easy to carry, ideal for busy lifestyles and quick energy.
- Diet-Friendly: Suitable for gluten-free diet and paleo diets, making them accessible for many dietary needs.
INGREDIENTS
- 1 cup rolled oats
- ½ cup natural peanut butter
- ¼ cup honey or maple syrup
- ⅓ cup cocoa powder
- ½ cup vanilla or chocolate protein powder
- 2 tablespoons chia seeds
- 1 teaspoon vanilla extract
- Pinch of salt
DIRECTIONS
- Step No.1: Prepare the dry ingredients
In a large bowl, combine the rolled oats, cocoa powder, protein powder, chia seeds, and a pinch of salt. Mix thoroughly to ensure even distribution.
- Step No.2: Add wet ingredients
Add peanut butter, honey (or maple syrup), and vanilla extract to the dry mix. Stir well until the mixture becomes sticky and holds together.
- Step No.3: Form the balls
Using your hands, roll the mixture into small 1-inch balls. If the mixture is too sticky, chill it for 10 minutes before rolling.
- Step No.4: Chill and set
Place the bliss balls on a baking sheet or plate lined with parchment paper. Refrigerate for at least 30 minutes to firm up before serving.

TIPS FOR SUCCESS
- Use fresh ingredients: Fresh peanut butter and protein powder improve flavor and texture dramatically in the bliss balls.
- Adjust sweetness: Add more honey or maple syrup if you prefer sweeter snacks, but keep it balanced for health.
- Chill for easy rolling: Refrigerate the mixture before rolling if it’s too sticky to handle comfortably.
- Store properly: Keep bliss balls in an airtight container in the fridge to maintain freshness and texture.
- Customize texture: Add chopped nuts or seeds for extra crunch and nutritional benefits.
- Use quality protein powder: A good-tasting protein powder ensures the bliss balls taste delicious and not chalky.
VARIATIONS
- Nut-Free Option: Replace peanut butter with sunflower seed butter for a nut-free version without losing creaminess.
- Add dried fruit: Mix in chopped dried cranberries or raisins for bursts of natural sweetness and texture.
- Superfood Boost: Sprinkle in some matcha powder or spirulina to increase antioxidant content and vibrant color.
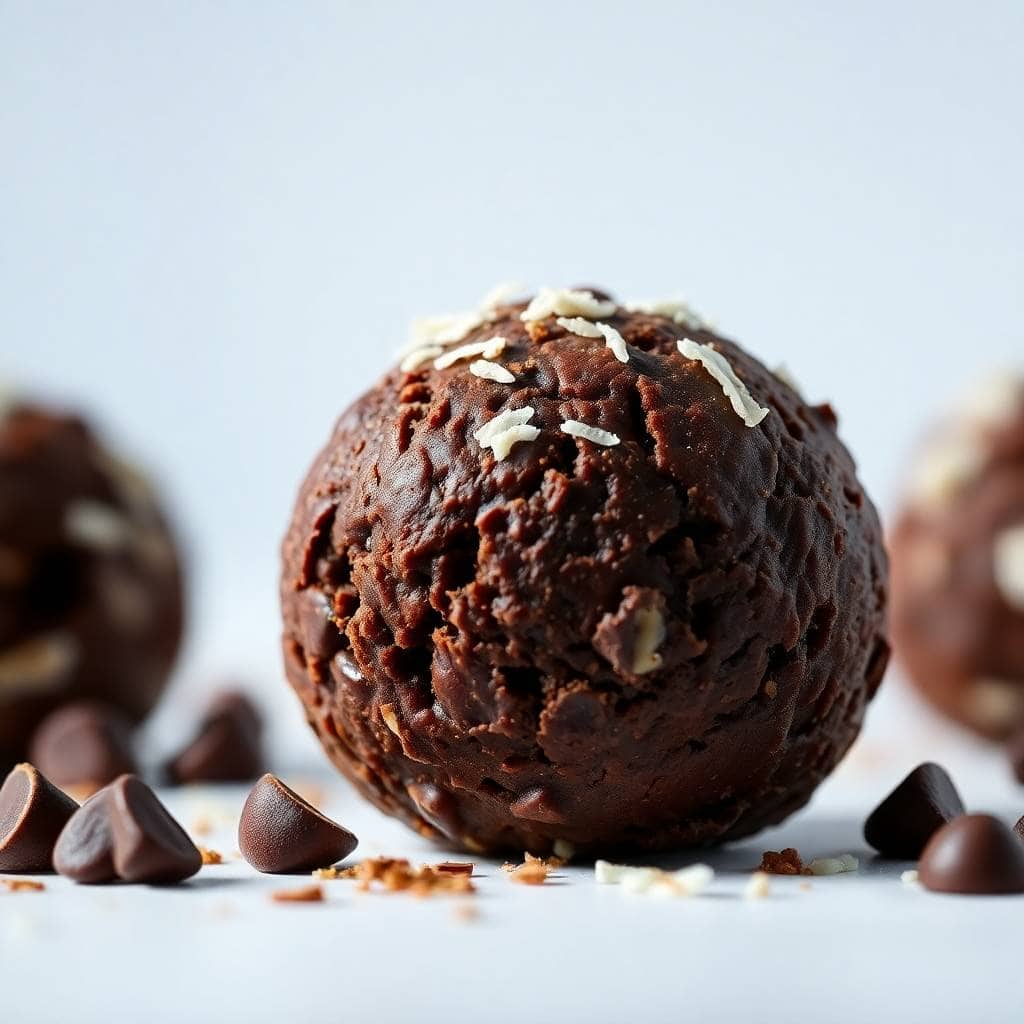
- Coconut Delight: Roll bliss balls in shredded coconut for a tropical flavor and added texture.
- Spiced Chocolate: Add a pinch of cinnamon or chili powder for a spicy, warm twist on classic chocolate.
- Protein Variety: Use plant-based or whey protein powder depending on dietary preferences or availability.
Serving and Storage
Serving
Serve chilled bliss balls as a quick snack, pre- or post-workout boost, or a healthy dessert alternative.
Storage
Store the bliss balls in an airtight container in the refrigerator for up to two weeks to keep them fresh.
FAQ
A: Yes, they freeze well. Place them in a freezer-safe container and thaw in the fridge before eating.
A: Absolutely! Almond or cashew butter works well and changes the flavor slightly.
A: Use maple syrup instead of honey and choose a vegan protein powder to make the recipe vegan-friendly.
A: It typically yields about 15-20 bliss balls depending on the size you roll.
Chocolate Protein Bliss Balls are a perfect blend of nutrition information and indulgence.
They are easy to make, highly customizable, and packed with protein to keep you energized.
This no-bake recipe is great for busy people needing a quick, healthy snack.
Whether you want a pre-workout boost or a sweet treat, these bliss balls deliver flavor and nutrition effortlessly.
Enjoy the chocolatey goodness guilt-free with this simple, delicious recipe!


CHOCOLATE PROTEIN BLISS BALLS
Ingredients
- 1 cup rolled oats
- ½ cup nut butter peanut, almond, or cashew
- ¼ cup honey or maple syrup
- ¼ cup chocolate protein powder
- 2 tablespoons cocoa powder
- 1 teaspoon vanilla extract
- Pinch of salt
- 2 tablespoons mini chocolate chips optional
- 1 –2 tablespoons milk if needed for consistency
Instructions
Combine Ingredients:
- In a bowl, mix oats, protein powder, cocoa powder, and salt. Stir in nut butter, honey, and vanilla.
Adjust Texture:
- Add milk 1 tablespoon at a time, if mixture feels too dry. Fold in chocolate chips.
Roll Into Balls:
- Scoop and roll into 1-inch balls. You should get about 12.
Chill & Store:
- Refrigerate for 20 minutes to firm. Store in an airtight container in the fridge for up to 1 week.
Notes
- Protein Boost: Use your favourite chocolate protein powder for a tailored nutrition profile.
- Customise: Add chia seeds, flaxseeds, or shredded coconut for variation.
- Nut-Free Option: Use sunflower seed butter instead of nut butter.





Comments
No Comments