
Saad asked for these cookies four weeks in a row before I finally wrote down exactly what I was doing. Every time I made them, I'd change something small — more peanut butter, different sugar ratio, chocolate chips in or out — and I could never remember which version he liked best. Turns out it was all of them, but the one with crispy edges and a fudgy center is the one that made him sit at the kitchen counter and wait.
What makes these work is the ratio. I use equal parts butter and peanut butter, which sounds like a lot, but that's exactly what gives you that dense, almost brownie-like center. The cocoa powder is unsweetened — don't use hot chocolate mix, I made that mistake once and they came out weirdly sweet and flat. Real cocoa, real butter, real peanut butter. That's it.
I make these when I need something that comes together fast and doesn't require a mixer. I use a wooden spoon and a big bowl, and the whole thing is done in under 30 minutes. My husband eats them with tea. Saad eats them warm, straight off the baking sheet. Zainab crumbles hers over vanilla ice cream, which honestly isn't a bad idea at all.
One thing to know before you start: these cookies look underdone when you pull them from the oven. The edges will be set but the center will look soft and almost underbaked — that's on purpose. Leave them on the pan for five minutes and they'll firm up into exactly the texture you want. If you wait until they look done in the oven, they'll be dry by the time they cool. If you like baking from scratch, my super moist chocolate chip banana bread has a similar principle — trust the process, not your eyes.
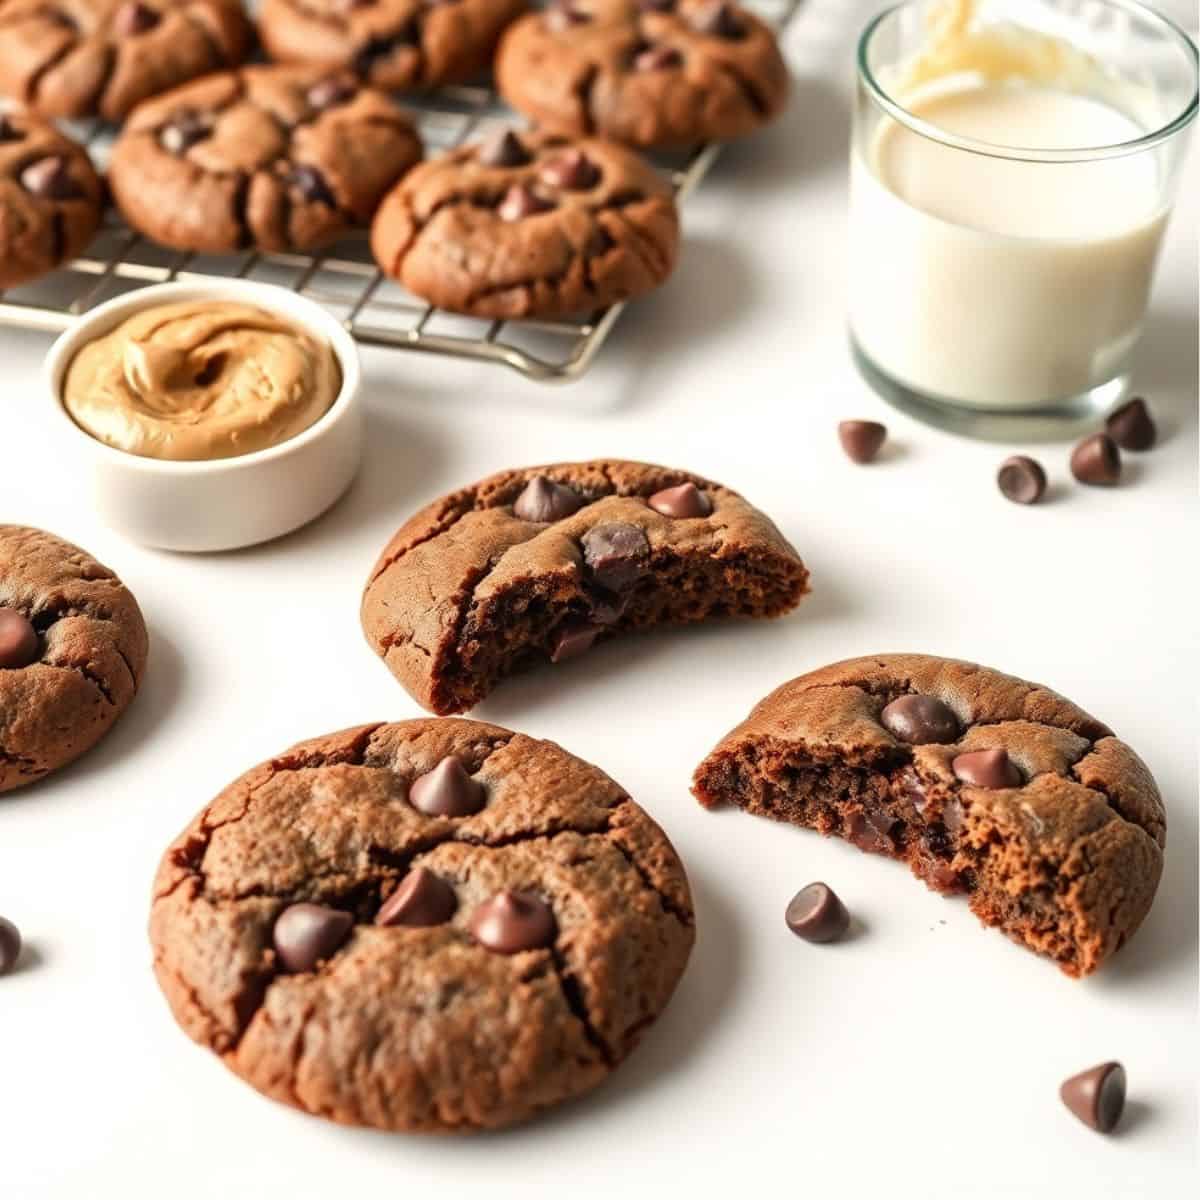
Why You'll Love This Recipe
- No chilling required: The dough goes straight from the bowl to the oven, which I appreciate when I'm making these on a weeknight and people are already asking when they'll be ready. Some cookie doughs need an hour in the fridge to hold their shape — this one doesn't. You can have warm cookies in under 30 minutes from the moment you start measuring.
- That crispy edge, fudgy center texture: This isn't just a description — it's the whole point of the cookie. The outside caramelizes and gets a slight snap while the inside stays dense and almost brownie-like. I've made a lot of cookies over the years and this texture is genuinely harder to get wrong than you'd think, as long as you don't overbake them.
- One bowl, no mixer needed: I don't own a stand mixer. I use a wooden spoon and it works perfectly fine here. The butter needs to be soft enough to cream by hand — leave it out on the counter for 30 minutes before you start. If you forget (I always forget), cut it into small cubes and it'll soften faster.
- Pantry ingredients only: Flour, cocoa powder, butter, peanut butter, eggs, vanilla, sugar — nothing you need to hunt for. I keep all of these stocked at all times, which means I can make these on a random Tuesday with no advance planning. The chocolate chips are optional, though I always add them.
- Makes a big enough batch to actually share: This recipe gives you about 24 cookies, which sounds like a lot until you put them on a plate at a family gathering and watch them disappear in 20 minutes. I double the batch if I know people are coming over — the dough freezes well and you can bake from frozen with just a couple of extra minutes added to the bake time.
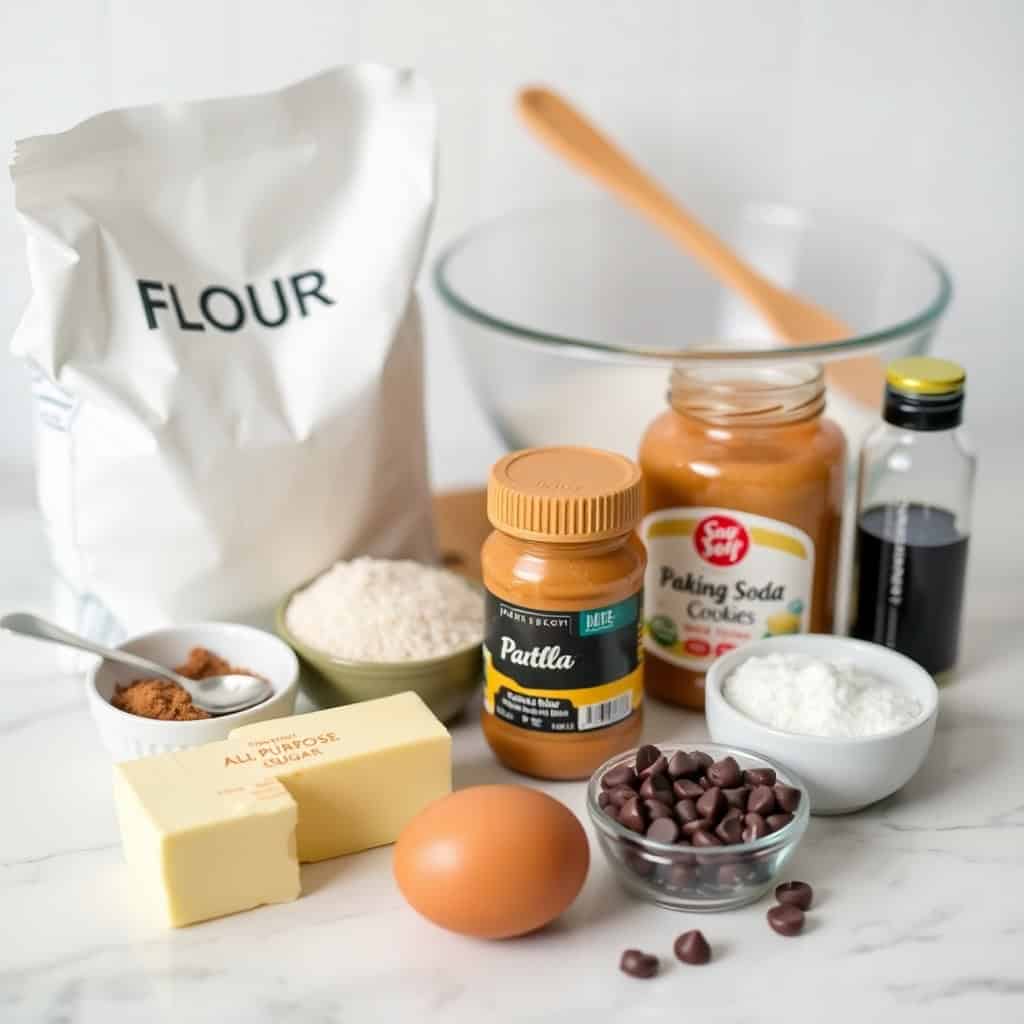
Ingredients
- 1 cup unsalted butter, softened (leave it out for 30 minutes before you start)
- ¾ cup granulated sugar
- ¾ cup brown sugar, packed
- 1 cup peanut butter (creamy works best — see notes on natural peanut butter in the FAQ)
- 2 large eggs
- 1 teaspoon vanilla extract
- 2 cups all-purpose flour
- ½ cup unsweetened cocoa powder (not hot chocolate mix)
- 1 teaspoon baking soda
- ½ teaspoon salt
- 1 cup chocolate chips (optional but I always add them)
Directions
- Preheat the oven: Set your oven to 350°F (175°C) and line a baking sheet with parchment paper. If you don't have parchment, a lightly greased pan works, but parchment makes cleanup much easier and prevents the bottoms from browning too fast.
- Cream the butter, sugars, and peanut butter: In a large bowl, beat together the softened butter, granulated sugar, brown sugar, and peanut butter until the mixture is smooth and slightly fluffy — about 2 minutes by hand with a wooden spoon, or 1 minute with a hand mixer. This step matters because it incorporates a little air into the dough and helps the cookies spread evenly.
- Add the eggs and vanilla: Mix in the eggs and vanilla extract until fully combined. Scrape down the sides of the bowl so everything gets incorporated. The mixture might look a little greasy at this point — that's normal, it comes together once the dry ingredients go in.
- Add the dry ingredients: Sift in the flour, cocoa powder, baking soda, and salt directly into the bowl. Mix until a soft dough forms and no dry streaks remain. Don't overmix — once the flour is just combined, stop. Overmixing makes the cookies tough.
- Fold in the chocolate chips: If you're using chocolate chips, gently stir them in with a spoon. I like semi-sweet chips here because the dough is already quite sweet, but dark chocolate chips work well too if you want a slightly more intense flavor.
- Scoop and shape: Use a tablespoon or a small cookie scoop to portion the dough onto your prepared baking sheet, spacing the cookies about 2 inches apart. Flatten each one slightly with the back of a spoon or a fork. They won't spread a ton in the oven, so this slight flatten helps them bake evenly through the center.
- Bake: Bake for 10–12 minutes. The edges should look set and the center will still look slightly underdone — that's exactly what you want. Pull them out and let them sit on the baking sheet for 5 minutes before moving them to a wire rack. They firm up as they cool.
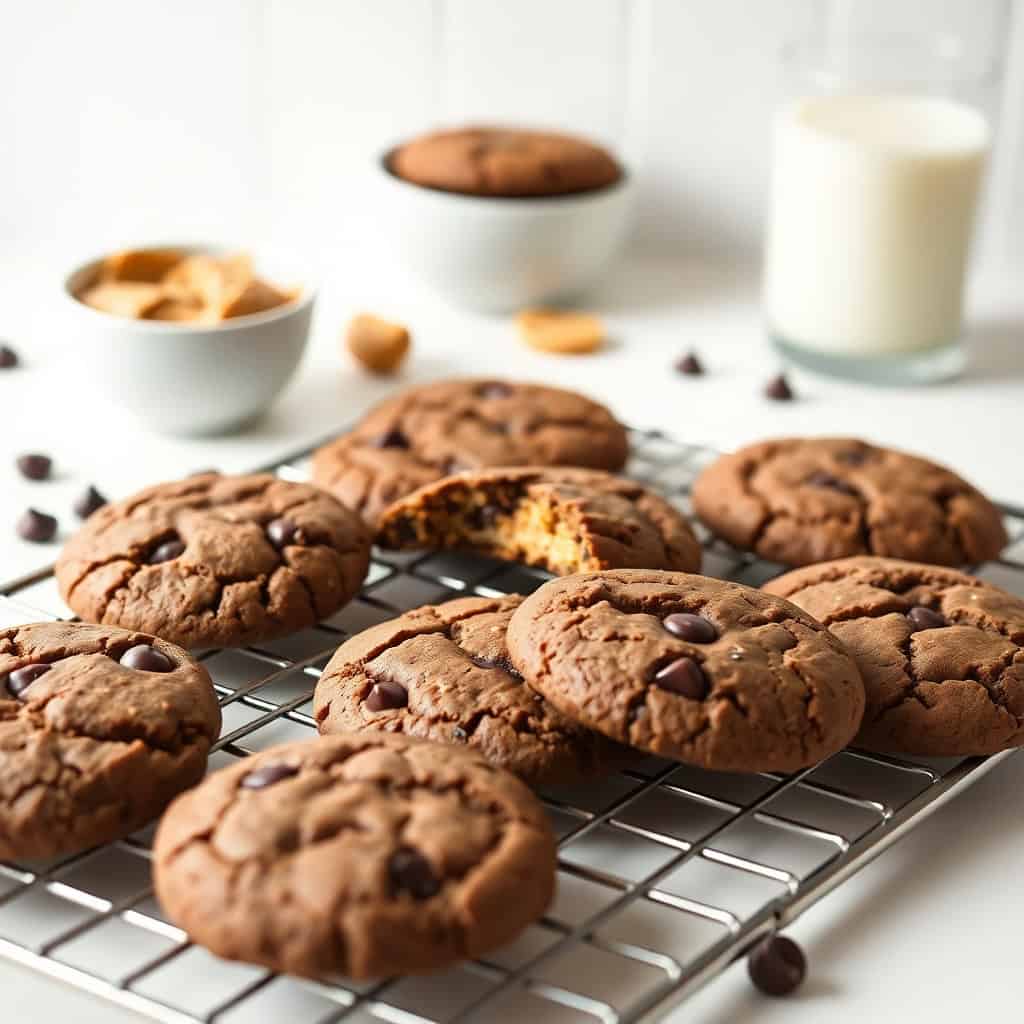
Tips for Success
- Pull them out before they look done: This is the single most important thing I can tell you. The first time I made these, I left them in until the center looked set — they came out dry and crumbly instead of fudgy. The cookies continue cooking from residual heat on the hot pan for those five minutes after you take them out of the oven. Trust the timing, not your eyes.
- Measure your flour correctly: Scooping the measuring cup directly into the flour bag packs it in and you end up with 20–30% more flour than the recipe calls for. I spoon flour into the measuring cup and level it off with a knife. This makes a real difference — too much flour and the cookies come out cakey instead of fudgy.
- Let the butter actually soften: Cold butter won't cream properly with the sugars and you'll get lumpy, uneven dough. I leave mine out for at least 30 minutes. If I forget (which happens often), I cut it into small pieces and microwave for 5-second bursts until it's soft but not melted. Melted butter changes the texture of the whole cookie.
- Don't crowd the baking sheet: Leave about 2 inches between each cookie. I've been impatient before and crammed them all on one sheet — the ones in the middle steam instead of bake and come out pale and soft in a bad way. Use two sheet pans or bake in batches. It takes a few extra minutes but it's worth it.
- If the dough is sticky, chill it briefly: On warm days, especially in summer, the butter in the dough can get soft quickly and make the dough hard to scoop cleanly. Just pop the bowl in the fridge for 15–20 minutes. This also helps the cookies hold their shape a little better in the oven if you prefer a thicker cookie.

Variations
- Crunchy peanut butter swap: Use crunchy peanut butter instead of creamy and you get little bits of peanut throughout the cookie. My husband prefers this version — he says the texture contrast makes it feel more substantial. It doesn't change the bake time or the method at all, just stir it well before measuring.
- Sea salt finish: Before baking, sprinkle a tiny pinch of flaky sea salt on top of each cookie. It sounds simple but it genuinely changes the whole flavor — the salt cuts through the richness and makes the chocolate taste more intense. I started doing this after seeing it on a bakery cookie and it's now my standard version.
- Stuffed peanut butter center: Roll about a teaspoon of peanut butter into a small ball and press it into the center of a dough ball before sealing it up and flattening slightly. When you bite in, there's a pocket of pure peanut butter in the middle. Zainab thinks this version is "too much" (she prefers things less intense) but Saad loves it, so I make half the batch stuffed and half plain.
- Ice cream sandwich cookies: Bake the cookies slightly thicker (scoop a heaping tablespoon instead of a level one) and sandwich a scoop of vanilla or coffee ice cream between two. Press gently, wrap in plastic wrap, and freeze for an hour. They hold together well and make a really easy dessert for when people come over — better than anything you'd buy pre-made.
- Gluten-free version: Substitute the all-purpose flour with a 1:1 gluten-free flour blend — I've used Bob's Red Mill and it works well here. The texture is very slightly different (a touch more crumbly at the edges) but the flavor is identical. This isn't my recipe's natural format so I can't promise every blend will work, but the 1:1 blends generally do fine in this kind of cookie.
Serving and Storage
Serving
These are best eaten warm, about 10 minutes out of the oven when the center is still slightly soft. My kids eat them as-is, but my husband pairs them with strong tea and that's actually a really good combination — the bitterness of the tea balances the sweetness of the cookie. Zainab crumbles hers over a bowl of vanilla ice cream, which I have to admit is a solid move. If you're making these for guests, you can also check out my red velvet cake in a jar for another easy dessert that looks more impressive than the effort it takes.
Storage
Store cooled cookies in an airtight container at room temperature for up to 5 days. To keep them soft, tuck a slice of plain white bread into the container — it sounds odd, but the cookies absorb just enough moisture from the bread to stay soft without getting soggy. For longer storage, freeze baked cookies in a zip-lock bag for up to 3 months. Let them thaw at room temperature for about 20 minutes, or warm them in a 300°F oven for 3–4 minutes to get that fresh-baked texture back. The unbaked dough freezes equally well — scoop it into balls, freeze them on a sheet pan, then transfer to a bag. Bake from frozen at 350°F and add 2–3 minutes to the bake time.

Frequently Asked Questions
Can I use natural peanut butter in this recipe?
You can, but stir it very well before measuring — the oil separation in natural peanut butter can throw off the texture if you scoop from an unstirred jar. I've used it a few times and the cookies come out slightly less structured and a touch oilier, but still good. If you have regular Jif or Skippy on hand, that's what I'd use for the most consistent result.
My cookies came out dry and crumbly — what went wrong?
Almost always, this means they were overbaked. These cookies need to come out of the oven when the center still looks soft — they finish cooking on the hot pan. The other common cause is too much flour from packing the measuring cup. Spoon flour into the cup and level it off, don't scoop directly from the bag.
Can I make the dough ahead of time?
Yes — the dough keeps in the fridge for up to 3 days, covered. You can also scoop it into balls and freeze them for up to 2 months. Bake straight from frozen at 350°F and add 2–3 extra minutes to the bake time. I usually keep a bag of frozen dough balls in the freezer so I can bake just a few at a time when someone asks for cookies.
Can I make these without cocoa powder?
Cocoa powder is what makes these chocolate cookies rather than regular peanut butter cookies, so removing it changes the whole recipe. If you want to skip the chocolate, just replace the cocoa powder with an equal amount of flour and you'll get a plain peanut butter cookie instead — which is still a good cookie, just a completely different one.
Can I substitute almond butter or sunflower seed butter?
Almond butter works well and gives a slightly milder, nuttier flavor — it's a good swap if you're avoiding peanuts. Sunflower seed butter also works and is a good nut-free option for school bake sales, though it can turn the cookies a slightly greenish color after baking (a natural reaction with baking soda — totally harmless, just a little surprising the first time you see it).

CHOCOLATE PEANUT BUTTER COOKIES
Ingredients
- 1 cup unsalted butter softened
- ¾ cup granulated sugar
- ¾ cup brown sugar
- 1 cup peanut butter
- 2 large eggs
- 1 teaspoon vanilla extract
- 2 cups all-purpose flour
- ½ cup unsweetened cocoa powder
- 1 teaspoon baking soda
- ½ teaspoon salt
- 1 cup chocolate chips
Instructions
- Step 1: Cream Butter, Sugars, and Peanut Butter – Beat butter, granulated sugar, brown sugar, and peanut butter until fluffy.
- Step 2: Add Eggs and Vanilla – Mix in eggs and vanilla until well combined.
- Step 3: Incorporate Dry Ingredients – Sift in flour, cocoa powder, baking soda, and salt, then mix until dough forms.
- Step 4: Fold in Chocolate Chips – Gently stir in chocolate chips for extra richness.
- Step 5: Bake – Preheat oven to 350°F (175°C), scoop dough onto a baking sheet, and bake for 10-12 minutes until set.
Notes
- Make Ahead: Dough can be refrigerated for up to 3 days or frozen for 2 months.
- Customizing the Flavor: Add a pinch of sea salt on top for a sweet-salty contrast.
- Serving Suggestions: Enjoy with a glass of milk or crumbled over ice cream.
- Allergy-Friendly Options: Use almond butter for a peanut-free version.
- Storage Tips: Keep in an airtight container at room temperature for up to a week.
These are the cookies I reach for when I want something I know will work. Not the most complicated thing I've ever baked, not the fanciest, but consistently good — and that matters more to me than anything. The fudgy center never gets old. I've made these maybe thirty times now and I still pull one off the pan while it's warm every single time, because that first bite when it's just barely set is genuinely hard to resist.
If you're making these for the first time, just watch the bake time carefully. Everything else is forgiving — the dough is easy to work with, the ingredients are basic, the method is straightforward. The only place people go wrong is leaving them in too long. Set a timer for 10 minutes and check them. You're looking for set edges and a center that still has some give. That's your window.
If you want to build out a full dessert spread, my authentic sopaipillas are another easy crowd dessert that comes together quickly — very different flavor profile but equally easy to put together on short notice. And if you're a regular baker looking for your next project after these cookies, the peach cobbler cheesecake donuts are worth a weekend afternoon. These chocolate peanut butter cookies though — make them once and they'll find a permanent spot in your rotation. 🍪🍫
If you liked this recipe, here are a few more you might want to try:





Comments
No Comments