
Chocolate Chip Peanut Butter Cups are the ultimate sweet-and-salty dessert. With just a few ingredients, you can make this delicious no-bake treat at home—perfect for peanut butter lovers and chocolate fans alike!
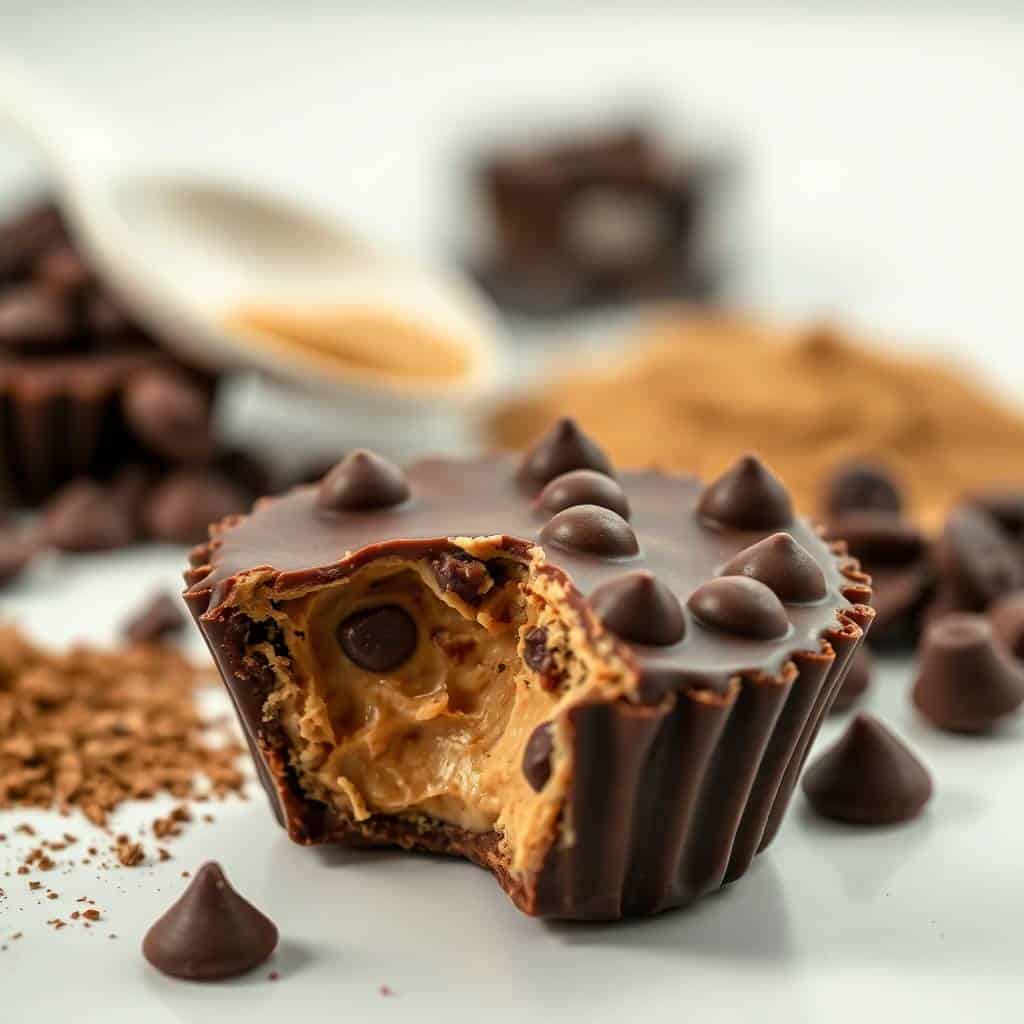
These little cups are rich, creamy, and perfectly portioned. The texture is smooth with bits of chocolate chips throughout, and the peanut butter base gives each bite a satisfying, melt-in-your-mouth feel. They taste just like a Reese’s cup!
They’re great for snacking, holiday trays, lunchbox treats, or even a quick dessert after dinner. Plus, they’re freezer-friendly, so you can always keep a stash on hand for sudden cravings. In fact, you can make a whole batch in under 30 minutes.
With a soft, melt-in-your-mouth texture, these cups balance salty peanut butter and sweet chocolate perfectly. They are no-bake and freezer-friendly, so you can enjoy them anytime. This recipe is super easy to follow and doesn’t require any baking.
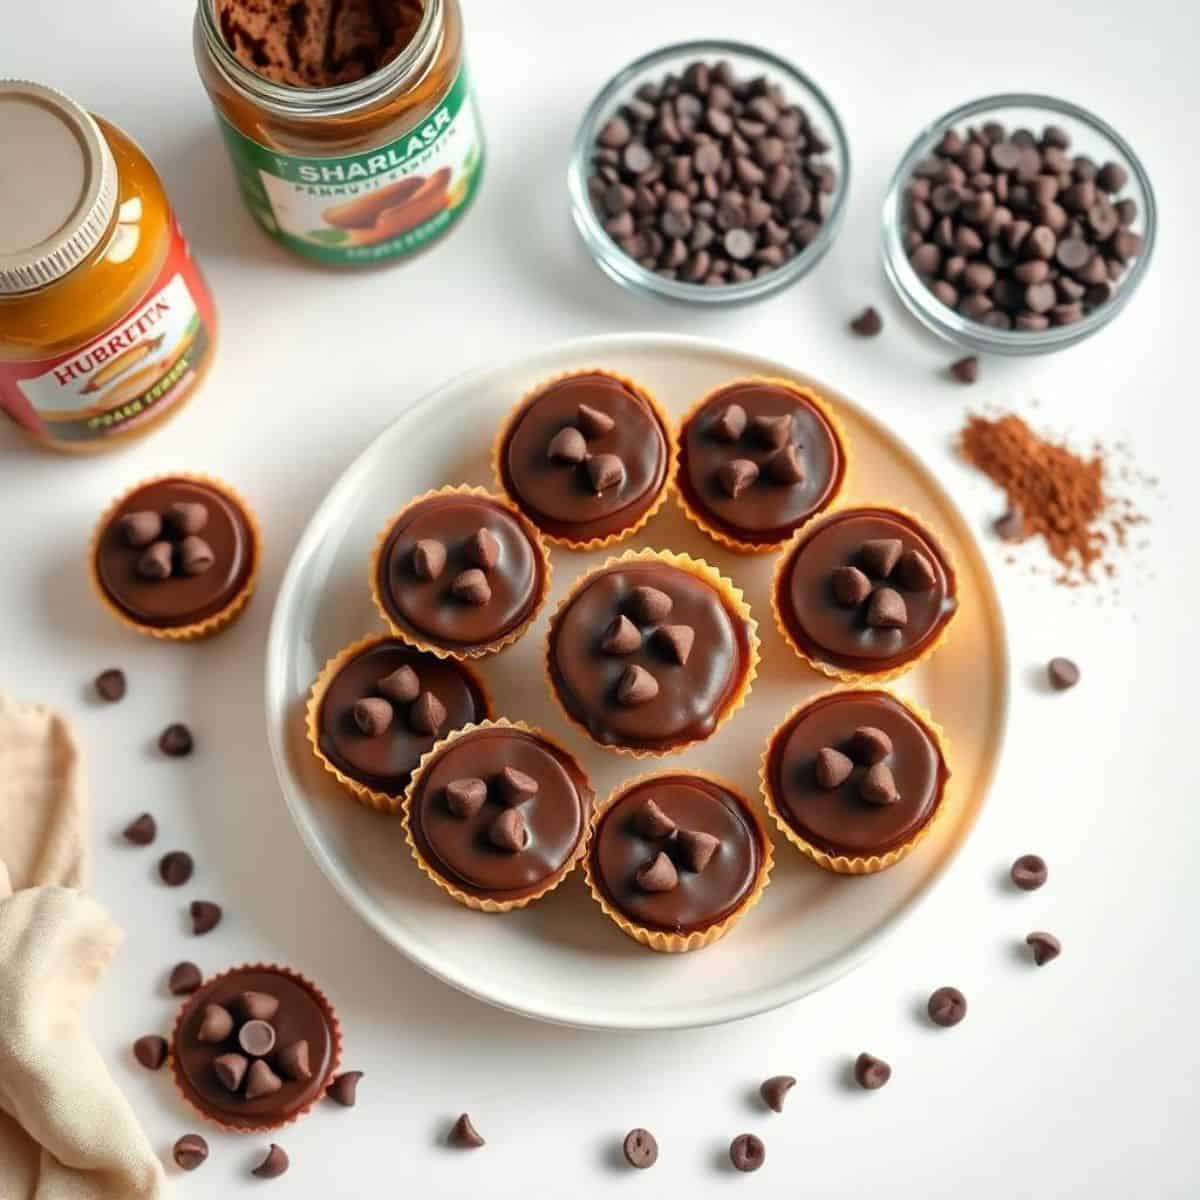
WHY YOU WILL LOVE THIS RECIPE
- Creamy peanut butter goodness: Smooth peanut butter forms a rich base, creating irresistible cups with a luscious texture and flavour.
- Sweet chocolate chips: Melty chocolate chips add bursts of sweetness and texture, enhancing the classic peanut butter combination.
- No-bake simplicity: Easy to prepare without an oven—just mix, pour, and freeze for quick homemade treats.
- Perfect portion size: Individual cups make portion control easy and are great for on-the-go snacking or lunchboxes.
- Customisable toppings: Add sea salt, nuts, or caramel drizzle to personalise flavour and texture to your liking.
- Freezer-friendly treat: Store in the freezer for convenient access to sweet snacks anytime you want.
- Kid-friendly and giftable: These cups are loved by all ages and make perfect homemade gifts for friends and family.
INGREDIENTS
- 1 cup creamy peanut butter
- ¼ cup melted butter
- 1 cup powdered sugar
- ½ teaspoon vanilla extract
- ¾ cup mini chocolate chips (divided)
- Optional: flaky sea salt for topping
DIRECTIONS
- Step No.1: Prepare the muffin pan
Line a mini muffin pan with paper liners or use a silicone mold for easy removal.
- Step No.2: Make the peanut butter base
In a bowl, mix peanut butter, melted butter, powdered sugar, and vanilla extract until smooth.
- Step No.3: Fold in chocolate chips
Stir in ½ cup of mini chocolate chips into the peanut butter mixture.
- Step No.4: Fill the cups
Spoon the mixture evenly into prepared cups, smoothing the tops.
- Step No.5: Add toppings and chill
Sprinkle remaining chocolate chips (and sea salt if using) on top. Chill in the refrigerator for at least 1 hour or until set.
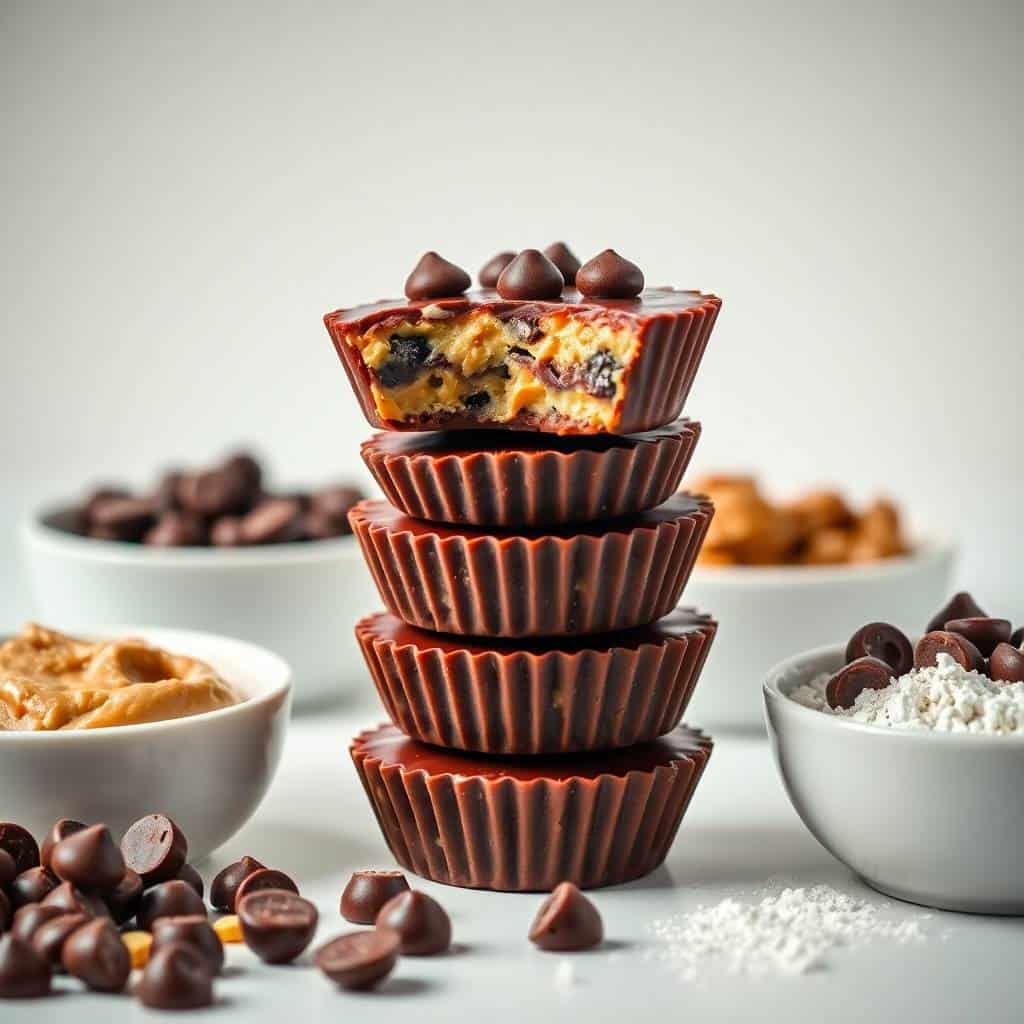
TIPS FOR SUCCESS
- Use creamy peanut butter: Smooth texture ensures a silky peanut butter layer that blends well with chocolate.
- Don’t skip chilling: freezing food safely each layer helps create distinct layers and prevents mixing of chocolate and peanut butter.
- Line your tin: Paper liners make removing peanut butter cups easy and keep them neat without sticking.
- Melt chocolate gently: Use short microwave bursts or a double boiler to avoid burning the chocolate.
- Add texture with toppings: Sprinkle sea salt or chopped nuts to balance sweetness with crunch.
- Store in freezer: Keep cups frozen until serving to maintain perfect texture and shape.
- Use mini chocolate chips: These add a nice texture contrast and look pretty on top.
VARIATIONS
- Use crunchy peanut butter: Swap creamy for crunchy for extra nutty texture and flavour in your cups.
- Add caramel layer: Drizzle caramel between peanut butter and chocolate layers for a decadent surprise.
- Swap chocolate types: Use dark, milk, or white chocolate chips to customise flavour preferences.
- Add sea salt topping: Sprinkle flaky sea salt on top to enhance the sweet and salty contrast.
- Mix in nuts: Fold chopped peanuts or almonds into the peanut butter mixture for crunch.
- Make mini cups: Use mini muffin tins for bite-sized treats perfect for parties or lunchboxes.
- Make vegan diet: Use dairy-free chocolate and vegan butter to create a dairy-free version.
SERVING AND STORAGE
Serving
Serve chilled for best texture and structure. Great with coffee, milk, or hot chocolate.
Storage
Store in an airtight container in the refrigerator for up to 2 weeks or freeze for up to 2 months.
FAQ
Yes! These store well in the fridge or freezer, making them perfect for prep.
Yes, but the texture might be softer—chill well to help them hold.
Nope! The chips go in as-is for the perfect texture inside the cups.
Yes—just use plant-based butter and dairy-free chocolate chips.
Using liners or silicone molds ensures easy release and neat cups.
Chocolate Chip peanut butter cups are one of those treats that taste like they took hours—but come together in minutes.
They’re rich, indulgent, and completely satisfying.
Whether you make them for a party, holiday gathering, or just to treat yourself, these little cups deliver big flavour with minimal effort.
And because they freeze so well, you can always have some on hand when cravings strike.
Try this recipe once, and you’ll keep coming back to it.
It’s an easy, reliable, and totally delicious way to enjoy two of the best dessert flavours: chocolate and peanut butter.
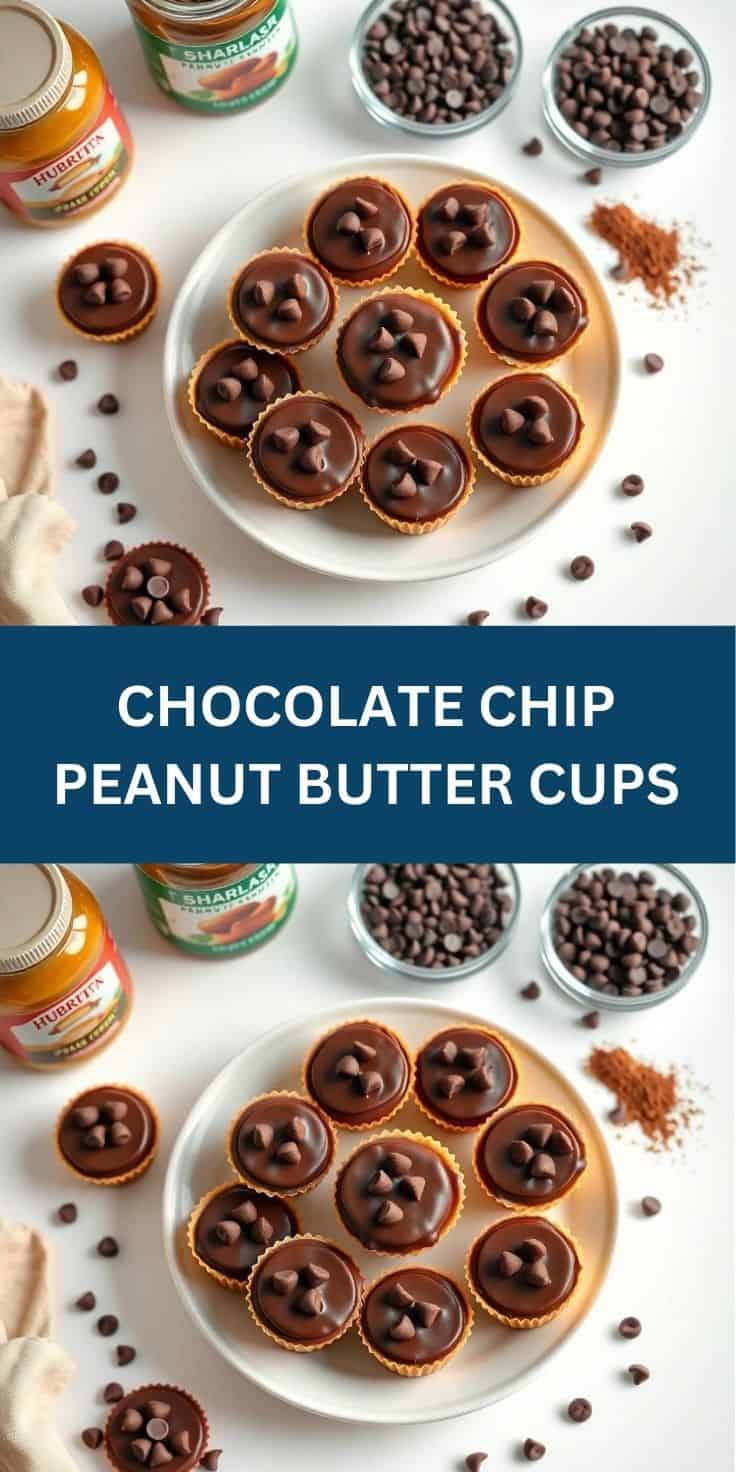
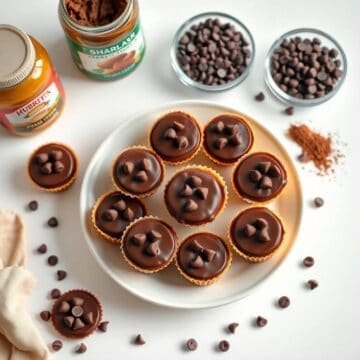
CHOCOLATE CHIP PEANUT BUTTER CUPS
Ingredients
- 1 cup creamy peanut butter
- ½ cup unsalted butter softened
- 1 cup powdered sugar
- 1 teaspoon vanilla extract
- 1½ cups semi-sweet chocolate chips
- ½ cup mini chocolate chips
Instructions
Prepare Peanut Butter Filling:
- In a bowl, mix peanut butter, softened butter, powdered sugar, and vanilla extract until smooth.
Melt Chocolate:
- In a microwave-safe bowl, melt semi-sweet chocolate chips in 30-second intervals, stirring between until smooth.
Assemble Cups:
- Line a muffin tin with paper liners. Spoon about 1 tablespoon of melted chocolate into each liner and spread evenly to cover the bottom.
Add Filling:
- Place about 1 tablespoon of peanut butter mixture over the chocolate layer, then sprinkle mini chocolate chips on top.
Top with Chocolate:
- Cover the peanut butter layer with another tablespoon of melted chocolate to seal the cups.
Chill:
- Refrigerate for at least 1 hour or until firm.
Notes
- Storage: Keep cups refrigerated for up to 2 weeks.
- Variation: Use crunchy peanut butter for added texture.
- Allergy: Substitute peanut butter with almond or sunflower butter if needed.





Comments
No Comments