
Zainab asked me to make a "chocolate cherry cake" for her birthday, and I ended up down a rabbit hole that led to this cheesecake. She was happy. I was relieved. My husband ate three slices and said nothing — which in this house means it was genuinely good.
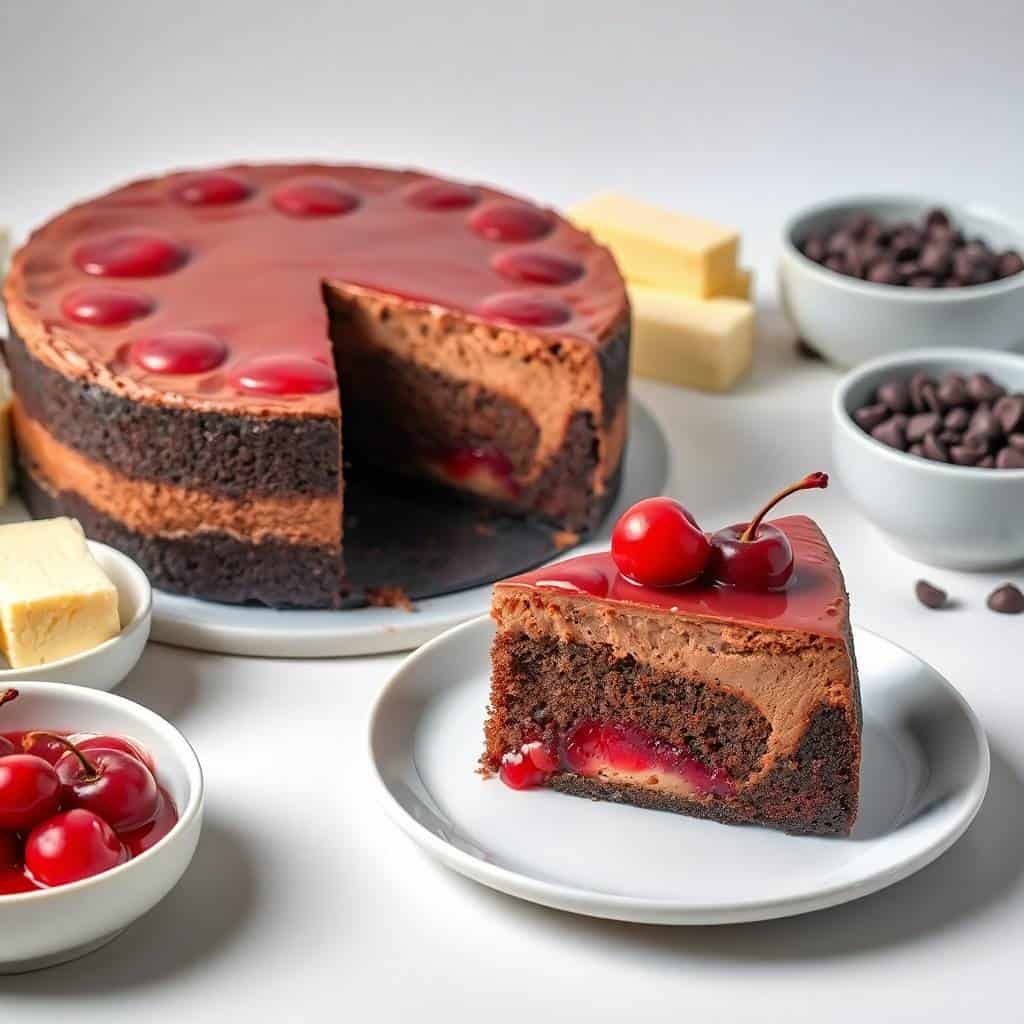
What I like about this cheesecake is that it doesn't try to do too much. The crust is chocolate cookie crumbs packed with butter — simple and solid. The filling is cream cheese and sour cream with real melted chocolate stirred in, not just cocoa powder. That's what gives it that deep, slightly bitter chocolate flavor that holds up against the sweet cherry topping. It's not a light cheesecake. It's the real thing.
I've made cheesecakes that cracked down the middle and looked like a disaster. This one doesn't, as long as you follow two rules: don't overmix the batter, and don't rush the cooling. I let mine sit in the turned-off oven for a full hour, then cool on the counter before it goes in the fridge. Every time I've skipped that step — it cracks. Every time I follow it — it comes out smooth. If you want something you can make the night before a dinner party and not stress about, this is it. If you love simple make-ahead desserts, my Lemon Bars follow the same principle and are just as reliable.
One thing to know going in: this cheesecake needs time. It bakes for about an hour, rests in the oven for another hour, cools, and then chills in the fridge for at least four hours — overnight is better. Plan accordingly. The actual hands-on work is maybe 30 minutes. The rest is just waiting, which is the hardest part.
Why You'll Love This Recipe
- The chocolate flavor is real: A lot of "chocolate cheesecakes" are just cocoa powder stirred into a standard filling, and the result tastes thin. This one uses actual melted semi-sweet chocolate — 8 ounces of it — plus a chocolate cookie crust. You get that proper bittersweet depth in every bite, and it balances the sweetness of the cherry topping in a way cocoa powder alone never does.
- No water bath required: I know a lot of cheesecake recipes insist on a water bath, and honestly that always stressed me out — the foil-wrapping, the leaking, the whole production. This recipe skips it. The slow oven rest at the end does most of the same work without the hassle. I've made this six or seven times now and never had a problem as long as I don't rush that cooling step.
- Make-ahead friendly: The cheesecake actually tastes better the next day once it's had time to fully set and the flavors come together. I make it the night before and add the cherry topping right before serving. That means I'm not scrambling in the kitchen on party day — the hardest part is already done.
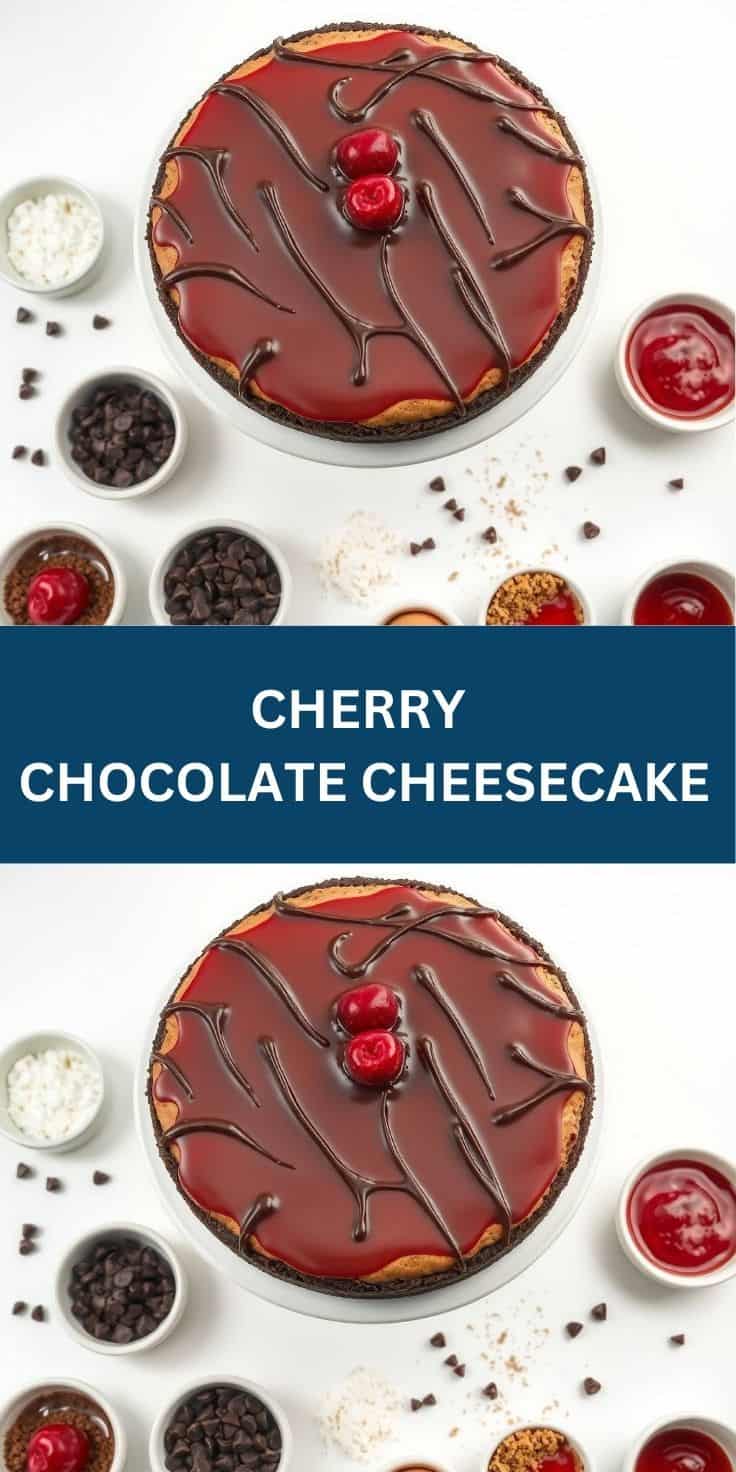
- It looks much harder than it is: When you set this on the table with the glossy cherry topping and chocolate crust peeking through, people assume you spent hours. The steps themselves are genuinely straightforward — mix the crust, mix the filling, bake, cool, chill. There's no decoration skill involved. The cherries do all the visual work for you.
- Leftovers hold up well: This cheesecake keeps in the fridge for up to 5 days and the texture stays firm and sliceable the whole time. I've frozen slices individually and pulled them out a month later — they thaw overnight in the fridge and taste almost as good as fresh. It's one of those recipes that rewards making a full batch even if you're cooking for a small crowd.
Ingredients
- For the Crust:
- 1 ½ cups chocolate cookie crumbs (I use chocolate wafer cookies, but crushed Oreos with the filling scraped out work too)
- ¼ cup granulated sugar
- ⅓ cup unsalted butter, melted
- For the Filling:
- 3 packages (8 oz each) cream cheese, softened to room temperature
- 1 cup granulated sugar
- ½ cup sour cream
- 1 teaspoon vanilla extract
- 8 oz semi-sweet chocolate, melted and cooled (about 1 ⅓ cups of chocolate chips, or use a bar — either works)
- 3 large eggs, at room temperature
- For the Topping:
- 1 can (21 oz) cherry pie filling
- Optional: chocolate shavings or curls for garnish
Directions
- Preheat the oven: Set your oven to 325°F (163°C). Grease a 9-inch springform pan or line the bottom with parchment paper. Springform is non-negotiable here — you need to be able to release the sides cleanly once it's set.
- Make the crust: Combine chocolate cookie crumbs, sugar, and melted butter in a bowl and stir until it looks like wet sand. Press the mixture firmly and evenly into the bottom of the pan — I use the flat bottom of a measuring cup to press it down. Bake for 10 minutes, then set aside to cool while you make the filling.
- Make the filling: Beat softened cream cheese and sugar together until completely smooth, about 2–3 minutes. This step matters — any lumps here will stay lumps in the finished cheesecake. Add sour cream and vanilla and mix until combined. Stir in the melted, cooled chocolate until fully incorporated.
- Add the eggs: Beat in eggs one at a time, mixing on low speed just until each one disappears into the batter. Stop as soon as the last egg is blended. Overmixing after the eggs go in is how you get cracks and puffed centers — so resist the urge to keep going.
- Bake: Pour the filling over the cooled crust and smooth the top. Bake for 55–60 minutes. The edges should look set and the center should have just a slight wobble — like Jell-O, not like liquid. Turn off the oven and leave the cheesecake inside with the door cracked open for 1 hour. Don't skip this.
- Cool and chill: Take the cheesecake out of the oven and let it cool completely on the counter — usually another hour. Then refrigerate for at least 4 hours, but overnight is genuinely better. The texture firms up and the flavor deepens.
- Add the topping: Once the cheesecake is fully chilled, spoon the cherry pie filling evenly over the top. Add chocolate shavings if you want to dress it up. Keep refrigerated until you're ready to serve.
Tips for Success
- Cold cream cheese will ruin your filling: I learned this the hard way on my first cheesecake — I was impatient and used cream cheese straight from the fridge, and the batter had chunks in it no matter how long I beat it. Take the cream cheese out at least an hour before you start, same with the eggs. Room temperature ingredients blend smoothly and give you that silky texture you're going for.
- Cool your melted chocolate before it goes in: If the chocolate is still hot when you add it to the cream cheese mixture, you'll get a scrambled, grainy mess. Melt it, then set it aside for 10–15 minutes until it's warm but not hot. You should be able to touch the bowl comfortably before it goes into the batter.
- Press the crust firmly and evenly: A loose crust crumbles when you try to slice the cheesecake, and you end up with chunks falling apart on the plate. Take an extra minute to really press the crumbs into a solid, even layer. The flat bottom of a measuring cup works better than your fingers for getting it even all the way to the edges.
- The oven rest is not optional: Every time I've pulled a cheesecake straight from the oven and let it cool on the counter, it cracked. The sudden temperature change is too much. Leaving it in the turned-off oven with the door slightly open lets it cool down slowly and evenly — no cracks, no sunken center. Set a timer so you don't forget it's in there.
- Slice with a warm, clean knife: Dip a sharp knife in warm water and wipe it dry between every single cut. It sounds fussy but it takes 10 seconds and makes a real difference. Cold cheese sticks to the blade and drags through the filling — warm knife glides through cleanly and you get proper bakery-style slices instead of a smeared mess.
Variations
- Oreo crust: Swap the plain chocolate cookie crumbs for crushed Oreos — just scrape out the filling first, or don't, depending on how sweet you want the base. Oreos have a stronger, more distinct flavor than plain chocolate wafers. My husband actually prefers the Oreo version. It makes the whole thing taste slightly more indulgent, which is saying something.
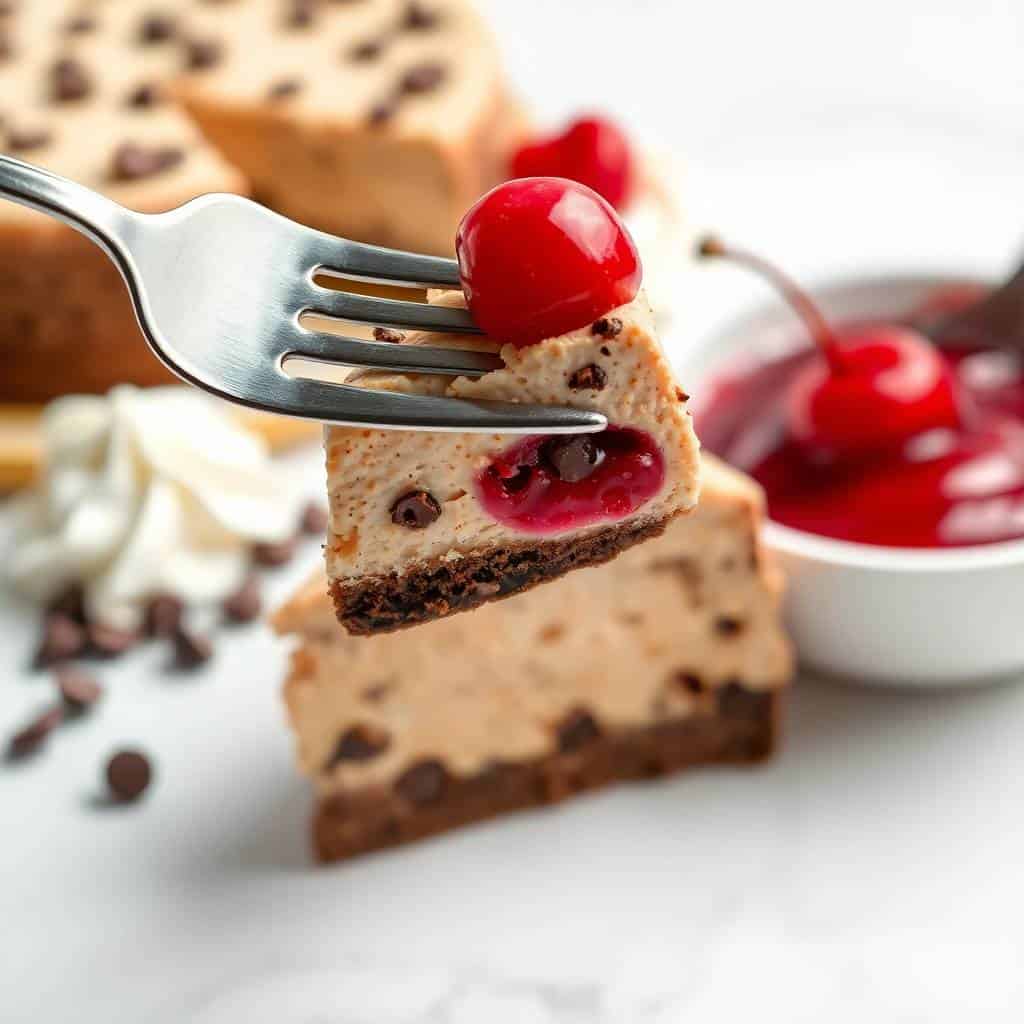
- Cherry swirl inside the batter: Before baking, drop a few spoonfuls of cherry pie filling onto the surface of the filled cheesecake and drag a toothpick or skewer through to swirl. It creates a marbled look when you slice it and adds little pockets of cherry flavor through the filling. If you do this, go lighter on the topping at the end.
- Homemade cherry topping: Canned cherry pie filling is convenient and I use it regularly, but if you have fresh or frozen cherries, you can make your own. Simmer 2 cups of pitted cherries with ¼ cup sugar, 1 tablespoon lemon juice, and 1 tablespoon cornstarch over medium heat until it thickens into a glossy sauce, about 8–10 minutes. Let it cool completely before spooning it over the chilled cheesecake.
- Ganache layer under the cherries: Heat ½ cup heavy cream until just simmering, pour it over 4 oz of chopped semi-sweet chocolate, and let it sit for 2 minutes before stirring smooth. Pour the ganache over the chilled cheesecake and let it set in the fridge for 30 minutes before adding the cherry topping. It adds a thin, glossy chocolate layer between the filling and the fruit that makes the whole thing richer.
- Mini cheesecakes: Line a standard muffin tin with paper liners, press about 1 tablespoon of crust mixture into each cup, and divide the filling among them. Bake at 325°F for about 20–22 minutes. They cool faster and are easier to portion for a party. Saad takes these to school events and they're always the first thing to disappear.
Serving and Storage
Serving
Serve the cheesecake cold, straight from the fridge. If you want to take the chill off slightly, let it sit at room temperature for about 10 minutes before slicing — the texture softens just enough to make it feel more luxurious. Use a sharp knife dipped in warm water and wipe it between cuts. I usually serve it plain with the cherry topping, but a little whipped cream on the side works well if you want something extra. If I'm serving it at a dinner party, I plate it alongside something lighter like a small salad — a Broccoli Cauliflower Salad actually works nicely as a starter to balance the richness of the dessert.
Storage
Keep leftovers covered in the refrigerator for up to 5 days. The cherry topping holds fine in the fridge on top of the cheesecake — don't worry about it getting soggy. To freeze, leave the cherry topping off and wrap the whole cheesecake (or individual slices) tightly in plastic wrap and then a layer of foil. It freezes well for up to 2 months. Thaw overnight in the fridge — don't try to rush it at room temperature or the texture gets soft and wet. Add the cherry topping after thawing.
Frequently Asked Questions
Can I make this cheesecake the day before?
Yes, and honestly you should. The texture is better after a full night in the fridge — it firms up properly and the chocolate flavor deepens. I bake mine the evening before I need it, let it cool overnight, and add the cherry topping the next day right before serving. It takes all the pressure off the day itself.
Why did my cheesecake crack on top?
Two most common reasons: overmixing the batter after the eggs go in, or cooling the cheesecake too quickly. Overmixing adds air bubbles that expand and crack as the cheesecake bakes. Rapid cooling causes the outside to contract faster than the center. Fix both by mixing gently once the eggs are in, and always letting the cheesecake rest in the turned-off oven with the door cracked for a full hour before it comes out.
Can I use homemade cherry topping instead of canned?
Absolutely. Simmer 2 cups of pitted fresh or frozen cherries with ¼ cup sugar, 1 tablespoon lemon juice, and 1 tablespoon cornstarch until the mixture thickens and the cherries soften, about 8–10 minutes. Let it cool completely before spreading it over the chilled cheesecake. Hot topping on a cold cheesecake will make the surface weep and get watery.
How do I freeze this cheesecake properly?
Freeze it without the cherry topping. Wrap the whole cheesecake or individual slices in plastic wrap, then wrap again in foil. It keeps for up to 2 months. Thaw in the refrigerator overnight — never on the counter. Once thawed, add the cherry topping and serve within a day or two.
Can I use a different topping if I don't like cherries?
Yes — raspberry or blueberry pie filling both work well with the chocolate base. Raspberry especially gives you that sharp, slightly tart contrast that cuts through the richness of the chocolate filling. You could also go with a simple chocolate ganache on top if you want to lean fully into the chocolate and skip the fruit entirely.
This cheesecake has become one of those recipes I come back to whenever I need something that looks impressive but doesn't require me to reinvent anything. The chocolate cookie base, the deep chocolate filling, the glossy cherries on top — it's a combination that works every time, and I've made it enough times now to know exactly where the pitfalls are. Slow down on the cooling, use room temperature cream cheese, don't overmix after the eggs. That's genuinely it.
I also like that it's one of those desserts that improves with time in the fridge. Day two is better than day one. The chocolate flavor settles, the texture gets firmer and creamier, and the whole thing just comes together in a way that freshly-baked cheesecake doesn't quite have yet. If you want something equally make-ahead and crowd-friendly on the sweeter side, my Strawberry Fudge is another one that holds beautifully in the fridge and travels well.
Zainab got her chocolate cherry birthday dessert, I got a recipe I'll keep making for years, and my husband got three slices. That's what a good cheesecake does. 🍫🍒✨
CHERRY CHOCOLATE CHEESECAKE
Ingredients
For the Crust:
- 1 ½ cups chocolate cookie crumbs
- ¼ cup granulated sugar
- ⅓ cup melted butter
For the Filling:
- 3 8 oz packages cream cheese, softened
- 1 cup granulated sugar
- ½ cup sour cream
- 1 teaspoon vanilla extract
- 8 oz semi-sweet chocolate melted and cooled
- 3 large eggs
For the Topping:
- 1 can 21 oz cherry pie filling
- Optional: chocolate shavings or curls
Instructions
Preheat Oven:
- Preheat oven to 325°F (163°C). Grease a 9-inch springform pan or line the bottom with parchment paper.
Make the Crust:
- In a bowl, combine chocolate cookie crumbs, sugar, and melted butter. Press mixture firmly into the bottom of the pan. Bake for 10 minutes. Let cool.
Prepare the Filling:
- Beat cream cheese and sugar until smooth. Add sour cream and vanilla; mix well. Stir in melted chocolate until fully incorporated. Beat in eggs one at a time just until blended.
Bake:
- Pour filling over the crust. Bake for 55–60 minutes or until the center is set. Turn off oven and leave cheesecake inside with the door slightly open for 1 hour.
Chill:
- Refrigerate cheesecake for at least 4 hours or overnight.
Add Topping:
- Spoon cherry pie filling over chilled cheesecake. Garnish with chocolate shavings if desired.
Notes
- Make Ahead: Cheesecake can be made a day in advance and topped just before serving.
- Crust Options: Use graham crackers or Oreos for a different twist.
- Storage: Store in the refrigerator for up to 5 days. Freeze (without topping) for up to 2 months.
- Topping Ideas: Swap cherry for raspberry or blueberry pie filling for a flavour change.





Comments
No Comments