
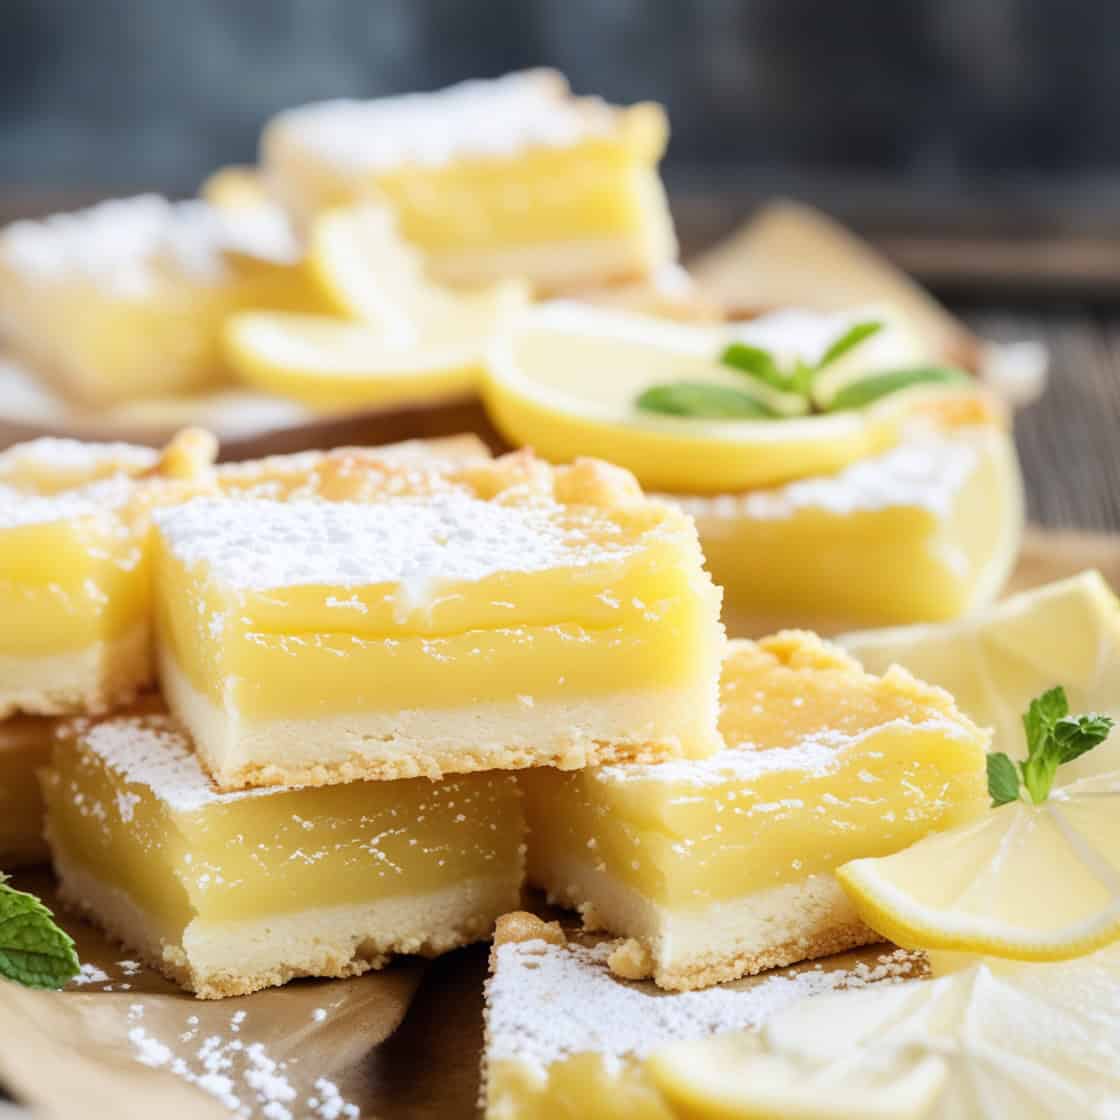
Lemon Bars are one of the most genuinely perfect, most universally beloved desserts available — a buttery, crumbly shortbread crust topped with a smooth, intensely bright, perfectly balanced sweet-tart lemon filling, baked until set and finished with a generous dusting of powdered sugar that makes every square look as beautiful as it tastes. They are simultaneously elegant and deeply comforting, sophisticated and completely approachable, and they deliver the most extraordinary burst of sunshine-bright citrus flavour in every single bite. I have been making lemon bars since I first learned to bake and they remain the single dessert I get the most requests for from family and friends throughout the entire year.
The shortbread crust is the most important foundation of an extraordinary lemon bar — it must be pressed firmly and evenly into the pan and pre-baked until lightly golden before the filling is added. This pre-baking step is genuinely essential: it creates a firm, crisp base that holds up perfectly under the moist lemon filling without becoming soggy during the second bake. The filling itself is made with fresh lemon juice, lemon zest, eggs, and sugar — no cream cheese, no condensed milk — just the most pure, most vibrant citrus flavour available from the most minimal, most accessible combination of ingredients. Fresh lemon juice is genuinely non-negotiable here. Bottled juice produces a flat, processed-tasting filling that simply does not do this recipe justice.
These Lemon Bars are perfect for spring and summer entertaining, Easter brunches, picnics, dinner party desserts, and any occasion where a genuinely impressive, genuinely refreshing sweet treat is needed. They are a brilliant make-ahead dessert that genuinely improves after a few hours in the refrigerator as the flavours develop and the filling sets completely. Find more citrus dessert inspiration in our lemon meringue pie bites and our ultimate lemon tart.
Make these Lemon Bars once and they will become your most requested, most frequently made, most genuinely treasured dessert recipe for every occasion throughout the entire year!

WHY YOU WILL LOVE THIS RECIPE
- Perfectly Tangy and Refreshing: The bright zesty lemon filling delivers the most genuinely vibrant, most intensely citrusy flavour — perfectly balanced with just enough sweetness to create the most irresistible sweet-tart contrast in every single bite.
- Beautiful Texture Contrast: The crisp, buttery shortbread base and the smooth, silky lemon filling create the most genuinely delightful textural contrast — one of the most satisfying eating experiences available from any bar dessert.
- Simple Ingredients: Just a handful of pantry staples — butter, flour, sugar, eggs, and fresh lemons — create a dessert that is both genuinely easy to make and genuinely extraordinary to eat.
- Versatile for Any Occasion: Equally at home at picnics, parties, spring brunches, dinner parties, and casual weeknight treats — lemon bars work beautifully for virtually every occasion throughout the entire year.
- Outstanding Make-Ahead Dessert: Lemon bars are genuinely one of the most practical, most stress-free make-ahead desserts available — they must be made in advance and genuinely taste better the following day after proper chilling and setting in the refrigerator.
INGREDIENTS
For the Crust:
- 1 cup unsalted butter, softened to room temperature
- 2 cups all-purpose flour
- ½ cup powdered sugar
For the Filling:
- 4 large eggs
- 2 cups granulated sugar
- ½ cup freshly squeezed lemon juice — fresh only, never bottled
- 1 teaspoon lemon zest
- ¼ cup all-purpose flour
- Powdered sugar for dusting generously over the finished bars
DIRECTIONS
- Step No.1: Preheat and prepare the pan
Preheat your oven to 350°F (175°C). Lightly grease a 9x13-inch baking dish or line with parchment paper leaving a slight overhang on both long sides — the parchment overhang is what makes lifting and cutting the finished bars clean and effortless. - Step No.2: Make and pre-bake the crust
In a large mixing bowl, combine the softened butter, flour, and powdered sugar. Mix together using a pastry cutter, fork, or your fingertips until a crumbly, sandy dough forms — it should hold together when pressed but still look slightly shaggy. Press the dough firmly and as evenly as possible into the bottom of the prepared baking dish, using the flat base of a measuring cup for the most even surface. Bake for 15 minutes until lightly golden at the edges. Remove from the oven and allow to cool slightly while you prepare the filling. - Step No.3: Make the lemon filling
In a medium bowl, whisk together the eggs, granulated sugar, freshly squeezed lemon juice, lemon zest, and flour until the mixture is completely smooth and no lumps remain — whisk thoroughly and patiently, as any flour lumps will be visible as white streaks in the baked filling. The mixture should be pale, smooth, and pourable. - Step No.4: Pour over crust and bake
Pour the lemon filling evenly over the still-warm pre-baked crust, spreading gently to the corners. Return the dish to the oven and bake for a further 20–25 minutes until the filling is completely set — it should no longer jiggle in the centre when the pan is gently shaken. The surface should look slightly matte rather than shiny and wet-looking. If the surface is still liquid-looking in the centre, return for 3–5 more minutes. - Step No.5: Cool, chill, and slice
Remove from the oven and allow to cool completely at room temperature — at least 1 hour. Then refrigerate for a minimum of 2–3 hours before slicing. Chilling is genuinely essential for the cleanest possible cuts and the most completely set filling texture. Once fully chilled, dust generously with powdered sugar through a fine-mesh sieve. Slice into squares or rectangles using a sharp knife dipped in hot water and wiped clean between every single cut — this produces the most professional, most visually beautiful slices.
TIPS FOR SUCCESS
- Always Use Fresh Lemons: Freshly squeezed lemon juice is genuinely non-negotiable for the most vibrant, most bright, most authentic lemon bar flavour — bottled juice produces a flat, muted result that significantly undermines the entire purpose of this recipe.
- Pre-Bake the Crust: Always bake the shortbread crust for the full 15 minutes before adding the filling — a fully pre-baked crust stays firm and crisp under the moist filling, while an under-baked crust becomes soggy and loses all structural integrity during the second bake.
- Do Not Overbake the Filling: The filling should be just set with no jiggling in the centre — overbaking causes the filling to crack, puff, and develop a rubbery texture rather than the most smooth, most silky, most perfectly set result this recipe produces when timed correctly.
- Chill Thoroughly Before Cutting: Refrigerate for at least 2–3 hours after cooling at room temperature — the filling continues to firm during chilling and produces the most cleanly sliced, most beautifully set bars when fully cold.
- Clean Knife Between Every Cut: Dip a sharp knife in hot water and wipe completely clean between every single cut — this prevents the lemon filling from dragging and smearing and produces the most professional, most visually striking slices every time.
- Dust With Powdered Sugar Just Before Serving: Powdered sugar absorbs into the moist filling over time — dust just before serving rather than hours ahead for the most beautiful, most pristinely white finish on every bar.
- Add Extra Lemon Zest: For the most intensely lemon-flavoured filling, increase the zest to 1 tablespoon — zest contains the aromatic citrus oils that produce the brightest, most genuinely extraordinary lemon character in the finished bars.
VARIATIONS
- Gluten-Free Version: Use a certified 1:1 gluten-free flour blend for both the crust and the filling — the ratio and method remain identical and the result is equally delicious and beautiful for guests with dietary restrictions.
- Berry Twist: Press a layer of fresh raspberries, blueberries, or blackberries into the shortbread crust just before pouring the lemon filling over — the berries burst during baking and create a vibrant fruity layer that pairs magnificently with the bright lemon.
- Extra Citrus Zing: Add 1 teaspoon of lime zest or orange zest to the filling alongside the lemon zest for a genuinely interesting, multi-citrus flavour dimension that adds unexpected depth and complexity to every bite.
- Coconut Topping: Sprinkle ¼ cup of unsweetened shredded coconut over the lemon filling before baking — the coconut toasts slightly during baking and adds a sweet, nutty chewiness that pairs surprisingly and beautifully with the tangy lemon.
- Thicker Bars: Use a smaller 8x8-inch pan for significantly thicker, more substantial bars with a more generous filling-to-crust ratio — add approximately 8–10 extra minutes to the filling bake time and check frequently for the just-set finish.
SERVING AND STORAGE
Serving
Serve lemon bars chilled or at room temperature — both are genuinely excellent, though chilled bars have a firmer, more cleanly sliced texture. Pair with a dollop of freshly whipped cream, a few fresh raspberries, or a drizzle of white chocolate for the most beautifully composed, most impressive plated dessert presentation. They also make a genuinely wonderful dessert after a hearty meal because the bright citrus flavour is refreshing rather than heavy.
Storage
Store in an airtight container in the refrigerator for up to 5 days — the flavour genuinely deepens and improves over the first 24 hours. Freeze individual bars separated by pieces of parchment paper in a freezer-safe container for up to 3 months. Thaw overnight in the refrigerator and dust with fresh powdered sugar just before serving.
FAQ
Freshly squeezed lemon juice is strongly recommended for the most vibrant, most genuinely bright lemon flavour — bottled juice contains preservatives and lacks the fresh volatile citrus oils that make the filling taste truly extraordinary. Bottled juice can work in a pinch but the flavour difference is noticeable and significant in a recipe where lemon is the only flavour.
Pre-bake the crust for the full 15 minutes until lightly golden before adding the filling — this creates a firm, set crust that resists moisture from the filling during the second bake. Pouring the filling over a slightly cooled rather than piping hot crust also helps. Never skip the pre-bake step for a properly crisp, structurally sound shortbread base.
Yes — lemon bars are genuinely one of the best make-ahead desserts available. They must be made at least 3 hours before serving to allow for proper chilling and setting, and they taste even better on day 2 as the flavours develop and meld in the refrigerator overnight. Make up to 2 days ahead and dust with powdered sugar just before serving.
A runny filling is almost always caused by underbaking — the filling must bake until it is completely set with no jiggling in the centre when the pan is gently shaken. If in doubt, bake for 3–5 extra minutes and check again. The filling also firms significantly during the chilling period, so always refrigerate for at least 2–3 hours before cutting regardless of how set it looks at room temperature.
Yes — an 8x8-inch or 9x9-inch pan produces significantly thicker bars with a more generous lemon filling layer relative to the crust. The crust pre-bake time remains the same but the filling will require approximately 8–12 extra minutes of baking time — check frequently and remove when the centre is just set with no jiggling.
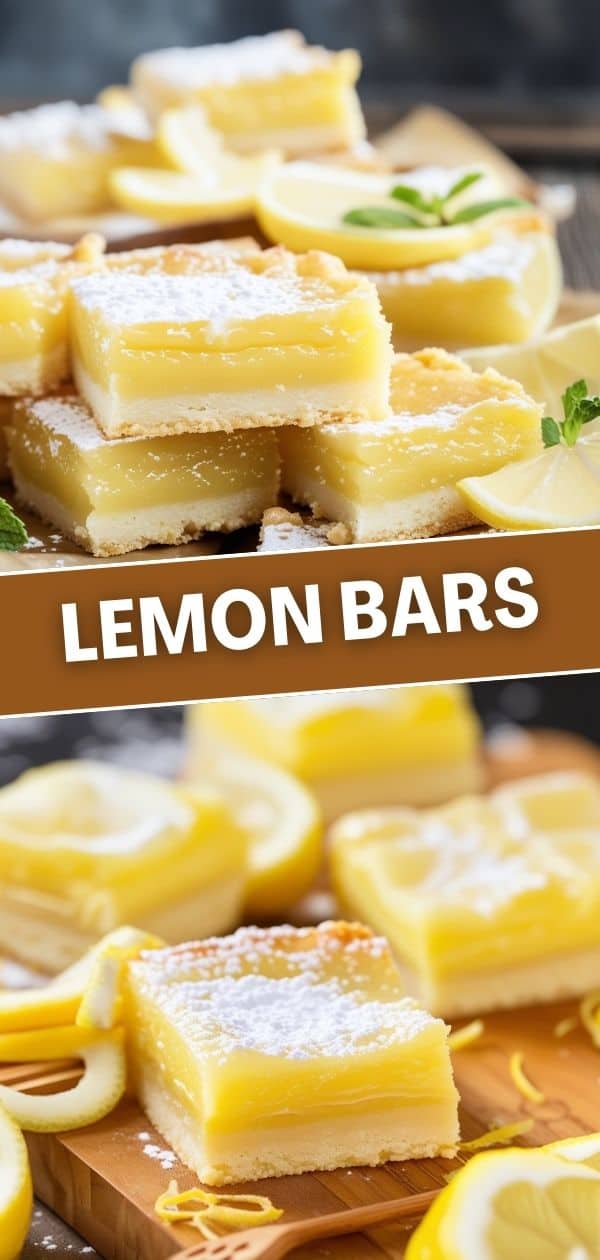
Lemon Bars are the most timeless, most perfectly balanced citrus dessert available — the buttery melt-in-your-mouth shortbread crust, the smooth and intensely bright lemon filling, and the beautiful powdered sugar finish create an absolutely outstanding combination that is genuinely worth making again and again for every occasion. Find more citrus dessert inspiration in our lemon meringue pie bites, our ultimate lemon tart, and our no bake lemon pie. 🍋✨

LEMON BARS
Ingredients
- 1 cup all-purpose flour
- ½ cup powdered sugar (for crust)
- ½ cup unsalted butter (softened)
- 1 cup granulated sugar (for filling)
- 2 large eggs
- ¼ cup freshly squeezed lemon juice
- 1 tablespoon lemon zest
- ¼ teaspoon baking powder
- Powdered sugar (for dusting)
Instructions
- Preheat the oven to 350°F (175°C).
- Combine flour, powdered sugar, and butter to form a dough for the crust. Press it into a baking dish.
- Bake the crust for 15 minutes.
- In a bowl, mix granulated sugar, eggs, lemon juice, zest, and baking powder. Pour over the baked crust.
- Bake for an additional 20 minutes until set.
- Let it cool, then dust with powdered sugar before serving.
Notes
- Make Ahead: Lemon bars are an excellent make-ahead dessert! Store them in an airtight container in the refrigerator for up to 4 days.
- Customizing the Flavor: Enhance the lemon flavor by adding a touch of lemon zest to the filling. For a twist, sprinkle coconut flakes on top or use a lime or orange variation.
- Serving Suggestions: Serve chilled or at room temperature, dusted with powdered sugar. Pair with whipped cream, fresh berries, or a cup of tea for a delightful treat.
- Allergy-Friendly Options: Use gluten-free flour for the crust to make the recipe gluten-free. Substitute dairy-free butter and egg replacements for a vegan-friendly version.
- Storage Tips: Store leftover lemon bars in the fridge in a sealed container. For longer storage, freeze individual pieces separated with parchment paper for up to 3 months. Thaw before serving.





Comments
No Comments