
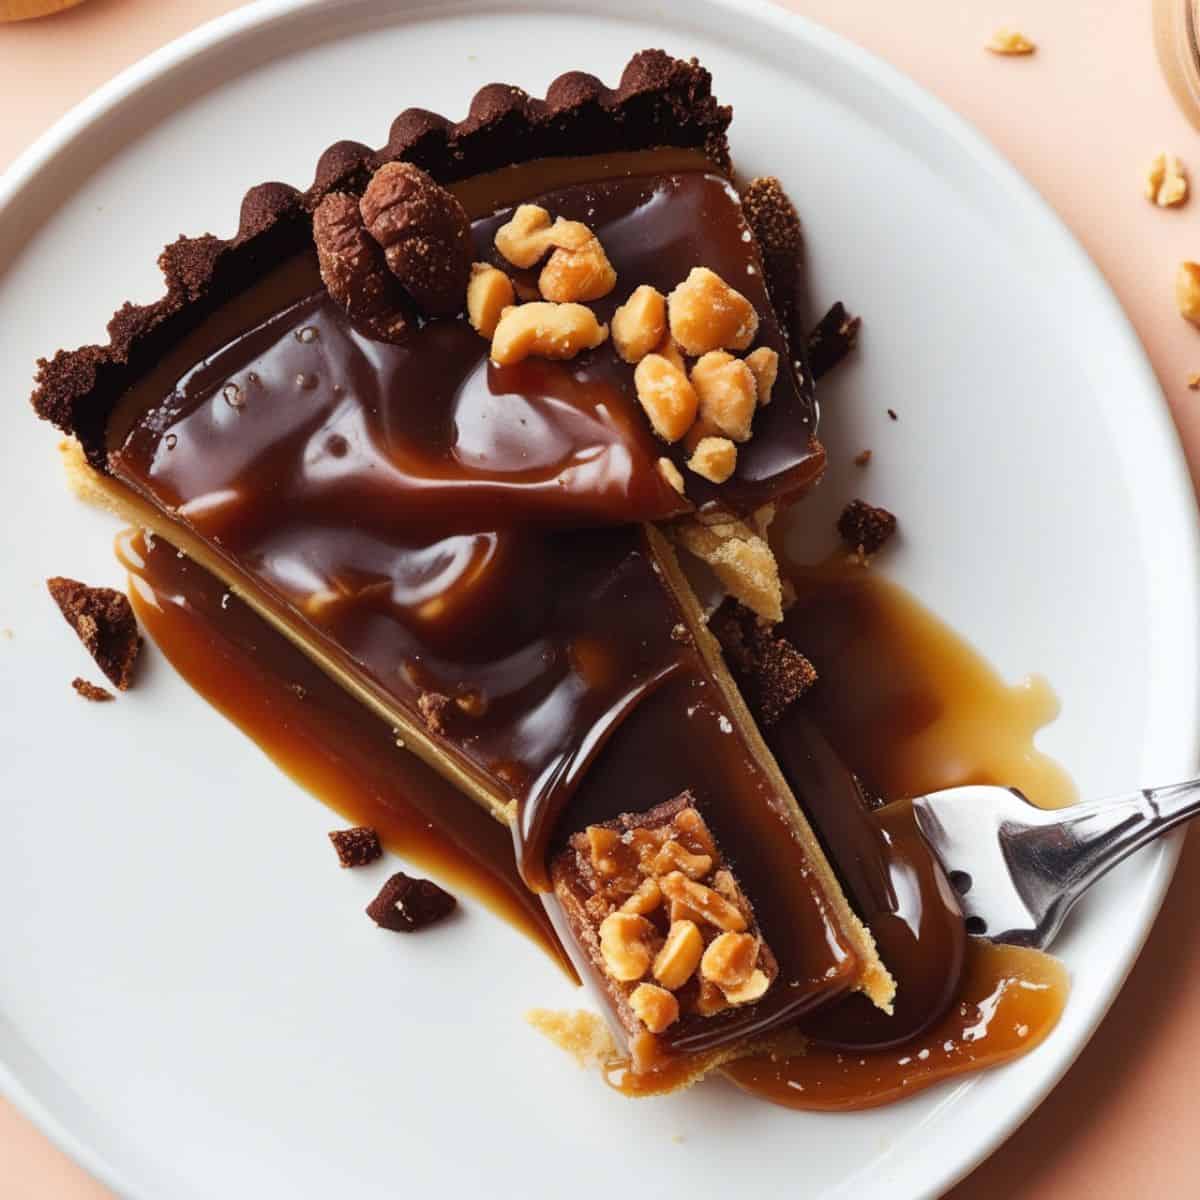
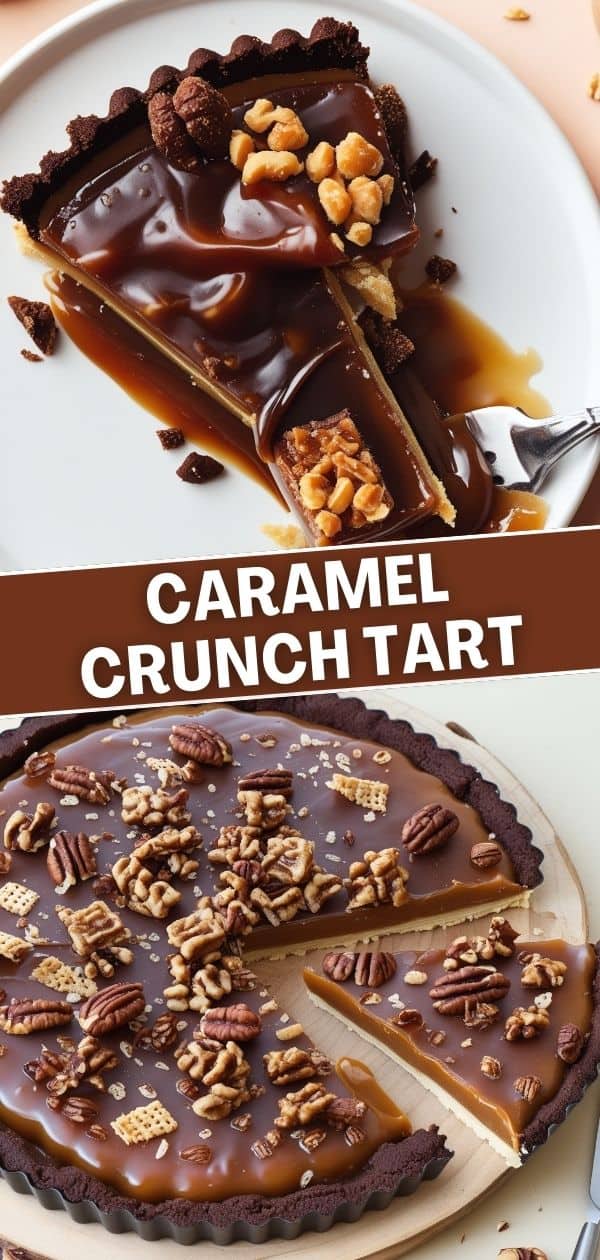
This indulgent Caramel Crunch Tart is the perfect dessert for any occasion.
Featuring a rich, buttery caramel filling topped with a crunchy, sweet layer and nestled in a crisp tart shell, it's a delightful balance of smooth and textured layers that will impress your guests and satisfy your sweet cravings.
Whether you're celebrating a special event or treating yourself, this tart is the ultimate combination of decadence and delight.
Why You'll Love This Recipe
- Irresistible Caramel Flavor: A rich, buttery caramel filling paired with crunchy, toasted nuts creates a perfect balance of sweetness and texture in every bite.
- Decadent Yet Light: The combination of smooth caramel and a crisp, buttery crust makes each slice indulgent, but the crunch adds a lightness that keeps it from feeling too heavy.
- Perfect for Special Occasions: With its elegant presentation, this tart is ideal for parties, holidays, or any celebration that calls for a show-stopping dessert.
- Easy to Make: Despite its impressive appearance, this recipe uses simple ingredients and comes together easily, making it approachable for bakers of all levels.
- Make-Ahead Dessert: It can be made in advance, allowing you to prepare ahead for stress-free entertaining without sacrificing flavor or freshness.
Ingredients:
- 1 ½ cups all-purpose flour
- ½ cup unsalted butter, cold and cubed
- ¼ cup powdered sugar
- ¼ teaspoon salt
- ½ cup heavy cream
- 1 cup brown sugar, packed
- 4 tablespoon unsalted butter
- 1 teaspoon vanilla extract
- ½ cup chopped nuts (optional, such as almonds, pecans, or walnuts)
- ½ cup rice cereal or crushed cornflakes (for crunch topping)
Directions:
- Prepare the Crust:
Preheat your oven to 350°F (175°C). In a food processor, combine flour, powdered sugar, and salt.
- Add cubed cold butter and pulse until the mixture resembles coarse crumbs.
- Press the dough into the bottom of a tart pan, creating an even layer. Bake for 12-15 minutes until golden. Let it cool.
- Make the Caramel Filling:
In a medium saucepan, combine brown sugar and butter. Stir over medium heat until the sugar dissolves and the mixture thickens about 5-7 minutes.
- Add the heavy cream and vanilla extract and stir to combine. Allow the caramel to simmer for another 2-3 minutes until thickened.
- Pour the caramel over the cooled tart crust and spread evenly.
- Prepare the Crunch Topping:
In a separate bowl, mix the rice cereal or crushed cornflakes with chopped nuts, if using.
- Sprinkle this mixture over the caramel filling, pressing gently to ensure it sticks.
- Bake and Cool:
Bake the tart for an additional 10 minutes just to crisp up the topping. Let the tart cool completely before slicing and serving.

Servings and Timing:
- Servings: 8-10
- Prep Time: 20 minutes
- Cook Time: 25-30 minutes
- Cooling Time: 1 hour
- Total Time: 1 hour 45 minutes
Variations:
- Chocolate Drizzle: Drizzle melted dark or milk chocolate over the top of the caramel before serving for an added touch of indulgence.
- Nut-Free Option: Skip the nuts and use rice cereal or crushed graham crackers for the crunch topping to make this tart nut-free.
- Salted Caramel: Sprinkle a little sea salt over the caramel filling before baking for a salted caramel version.
Serving and Storage
Storage:
Store leftover Caramel Crunch Tart in an airtight container at room temperature for up to 3 days.
You can also refrigerate it for up to a week, but be sure to bring it to room temperature before serving for the best texture.
Serving Ideas:
Serve this tart with a dollop of whipped cream or a scoop of vanilla ice cream for a truly decadent dessert.
It's also perfect for pairing with a cup of coffee or tea after dinner.
Tips for Success
- Use Room Temperature Ingredients: Make sure your butter, eggs, and cream are at room temperature to ensure the caramel filling is smooth and evenly mixed.
- Watch the Caramel Closely: When making the caramel, stir constantly and keep an eye on it to avoid burning. Once the sugar melts, it can go from golden to burnt very quickly.
- Toast the Nuts: Lightly toast the nuts (such as pecans or almonds) before adding them to the tart for extra flavor and crunch. Be sure not to over-toast, as they can become bitter.
- Chill the Tart: After assembling, chill the tart for at least 2 hours to allow the caramel to set properly and make slicing easier.
- Use a Tart Pan with a Removable Bottom: This makes removing the tart from the pan much easier, especially with the sticky caramel filling.
- Drizzle the Caramel Carefully: When adding the caramel layer, drizzle it slowly to ensure it’s evenly distributed, creating a smooth, glossy finish.
- Store in the Fridge: Since the tart contains caramel and cream, it’s best stored in the refrigerator to keep it fresh and prevent the filling from becoming too soft.
FAQs:
Yes! This tart can be made a day ahead. Just store it in the fridge and bring it to room temperature before serving.
Yes, a pre-made tart crust or graham cracker crust can be used in place of the homemade dough for an easier option.
Make sure the caramel filling is completely cooled before adding the crunch topping to keep the crust crisp.
This Caramel Crunch Tart is the perfect balance of rich, sweet caramel and a satisfying crunchy topping, making it a delightful treat for any occasion.
With its layers of flavor and texture, this tart is sure to become a family favorite!
Caramel Crunch Tart
Ingredients
- 1 pre-made tart crust (or homemade)
- 1 cup caramel sauce
- ½ cup crushed caramelized popcorn or caramelized nuts (such as pecans or almonds)
- ¼ cup semi-sweet chocolate chips (optional)
- 1 tablespoon sea salt (for topping)
Instructions
- Preheat the oven to 350°F (175°C) if using a homemade tart crust.
- Bake the crust according to the recipe or package instructions, then cool completely.
- Drizzle caramel sauce over the cooled tart crust, spreading evenly.
- Sprinkle crushed caramelized popcorn or nuts over the caramel.
- Optionally, melt chocolate chips and drizzle over the top for a chocolatey finish.
- Top with a pinch of sea salt for added contrast.
- Refrigerate for at least 30 minutes before serving for best results.
Notes
- Make Ahead: Lemon bars are a great make-ahead dessert! They can be stored in an airtight container in the refrigerator for up to 4 days, making them perfect for prepping ahead of time.
- Customizing the Flavor: To elevate the lemon flavor, add extra lemon zest to the filling. For a unique twist, try topping with coconut flakes or experiment with lime or orange juice for a different citrus taste.
- Serving Suggestions: Serve the lemon bars chilled or at room temperature. Dust with powdered sugar just before serving. For a special touch, pair with whipped cream, fresh berries, or enjoy with a cup of tea.
- Allergy-Friendly Options: To make the recipe gluten-free, use gluten-free flour for the crust. For a dairy-free or vegan version, substitute dairy-free butter and use egg replacements such as flax or chia eggs.
- Storage Tips: Keep leftover lemon bars in a sealed container in the fridge. For longer storage, freeze individual slices separated with parchment paper for up to 3 months. Thaw in the fridge before serving.





Comments
No Comments