
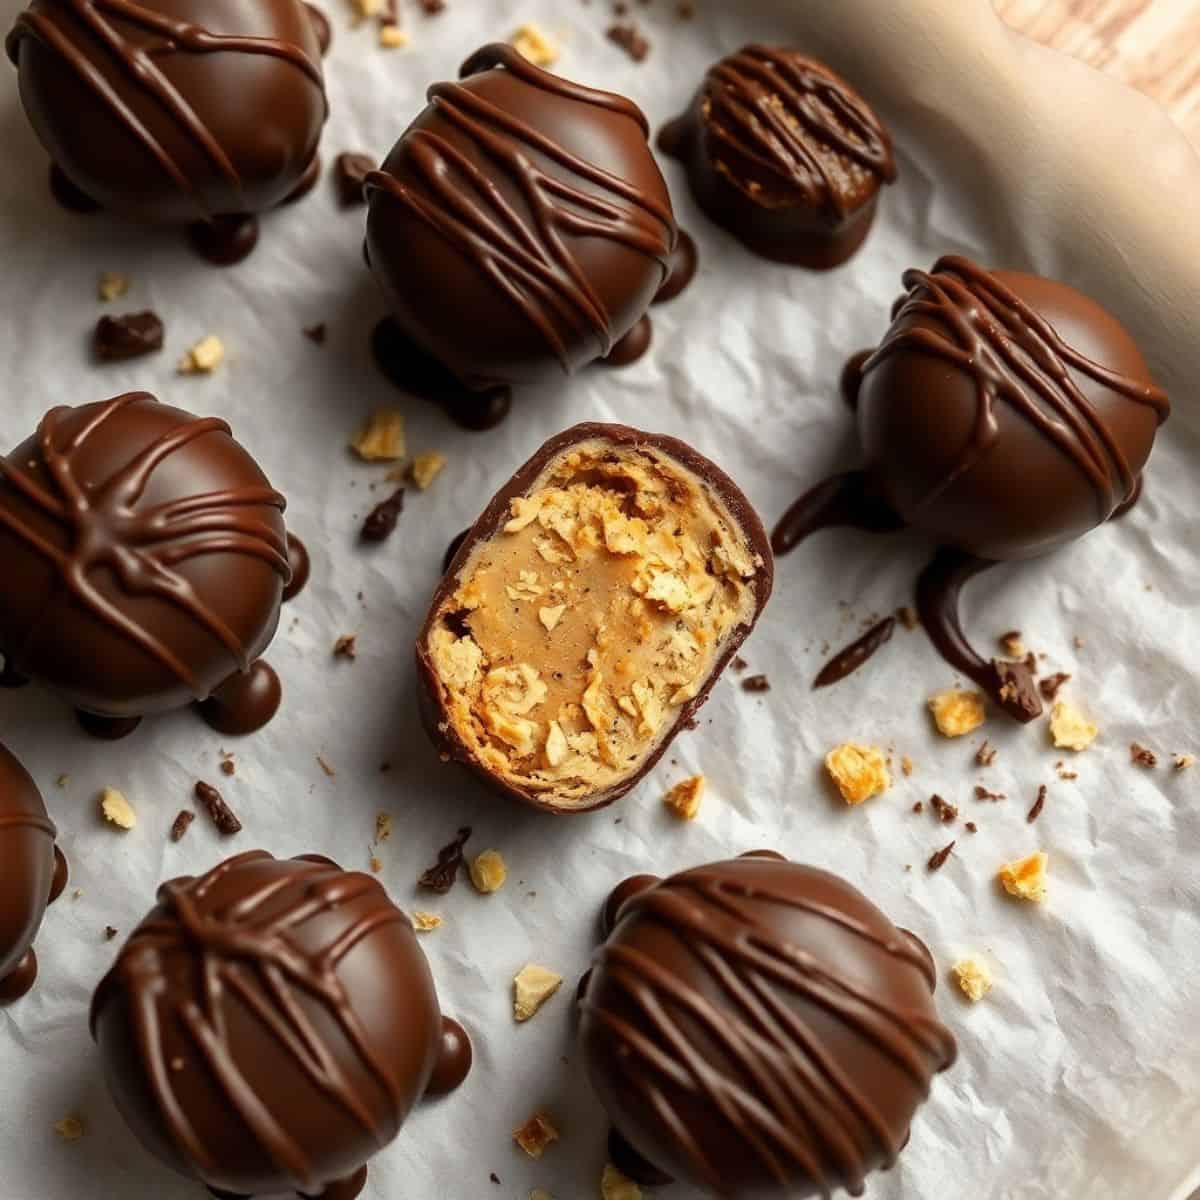
These no-bake Butterfinger Balls are an irresistible combination of peanut butter, crushed Butterfinger candy, and chocolate.
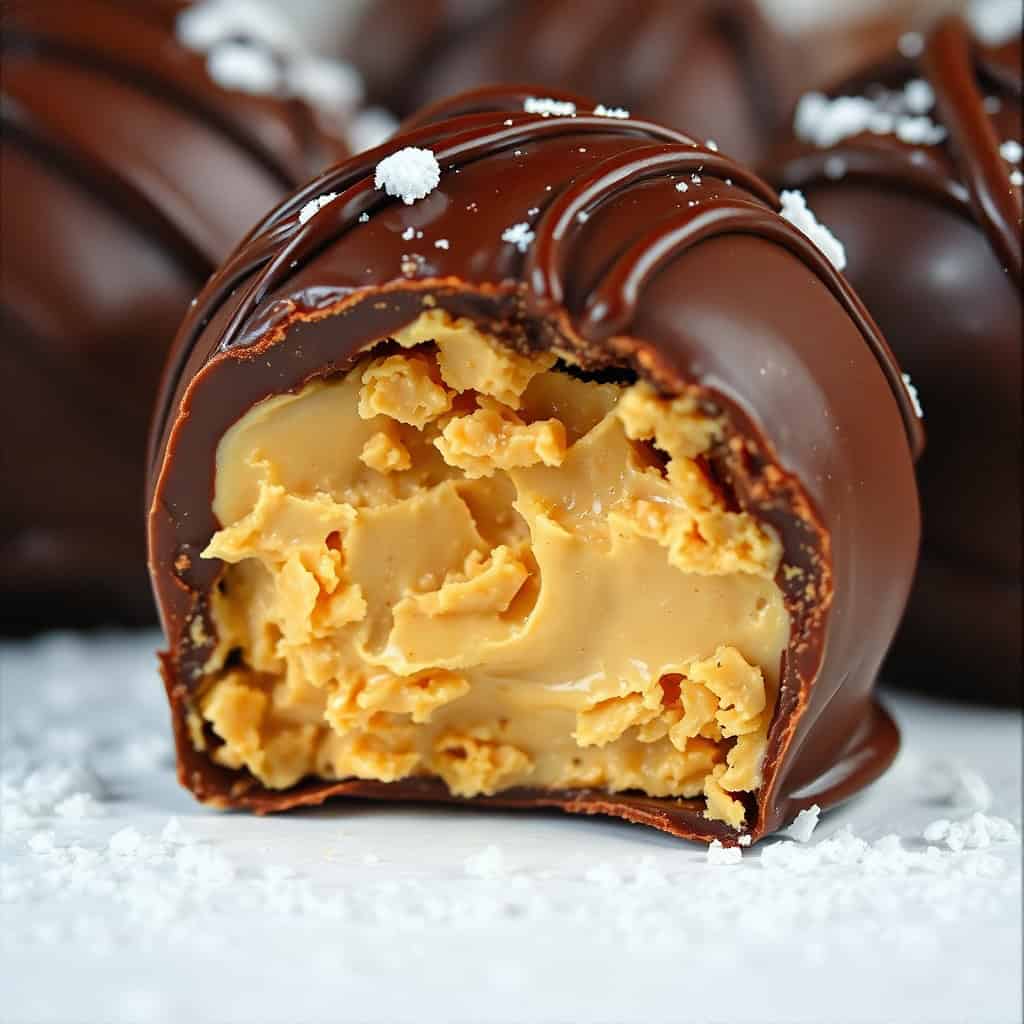
They are crunchy, creamy, and coated in a smooth chocolate shell, making them the perfect treat for holidays, parties, or an everyday sweet craving.
With just a few simple ingredients, you can whip up these bite-sized delights in no time.
No baking required—just mix, roll, dip, and enjoy!
Whether you're a Butterfinger fan or just love peanut butter and chocolate, these are guaranteed to be a hit.
Why You Will Love This Recipe
- No-Bake Treat: No oven needed—just mix, roll, and dip in chocolate.
- Crunchy and Creamy: A delicious mix of textures in every bite.
- Easy to Make: Requires minimal ingredients and effort.
- Perfect for Gifting: Great for holidays, parties, or homemade gifts.
- Customizable: Add sprinkles, drizzle with white chocolate, or mix in other candy.
- Stores Well: Keep them in the fridge or freezer for a longer shelf life.
Ingredients
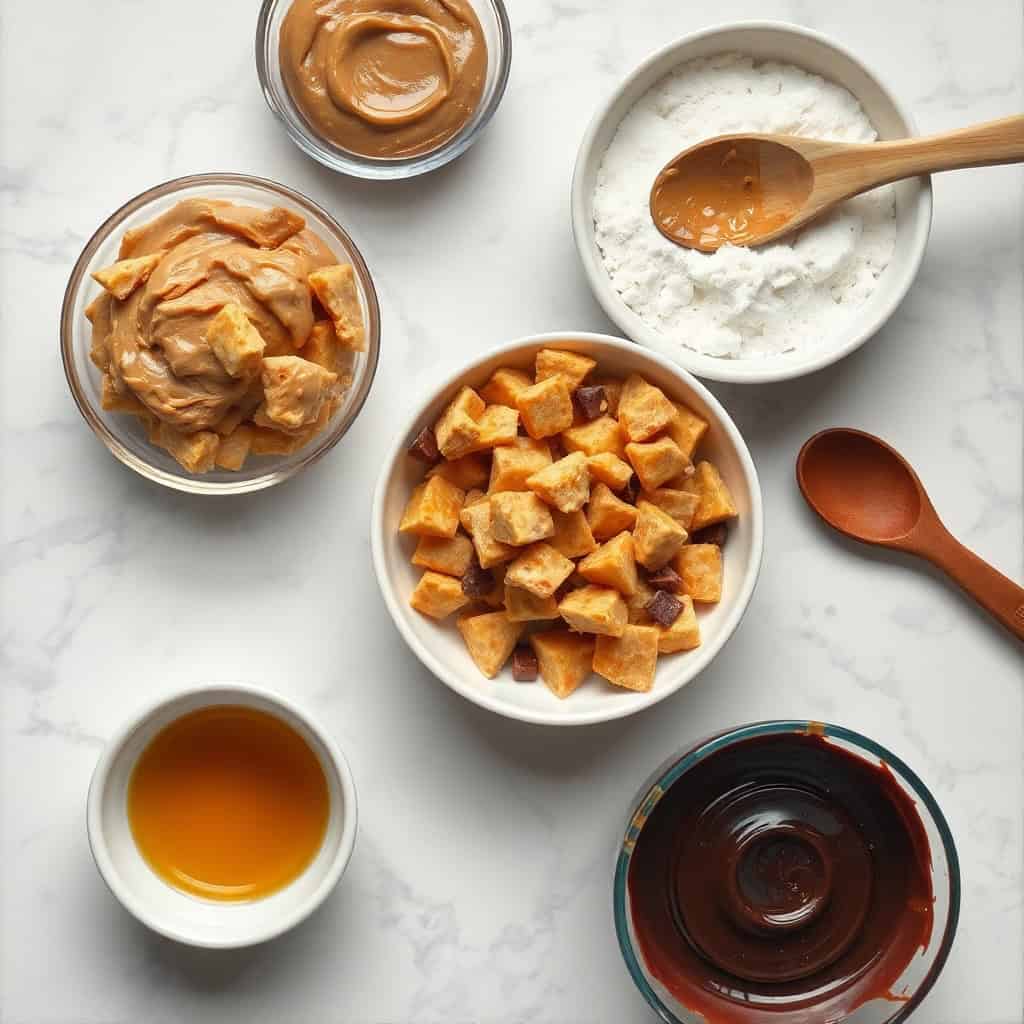
- Peanut butter
- Crushed Butterfinger candy bars
- Powdered sugar
- Vanilla extract
- Melted chocolate (milk or dark)
Directions
- Step No.1: Mix the filling
In a bowl, combine peanut butter, crushed Butterfinger candy, powdered sugar, and vanilla extract. Stir until well blended.
- Step No.2: Shape into balls
Roll the mixture into small bite-sized balls and place them on a parchment-lined tray. Chill in the refrigerator for 30 minutes.
- Step No.3: Melt the chocolate
In a microwave-safe bowl, melt the chocolate in 30-second intervals, stirring in between until smooth and glossy.
- Step No.4: Dip in chocolate
Using a fork or toothpick, dip each ball into the melted chocolate, coating it evenly. Let excess chocolate drip off.
- Step No.5: Set and enjoy
Place the chocolate-covered balls back on the tray and refrigerate until the chocolate is firm. Serve and enjoy!
Tips for Success
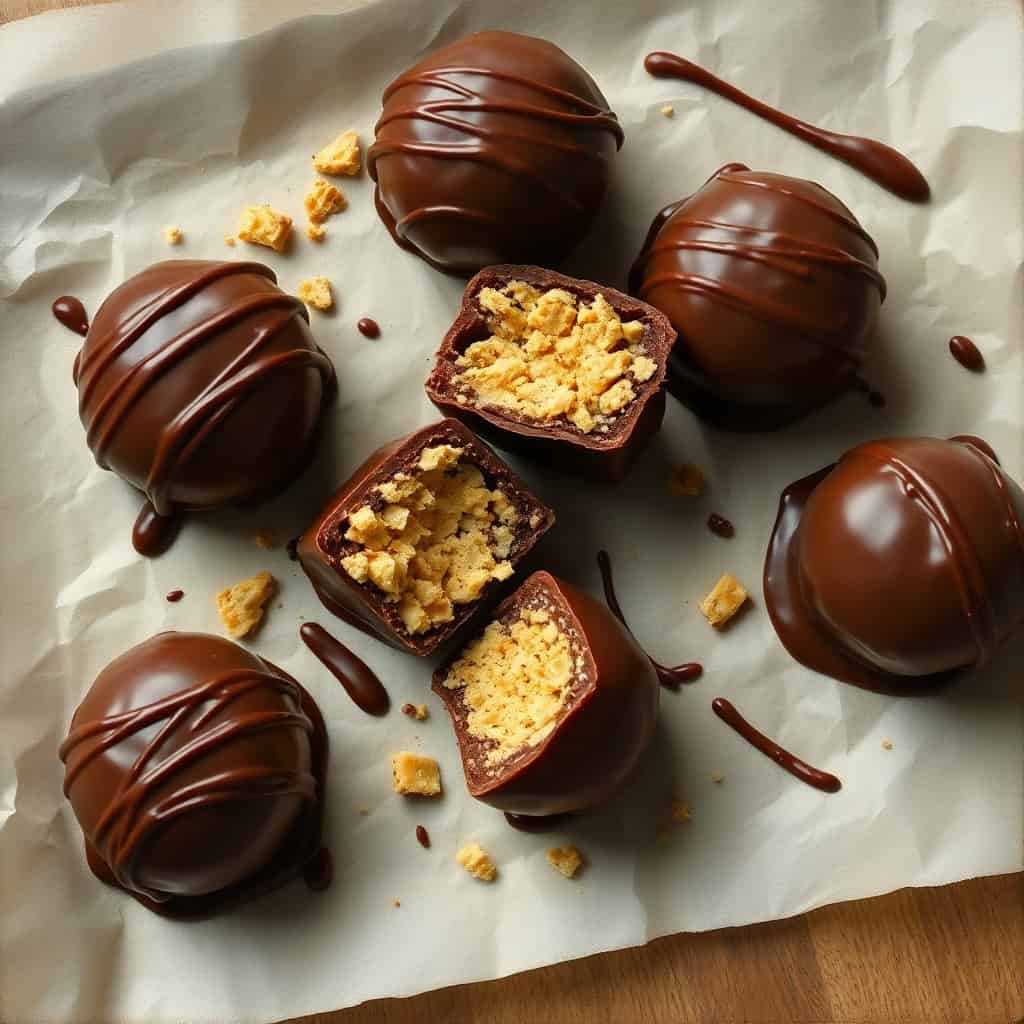
- Use creamy peanut butter: Ensures a smooth texture and easy mixing.
- Crush Butterfingers finely: Helps distribute the flavour evenly.
- Chill before dipping: Prevents the balls from falling apart in chocolate.
- Use good-quality chocolate: Melts smoother and tastes better.
- Work quickly: Chocolate can harden fast, so dip efficiently.
- Decorate if desired: Drizzle with white chocolate or top with crushed candy.
Variations
- Nut-Free Option: Use cookie butter or sunflower seed butter instead.
- Extra Crunchy: Mix in rice cereal for an added crunch.
- Dark Chocolate Version: Swap milk chocolate for dark chocolate.
- Festive Touch: Add colourful sprinkles for a holiday look.
- Salted Peanut Butter: Use salted peanut butter for a sweet-salty balance.
- White Chocolate Coating: Dip in white chocolate for a different flavour twist.
FAQ
Yes! Store them in an airtight container in the freezer for up to 3 months.
They stay fresh in the refrigerator for up to 2 weeks in a sealed container.
Yes, but creamy peanut butter gives a smoother texture.
Yes, chilling helps them stay firm when dipped in melted chocolate.
Use a microwave in short bursts or a double boiler for even melting.
These no-bake Butterfinger Balls are a must-try for any peanut butter and chocolate lover.
They're incredibly easy to make, perfect for gifting, and taste absolutely delicious.
The combination of peanut butter, crunchy Butterfinger pieces, and rich chocolate creates a treat that’s hard to resist.
Whether you make them for a holiday, a party, or just to satisfy a sweet tooth, they’re sure to disappear fast.
Try making a batch today—you won’t regret it!
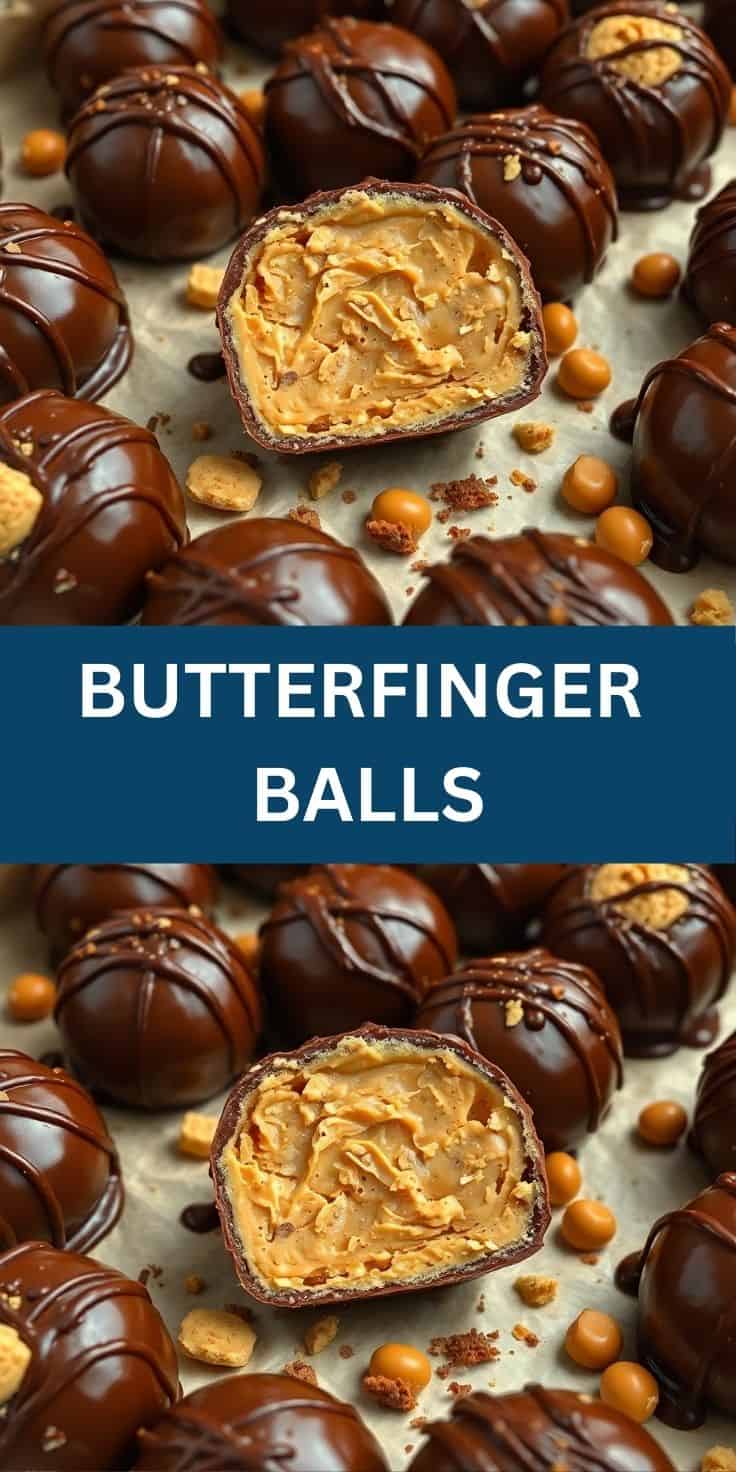

BUTTERFINGER BALLS
Ingredients
- 1 8 oz package cream cheese (softened)
- 1 cup creamy peanut butter
- 2 cups powdered sugar
- 1 ½ cups crushed Butterfinger candy bars
- 2 cups chocolate chips milk or semi-sweet
- 1 tablespoon coconut oil or vegetable shortening optional, for smoother chocolate
Instructions
Step No.1: Prepare the Mixture
- In a large bowl, beat together cream cheese and peanut butter until smooth. Gradually mix in powdered sugar until fully combined.
Step No.2: Add Butterfinger Pieces
- Fold in crushed Butterfinger candy bars and mix until evenly distributed.
Step No.3: Shape into Balls
- Roll the mixture into 1-inch balls and place them on a parchment-lined baking sheet. Freeze for 30 minutes to firm up.
Step No.4: Melt the Chocolate
- In a microwave-safe bowl, melt chocolate chips and coconut oil in 30-second intervals, stirring between each until smooth.
Step No.5: Coat in Chocolate
- Dip each chilled Butterfinger ball into the melted chocolate, coating completely. Place back on the baking sheet and let the chocolate set.
Step No.6: Serve and Enjoy
- Enjoy your homemade Butterfinger Balls or store them for later!
Notes
- Chill before dipping to keep the balls from falling apart.
- Store in the fridge for up to 1 week or freeze for up to 3 months.
- Use smooth peanut butter for the best texture.
- Crunchy Butterfinger Balls: Use crunchy peanut butter instead of creamy.
- White Chocolate Coating: Dip in melted white chocolate instead of regular chocolate.
- Extra Crunch: Roll in crushed Butterfinger pieces before the chocolate hardens.





Comments
No Comments