
I don't have a grill. I've never owned one — we live in an apartment, and the building doesn't allow it. For years I just skipped burgers entirely, figuring they weren't really an apartment thing. Then one night my son Saad begged me for a burger and I thought, why not try the oven? I was skeptical. I expected dry, gray, sad patties. What I got was genuinely juicy, evenly cooked burgers that my husband ate two of without saying a word — just nodded and reached for the ketchup.
The trick is 80/20 ground beef and not touching it too much. I made the mistake the first time of mixing the meat like I was kneading bread dough — worked it way too hard and ended up with dense hockey pucks. Once I learned to just barely bring everything together, the texture completely changed. A little Worcestershire sauce in the mix does something almost magical to the flavor, and a thumbprint pressed into the center of each patty keeps them from puffing up into a dome while they bake.
Saad wants these at least twice a month now, which means I've made them probably thirty times at this point. My husband likes his with a fried egg on top and extra pickles. Zainab goes for the simplest build — just cheese and ketchup, nothing else. I usually make a batch of Cranberry Apple Coleslaw on the side because it takes 20 minutes and cuts through the richness of the beef really well.
One thing to set expectations on: you're not going to get grill marks or a char-crusted exterior from an oven. These are juicy and tender, not smoky. If you want that smoky grilled flavor, add half a teaspoon of smoked paprika to the mix — it gets you closer. But honestly, for a weeknight dinner when you need four patties done with minimal mess, this method just works.
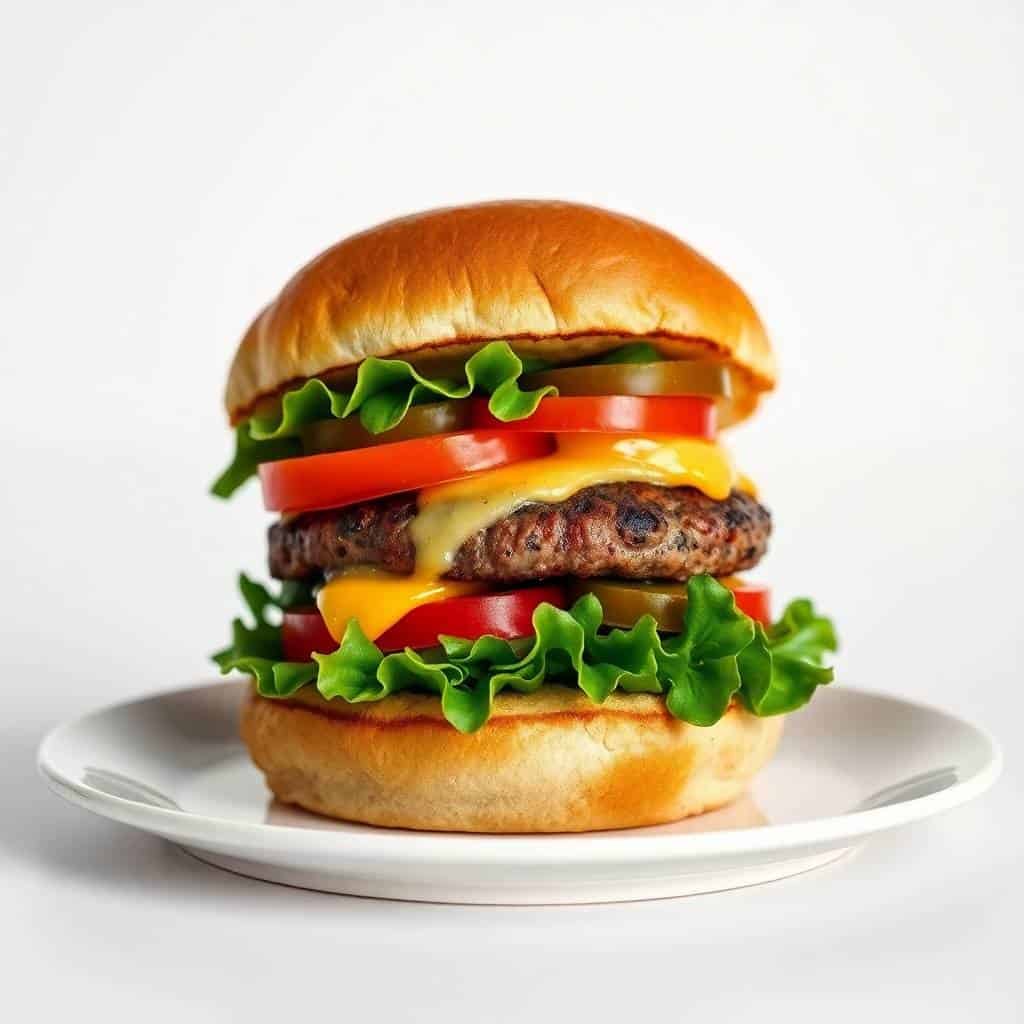
Why You'll Love This Recipe
- No grill needed, ever: I've made these in January when it was raining sideways outside and nobody missed the grill at all. The oven gives you consistent heat from all sides, which actually cooks the patties more evenly than a grill does. You also don't have to stand outside babysitting flames — you just set a timer and come back.
- Four patties at once, no flipping: I used to do stovetop burgers in a cast iron skillet, which meant cooking two at a time, flipping, managing splatter everywhere. With the oven I just line up all four on a sheet pan and walk away. No flipping, no hot oil spray, no checking every 90 seconds.
- The cleanup is nearly nothing: Line your baking sheet with foil, bake, let the foil cool, fold it up and throw it away. That's it. I sometimes put a wire rack on top of the foil so the fat drips through instead of pooling around the patties — either way, the pan itself barely needs washing.
- The seasoning is simple but it works: Salt, pepper, garlic powder, onion powder, Worcestershire sauce. That's the whole list. I've tried fancier versions with fresh herbs and grated onion and all sorts of things, and they were fine, but this basic mix is what I come back to every time because it tastes like a proper burger without needing a grocery run.
- The cheese melts perfectly: Two minutes at the end of the bake, cheese slice goes on, oven does the rest. No trying to melt cheese over a hot skillet and accidentally overcooking the burger underneath. The timing is consistent every single time.
Ingredients
- 1½ pounds ground beef (80/20 — don't go leaner)
- 1 teaspoon salt
- ½ teaspoon black pepper
- 1 teaspoon garlic powder
- 1 teaspoon onion powder
- 1 tablespoon Worcestershire sauce
- 4 hamburger buns
- 4 slices cheese (cheddar, American, Swiss, or pepper jack — your call)
- Toppings: lettuce, tomato, pickles, onion, ketchup, mustard, mayo — whatever you like
Directions
- Preheat the oven: Set your oven to 400°F (200°C). Line a baking sheet with foil — if you have a wire rack that fits on top, use it. The rack lifts the patties out of the rendered fat and helps the bottom crisp up a little rather than sitting in grease.
- Mix the beef: Put the ground beef in a large bowl and add the salt, pepper, garlic powder, onion powder, and Worcestershire sauce. Mix it together with your hands or a fork, but stop the moment it comes together. Overworking the meat is the number one reason burgers come out tough — I learned that the hard way.
- Shape the patties: Divide the beef into four equal portions and shape each one into a patty slightly wider than your buns. Press your thumb into the center to make a shallow indent about the size of a quarter — this keeps the patty from puffing up in the middle while it bakes.
- Bake: Place the patties on your prepared baking sheet. Bake for 18–22 minutes, until the internal temperature reads 160°F (71°C) on a meat thermometer. If you don't have a thermometer, cut into the thickest part — no pink should remain.
- Add cheese: If you're using cheese, lay a slice on each patty with about 2 minutes left in the bake. Just pop the pan back in and let the oven melt it — no need to broil unless you want extra bubbly edges.
- Rest and assemble: Pull the patties out and let them sit for 2–3 minutes before you build your burgers. This step matters — cutting in immediately lets all the juices run out. While they rest, toast your buns if you like (I do mine cut-side down in a dry skillet for about a minute). Then stack, add toppings, and eat.
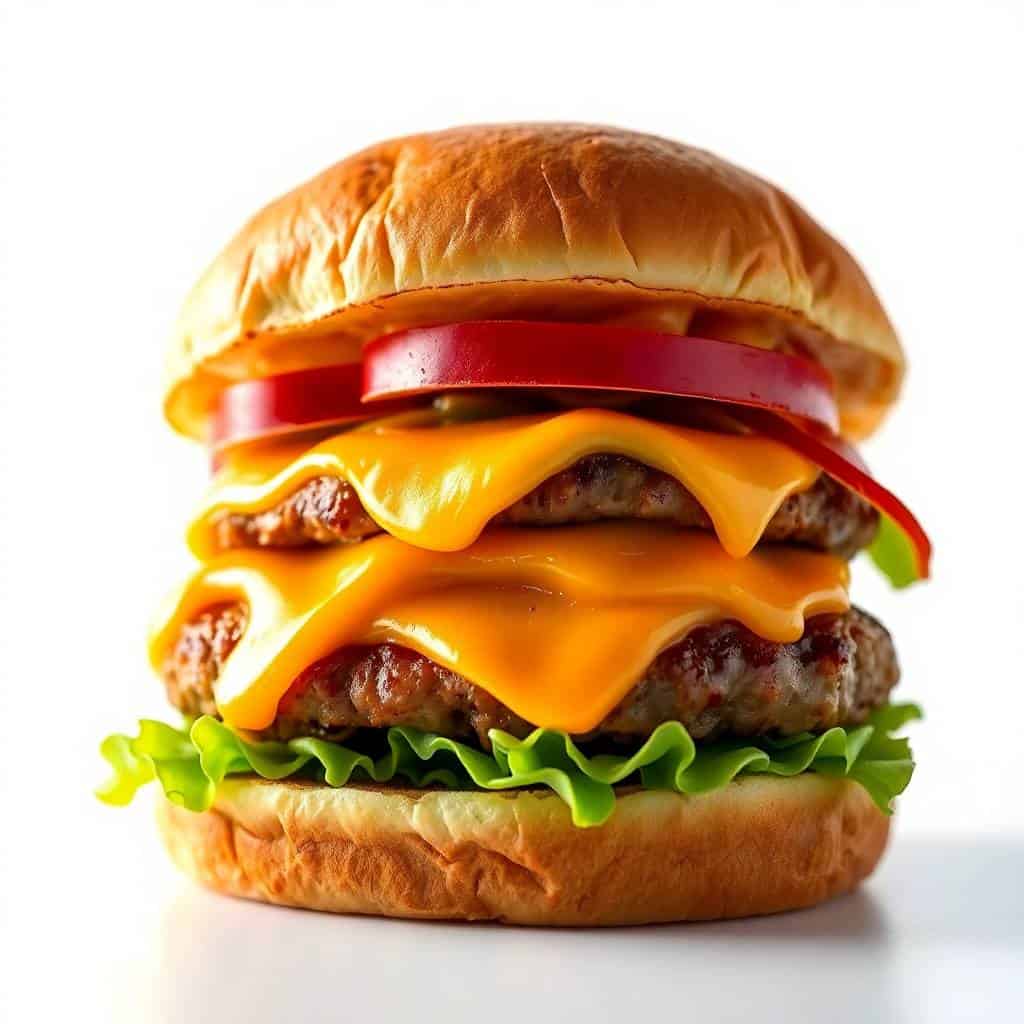
Tips for Success
- Use 80/20 beef, not leaner: I tried this once with 90/10 because it was on sale and the patties came out noticeably drier. The fat in 80/20 baste the meat from the inside as it renders — that's where the juiciness comes from. If you only have lean beef, mix in a tablespoon of olive oil before shaping.
- Don't skip the thumbprint: It sounds like a small detail but it genuinely matters. Beef contracts as it cooks, and without that indent the center bulges up, leaving you with a dome-shaped patty that tips all your toppings off and cooks unevenly. Takes two seconds to do.
- Get a cheap meat thermometer: Burgers at 160°F is the food safety standard, and eyeballing it is genuinely hard with oven burgers since they don't show the same visual cues as a grilled patty. A basic instant-read thermometer from Walmart or Amazon costs about $10–$12 and takes the guesswork out completely.
- Let them rest before you build the burger: I know it's tempting to go straight from oven to bun, but 2–3 minutes of resting makes a real difference. The juices redistribute back into the meat instead of running straight out when you press down. Even a short rest keeps the bun from going soggy on the bottom.
- Toast the buns: A raw bun gets soggy fast. I put mine cut-side down in a dry skillet for 60–90 seconds until they're lightly golden. No butter needed — the dry heat is enough to create a little barrier that keeps the bun holding together even with saucy toppings.
Variations
- Spicy jalapeño burgers: Mix 2 tablespoons of finely chopped pickled jalapeños directly into the beef before shaping. Top with pepper jack cheese and a smear of sriracha mayo. My husband loves this version — he adds extra jalapeño slices on top too, which I personally cannot keep up with.
- BBQ cheddar burgers: Brush the tops of the patties with your favorite BBQ sauce in the last 5 minutes of baking, then add cheddar for the final 2 minutes. The sauce caramelizes slightly in the oven heat. Top with crispy fried onions from a can — the Walmart store brand works fine.
- Stuffed burgers: Take two thin patties, put a cube of cheese or a spoonful of sautéed mushrooms in the center, then press the edges together to seal. Bake the same way. The filling melts inside while the exterior cooks — it's a little dramatic when you cut through it.
- Turkey burgers: Swap in ground turkey and bump up the seasoning a bit — turkey is blander than beef, so I add an extra ½ teaspoon of garlic powder and a pinch of smoked paprika. The bake time stays the same but check for 165°F internal temperature instead of 160°F. They're genuinely good with avocado and a squeeze of lime.
- Mini sliders: Divide the beef into 8 small patties instead of 4 regular ones and reduce the bake time to about 13–15 minutes. I make these when we have people over — everyone builds their own and it turns into a whole thing. Serve with dinner rolls instead of full-size buns. Works well alongside a pot of Sausage Potato Soup if you want a heartier spread in colder months.
Serving and Storage
Serving
Serve the patties hot, right after their rest, on toasted buns. Build your own bar works really well with this — just set out toppings and let everyone assemble. I always put out lettuce, sliced tomatoes, pickles, and at least two sauce options (usually ketchup and chipotle mayo). On the side, Cranberry Apple Coleslaw is my go-to because it's cool and creamy against the warm patty. Fries, chips, or a simple green salad all work too. If you're doing a full spread and want something to drink, a Berry Ice Tea Refresher rounds it out nicely.
Storage
Leftover cooked patties keep in an airtight container in the fridge for up to 3 days. Reheat in a 350°F oven for about 8 minutes rather than the microwave — the microwave tends to make them rubbery. You can also freeze cooked patties: wrap each one individually in foil, put them in a zip-lock bag, and freeze for up to 2 months. Thaw overnight in the fridge before reheating. If you want to prep ahead, raw shaped patties can sit in the fridge for up to 24 hours before baking — separate them with a piece of parchment or wax paper so they don't stick together.
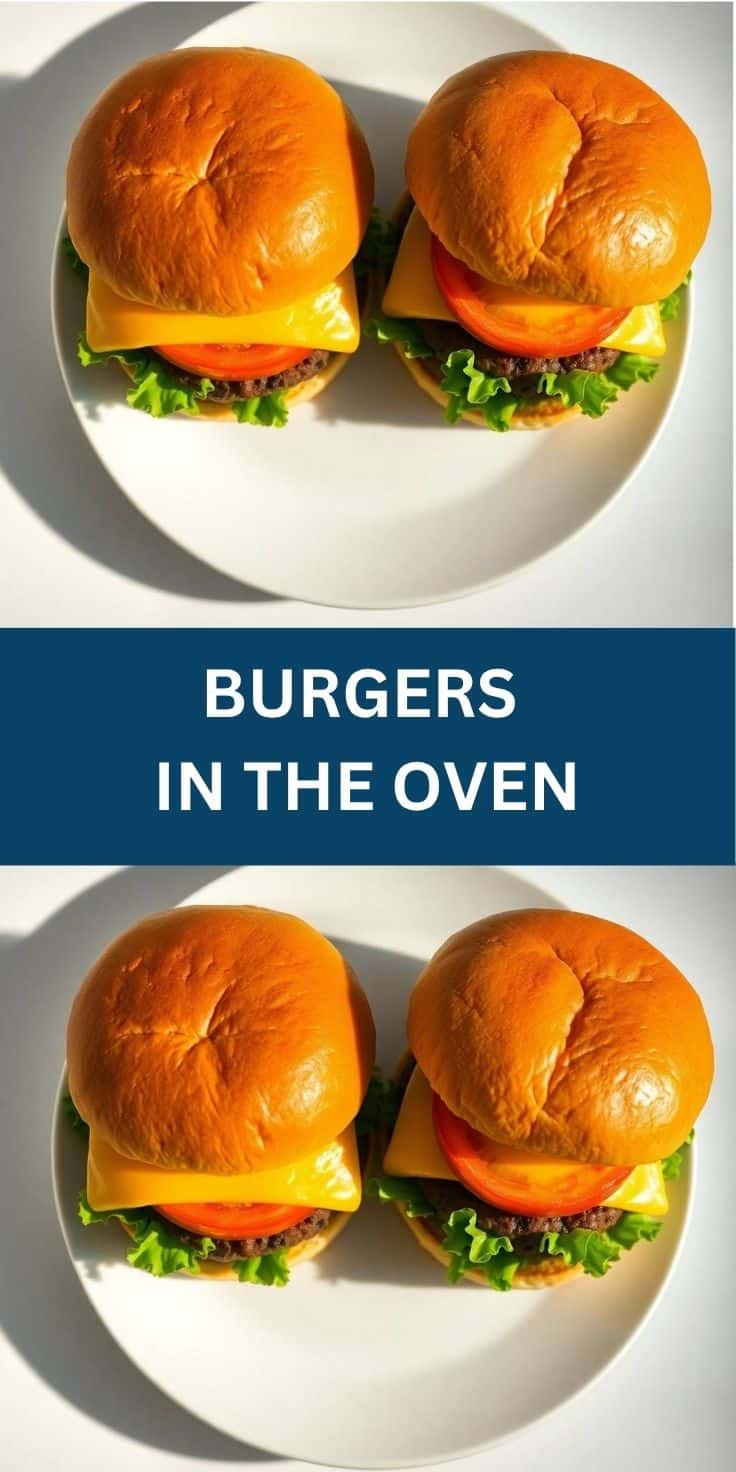
Frequently Asked Questions
Can I use frozen burger patties instead of fresh?
Yes, you can bake them straight from frozen — add about 5–8 minutes to the bake time and always check the internal temperature with a thermometer. The texture won't be quite as tender as a fresh hand-formed patty, but it works in a pinch. I keep a bag of frozen patties from Costco for emergency burger nights.
Why do my burgers shrink so much in the oven?
Some shrinkage is normal as the fat renders and the proteins contract — that's just how beef cooks. To minimize it, press your thumbprint indent into each patty before baking, which gives the meat room to contract inward rather than puffing up and shrinking in diameter. Also make sure you're not overworking the meat when you mix, since compressed beef shrinks more aggressively.
Can I make the patties ahead of time?
Definitely. I often shape the patties in the morning and keep them covered in the fridge until dinnertime — up to 24 hours is fine. Separate them with small squares of parchment so they don't stick together. Bake them cold straight from the fridge; just add 2–3 extra minutes to the bake time.
What if I only have lean ground beef (90/10)?
Lean beef can work but it does come out drier. To compensate, mix in a tablespoon of olive oil or a tablespoon of mayo directly into the meat before shaping — it sounds odd but it adds back some of the moisture and fat you're losing. Don't skip the Worcestershire sauce either; it helps a lot with flavor when the fat content is lower.
What sides go well with oven burgers?
My most-made pairing is the Cranberry Apple Coleslaw — it takes 20 minutes and the tartness really works with a beef burger. Fries (oven fries on a second sheet pan work great alongside), chips, corn on the cob, or a simple cucumber and tomato salad all make sense. For a heartier meal in winter, a bowl of Sausage Potato Soup on the side turns this into a full comfort dinner.
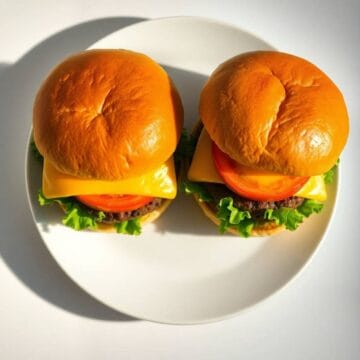
BURGERS IN THE OVEN
Ingredients
- 1 lb ground beef 80/20 for best flavour
- 1 teaspoon salt
- ½ teaspoon black pepper
- ½ teaspoon garlic powder
- ½ teaspoon onion powder
- 1 tablespoon Worcestershire sauce
- 4 burger buns
- Optional toppings: cheese slices lettuce, tomato, onion, pickles, ketchup, mustard, mayo
Instructions
Preheat Oven:
- Preheat oven to 400°F (200°C). Line a baking sheet with foil and place a wire rack on top if available (for better air circulation).
Prepare Patties:
- In a bowl, mix ground beef with Worcestershire sauce, salt, pepper, garlic powder, and onion powder. Divide and shape into 4 equal patties.
Bake Burgers:
- Place patties on the rack or directly on the foil-lined sheet. Bake for 20–25 minutes or until internal temperature reaches 160°F (71°C).
Add Cheese (Optional):
- In the last 2 minutes of baking, place a slice of cheese on each patty to melt.
Assemble and Serve:
- Place burgers in buns with your favourite toppings and condiments. Serve hot.
Notes
Cheese Options: Use cheddar, Swiss, pepper jack, or American cheese.
Topping Ideas: Add crispy bacon, sautéed mushrooms, avocado, or fried eggs.
Make Ahead: Patties can be formed and refrigerated up to 24 hours in advance.
Storage: Store cooked patties in the fridge for up to 3 days or freeze for up to 2 months.
I genuinely make these more often than I expected to when I first tried them. They've become a reliable Tuesday or Wednesday dinner — quick to prep, hands-off while baking, and everyone in this house eats them without complaint, which is honestly a high bar to clear. If you're working around an oven-only kitchen like I am, or if you just don't feel like messing with a grill on a weeknight, this is the method that actually delivers.
The thing I keep coming back to is how forgiving the recipe is. I've made it with slightly different ratios, forgotten the Worcestershire once, swapped in turkey — it works every time as long as you don't overwork the beef and you check the internal temp. That's really the whole secret. Two rules and you're set.
If you want a full dinner spread, pair these with the Cranberry Apple Coleslaw and something cold to drink — we usually do the Berry Ice Tea Refresher because the kids love it and it comes together in minutes. And if you're looking for something completely different for a weeknight when burgers aren't calling your name, my One Pan Balsamic Chicken and Veggies uses the same sheet pan approach and is just as easy. 🍔❤️
If you liked this, here are a few more recipes worth checking out:
- Cranberry Apple Coleslaw (Crisp, Creamy, and Ready in 20 Minutes) — my go-to burger side
- One Pan Balsamic Chicken and Veggies — another sheet pan dinner for busy nights
- Berry Ice Tea Refresher — perfect alongside a burger dinner
- Sausage Potato Soup Recipe — when you want something hearty and warming instead
- Garlic Butter





Comments
No Comments