
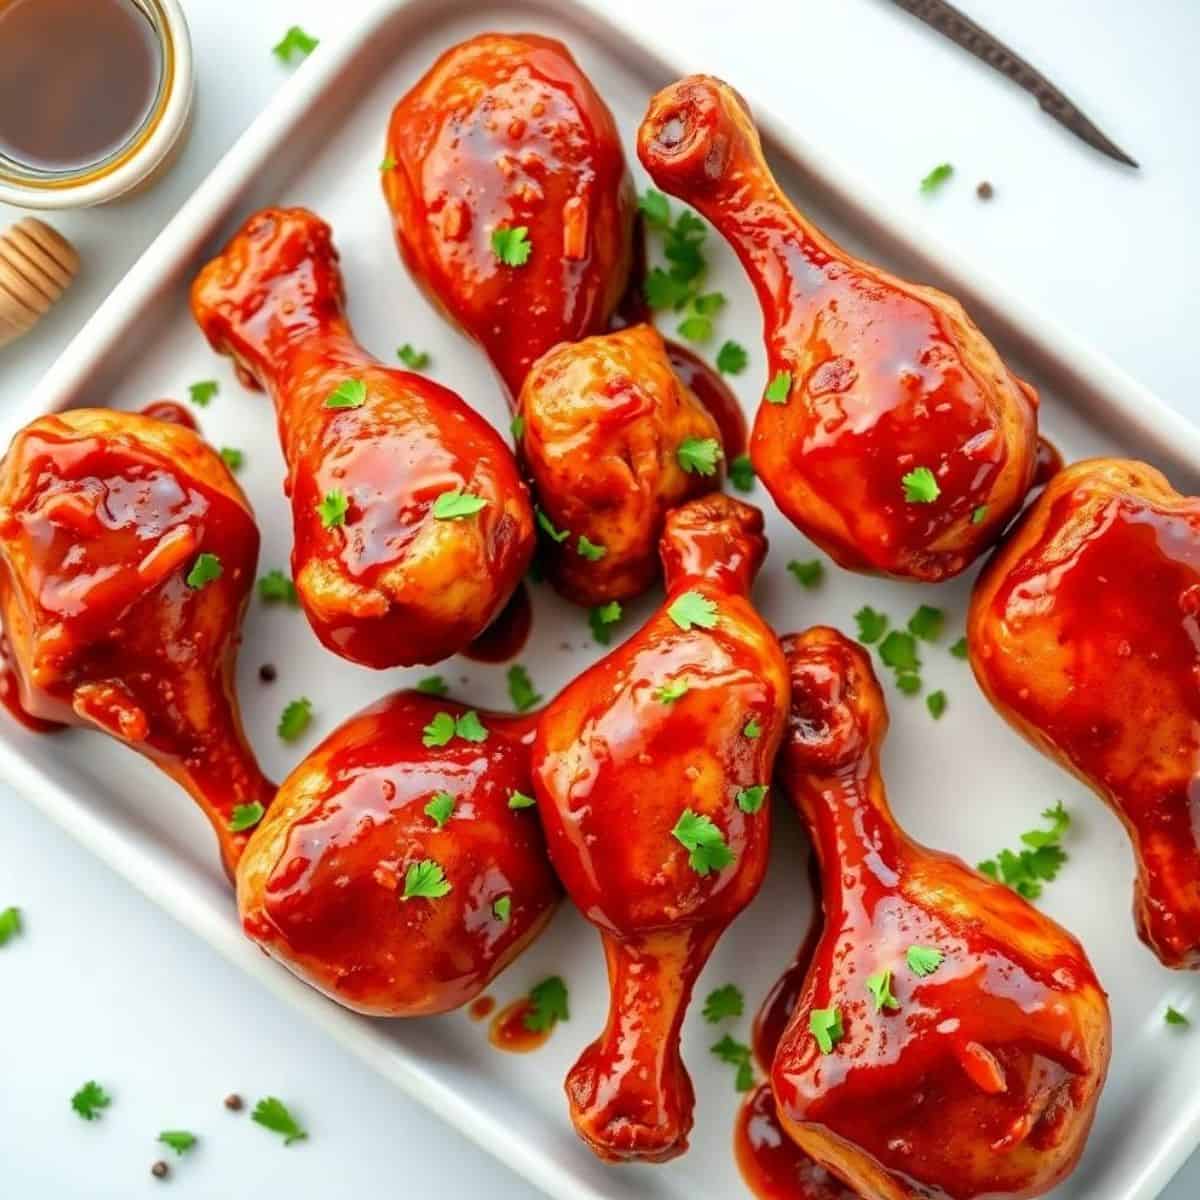
There is no more crowd-pleasing item at any summer cookout than a pile of deeply lacquered, sticky, smoky BBQ chicken drumsticks — the kind that leave your fingers stained and your guests reaching for napkin after napkin while simultaneously reaching back into the pile for another one. Drumsticks are the cut that was born for the grill and born for BBQ sauce — their high collagen content produces juicy, tender, pull-apart meat even when cooked over direct heat; their thick skin crisps and caramelizes around the BBQ glaze in a way that breasts and thighs simply don't replicate; and the bone makes them inherently casual and inherently fun to eat in a way that is appropriate for every backyard gathering from the most casual to the most celebratory.
What separates genuinely outstanding BBQ chicken drumsticks from the soggy, flabby, sauce-covered disappointments that appear at mediocre cookouts is a specific technique sequence: a dry rub applied in advance that seasons the meat deeply and helps the skin dry out for crispness; a two-zone grill setup that uses indirect heat to cook the chicken through before the direct-heat charring and sauce application; and the specific timing of when the sauce goes on — too early and it burns before the chicken is cooked, too late and it never caramelizes into the lacquered, sticky coating that defines properly BBQ'd drumsticks. This post covers all of it in the detail needed to produce genuinely outstanding drumsticks every single time.
This post covers the grilled BBQ drumstick in full technical detail plus an equally excellent oven-baked version for when the grill isn't available, a homemade BBQ sauce that is genuinely better than any bottled version, four dry rub variations, and five glaze and sauce variations covering every flavor direction from classic smoky to Korean-inspired to Caribbean-spiced. Every version produces drumsticks that disappear faster than anything else on the table.
Let's make the BBQ drumsticks that earn the most enthusiastic responses of the entire summer!
WHY YOU WILL LOVE THIS RECIPE
- Drumsticks Are the Most Forgiving Cut for Grilling: The bone conducts heat, the higher fat content keeps the meat moist even when slightly overcooked, and the collagen in the drumstick produces tender, juicy results across a wider range of internal temperatures than breast meat. A drumstick pulled from the grill at 185°F is more tender and more juicy than a breast pulled at 165°F — it is genuinely the cut that rewards longer, slower cooking and that produces the most satisfying BBQ eating experience of any chicken part.
- The Two-Zone Grill Method Eliminates Burnt-Outside-Raw-Inside Failures: The most common BBQ chicken failure — beautifully charred exterior with an undercooked interior — is caused by cooking over direct heat for the entire cooking time. The two-zone method (indirect heat to cook through, direct heat to char and caramelize) produces chicken that is fully cooked throughout with a charred, caramelized, lacquered exterior. This technique works on any grill and requires zero special equipment beyond the grill itself.
- The Dry Rub Applied in Advance Is the Most Impactful Flavor Investment: Applying a dry rub 2–24 hours before cooking seasons the meat deeply rather than just the surface, draws moisture to the skin surface (which then evaporates in the refrigerator for a drier, crispier skin), and creates a crust that holds the BBQ glaze more effectively than unseasoned wet skin. This is the single preparation step that most consistently distinguishes great BBQ drumsticks from adequate ones.
- Makes the Most Economical Impressive Summer Dish Available: Chicken drumsticks are consistently one of the most affordable cuts available — a package of 10–12 drumsticks feeds 5–6 people as a main course for a fraction of the cost of an equivalent serving of chicken thighs, breasts, or any other daily protein needs. The BBQ preparation elevates the drumstick far beyond its price point and produces something that looks and tastes significantly more expensive than the ingredient cost suggests.
- Works Equally Well on the Grill or in the Oven: The grilled version produces the most dramatically charred, most smoky, most genuinely BBQ result. The oven-baked version produces equally lacquered, equally sticky, equally delicious drumsticks with a broiled finish that produces genuine caramelization and a result that is genuinely indistinguishable from the grill version at the table. Having both methods available means BBQ drumsticks are achievable in any weather, any season, and any kitchen setup.
- The Homemade BBQ Sauce Is Worth Every Minute: The 15-minute homemade BBQ sauce in this recipe is genuinely better than any bottled sauce available at any price point — it has a depth, a complexity, and a freshness that no commercially produced sauce can match because it is made fresh with real aromatics, real spices, and real molasses rather than a stabilized, shelf-stable formula. Make a double batch and keep it in the refrigerator for two weeks of BBQ season use across every preparation.
INGREDIENTS
- The Drumsticks:
- 3–4 lbs chicken drumsticks — approximately 10–12 pieces. Pat completely dry with paper towels before applying rub — dry skin is essential for crispness and proper rub adhesion
- The Classic Dry Rub:
- 2 tablespoons smoked paprika
- 1 tablespoon brown sugar
- 1 tablespoon garlic powder
- 1 teaspoon onion powder
- 1 teaspoon cumin
- 1 teaspoon black pepper
- 1.5 teaspoons kosher salt
- ½ teaspoon cayenne pepper — adjust for heat preference
- The Homemade BBQ Sauce (makes approximately 1.5 cups):
- 1 cup ketchup
- ¼ cup apple cider vinegar
- 3 tablespoons molasses
- 2 tablespoons brown sugar
- 1 tablespoon Worcestershire sauce
- 1 tablespoon smoked paprika
- 1 teaspoon garlic powder
- 1 teaspoon onion powder
- ½ teaspoon dry mustard powder
- ½ teaspoon black pepper
- Pinch of cayenne
- Salt to taste
DIRECTIONS — GRILLED METHOD
- Step No.1: Apply the dry rub
Pat drumsticks completely dry with paper towels — thoroughly dry, not just patted once. Combine all dry rub ingredients in a small bowl and mix thoroughly. Apply the rub generously to every surface of each drumstick — get under the skin where possible by gently loosening it with a finger and rubbing seasoning directly onto the meat beneath. The under-skin seasoning seasons the meat itself rather than just the exterior surface. Place rubbed drumsticks on a wire rack set over a sheet pan and refrigerate uncovered for a minimum of 2 hours and ideally 12–24 hours. The refrigerator air-dries the skin as it sits, creating a drier surface that crisps dramatically more effectively during cooking. Do not skip this rest — even 2 hours of uncovered refrigerator time makes a noticeable difference.
- Step No.2: Make the BBQ sauce
Combine all BBQ sauce ingredients in a small saucepan over medium heat. Stir thoroughly and bring to a gentle simmer. Cook, stirring occasionally, for 10–12 minutes until the sauce has thickened slightly and the flavors have melded — the raw ketchup sharpness should have mellowed and the molasses should be fully integrated. Taste and adjust: more brown sugar for sweetness, more vinegar for acidity, more cayenne for heat, more Worcestershire for depth. The sauce should be slightly thicker than store-bought and deeply, robustly flavored. Set aside. The sauce can be made up to 2 weeks ahead and stored refrigerated in a sealed jar — it improves significantly over 24 hours as the flavors develop.
- Step No.3: Set up a two-zone grill
For a gas grill: light one side to medium-high (approximately 400°F) and leave the other side off — this creates a direct heat zone and an indirect heat zone. For a charcoal grill: pile all coals to one side of the grill and leave the other side coal-free — the coal side is direct heat, the empty side is indirect. The two-zone setup is the key technique that allows the drumsticks to cook through completely over gentle indirect heat before being moved to the direct heat zone for charring and sauce caramelization. Lightly oil the grill grates on both zones before adding the chicken. Remove drumsticks from the refrigerator 20 minutes before grilling to take the chill off.
- Step No.4: Indirect heat phase — cook through
Place the drumsticks on the indirect heat side of the grill. Cover the grill and cook for 25–30 minutes, turning once halfway through, until the internal temperature reads 165–170°F on an instant-read thermometer inserted into the thickest part of the meat away from the bone. The indirect heat cooks the chicken gently and thoroughly without charring the exterior or burning the rub's sugar content. The skin will look set and slightly dry after the indirect phase — it will not look fully cooked or visually impressive yet. This is exactly correct — the browning and charring happen in the next phase.
- Step No.5: Direct heat phase — char, glaze, and caramelize
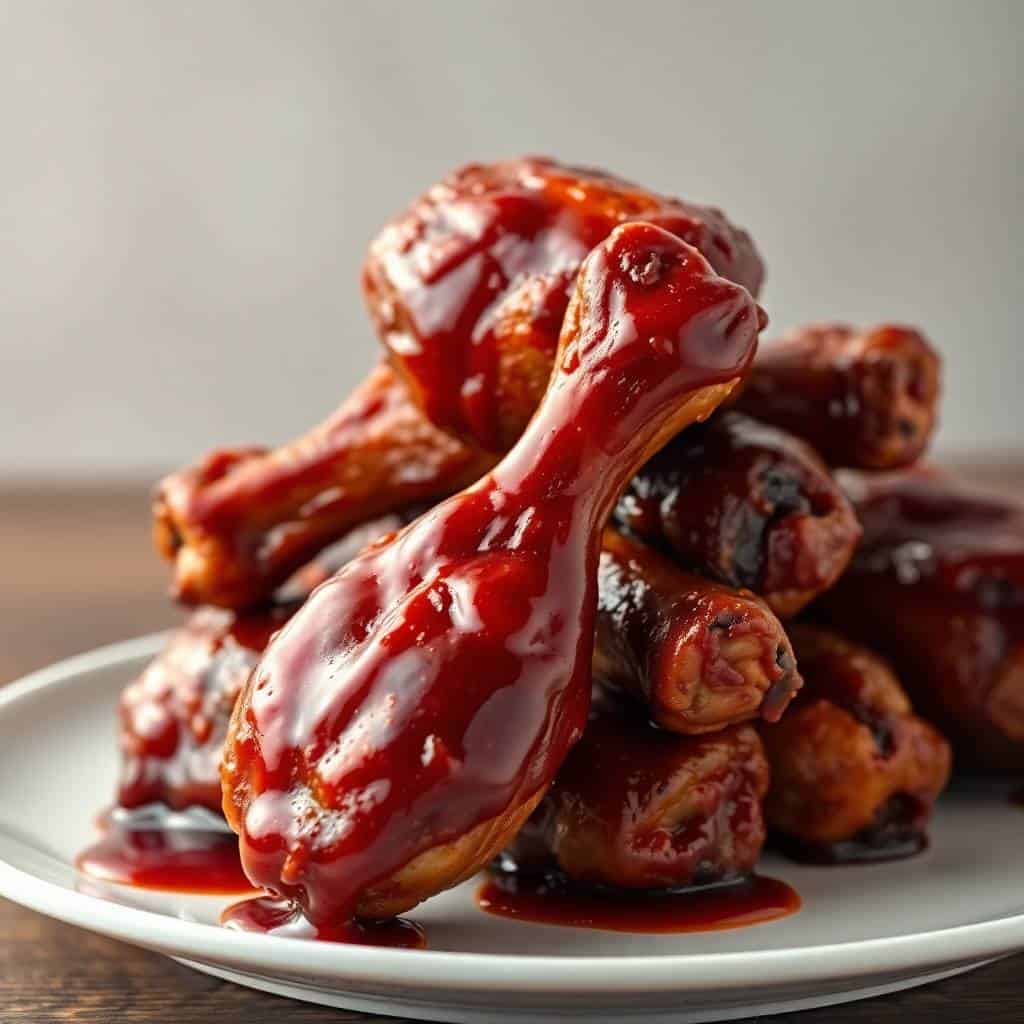
Move all drumsticks to the direct heat side of the grill. Cook over direct medium-high heat for 3–4 minutes per side until the skin is crispy and lightly charred — the sugars in the dry rub will caramelize and the skin will take on the deep, mottled golden-to-char coloring of properly grilled BBQ chicken. Once the skin is charred and crispy, use a pastry brush to apply a generous coat of BBQ sauce to all surfaces of each drumstick. Continue grilling for 2–3 minutes until the sauce caramelizes and becomes sticky and lacquered — it should look shiny, slightly bubbling, and deeply colored rather than wet and shiny from raw sauce. Apply a second coat of sauce and grill for 1–2 more minutes for a thicker, more sticky glaze layer. Remove from the grill when the sauce is deeply caramelized and the internal temperature is 175–185°F — this higher temperature produces more tender, more juicy drumsticks than the minimum safe temperature of 165°F.
DIRECTIONS — OVEN METHOD
- Step No.1: Apply dry rub and refrigerate uncovered as described above.
- Step No.2: Preheat oven to 425°F. Line a rimmed sheet pan with foil and place a wire rack on top — the wire rack elevates the drumsticks above the pan so heat circulates underneath and the skin crisps on all sides rather than sitting in rendered fat. Arrange drumsticks on the wire rack with space between each piece. Bake at 425°F for 35–40 minutes, turning once at 20 minutes, until the skin is crispy and the internal temperature reaches 170°F.
- Step No.3: Brush drumsticks generously with BBQ sauce and return to the oven at 425°F for 8–10 minutes until the sauce caramelizes and turns sticky and lacquered. Brush with a second coat and switch the oven to broil on high for 2–3 minutes until the sauce chars and bubbles in a few places — this broiler finish is what produces the genuine caramelized BBQ character on oven-baked drumsticks. Watch the broiler carefully during this phase since the sugar in the sauce can go from caramelized to burned in 60 seconds. Rest 5 minutes before serving.
TIPS FOR SUCCESS
- Dry the Skin Thoroughly and Rest Uncovered: Wet skin on chicken never crisps — it steams. Pat every drumstick completely dry with multiple paper towel changes until no visible moisture remains on the skin surface. Then allow the rubbed drumsticks to rest uncovered in the refrigerator for at least 2 hours, during which time the refrigerator's dry air pulls additional surface moisture from the skin. Drumsticks rested this way crisp to a deeply satisfying crackling texture; drumsticks cooked immediately from patting dry produce noticeably softer skin.
- Apply Sauce Only in the Final 10 Minutes: BBQ sauce added to chicken too early burns before the chicken is cooked through — the high sugar content of every BBQ sauce, homemade or bottled, blackens and turns bitter within minutes of direct heat exposure on an under-cooked piece of chicken. The sauce goes on only after the chicken is fully cooked through (165°F+) and only for the final caramelization phase. This timing produces the lacquered, caramelized, sticky coating that defines properly BBQ'd chicken; early sauce application produces burnt, bitter, charred chicken with raw interior.
- Cook to Higher Than Minimum Safe Temperature: Chicken drumsticks reach their most tender, most juicy, most genuinely satisfying texture at 175–185°F internal temperature — significantly above the USDA minimum safe temperature of 165°F. At 165°F, drumstick meat is safe but still somewhat firm and not at its maximum juiciness. The collagen in drumsticks continues converting to gelatin between 165°F and 185°F, producing progressively more tender, more moist, more pull-apart meat throughout this range. Use an instant-read thermometer and pull the drumsticks at 180–185°F for the absolute best result.
- Rest Before Serving: Drumsticks rested for 5 minutes after coming off the grill or out of the oven produce juicier eating than drumsticks served immediately — the resting allows the internal juices to redistribute throughout the meat rather than running out immediately when the first bite breaks the surface. A 5-minute rest is a genuine quality improvement for any grilled or roasted chicken and it takes nothing beyond waiting.
- Serve with Extra Sauce on the Side: The most consistent feedback at any BBQ chicken gathering is that there wasn't enough sauce available at the table — the caramelized sauce on the drumsticks is genuinely one of the best components of the preparation and people want more of it. Always serve the remaining BBQ sauce warm in a small bowl alongside the drumsticks for dipping and additional glazing at the table. Reserve at least ½ cup of sauce specifically for table service before using the rest for glazing during cooking.
VARIATIONS
- Korean-Style BBQ Drumsticks: Replace the classic BBQ sauce with a gochujang glaze — combine 3 tablespoons gochujang, 2 tablespoons soy sauce, 2 tablespoons honey, 1 tablespoon sesame oil, 1 tablespoon rice vinegar, 3 minced garlic cloves, and 1 teaspoon grated ginger. Apply during the same final charring phase as the classic sauce. Garnish with toasted sesame seeds, sliced scallions, and fresh cilantro. The gochujang glaze produces a deeply spiced, slightly fermented, intensely savory coating with a moderate heat that is genuinely one of the most addictive drumstick preparations available and that makes guests who have never tried gochujang immediate converts. Find more Korean-inspired ideas in our grain bowl recipes.
- Honey Garlic BBQ Drumsticks: Replace the classic BBQ sauce with a honey garlic glaze — combine ⅓ cup honey, 4 tablespoons soy sauce, 6 minced garlic cloves, 2 tablespoons butter, and 1 tablespoon rice vinegar in a small saucepan and simmer for 3–4 minutes until slightly thickened. The honey garlic glaze is the most universally loved of all the variations — its sweet-savory-garlicky character is accessible to every palate and produces drumsticks with a burnished, almost lacquered appearance and a fragrance that fills the entire backyard. This is the variation to make when you need to guarantee that every person at the table — including the most selective children — enthusiastically eats and requests more.
- Caribbean Jerk Drumsticks: Replace the classic dry rub with a jerk-spiced rub — combine 2 teaspoons allspice, 1 teaspoon cinnamon, 1 teaspoon thyme, 1 teaspoon cayenne, 1 teaspoon garlic powder, 1 teaspoon brown sugar, 1 teaspoon salt, and ½ teaspoon nutmeg. Marinate the drumsticks in a wet jerk paste (the rub mixed with 2 tablespoons neutral oil, 1 tablespoon soy sauce, and 1 tablespoon lime juice) for 4–24 hours. Grill as directed without additional sauce — the jerk rub caramelizes into a deeply spiced, aromatic crust that needs nothing beyond itself. Serve with lime wedges and a cooling mango salsa. This version is the most dramatically flavored and most fragrant of all the variations.
- Alabama White Sauce Drumsticks: Apply the classic dry rub and grill as directed, but replace the tomato-based BBQ sauce with Alabama white sauce — whisk together 1 cup mayonnaise, ¼ cup apple cider vinegar, 1 tablespoon Dijon mustard, 1 tablespoon horseradish, 1 teaspoon black pepper, 1 teaspoon garlic powder, ½ teaspoon salt, and a pinch of cayenne. Do not apply the white sauce during grilling — it burns immediately. Instead, serve the grilled, charred drumsticks with the white sauce for dipping and drizzling at the table. Alabama white sauce is the most surprising and most enthusiastically received BBQ sauce variation for guests who have never tried it — the creamy, tangy, peppery character against smoky charred chicken is genuinely extraordinary.
SERVING AND STORAGE
Serving
Serve BBQ drumsticks on a large platter with extra warm BBQ sauce in a small bowl alongside for dipping, plenty of napkins, and wet paper towels for finger cleanup — this is intentionally messy food and the presentation should acknowledge and celebrate that fact rather than trying to minimize it. Pair with classic summer sides: coleslaw, corn on the cob, baked beans, cornbread, and potato salad. Find the perfect summer side dish pairings in our recipe roundups.
Storage
Leftover BBQ drumsticks store refrigerated for up to 4 days. Reheat in the oven at 375°F for 15–20 minutes until heated through and the skin re-crisps slightly — do not microwave, which makes the skin soggy and rubbery. Leftover drumstick meat pulled from the bone works excellently in BBQ chicken sandwiches, BBQ chicken pizza, and BBQ chicken grain bowls. The BBQ sauce stores refrigerated for up to 2 weeks in a sealed jar.
FAQ
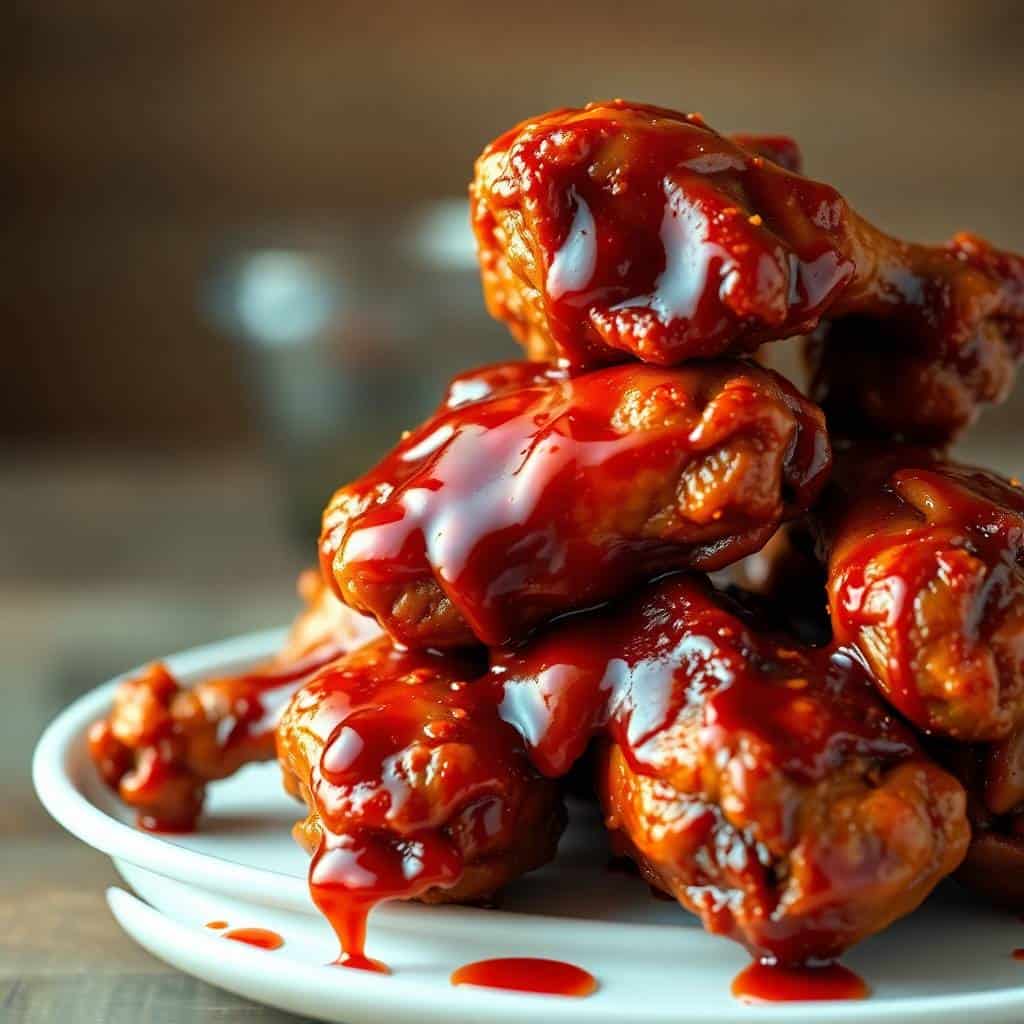
BBQ chicken burns on the grill almost exclusively because the sauce is applied too early and/or the heat is too high. The sugar in BBQ sauce — whether from ketchup, brown sugar, molasses, or honey — caramelizes and blackens within 2–3 minutes of direct flame exposure. The solution is the two-zone method: cook the chicken over indirect heat until fully cooked through (165°F+), then move to direct heat for charring and apply sauce only during the final 5–8 minutes. At this stage the chicken is already cooked, the grill can be monitored closely for the brief caramelization period, and the sauce transforms from wet to lacquered without burning. The two-zone method is the single technique change that eliminates BBQ chicken burning.
Using the two-zone method, chicken drumsticks take 25–30 minutes over indirect heat to reach 165–170°F internal temperature, followed by 8–12 minutes over direct heat for charring and sauce caramelization — total active grill time of 35–42 minutes. At higher indirect heat (400°F+), the initial cooking phase can be as short as 20 minutes. Always use an instant-read thermometer rather than timing alone since drumstick size varies significantly and temperature is the only reliable doneness indicator. For the most tender, most juicy drumsticks, target 180–185°F internal temperature rather than the minimum safe 165°F.
Boiling before grilling is not recommended and is not necessary with the two-zone method. Boiling produces waterlogged chicken with leached-out flavor that requires significantly more grilling time to develop any surface char, and the skin from boiled chicken never achieves proper crispness on the grill. The two-zone indirect-then-direct method produces fully cooked, fully juicy drumsticks on the grill without any pre-cooking. The only pre-cooking approach worth considering is sous vide at 150–165°F, which produces extremely consistent internal doneness and allows the grill to serve purely as a charring and sauce-caramelizing instrument rather than a primary cooking vessel — but this is an advanced technique that most home cooks don't need.
Yes — BBQ drumsticks can be made several hours ahead and reheated successfully. Cook the drumsticks fully through the indirect phase, apply one coat of sauce, and refrigerate. Before serving, bring to room temperature for 20 minutes, then finish over direct heat or under the broiler for 8–10 minutes with a fresh coat of sauce to re-caramelize and reheat simultaneously. The advance-cooked drumsticks will have slightly less crisp skin than fresh-off-the-grill but will be fully cooked, well-flavored, and very close to freshly grilled in quality. For large gatherings where grilling 20+ drumsticks to order is impractical, this advance-cook-and-reheat approach is the most practical solution.
Classic BBQ sides that complement drumsticks best are those that provide cooling contrast or textural balance to the sticky, smoky, intensely flavored chicken. Creamy coleslaw is the most universally loved pairing — its cool, creamy, slightly acidic character is the ideal counterpoint to the rich, sweet BBQ glaze. Cornbread provides the starchy, slightly sweet absorption vehicle that the extra sauce deserves. Baked beans alongside add complementary smokiness and sweetness. Corn on the cob adds sweetness and crunch. A simple cucumber and tomato salad dressed with vinegar provides the freshest, lightest counterpoint. Potato salad rounds out any BBQ spread. See our full summer side dish collection for more pairing ideas at forfoodiefriends.com/recipes.
These BBQ chicken drumsticks are the cookout item that disappears first from every platter — master the two-zone method, apply the dry rub the night before, and time the sauce application correctly for the most lacquered, most caramelized, most genuinely satisfying BBQ drumsticks of the summer.
Try the Korean gochujang variation for the most addictive and most surprising flavor, or the honey garlic version for the most universally crowd-pleasing result. Pair with our grilled shrimp skewers, our grilled chicken marinade recipes, and our grilled pizza for the complete summer grilling collection. 🍗🔥✨
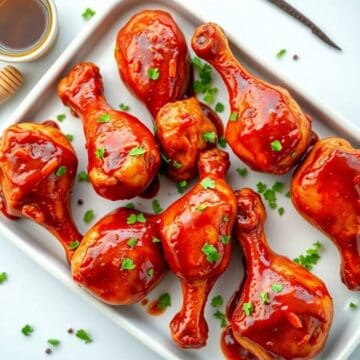
BBQ CHICKEN DRUMSTICKS (STICKY, SMOKY, AND FALL-OFF-THE-BONE)
Equipment
- Baking sheet
- Parchment paper or foil
- Mixing Bowl
- Basting brush
Ingredients
Chicken:
- 12 chicken drumsticks
Seasoning:
- 2 tablespoon olive oil
- 1 teaspoon smoked paprika
- 1 teaspoon garlic powder
- 1 teaspoon onion powder
- 1 teaspoon salt
- ½ teaspoon black pepper
BBQ Sauce:
- 1 cup barbecue sauce
- 2 tablespoon honey
- 1 tablespoon apple cider vinegar
Instructions
Prep Chicken:
- Preheat oven to 400°F (200°C). Line a baking sheet with foil or parchment paper.
- Pat drumsticks dry and toss with olive oil, smoked paprika, garlic powder, onion powder, salt, and black pepper.
Bake:
- Arrange drumsticks on the baking sheet in a single layer. Bake for 30 minutes, flipping halfway through.
Make BBQ Glaze:
- In a bowl, mix barbecue sauce, honey, and apple cider vinegar.
Glaze & Finish:
- Brush drumsticks generously with BBQ glaze and bake another 10 minutes until sticky and caramelized.
Serve:
- Serve hot with extra barbecue sauce if desired.
Notes
- Broil for 2–3 minutes for extra caramelization.
- Use your favorite BBQ sauce flavor.
- Chicken is done when internal temperature reaches 165°F (74°C).





Comments
No Comments