
Saad asked for banana pudding three weeks in a row this summer, and at some point I started wondering if I could sneak that flavor into something easier to pack into his lunchbox. Rice Krispie treats were already a weeknight staple — my kids eat them without complaint, which in this house counts as a win.
What I landed on was this: instant banana pudding mix stirred straight into the melted marshmallow base, with a real mashed banana folded in for good measure. The pudding mix does double duty — it binds everything and adds that creamy, almost vanilla-banana flavor without you having to cook a thing. These aren't your average Rice Krispie treats. They're softer, a little richer, and they hold together well enough that you can actually wrap them and toss them in a bag.
I make these on days when I don't want to turn on the oven — which in our house is most of July and August. If you've ever made my Caramel Cream Cheese Dip as a no-bake option for parties, you'll appreciate this same spirit. Everything happens in one saucepan, you press it into a pan, and an hour later you're cutting squares. Zainab eats hers cold straight from the fridge, which she swears is the correct way.
One thing to know before you start: don't skip the chilling step. I tried cutting into these after 20 minutes once and they fell apart completely. Give them the full hour — or better, make them the night before. They slice much cleaner when they're properly set.
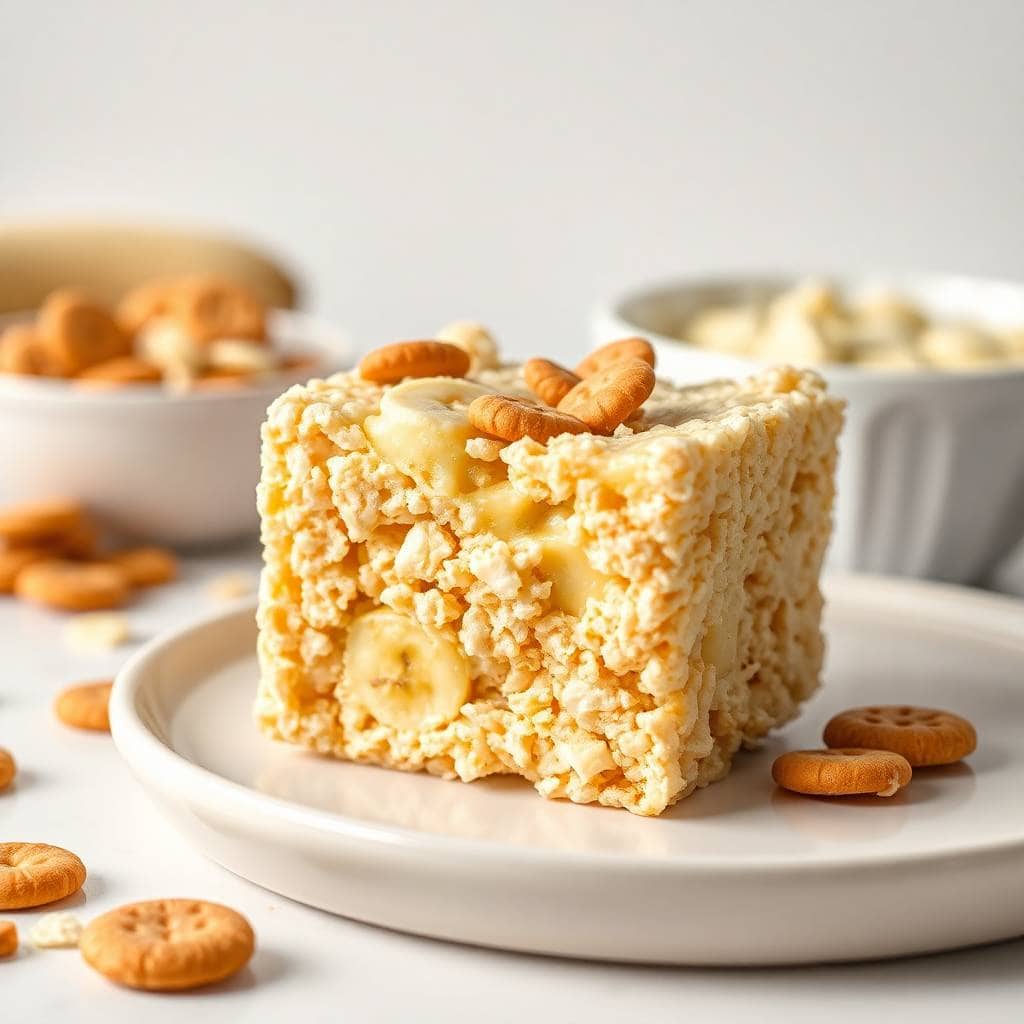
Why You'll Love This Recipe
- No oven, no problem: The whole thing comes together in a saucepan on the stovetop, then gets pressed into a pan and chilled. I make these on hot summer days when turning on the oven feels unreasonable. There's nothing to bake, nothing to watch, and cleanup is basically one pot and a spatula.
- That banana pudding flavor is real: Using both the instant pudding mix and a real mashed banana means the flavor actually comes through — it's not just a faint hint. The pudding mix also helps everything bind together, so these hold their shape better than a plain marshmallow treat. It's the combination of both that makes it work.
- Ready in 30 minutes, set in an hour: Active time is barely 15 minutes — the rest is just waiting for them to firm up in the fridge. I make a batch after lunch and they're ready to cut and serve by the time the kids want an after-school snack. If I'm planning ahead for a party, I make them the night before and they're even better.
- Lunchbox and party friendly: Cut into squares, these travel well and don't get messy. I've packed them in Saad's lunchbox, brought them to school events, and served them on a tray at a summer cookout. They don't need to be refrigerated for a few hours, which makes them easy to transport.
- Easy to customize: This is a flexible base. You can press banana chips into the top before it sets, drizzle with melted white chocolate, or stir in chopped walnuts. I'll give you more ideas in the Variations section — there's a peanut butter version I keep going back to.
Ingredients
- 6 cups Rice Krispies cereal
- 1 package (3.4 oz) instant banana pudding mix
- 1 bag (10 oz) mini marshmallows
- 3 tablespoons unsalted butter
- 1 ripe banana, mashed
- ½ teaspoon vanilla extract
- Optional: banana chips or sliced bananas for topping
Directions
- Step 1: Prepare the pan — Grease a 9x13-inch baking dish or line it with parchment paper. I usually do both — a light spray of cooking oil on the dish, then parchment on top — so nothing sticks and lifting the whole slab out for cutting is easy.
- Step 2: Melt the butter and marshmallows — In a large saucepan, melt the butter over low heat. Add the mini marshmallows and stir continuously until completely melted and smooth. Keep the heat low here — high heat makes the marshmallows seize up and go grainy, which I've done more than once.
- Step 3: Add pudding mix, banana, and vanilla — Remove the saucepan from the heat. Quickly stir in the banana pudding mix, mashed banana, and vanilla extract until everything is fully combined. Work fast at this stage because the mixture starts to set as it cools.
- Step 4: Fold in the cereal — Add the Rice Krispies and fold gently until every piece is coated. Don't stir aggressively — you want the cereal to stay crispy, not get crushed into dust. A wide silicone spatula works well here.
- Step 5: Press into the pan — Transfer the mixture to your prepared pan. Press down firmly and evenly with a buttered spatula or a piece of wax paper. If you use your hands, butter them first — otherwise the mixture glues itself to your palms.
- Step 6: Chill and cut — Let the pan sit at room temperature for at least 1 hour, or refrigerate for about 45 minutes if you want to speed it up. Cut into squares only once they're fully set — rushing this is how you end up with crumbled corners.
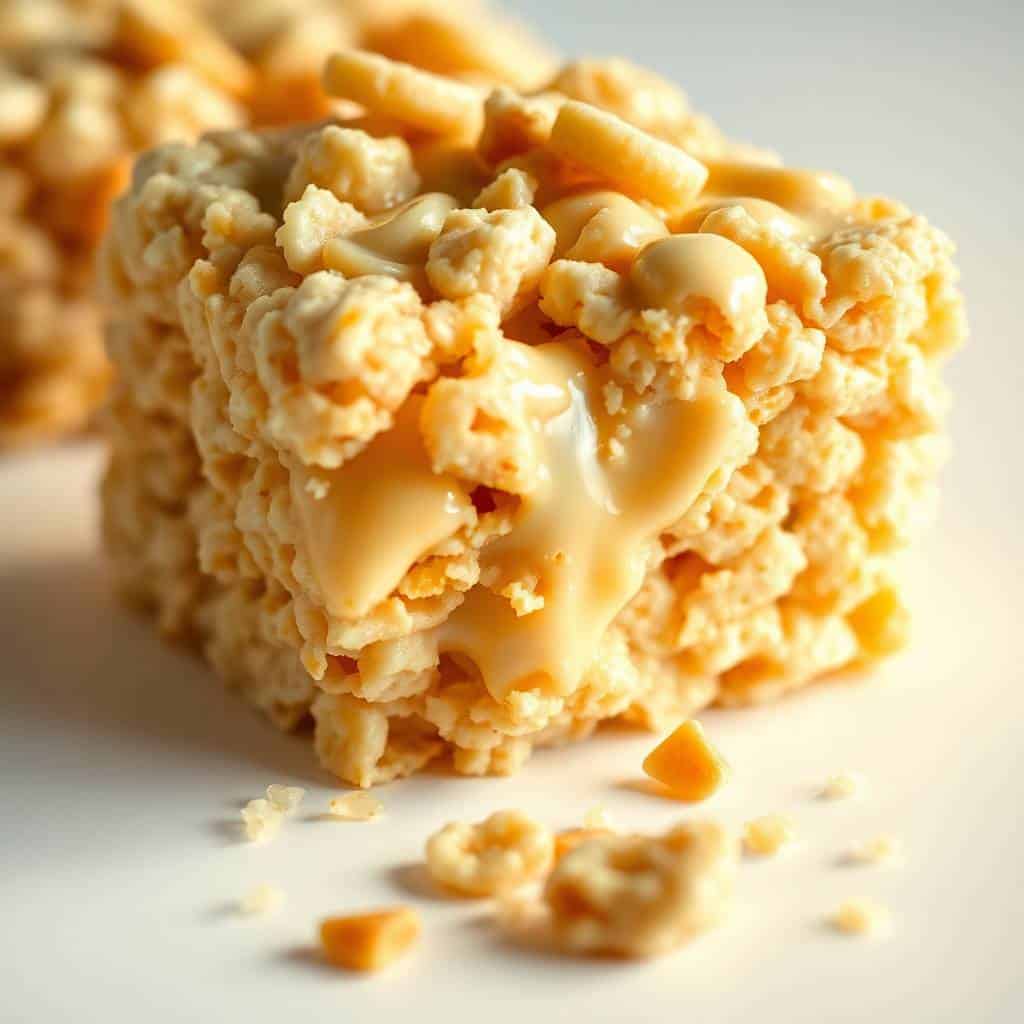
Tips for Success
- Use a ripe but not overripe banana: There's a sweet spot here. A banana that's yellow with a few brown spots mashes smoothly and adds good flavor. I used a very black, mushy banana once thinking more ripe equals more flavor, and the treats came out slightly wet and wouldn't set properly. Ripe but still firm is what you want.
- Keep the heat low when melting marshmallows: This is the step I mess up when I'm impatient. High heat scorches the marshmallows, which makes the whole thing taste slightly burnt and also makes the texture grainy. Low and slow, stirring the whole time — it takes maybe 4 minutes and it's worth it.
- Work quickly once the marshmallows are melted: After you pull the pan off the heat and start adding the pudding mix and cereal, things move fast. Have everything measured and ready to go before you start melting. I learned this after standing there with the Rice Krispies bag still sealed while my marshmallow mixture was already setting up.
- Butter your spatula well before pressing: The mixture is incredibly sticky. A dry spatula just picks up the treats with it when you try to press down. Butter the spatula generously — or use a sheet of wax paper laid over the top and press through that. Either way works, but don't skip this or you'll be fighting the pan.
- Don't skip the full setting time: I know I said this in the intro, but it bears repeating. One hour minimum, or they won't cut cleanly. If you're making these for a party, prepare them the evening before. They slice into neat squares after an overnight rest, and honestly they taste better the next day too — the banana flavor deepens a little.
Variations
- Peanut butter banana: Stir ¼ cup of creamy peanut butter into the melted marshmallow mixture before adding the pudding and banana. It makes the base a little richer and adds a nutty depth that works really well with the banana flavor. This is my husband's favorite version — he asks for it specifically.
- White chocolate drizzle: Once the treats are set and cut, melt ¼ cup of white chocolate chips (microwave in 30-second bursts, stirring between each) and drizzle over the top. It makes them look like something from a bakery display and adds a creamy sweetness. White chocolate and banana is a surprisingly good pairing.
- Tropical version: Fold in ¼ cup of sweetened shredded coconut with the cereal and press a few dried pineapple pieces into the top before chilling. It tastes like a banana-coconut dessert bar. If you like this kind of flavor, you'd probably also enjoy my Strawberry Almond Crumble Pie for when you want something fruity and baked.
- Nutty crunch: Toss in ½ cup of chopped walnuts or pecans when you fold in the cereal. The nuts add texture and make these feel a little more substantial. I prefer pecans — they're buttery and don't compete with the banana. Walnuts work if that's what you have on hand.
- Gluten-free version: Swap the regular Rice Krispies for a gluten-free crispy rice cereal — most grocery stores carry one now. Everything else in this recipe is naturally gluten-free, so it's an easy swap that doesn't change the flavor or texture noticeably.
Serving and Storage
Serving
Cut into squares and serve at room temperature or cold from the fridge — Zainab insists cold is better, and honestly I don't disagree. These work as an after-school snack, a lunchbox treat, or a no-fuss dessert at a cookout. If you want to dress them up, press a banana chip into the top of each square before chilling. They look intentional that way, not just like something you threw together in 20 minutes (which they are).
Storage
Store in an airtight container at room temperature for up to 3 days. If your kitchen runs warm or humid, keep them in the fridge — they'll last up to 5 days refrigerated and actually hold their shape better when cold. I layer them with parchment paper if I'm stacking them in a container so they don't stick together. I haven't tried freezing them, so I can't vouch for that.
Frequently Asked Questions
Can I use homemade banana pudding instead of the instant mix?
You can, but the instant pudding mix does more than just add flavor — it helps the mixture bind and set. If you use homemade pudding, make sure it's very well chilled and thickened before adding it. The treats may be slightly softer and might need a longer chill time to firm up properly.
Can I make these ahead of time?
Yes, and I'd actually recommend it. These taste better after sitting overnight — the banana flavor deepens and they hold together much more cleanly when you cut them. Make them the evening before you need them, cover the pan with plastic wrap, and leave them at room temperature or refrigerate overnight.
Why did my treats turn out too soft or not hold their shape?
A few things can cause this: an overripe banana adds too much moisture, the treats weren't chilled long enough, or the marshmallow mixture was too hot when the cereal went in (which can start to break down the cereal). Make sure your banana is ripe but still firm, and give the treats a full hour to set — or longer if your kitchen is warm.
Can I substitute a different cereal?
Technically yes, but Rice Krispies give you that light, crispy texture that works best here. I've tried Corn Flakes once and they worked okay but got soggy faster. Fruity pebbles would be an interesting option for a sweeter, more colorful version — the kids would probably love it. Stick with a light, puffed or flaked cereal rather than a dense one.
How do I keep these from getting sticky when stored?
Store them in a single layer or separate layers with parchment paper between them. Keep the container airtight. Humidity is the enemy here — if your kitchen is particularly warm or humid, refrigerating them will keep them firmer and less sticky than leaving them out.
What I like most about this recipe is how little effort it takes for how good the result is. One saucepan, six ingredients, no oven, done. It's become my go-to for school events when I need to bring something and don't have time or energy to bake a proper cake — these always get eaten first anyway.
If you're in a baking mood and want something you can actually put in the oven, my Rolled Sugar Cookies are another recipe the kids constantly request — completely different vibe, but the same idea of a crowd-friendly sweet that's not fussy. And if you're building out a dessert spread for a gathering, the Gingerbread Cake with Cinnamon Molasses Frosting pairs nicely alongside something lighter and no-bake like these.
I make a double batch when I know people are coming over — a single 9x13 pan disappears faster than I expect every time. Give them the full chill time, use a banana that's ripe but not falling apart, and you'll have squares that hold together and actually taste like banana pudding. That's really all there is to it. 🍌✨
BANANA PUDDING RICE KRISPIE TREATS
Ingredients
- 6 cups Rice Krispies cereal
- 1 3.4 oz package instant banana pudding mix
- 1 10 oz bag mini marshmallows
- 3 tablespoons unsalted butter
- 1 ripe banana mashed
- ½ teaspoon vanilla extract
- Optional: banana chips or sliced bananas for topping
Instructions
Prepare the Pan:
- Grease a 9x13-inch baking dish or line it with parchment paper.
Melt Butter and Marshmallows:
- In a large saucepan, melt butter over low heat. Add mini marshmallows and stir until completely melted and smooth.
Add Banana Pudding Mix:
- Remove from heat and quickly stir in banana pudding mix, mashed banana, and vanilla extract until well combined.
Mix in Cereal:
- Add Rice Krispies cereal to the mixture and fold gently until evenly coated.
Press into Pan:
- Transfer mixture to the prepared pan. Press down firmly and evenly with a spatula.
Chill and Cut:
- Allow to cool and set for at least 1 hour. Cut into squares before serving.
Notes
- Make Ahead: Prepare a day in advance and store covered at room temperature.
- Variations: Add chopped nuts or white chocolate chips for extra texture and flavour.
- Serving Suggestions: Great for lunchboxes, parties, or as a sweet snack anytime.
- Allergy-Friendly Options: Use dairy-free butter and marshmallows to make it vegan-friendly.
- Storage Tips: Store in an airtight container at room temperature for up to 3 days.
If you made these and loved them, here are a few more recipes from my kitchen you might want to try next:
- Rolled Sugar Cookies — a classic that my kids decorate every time we have a reason to celebrate
- Gingerbread Cake with Cinnamon Molasses Frosting — deep, spiced, and completely worth turning the oven on
- Caramel Cream Cheese Dip — another no-fuss sweet that disappears fast at parties
- Strawberry Almond Crumble Pie — for when you want something fruity and a little more special
- Easy Breakfast Cheese Danish — not dessert, but Saad asks for this almost as often as he asks for these treats





Comments
No Comments