
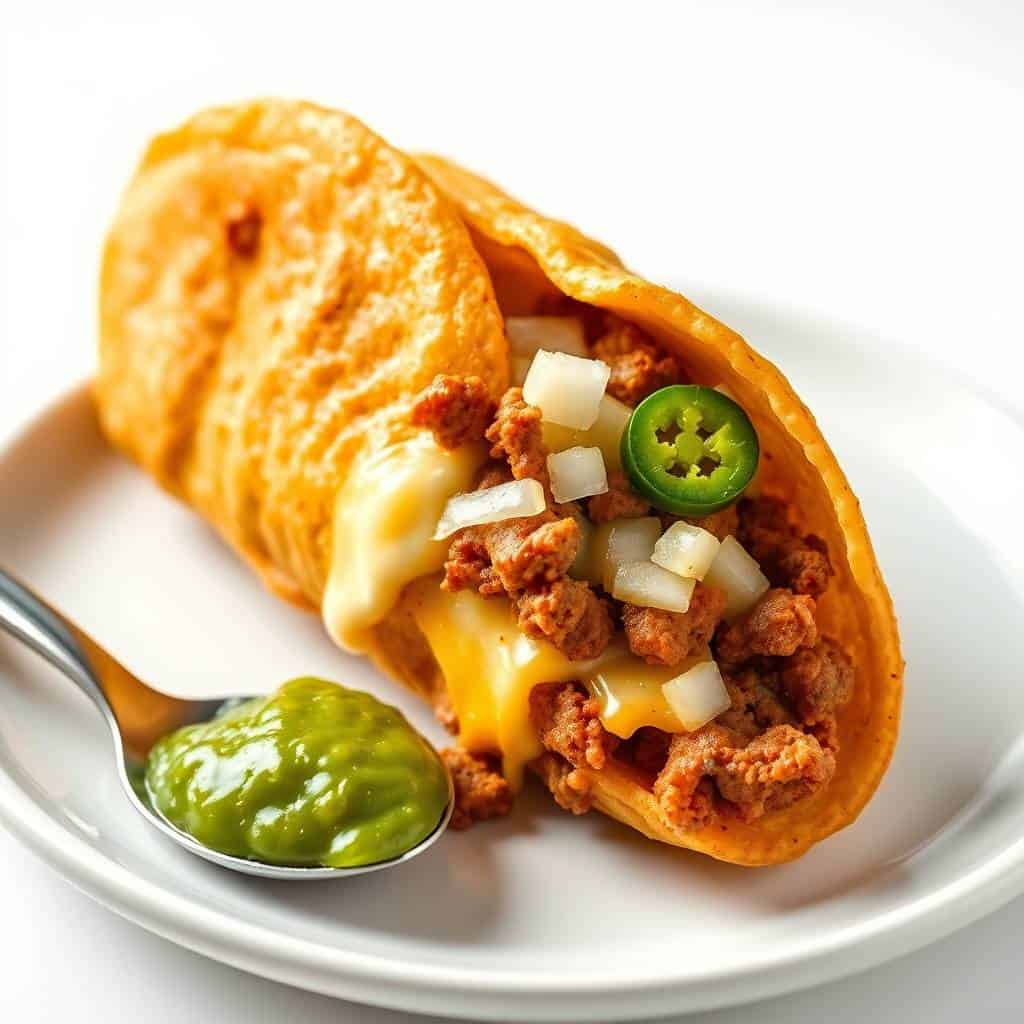
I made these taco bombs for the first time on a Sunday afternoon when I had a can of biscuit dough sitting in the fridge and about half a pound of ground beef I needed to use up. I wasn't expecting much — it was one of those throw-things-together situations. But they came out of the air fryer golden and puffed, and my son Saad ate four of them before I even got the dipping sauce on the table.
What makes these work is the butter-brushed biscuit dough. It gets this crispy, slightly flaky shell on the outside while staying soft enough on the inside to hold all that cheesy beef filling. The air fryer does in 10 minutes what an oven would need 20-25 for, and without any of the oil splatter you'd get from pan-frying. I've made them at least six or seven times now and they're consistently reliable — which, honestly, is what I care about most in a snack recipe.
These have become my go-to for game day, but we also make them on Friday nights when everyone wants something fun instead of a proper sit-down dinner. If you're looking for more crowd-friendly snacks for game day spreads, my BBQ Chicken Wings are always on the table right alongside these. Between the two, we never have leftovers.
One thing I'll say upfront: don't skip the step where you let the filling cool slightly before assembling. I rushed it the first time and the warm meat made the dough sticky and hard to seal. Give it even just 5 minutes off the heat — it makes a real difference in how easily you can pinch those edges closed.
Why You'll Love This Recipe
- Done in 30 minutes, start to finish: The filling takes maybe 10 minutes on the stove, assembly takes another 5-10, and the air fryer handles the rest in about 10-12 minutes. I've made these on weeknights when I had zero energy left and they still came together without stress. There's also only one skillet and an air fryer basket to clean up afterward.
- Genuinely crispy without deep frying: The air fryer gives you a golden, slightly crackly exterior on the biscuit dough that you just can't get from baking alone. I used to make stuffed biscuit snacks in the oven and they'd come out pale and soft on the bottom. The air fryer crisps them all the way around, especially if you place them seam-side down.
- Kids actually eat them: Saad and Zainab will both eat these without negotiation, which is rarer than you'd think in my house. The hand-held size helps — kids seem to eat things more willingly when they can pick them up themselves. I keep the filling mild for them and serve hot sauce on the side for my husband and me.
- Freezer-friendly before cooking: I assemble a double batch, cook half, and freeze the other half uncooked on a sheet pan. Once frozen solid, they go into a zip-lock bag and keep for up to a month. On a night when I have nothing planned, I pull them straight from the freezer into the air fryer — just add 3-4 extra minutes to the cook time.
- The filling is endlessly adaptable: I've made these with ground beef, shredded rotisserie chicken, and a black bean version for a vegetarian friend. They all work. The taco seasoning and cheese do most of the flavor heavy lifting, so almost any protein or filling you like in a taco will translate here.
Ingredients
- 1 tablespoon vegetable oil
- ½ medium onion, finely chopped
- 1 clove garlic, minced
- 10 oz (about 300g) lean ground beef (or ground chicken/turkey)
- 2 tablespoons taco seasoning (store-bought packet works great — Old El Paso or similar)
- 2 tablespoons tomato paste, or 3 tablespoons salsa
- Salt and black pepper, to taste
- 1 cup shredded cheddar cheese (about 100g)
- 1 can (12 oz / 340g) refrigerated biscuit dough — Pillsbury Grands work well, or use small pizza dough rounds
- 2 tablespoons melted butter, for brushing
- Optional toppings/dips: chopped cilantro, jalapeño slices, sour cream, extra salsa, guacamole
Directions
- Cook the filling: Heat 1 tablespoon of oil in a skillet over medium heat. Add the chopped onion and cook for about 3 minutes until softened. Add the garlic and cook another 30 seconds. Add the ground beef and cook, breaking it up with a spoon, until fully browned. Drain off any excess grease.
- Season the meat: Stir in the taco seasoning and tomato paste (or salsa). Cook for 1-2 minutes until everything is combined and the mixture thickens slightly. Taste and adjust salt and pepper. Take it off the heat and let it cool for at least 5 minutes — this step matters for easy assembly.
- Prepare the dough: Separate the biscuit dough into individual rounds. Using your hands or a rolling pin, flatten each one into a circle about 3-4 inches across. If you're working on a warm day and the dough is sticking, dust your surface lightly with flour.
- Assemble the bombs: Place 1-2 tablespoons of the meat filling in the center of each dough round. Top with about 1 tablespoon of shredded cheddar. If you like heat, add a jalapeño slice. Gather the edges up and around the filling, pinching firmly to seal into a ball. Make sure there are no gaps — any opening will leak cheese into the basket.
- Brush and preheat: Brush each assembled bomb all over with melted butter. This is what gives them that deep golden color. Preheat your air fryer to 375°F (190°C) for about 3 minutes.
- Air fry in batches: Place the bombs seam-side down in a single layer in the air fryer basket, leaving a little space between each one. Air fry at 375°F (190°C) for 10-12 minutes, until golden brown and cooked through. Work in batches if your basket is small — don't stack or crowd them.
- Rest and serve: Let the taco bombs sit for 2 minutes before serving. The filling inside is very hot and the cheese needs a moment to settle. Serve with sour cream, salsa, or guacamole for dipping.
Tips for Success
- Don't overfill: I learned this the hard way — if you put too much filling in, you can't seal the dough properly and cheese leaks everywhere during cooking. One to two tablespoons of meat plus one tablespoon of cheese is the right amount. It feels like less than you want, but the dough puffs up around it and the ratio ends up feeling balanced once baked.
- Seal the edges firmly: Press the dough edges together tightly and make sure there are no thin spots. I usually pinch all the way around twice. If the dough feels dry and won't stick to itself, dip your fingertip in a little water and run it along the edge before pressing — that helps it seal.
- Always preheat the air fryer: A cold basket means the bottom of the bomb sits in lukewarm air for the first few minutes and doesn't crisp properly. Three minutes of preheating at 375°F makes a noticeable difference — the bottoms come out golden instead of pale and soft.
- Don't skip the butter brush: Cooking spray alone will not give you that deep golden shell. The butter adds both color and flavor. I use regular salted butter, melted and brushed on with a pastry brush (or even just a folded piece of paper towel in a pinch). It takes 30 seconds and is absolutely worth it.
- Let the filling cool before assembling: Hot filling makes the dough soft and slippery, which makes it nearly impossible to pinch closed cleanly. I take the skillet off the heat, stir everything together, and then go wash the cutting board or prep my dipping sauces while it cools for 5 minutes. It's a small pause that makes assembly much easier.
Variations
- Shredded chicken version: Swap the ground beef for shredded rotisserie chicken mixed with taco seasoning and a spoonful of salsa. I keep a rotisserie chicken in the fridge most weeks, so this version comes together even faster than the beef one — there's no browning step needed. My husband actually prefers this version; he says it's a little lighter.
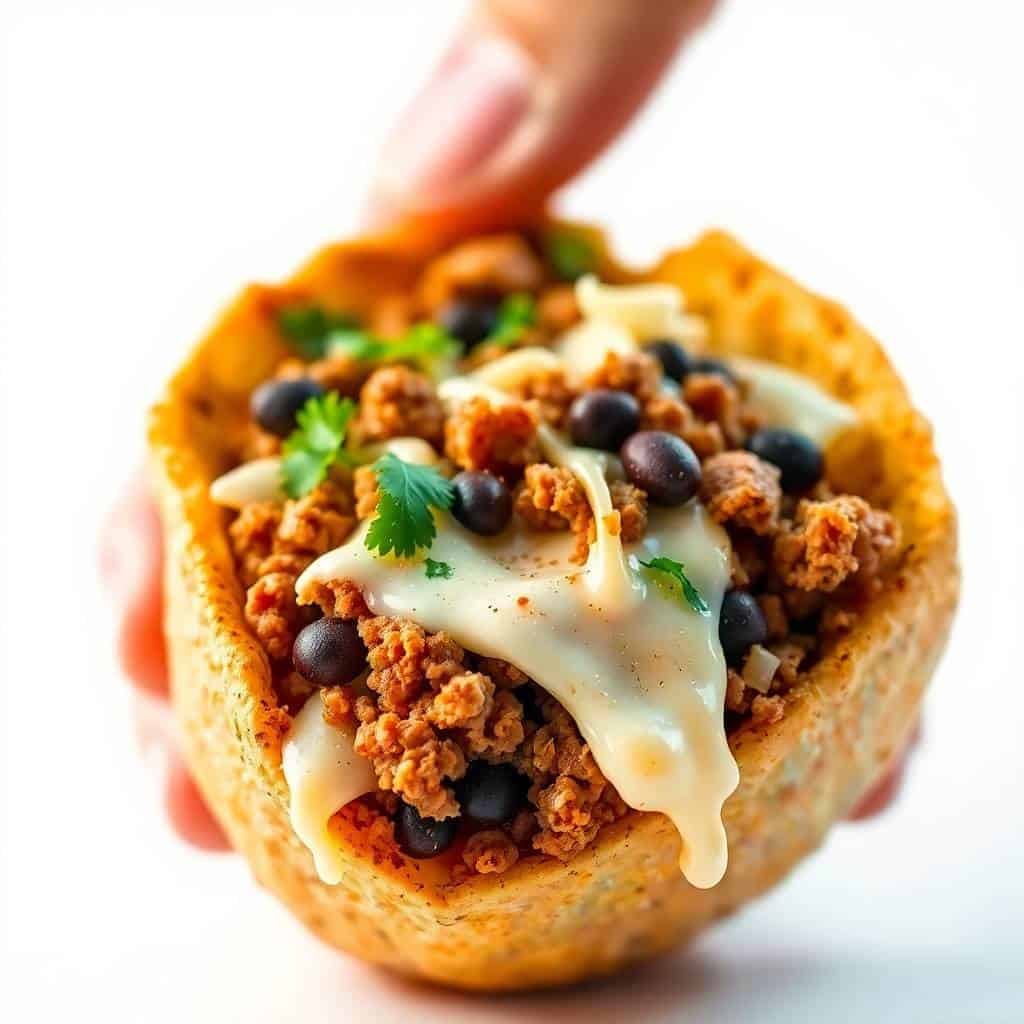
- Vegetarian black bean filling: Use one can of drained black beans, mashed slightly, mixed with taco seasoning, a spoonful of salsa, and some corn kernels. Add pepper jack cheese instead of cheddar for extra heat. This version is actually really satisfying — the beans hold together well and don't make the dough soggy the way some wetter fillings can.
- Breakfast taco bombs: Fill with scrambled eggs, crumbled cooked bacon or sausage, and shredded cheddar. These are absolutely chaos in the best way — my kids think they're the funniest breakfast food they've ever seen. Use the same dough, same air fryer temperature, same cook time. They reheat well the next morning too.
- Extra creamy filling: Stir 2 tablespoons of cream cheese into the cooked beef mixture before assembling. It makes the inside almost queso-like when melted — very rich, very indulgent. I make this version when I'm serving these at a gathering and want them to feel a little more special. Pairs really well with a bowl of my Creamy Chicken Enchilada Soup on the side.
- Spicy version: Add diced fresh jalapeños or a pinch of cayenne to the beef filling, and use pepper jack cheese instead of cheddar. My husband adds a few dashes of hot sauce directly into the filling before assembling. If you're serving a mixed crowd (some spice-sensitive, some not), I'd make half and half — it's easy to keep track if you add a tiny toothpick flag to the spicy ones.
Serving and Storage
Serving
Serve the taco bombs warm, straight from the air fryer after a 2-minute rest. Set out small bowls of sour cream, salsa, and guacamole for dipping — people like to mix and match. If I'm putting together a bigger spread, I'll serve these alongside my BBQ Chicken Wings and a simple green salad. In Pakistan we'd naturally reach for a chutney-style dip, and honestly a cilantro-mint chutney works surprisingly well here if you have it on hand.
Storage
Store cooled leftover taco bombs in an airtight container in the refrigerator for up to 2 days. To reheat, pop them back in the air fryer at 320°F (160°C) for 3-4 minutes — this brings the exterior back to crispy rather than the soft, rubbery texture you'd get from the microwave. For freezing, I freeze them uncooked on a sheet pan first, then transfer to a zip-lock bag. They'll keep frozen for up to a month. Cook straight from frozen at 375°F (190°C), adding 3-4 extra minutes to the usual cook time.

Frequently Asked Questions
Can I use homemade dough instead of canned biscuits?
Yes, homemade biscuit dough or even pizza dough works well here. The main thing is to roll it thin enough — about ¼ inch — so it cooks through in the same 10-12 minute window. If the dough is too thick, the outside browns before the inside fully cooks. Canned biscuit dough (Pillsbury Grands from Walmart or Costco) is what I use most often because it's consistent and quick.
Can I make these ahead of time?
Absolutely. I often make the filling up to 2 days ahead and keep it in the fridge — just reheat it slightly before assembling so it's easier to work with. You can also fully assemble the bombs and refrigerate them (uncooked, covered) for up to 24 hours before air frying. For longer storage, freeze them uncooked and cook from frozen, adding 3-4 extra minutes to the cook time.
What dipping sauces go best with these?
Sour cream is the classic and it cuts through the richness of the cheese really nicely. Salsa and guacamole are both great. Queso dip is another option if you want to double down on the cheese. My husband likes ranch dressing, which sounds odd but actually works with the taco flavors.
Do I need to flip the taco bombs during air frying?
I don't flip mine and they come out evenly browned. Placing them seam-side down handles the bottom naturally. That said, if your air fryer runs unevenly or is on the smaller side, flipping halfway through at the 5-minute mark won't hurt and can give you a more uniform color all around.
Can I make these gluten-free?
Yes — use a gluten-free biscuit dough or gluten-free pizza dough in place of the regular canned dough. Also double-check that your taco seasoning packet is gluten-free (most are, but it's worth reading the label). The rest of the recipe is naturally gluten-free. The texture with gluten-free dough is slightly different — a little denser — but it still crisps up well in the air fryer.

AIR FRYER CHEESY TACO BOMBS
Ingredients
- 1 tablespoon vegetable oil
- ½ medium onion finely chopped
- 1 clove garlic minced
- 300 g about 10 oz lean minced beef (or minced chicken/turkey)
- 2 tablespoons taco seasoning store-bought or homemade
- 2 tablespoons tomato paste or 3 tablespoons salsa
- Salt and black pepper to taste
- 1 cup about 100 g shredded cheddar cheese
- 1 can 340 g / 12 oz refrigerated biscuit dough or 12 small pizza dough rounds
- 2 tablespoons melted butter for brushing
Optional:
- chopped coriander cilantro
- jalapeño slices
- sour cream
- extra salsa for dipping
Instructions
- Cook the Filling: Heat oil in a skillet over medium heat. Sauté onion until soft, about 3 minutes. Add garlic and cook 30 seconds. Add minced beef and cook until browned, breaking it up with a spoon.
- Season: Stir in taco seasoning and tomato paste (or salsa). Cook 1–2 minutes until combined. Taste and adjust salt and pepper. Remove from heat and let cool slightly. Stir in chopped coriander if using.
- Prepare Dough: If using biscuit dough, separate into individual rounds. Flatten each round into a 3–4 inch (7–10 cm) circle. If using pizza dough, cut into 12 equal pieces and flatten.
- Assemble Bombs: Place about 1–2 tablespoons of the meat mixture in the centre of each dough circle. Top with about 1 tablespoon of shredded cheddar and a small jalapeño slice if desired. Gather edges and pinch to seal, forming a ball. Make sure seams are well sealed.
- Brush and Preheat: Brush each ball lightly with melted butter. Preheat the air fryer to 190°C (375°F) for 3 minutes.
- Air Fry: Arrange taco bombs seam-side down in a single layer in the air fryer basket (work in batches if needed). Air fry at 190°C (375°F) for 10–12 minutes, or until golden brown and cooked through.
- Serve: Remove and let rest 2 minutes. Serve warm with sour cream, extra salsa, or guacamole for dipping.
Notes
- Make Ahead: Prepare the filling and refrigerate for up to 2 days. Assemble just before cooking. Dough-wrapped bombs can be frozen (uncooked) on a tray, then stored in a freezer bag for up to 1 month — cook from frozen, adding 3–4 extra minutes.
- Customising the Flavour: Use spicy sausage, pulled chicken, or a vegetarian bean filling. Swap cheddar for pepper jack or mozzarella for different melty textures. Add corn kernels or chopped bell pepper to the filling for extra crunch.
- Serving Suggestions: Serve with pico de gallo, guacamole, sour cream, or a simple salad for a fuller meal. Great with a side of seasoned fries or chips.
- Allergy-Friendly Options: Use gluten-free biscuit or pizza dough and dairy-free cheese for gluten- and dairy-free versions.
- Storage Tips: Store leftovers in an airtight container in the fridge for up to 2 days. Reheat in the air fryer at 160°C (320°F) for 3–4 minutes to crisp.
These taco bombs have genuinely earned a permanent spot in my rotation. I make them when I want something that feels a little fun without actually being difficult, and they deliver every single time. The combination of golden biscuit dough, seasoned beef, and melted cheddar is exactly what game day food should taste like — no fancy ingredients, no specialty equipment, just good honest snack food.
What I appreciate most is how well they hold up to variations. I've made the beef version, the chicken version, the black bean version, and the cream cheese-stuffed version, and every single one has worked. If you're planning a bigger spread, I'd pair these with a




Comments
No Comments