
Are you one of those people who DOESN'T like Bhindi because of its slimy, slippery texture? Well, you are in for a surprise! My uniquely easy Bhindi gosht recipe is for you! In this recipe, you will learn how to cut, fry, and prepare a perfect Bhindi and mutton curry, leaving you licking your fingers.
You can cook bhindi in more ways than one, making it a versatile vegetable. It's one of those veggies that pairs very well with meat but stands out on its own, too. I love having bhindi on my weekly menu. It is delicious, and healthy, and everyone loves it!
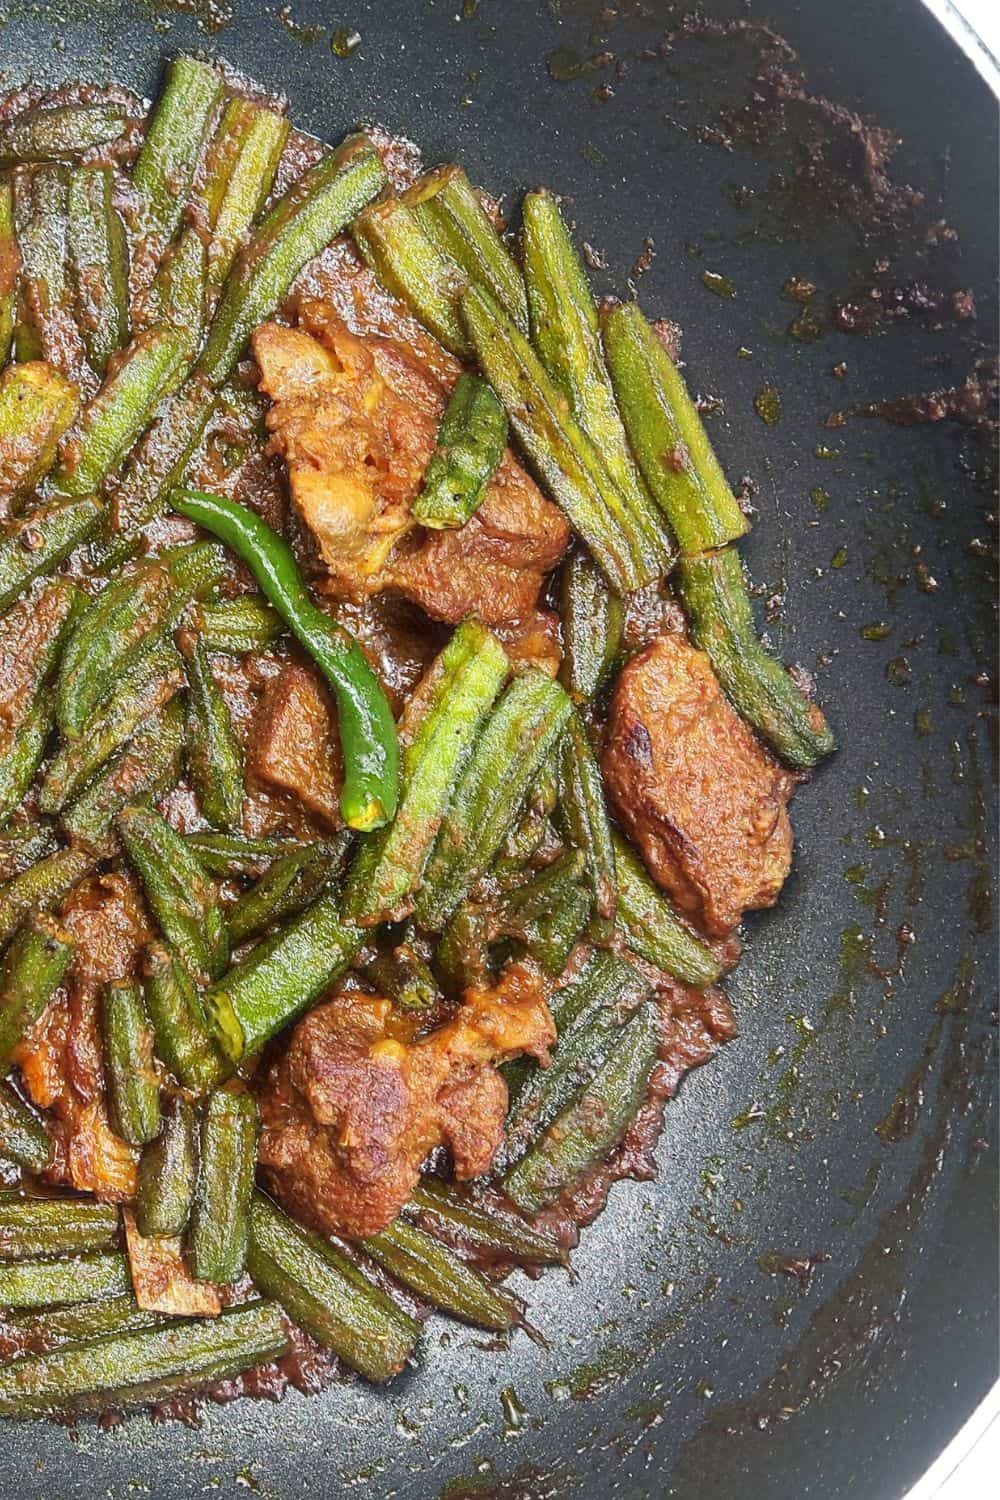
Bhindi gosht ( okra/lady fingers )cooked with spicy goat meat. Moreover, Bhindi is a popular summer vegetable in many parts of Asia.
My easy Okra curry recipe will teach you how to prepare it from beginning to end! Okra curry is not only good in taste, but it has a lot of health benefits, too. It is high in fiber and has a slimy texture that is great for joints.
Additionally, this recipe, much like my Aloo gosht and Arvi gosht recipes, is a staple in Pakistani and Indian homes. It is a favorite! You may also like Fried Bhindi (Okra) or Masala Bhindi.
Jump to:
The Secret Behind Perfect Bhindi
The secret behind making a tasty bhindi gosht dish involves ensuring it does not turn slimy. As much as I like bhindi, even I don't like the sticky texture when it's not cooked properly!
There are two easy ways to prevent it from becoming slimy:
Shallow Frying
You can prepare the bhindi and then fry it in a large pan or wok with a tablespoon of oil. This seals the bhindi and prevents it from releasing any liquids. I prefer this method because it's easy, and I'm using it in this recipe.
Dry Roasting
Another way is to dry roast the bhindi without oil in a hot pan. Cook till it is half done, and then add it to the tender meat.
Reasons to Love this Recipe:
- This is a simple but traditional recipe. It's cooked in almost all homes throughout the Asian continent, and it's a treat in the summer months.
- It's a very healthy and nutritious meal. Although bhindi might seem like a humble vegetable, it is chock-full of good stuff like vitamins, fiber, iron, and antioxidants.
- Bhindi is a family favorite! Everyone loves bhindi, whether it's children or adults. The delicious, tangy, and spicy flavor is mouthwatering.
- The ingredient list is short and sweet. All you need for this recipe are basic ingredients and spices.
Cutting and Preparing the Bhindi or Okra
Bhindi curry is a beloved dish of the Subcontinent. Cooked with mutton in a spicy and aromatic masala, it is a delicious and nutritious treat.
If you think Okra is funny-looking and don't know how to cut it, let me show you!
- Wash the okra and let it dry completely.
- Slice off the heads and tails of the lady finger.
- You can leave it as is, or if you think its too long, cut each lady finger in half.
And you're done! Your bhindi is ready to cook.
Ingredients
Here are the ingredients to make this tangy, spicy, delicious lady finger curry!
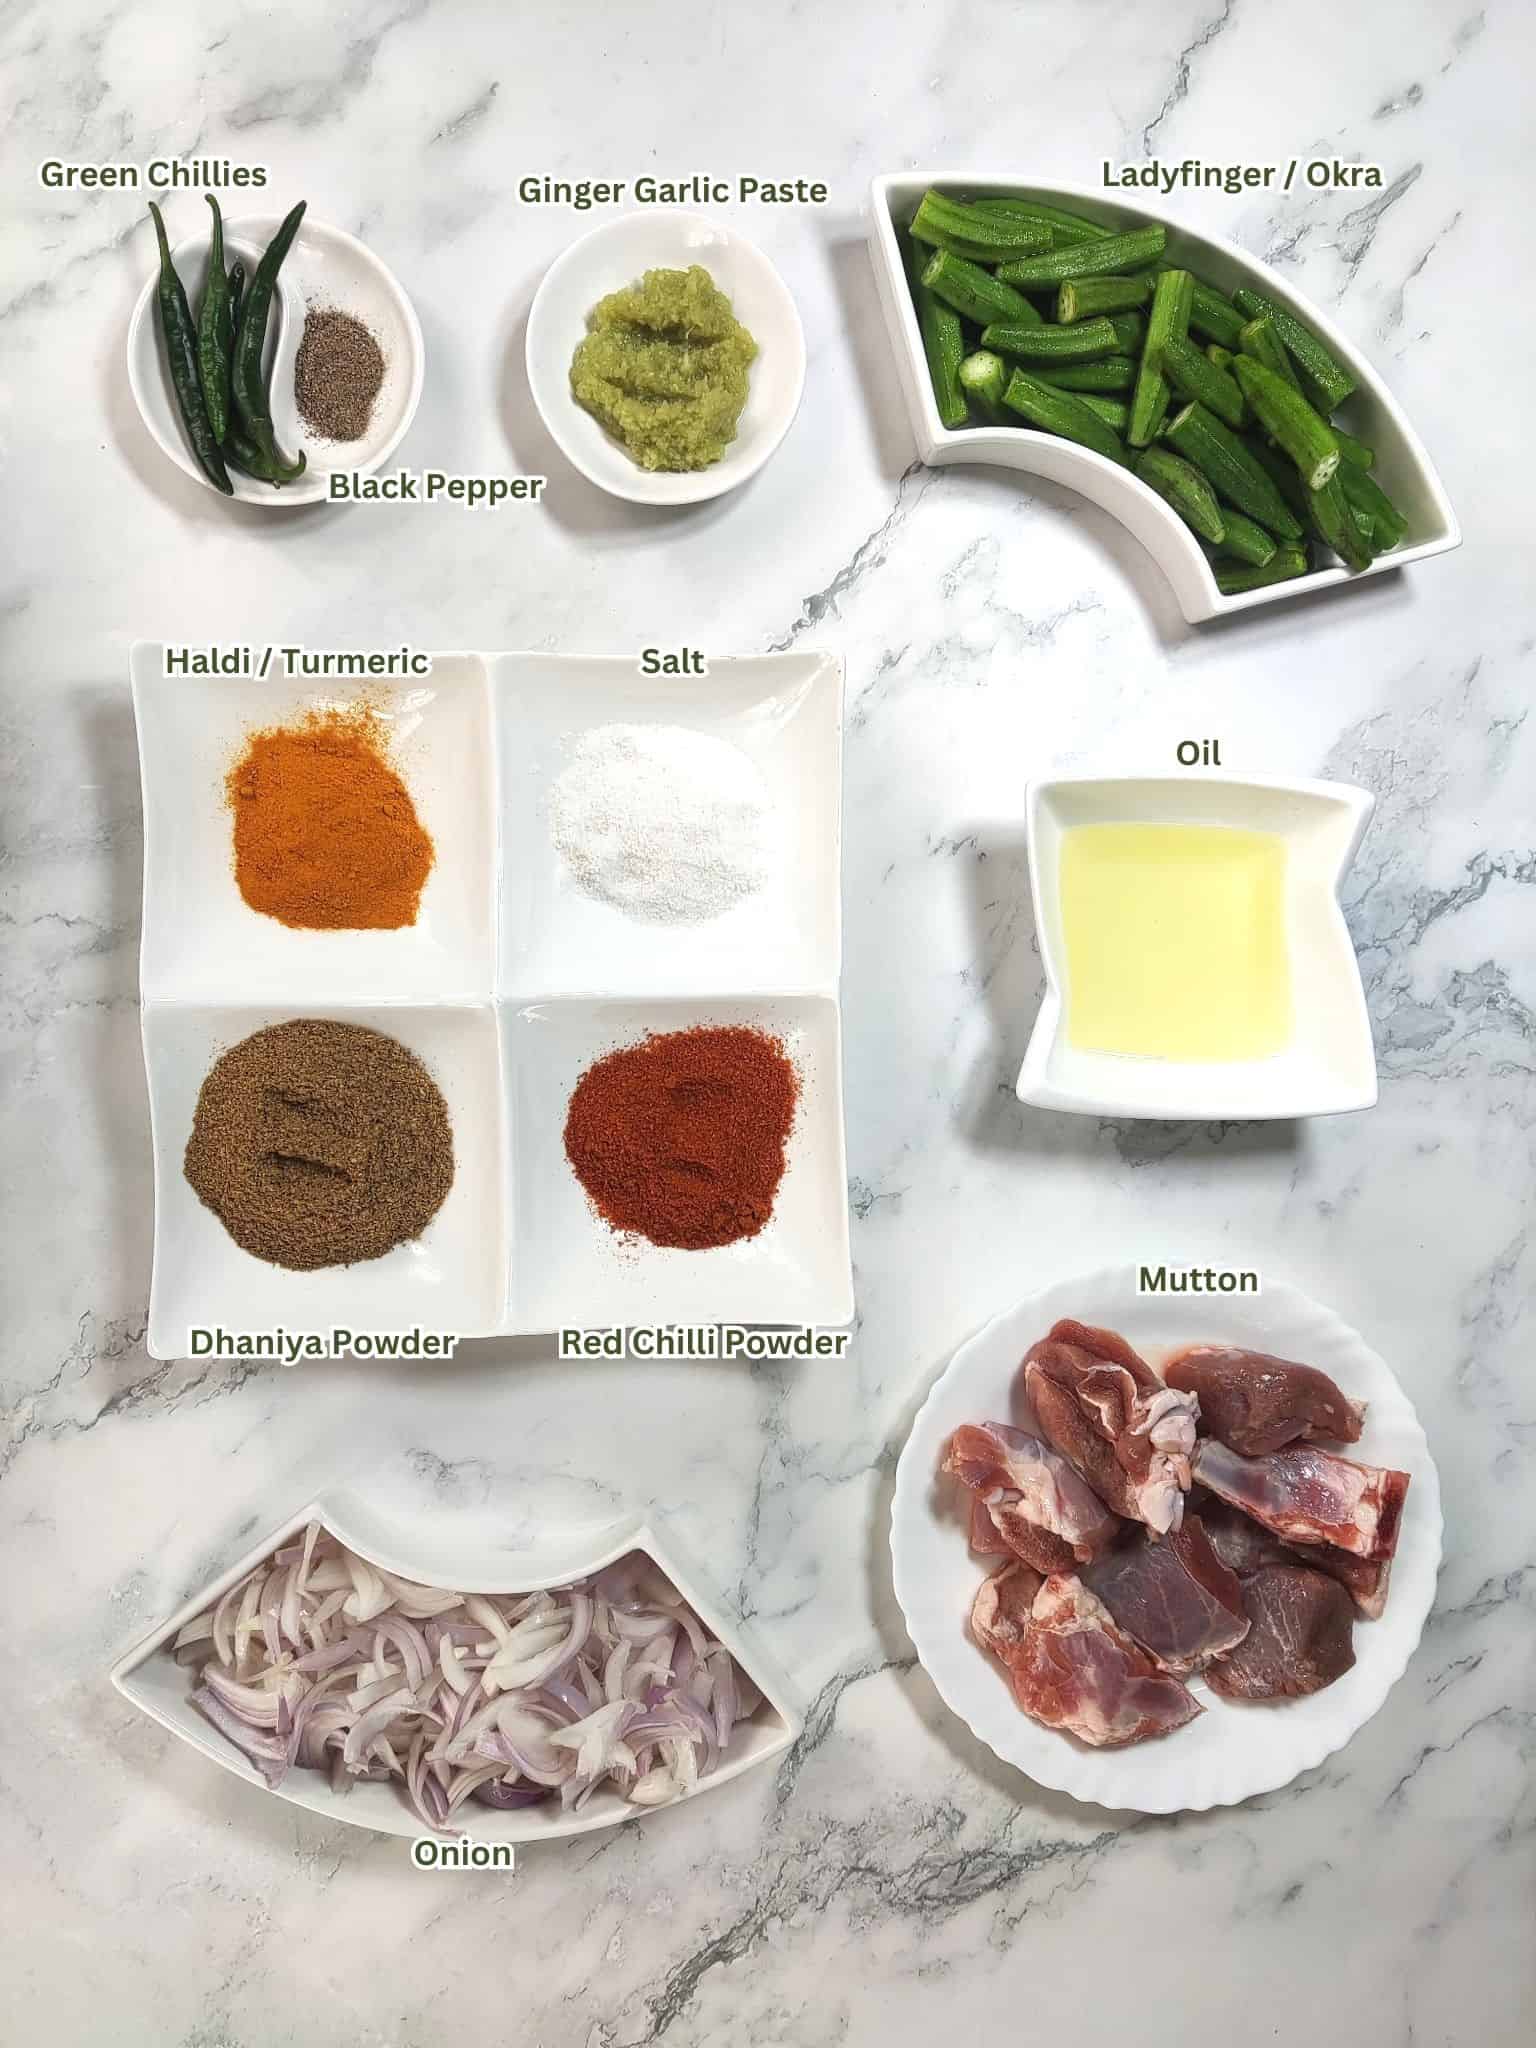
- Oil: You can use any neutral oil to cook Bhindi gosht. In Asian countries, mustard oil is often used for cooking, however, it has a strong flavor and aroma.
- Onion: Many people add a lot of onions to make the masala more stew-like. But I don't add too much.
- Mutton: Mutton is the meat of choice for my family. You can, however use chicken or even beef if you please.
- Ginger Garlic paste: A staple ingredient in all curries and masalas. The ginger garlic paste omits any meaty smells and adds flavor.
- Salt: Add to taste.
- Water: Required to cook the meat and bhindi.
- Bhindi/Okra: When buying bhindi, ensure you buy fresh and smaller-sized bhindi. The larger the bhindi, the more seeds it will have. Seeds will spoil the flavor and texture of the curry.
- Coriander powder (dhaniya powder): Another staple spice for most Asian vegetable curries.
- Haldi powder: Adds a rich color to the curry. Haldi or turmeric has great medicinal value, too. It acts as an anti-inflammatory and anti-oxidant.
- Red chili powder: Adds the mandatory heat to the curry.
- Tomato (optional): You can use finely chopped, fresh tomato or puree. Whichever is more convenient.
- Yogurt (optional): Yogurt will make the curry creamier and richer. It also adds a little sourness.
- Garam masala: Added when the bhindi gosht is cooked, garam masala will add a delicious aroma and enhance the flavor.
For quantities, please read the recipe card.
Instructions
Here is the procedure to make delicious Bhindi gosht:
- First, preheat your pan and add ¼ cup of oil and 2 medium onions, sliced.
- For this recipe, you must fry the onions for 15 minutes on low heat, stirring occasionally. Cover the pot and stir at regular intervals. Cooking the onions gradually, for about 15 minutes makes them very soft and more likely to dissolve into a thin, smooth gravy.
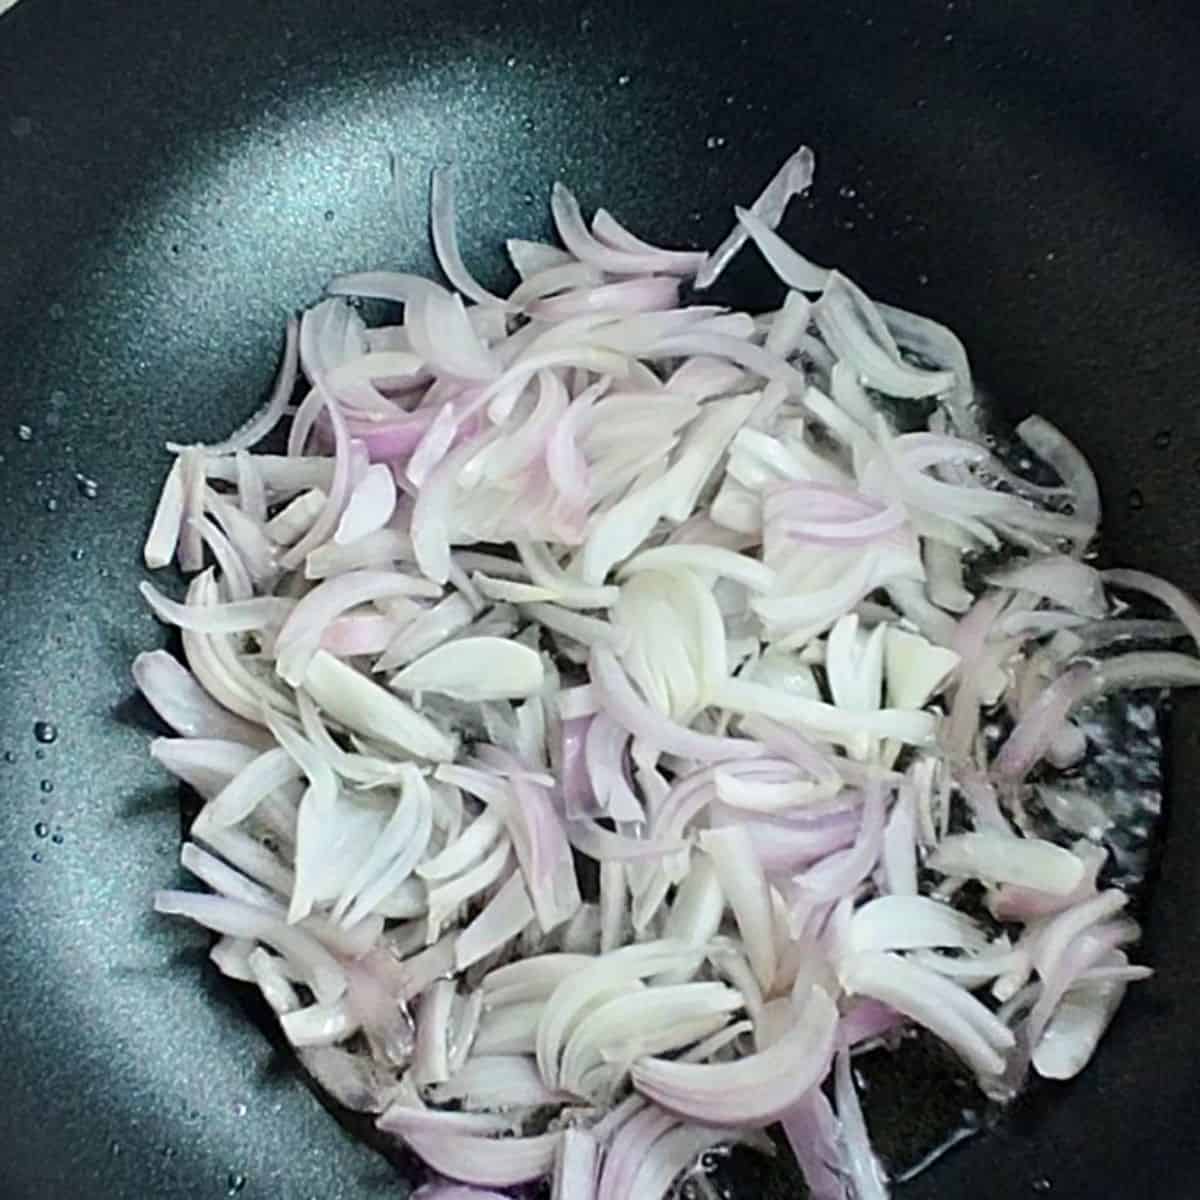
Add the onions to the oil and fry on low flame.
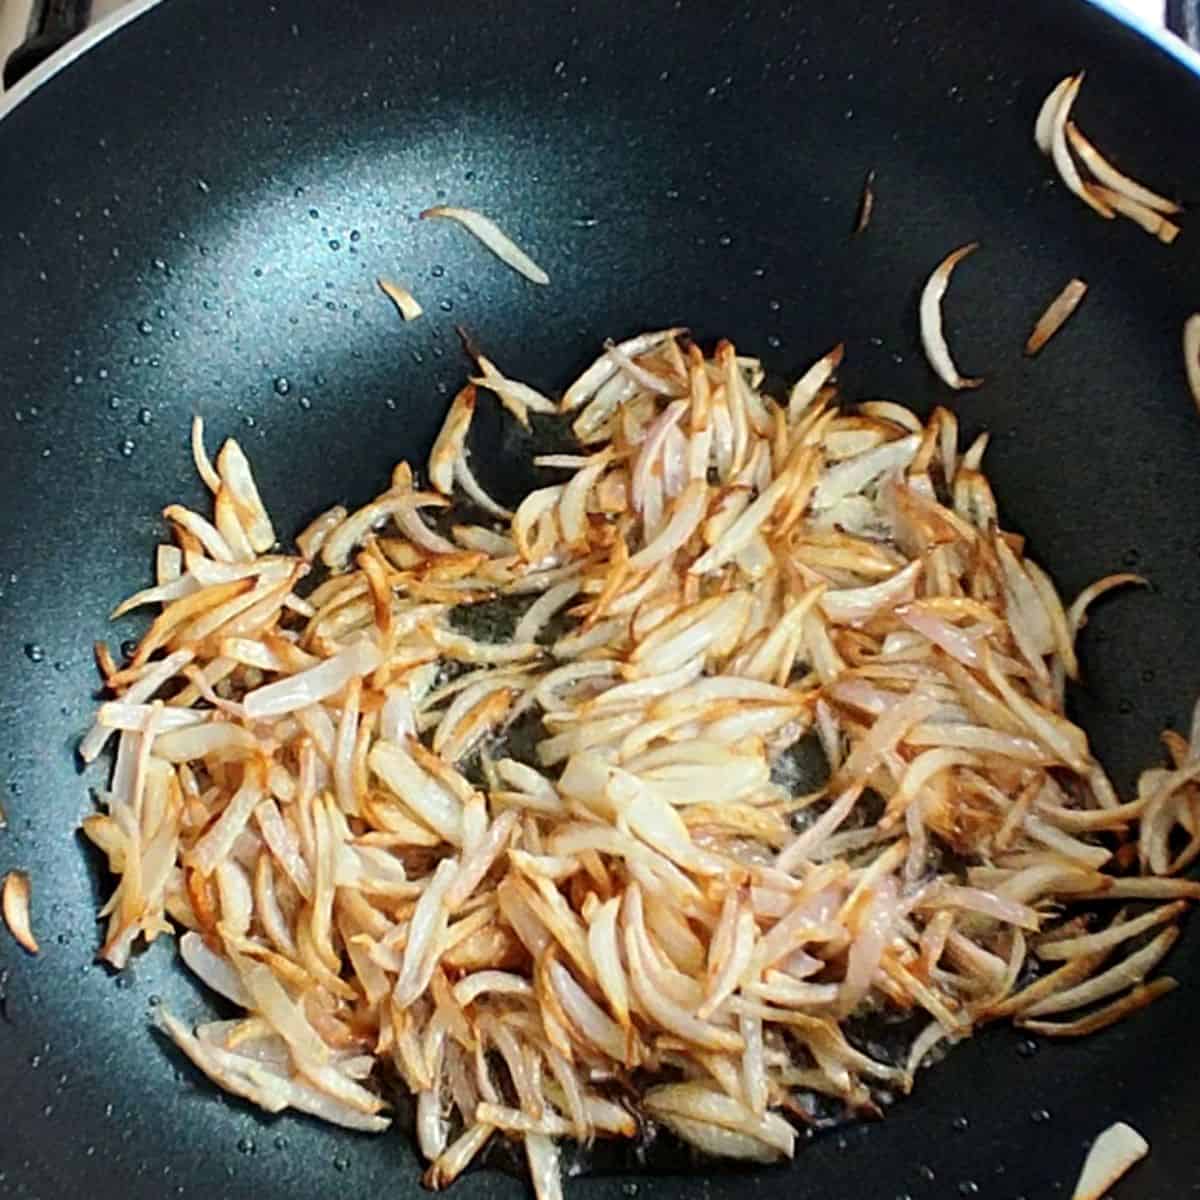
After about 15 minutes, they will become golden brown.
- Add the mutton and ginger garlic pastes when the onions turn golden brown. The ginger and garlic help to remove the smell from meat if there is.
- Next, saute the meat and paste for a minute, then add salt to taste.
- Keep frying the meat till it changes color.
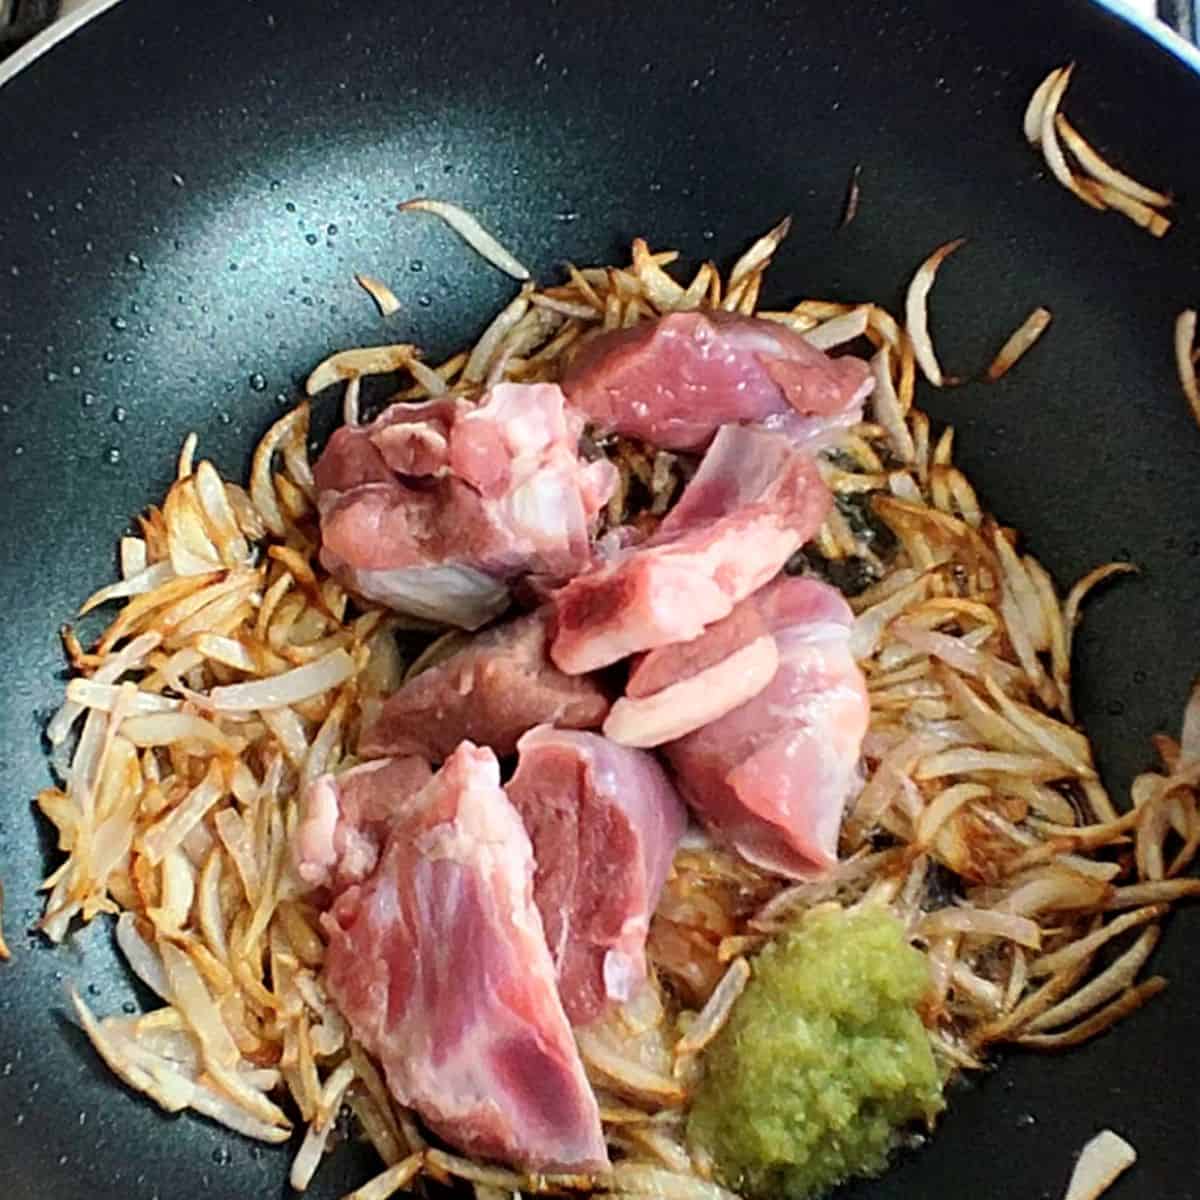
Add the ginger garlic paste and mutton to the golden onions.
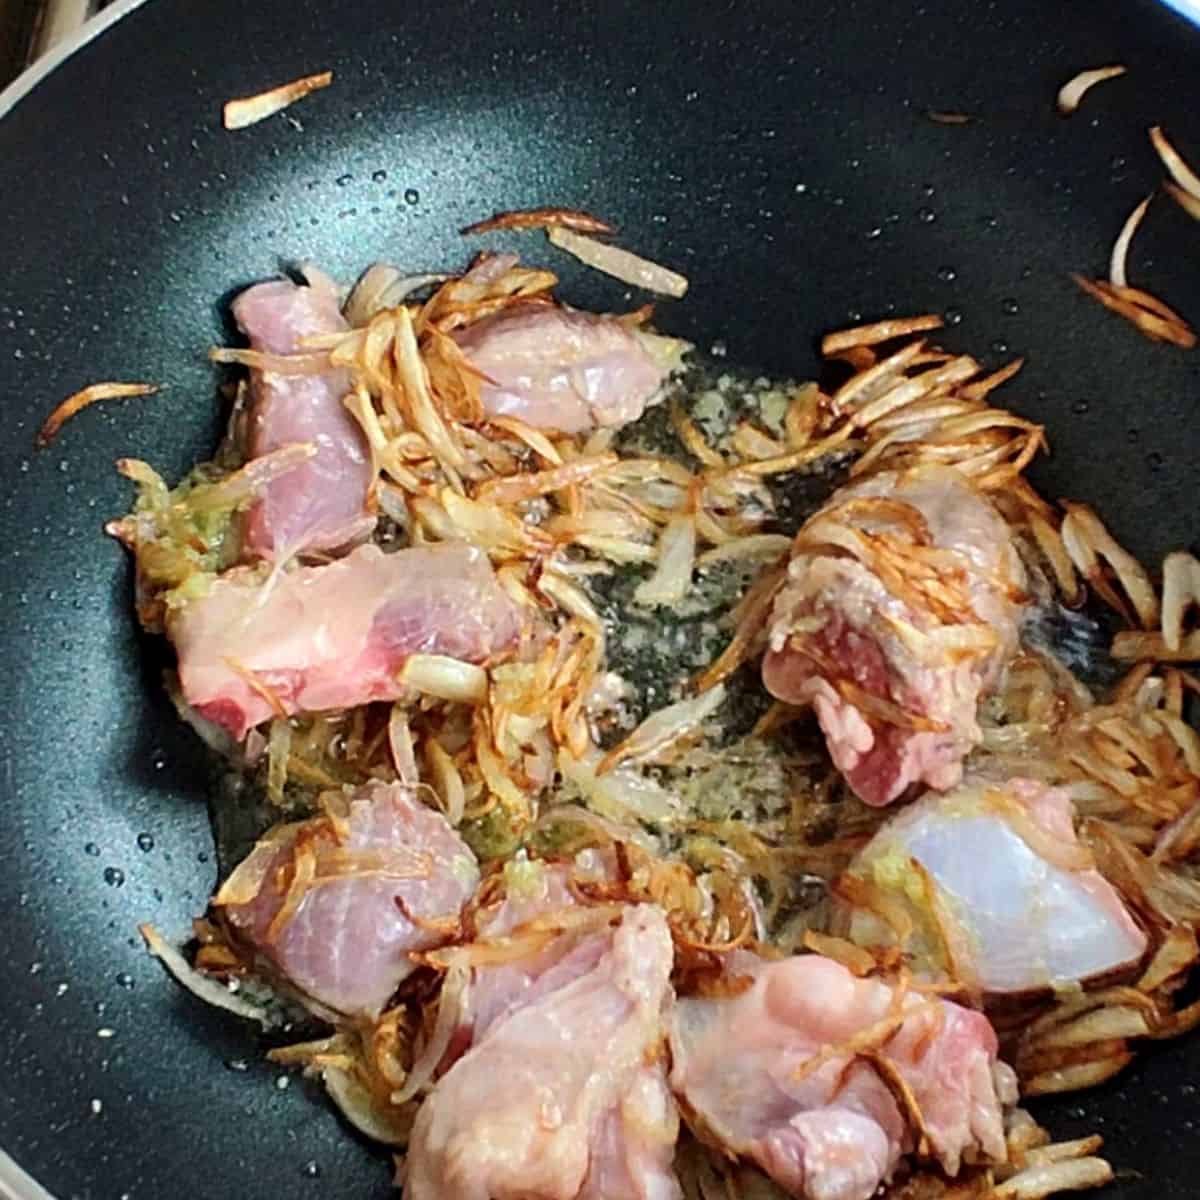
Fry the mutton till it changes color.
- Next, add half a cup of water and the spices: 1 tablespoon dhaniya powder, ¼ tablespoon haldi powder, and ½ tablespoon red chill powder to the meat. If you are using tomatoes and yogurt, add them with the spices. These are both optional. I am not using them.
- Cover the pan and let it cook for 20 to 30 minutes. Uncover and stir the meat occasionally.
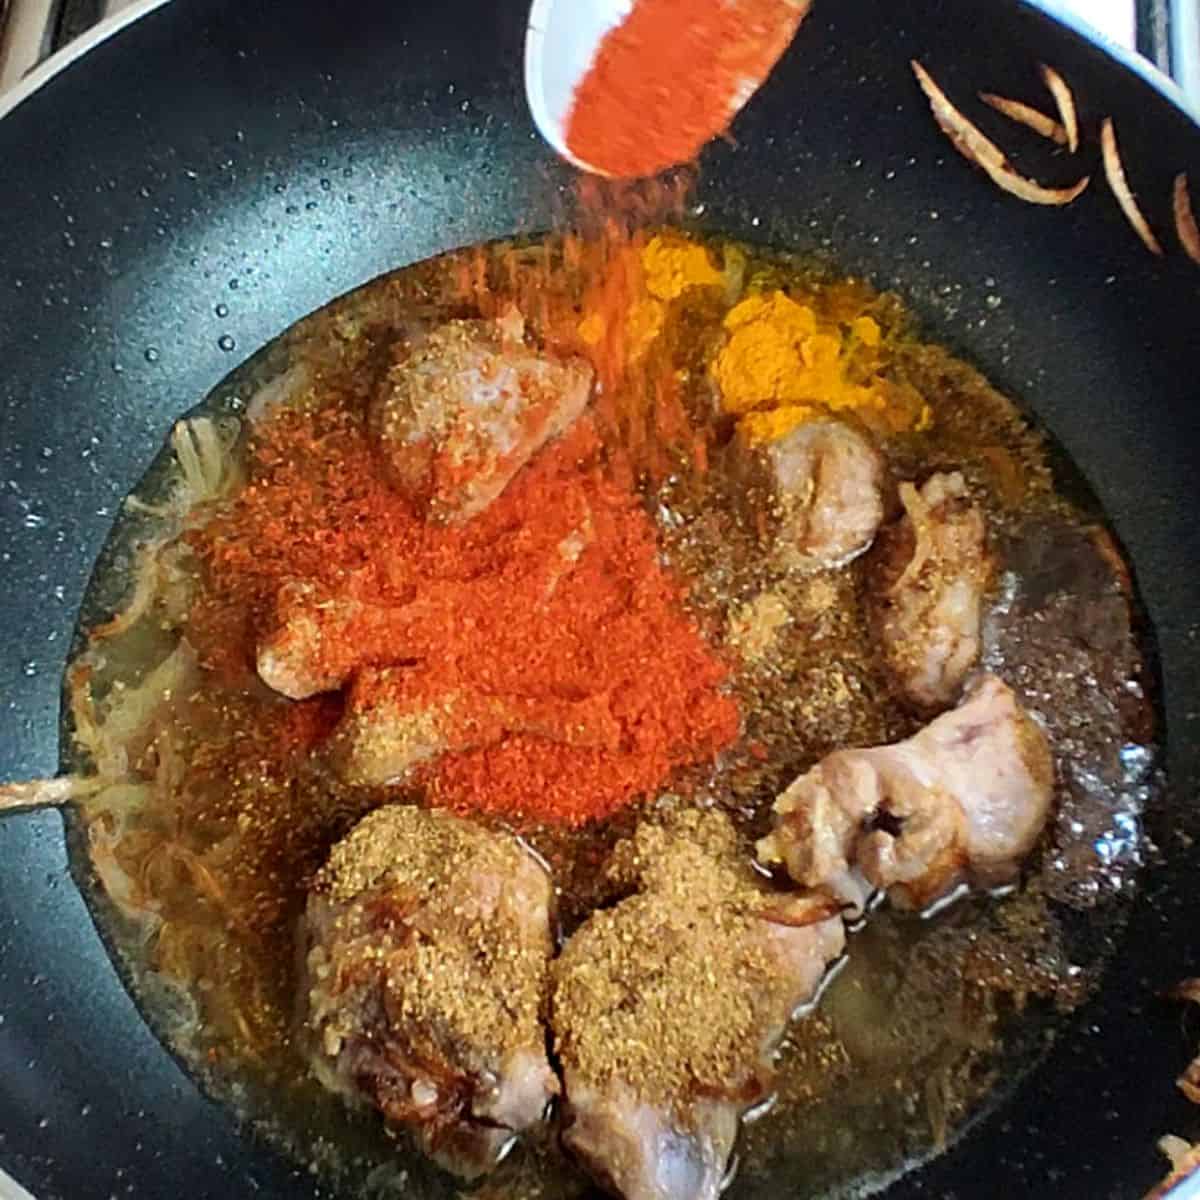
Add all the spices to the meat.
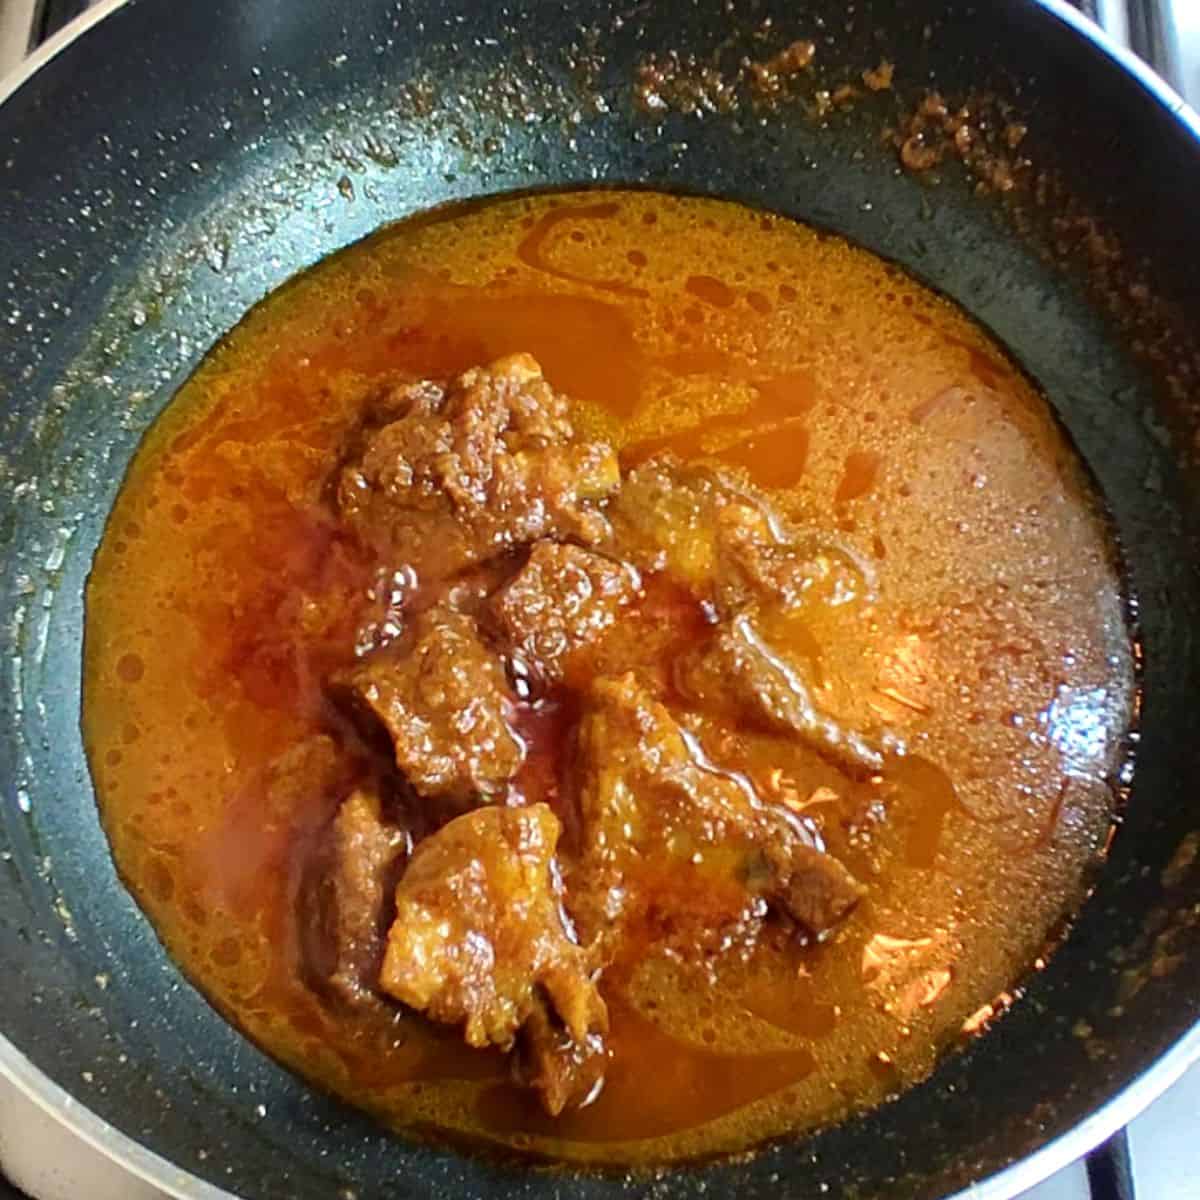
Cover and let it cook for about half an hour, stirring occasionally.
- While the meat is cooking, you may need to add more water. Also, keep an eye on the time. Depending on the meat, it may take 5-10 minutes longer to become tender.
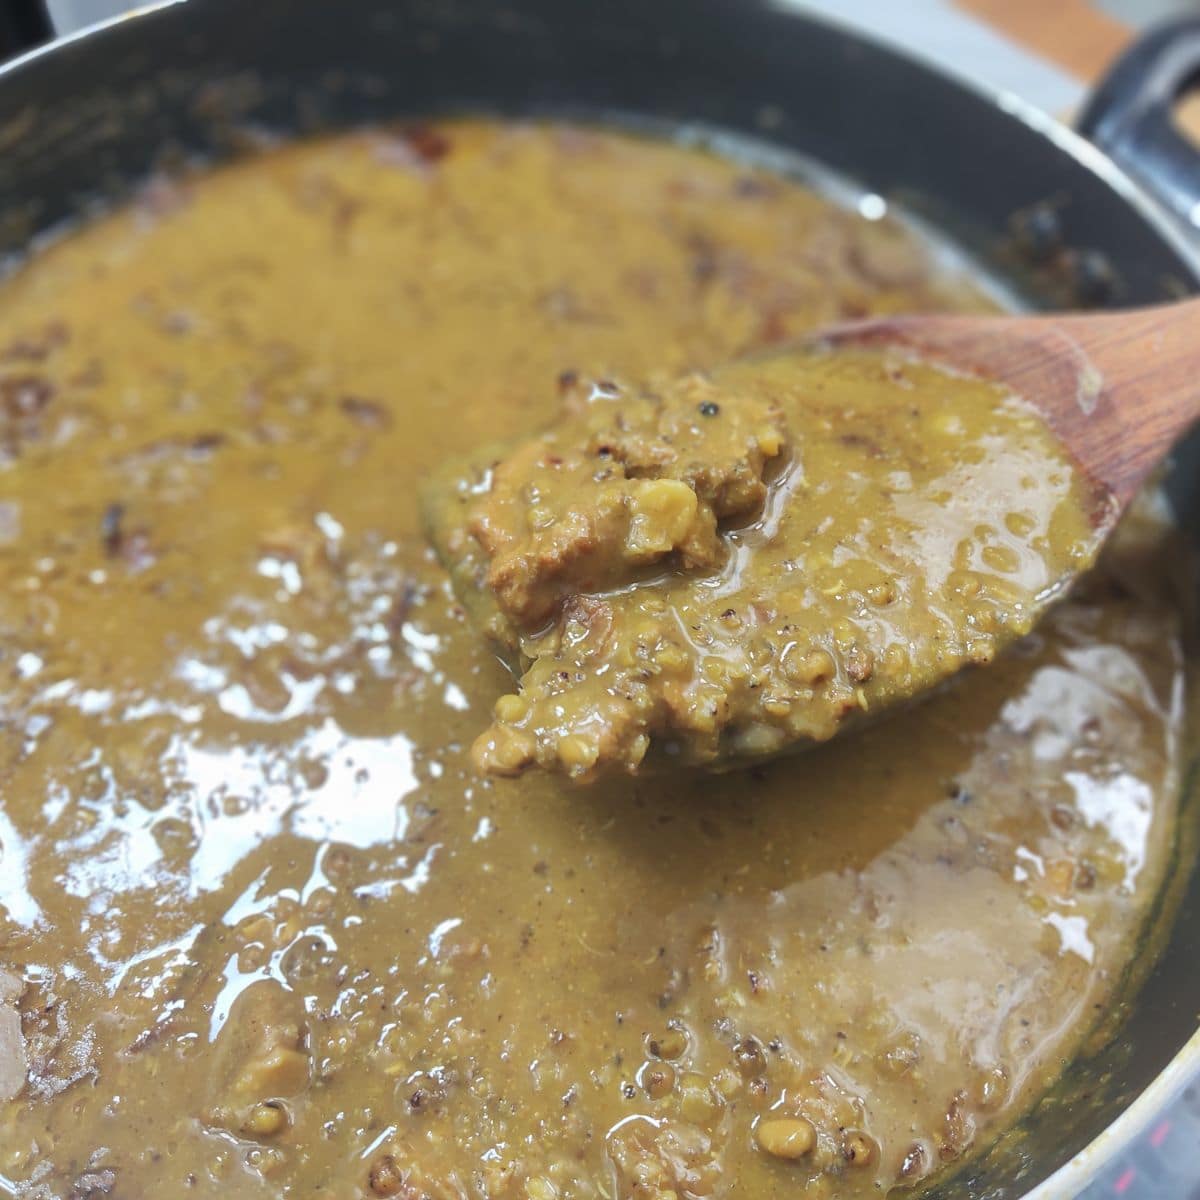
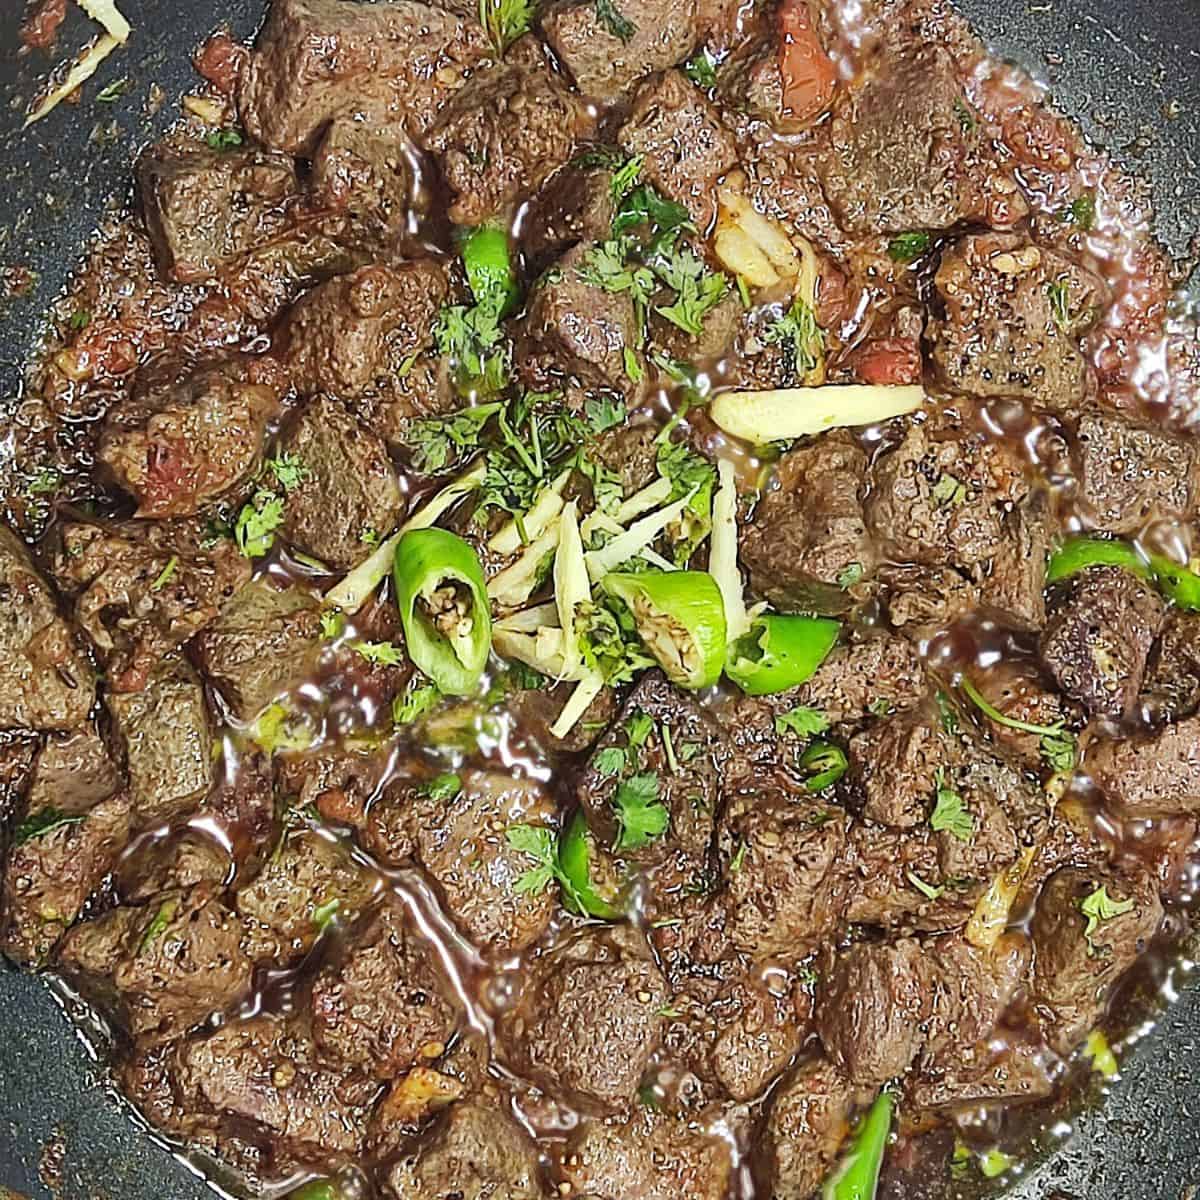
- Once the meat is tender, increase the heat and let it cook for another 10 minutes. This is done to fry the meat properly. This step is complete when you see oil being released from the sides of the masala and meat.
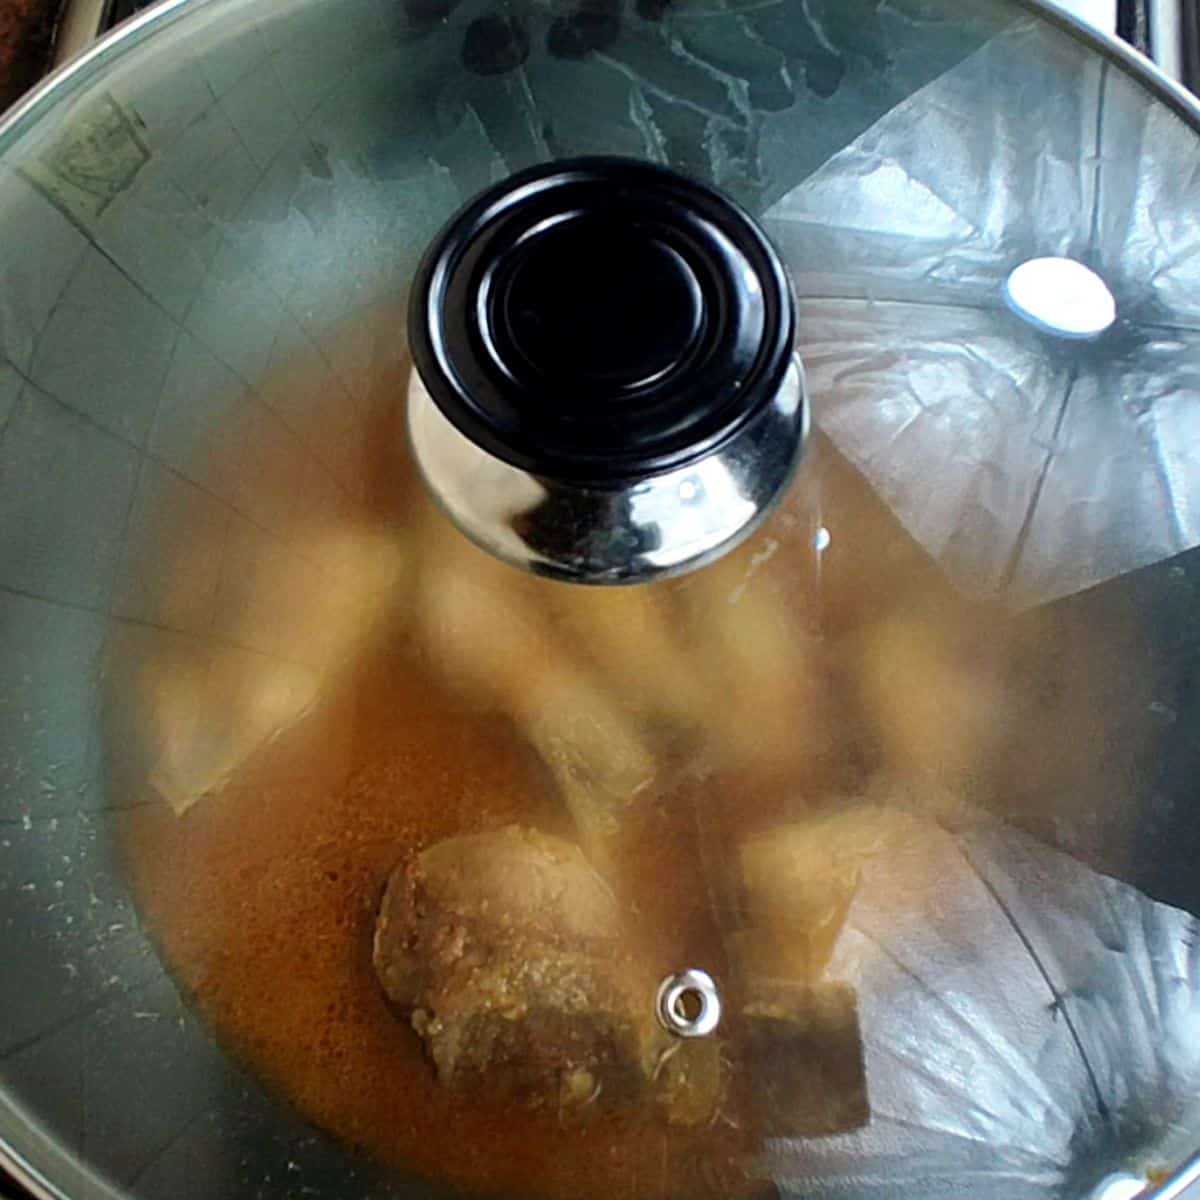
After adding half a cup of water, cover the meat and let it cook for 30 minutes.
After 30 minutes, when the meat is tender, uncover the pan and fry or simmer the meat, till it releases oil. This is called bhoona.
- Next, it's time to fry the Bhindi (Okra) or lady finger. Add 2 tablespoons oil to a pan and place the ladyfinger in it. Fry it for 1 to 2 minutes only, stirring regularly.
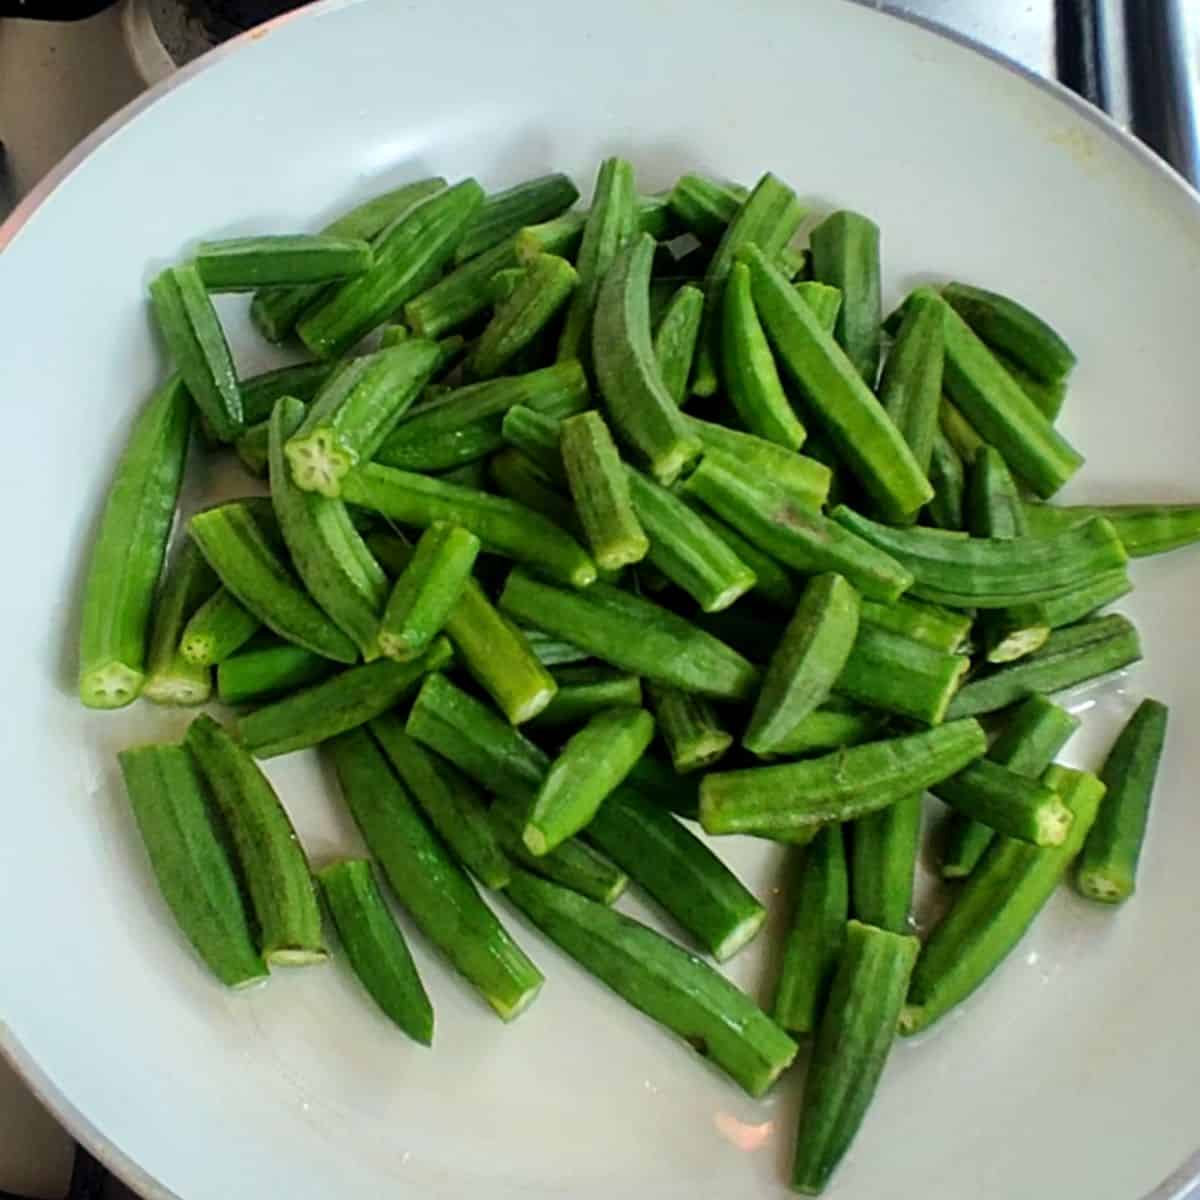
Place the lady finger or bhindi in a pan, with 2 tablespoons of oil.
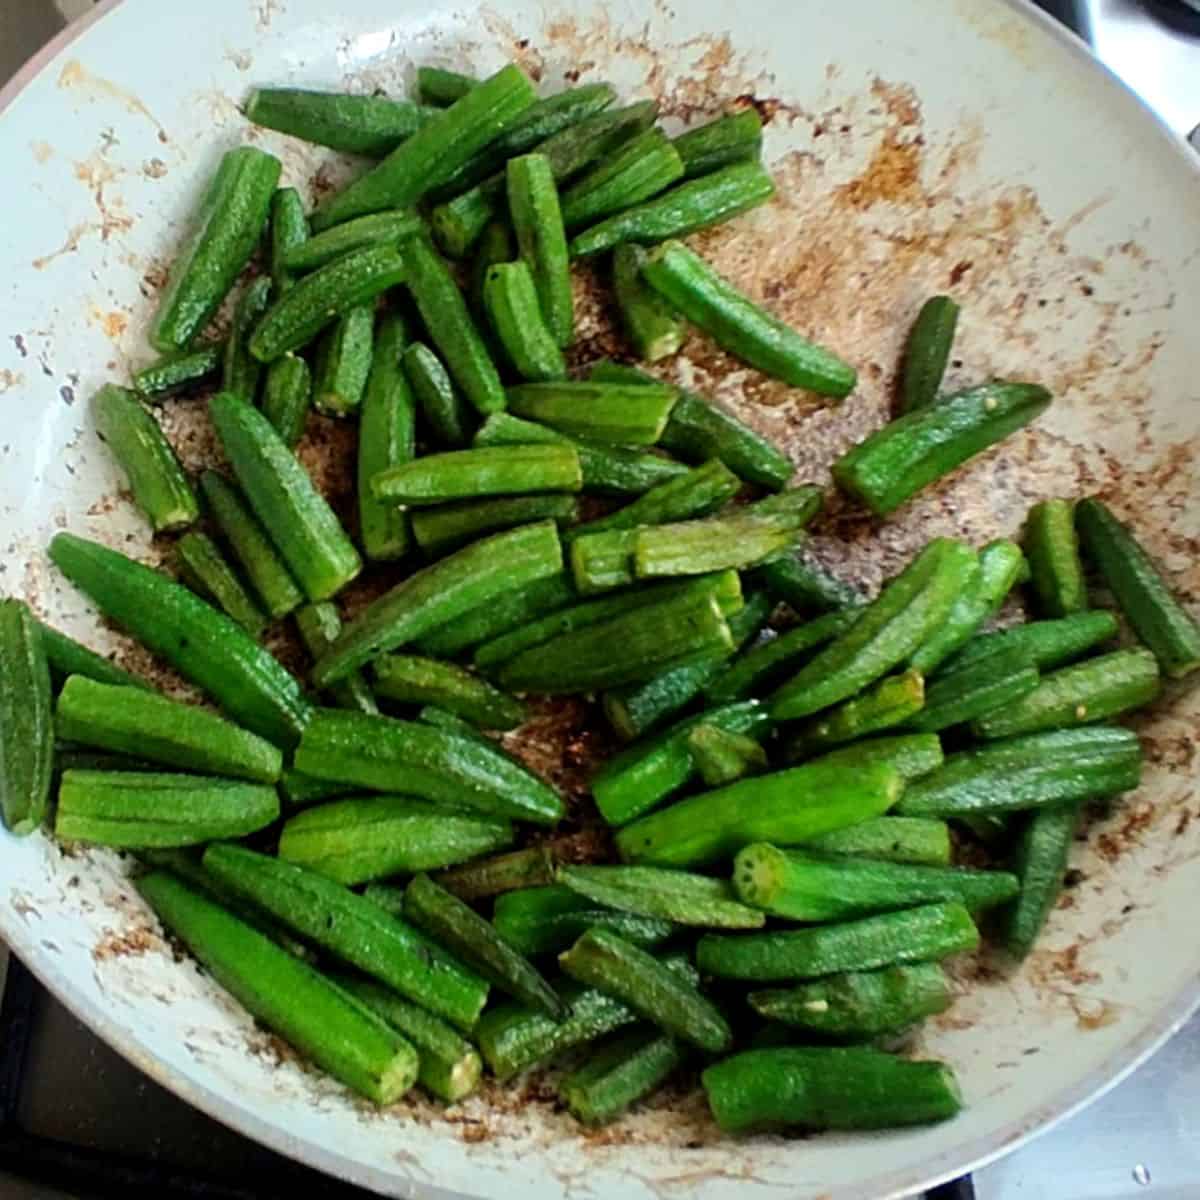
Fry the bhindi for 1-2 minutes.
- Finally, when the meat is tender and has very little water remaining in the pan, it's time to add the bhindi to the meat.
- You must not add the fried bhindi to the meat if it has a lot of water in it, because this will make the bhindi release its liquid, and the curry will become slimy!
- Reduce the heat to a minimum, cover the pan, and let it cook. This is called Dum.
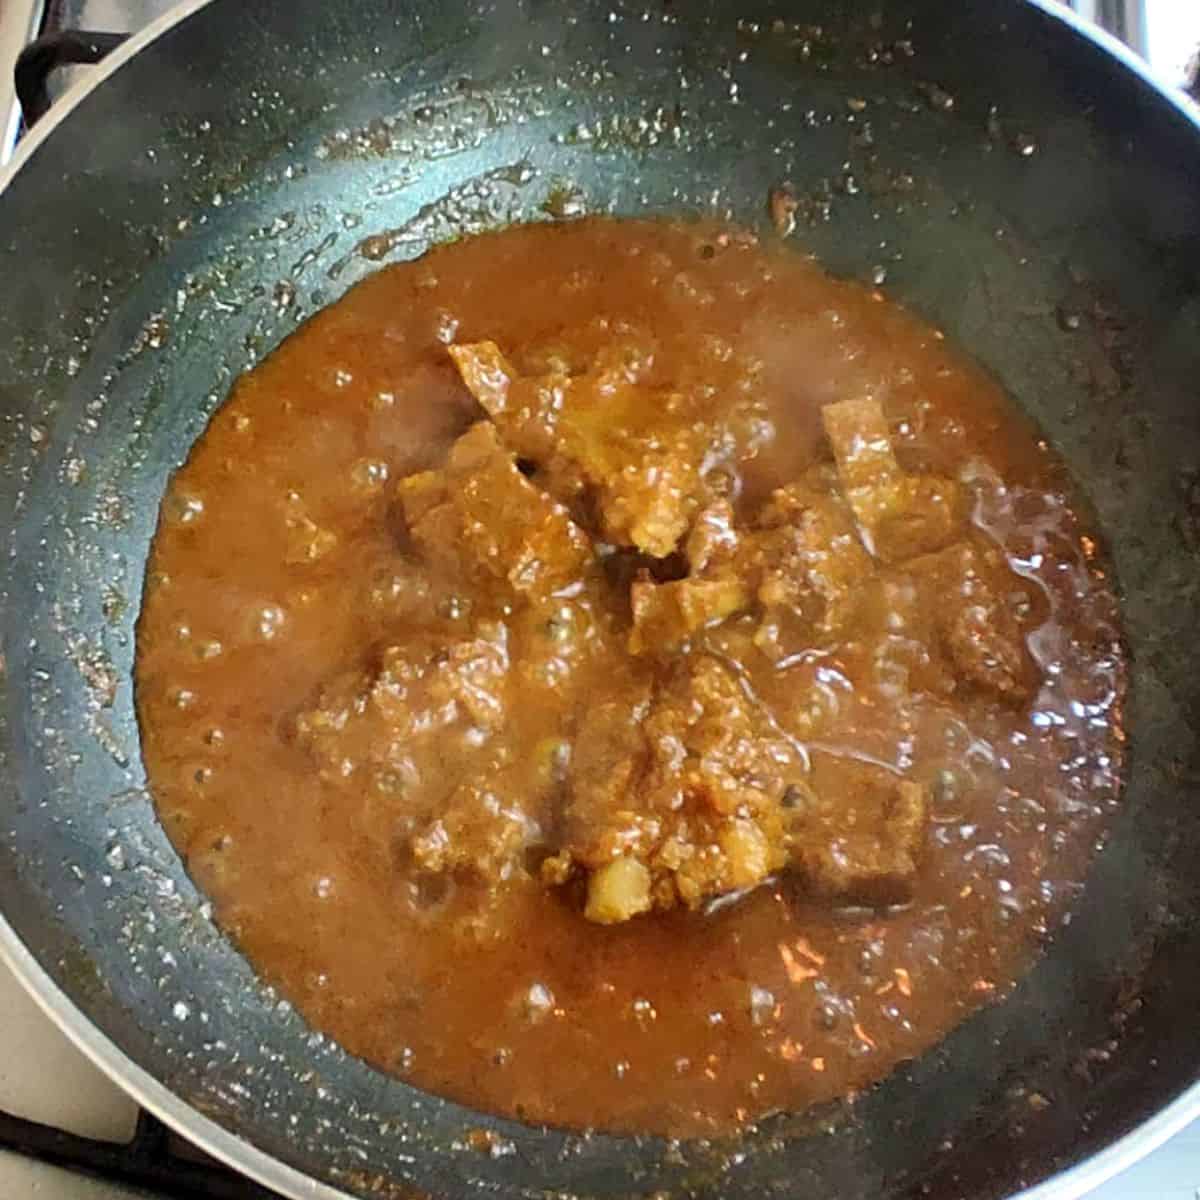
The meat is tender and has very little water remaining in it.
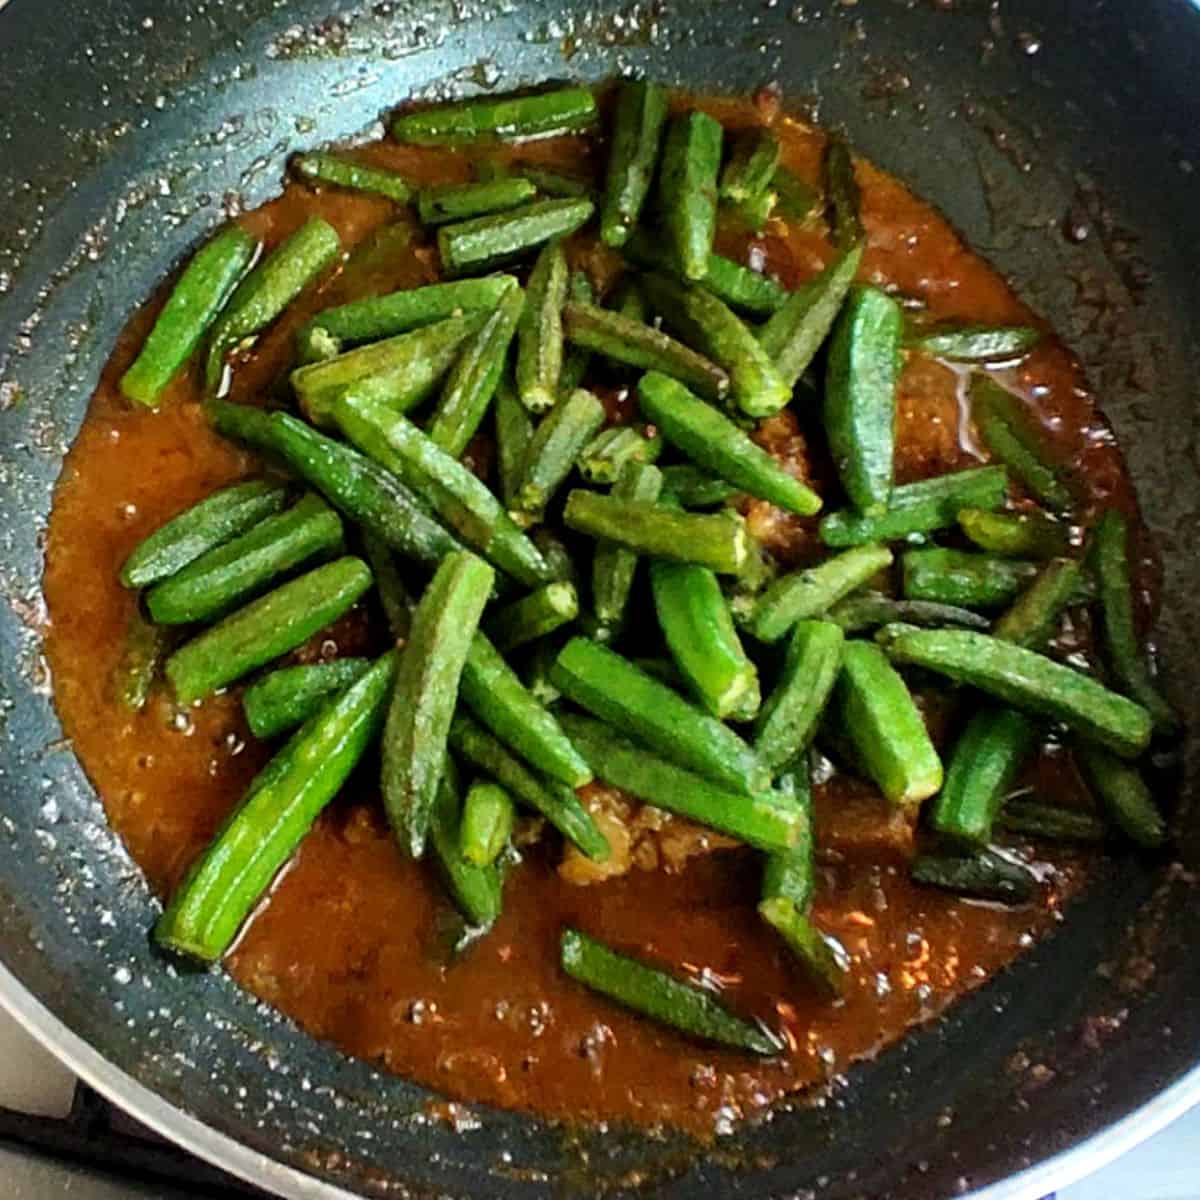
Now, add the fried bhindi to the meat and cover, and let it cook for a few more minutes.
- Lastly, add the garam masala to the bhindi gosht, and enjoy!
Hint: While frying the onions, don't leave them unattended because this can lead to over-cooking and a burnt flavor in the curry.
Furthermore, you can use a pressure cooker to cook the meat. This will help reduce the cooking time.
Serving Suggestions
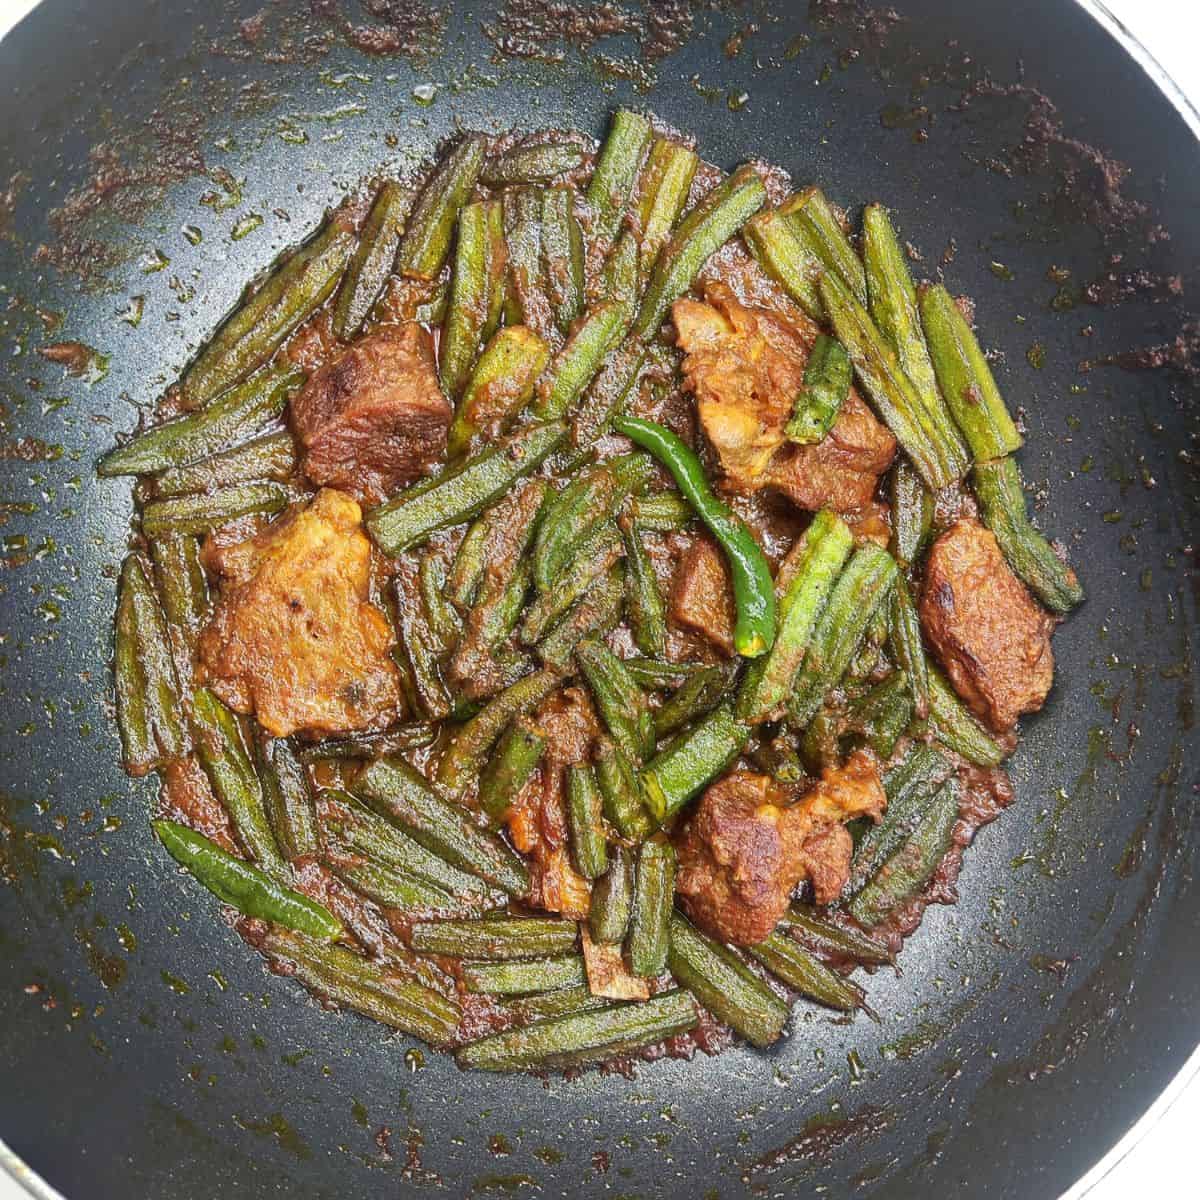
Bhindi gosht is best served with a fresh, homemade chapaati, or roti. Moreover, you can also serve it with a paratha.
Coupled with a tangy mint and coriander chutney or yogurt-based raita, the bhindi will make you return for seconds.
Substitutions
In my recipe, I use mutton or goat meat. You can, however, substitute it for beef or chicken if you like. But, traditionally, mutton gives the best flavor!
Likewise, if you're using tomatoes in the recipe, you can substitute fresh tomatoes with tinned.
Equipment
The kitchen equipment I have used in this recipe is quite basic. Whether you are a student living alone, traveling abroad for the first time, or a new couple setting up a home, you need to read up on my kitchen essentials, which will provide you with all the basic equipment required for your new kitchen. also check Pantry Essentails
Here's a list of utensils I used for Bhindi gosht:
- Large pan or wok, for cooking the meat.
- Wooden spoon
- A chopping board and knife.
- Large frying pan to fry the bhindi
- Measuring spoons for the various spices.
Storage
Although I strongly believe that Bhindi gosht is best served fresh, you can, however, make and freeze it for later use.
Furthermore, you can fry the bhindi and freeze it, too. Let it thaw at room temperature when you need it, and add it to cooked meat.
Likewise, you can cook the bhindi gosht and refrigerate it for up to 2 days.
Top Tips
- Wash and dry the bhindi completely, before cutting it.
- When cooking the bhindi with the meat, don't cover the pan, otherwise it will become a little slimy in texture.
- Frying the bhindi before cooking with meat reduces its slimy texture.
- While frying the onions, watch them closely to avoid over-cooking or burning.
FAQ
Bhindi has a slimy texture. To avoid sticky curry, dry the bhindi completely after washing, and fry it in 2 tablespoons of oil before adding to the meat curry. Also, don't cover the pan after adding bhindi to it.
yes, Bhindi Gosht is a very healthy meal. It provides you with iron, fiber, antioxidants, and Vitamins C and K. It's a healthy and delicious meal.
No! Washing the bhindi after cutting it makes it extra slimy. It's best you don't wash it after cutting.
Related
Looking for other recipes like this? Try these:




Bhindi Gosht | Okra Mutton Curry
Equipment
- 1 Wok or Large pan to cook the meat in.
- 1 Chopping board
- 1 Frying pan To fry Bhindi
- 1 Measuring spoon To measure spices
Ingredients
- ¼ cup Oil You can use any neutral oil to cook Bhindi gosht. In Asian countries, mustard oil is often used for cooking, however, it has a strong flavor and aroma.
- 2 Onion sliced. to make Masala
- 1 tablespoon Ginger and Garlic paste The ginger garlic paste omits any meaty smells and adds flavor.
- 1 teaspoon Salt To taste
- ½ cup Water
- 250 gram Bhindi/Okra washed, and cut
- 1 tablespoon Coriander/Dhanyapowder
- ¼ teaspoon Haldi/Turmeric powder Haldi or turmeric has great medicinal value, too. It acts as an anti-inflammatory and anti-oxidant.
- ½ tablespoon Red chili powder
- 1 Tomato optional
- 1 tablespoon Yogurt optional
- ¼ teaspoon Garam Masala garam masala will add a delicious aroma and enhance the flavor.
Instructions
- Preheat your pan and add ¼ cup of oil and 2 medium onions,sliced.
- Fry the onions for 15 minutes on low heat stirring occasionally. Cover the pot and stir at regular intervals.
- When the onions turn golden brown, add the mutton and ginger garlic pastes.
- Saute the meat and paste for a minute, then add salt to taste. Keep sauteing till the meat changes color.
- Next, add half a cup of water and the spices: 1 tablespoon coriander (dania) powder, ¼ tablespoon turmeric (haldi) powder, and ½ tablespoon red chill powder to the meat. If you are using tomatoes and yogurt, add them with the spices.
- Cover the pan and let it cook for 20 to 30 minutes. Uncover and stir the meat occasionally.
- Once the meat is tender, increase the heat and let it cook for another 10 minutes. You should see the oil being released, on the sides of the gravy and meat.
- Add 2 tablespoons oil to a frying pan and place the ladyfinger in it. Fry it for 1 to 2 minutes only, stirring regularly.
- When the meat is tender, and has very little water remaining, add the bhindi to the meat.
- Reduce the heat to a minimum, cover the pan, and let it cook for a few more minutes. This is called Dum.
- When the Bhindi gosht is ready, add the garam masala for flavor and aroma.
Video
Notes

Comments
No Comments