
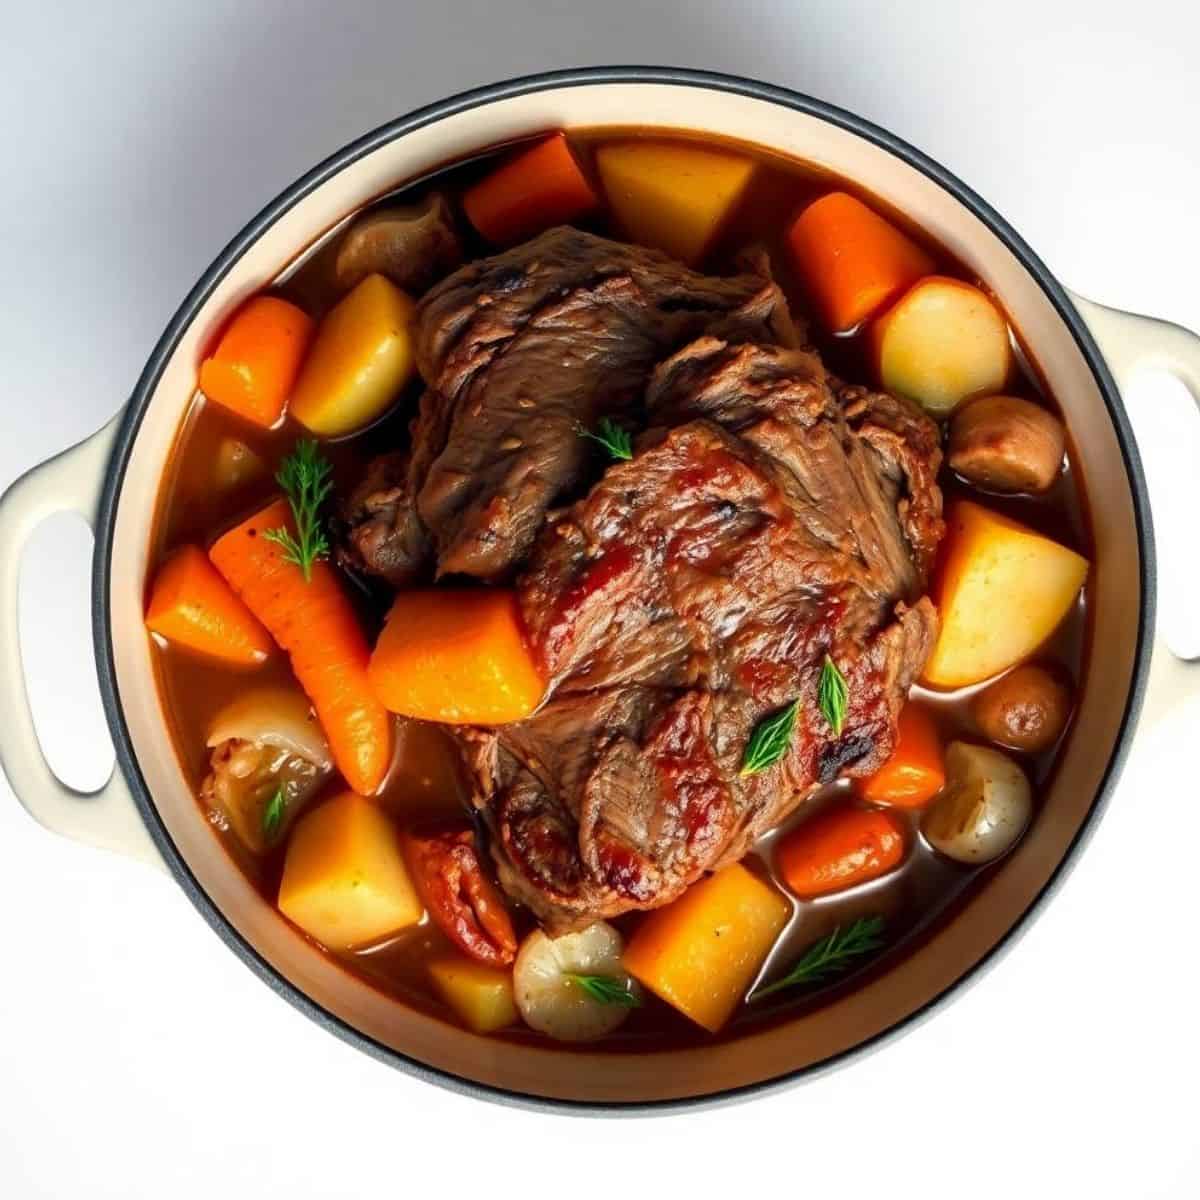
There is no sunday dinner more universally beloved, more deeply satisfying, or more consistently requested by every member of every household than a proper pot roast — a large cut of beef braised low and slow in a rich, herb-scented broth with root vegetables until it falls apart at the slightest pressure and fills the house with a smell that makes everyone stop what they're doing and ask how much longer until dinner. Pot roast is the recipe that earns the most enthusiastic responses of any dish in the home cooking repertoire, the one that makes guests feel genuinely cared for, and the one that produces the best leftovers of any recipe I know — the second-day pot roast sandwich on crusty bread with the congealed, deeply concentrated gravy is one of the finest things available for lunch on a Monday.
This post covers the complete pot roast recipe across three methods — classic oven braising, slow cooker, and Instant Pot — because different households have different schedules and different available time windows, and because each method produces a slightly different result worth understanding. The oven braise produces the most deeply developed, most complex flavor from the long, gentle heat and the ability to reduce and concentrate the braising liquid. The slow cooker version produces the most tender, almost impossibly soft beef from 8 hours of low heat and is the most practical choice for working weekdays. The Instant Pot version produces genuinely fall-apart beef in under 90 minutes total — a legitimate weeknight pot roast that would have seemed impossible before pressure cooking entered home kitchens.
Every method begins with the same non-negotiable first step that separates genuinely great pot roast from merely adequate pot roast — a thorough, patient, high-heat sear of the beef on all surfaces that builds the flavor foundation the entire dish is built on. Skip the sear and you skip the most important flavors in the entire recipe.
Let's make the best pot roast of your life!
WHY YOU WILL LOVE THIS RECIPE
- Three Methods, One Perfect Result: Whether you have 4 hours on a Sunday afternoon, 8 hours on a working weekday morning, or only 90 minutes on a Tuesday evening, there is a pot roast method in this post that fits your schedule and produces genuinely fall-apart tender beef in a rich, deeply flavored gravy. Understanding all three methods makes pot roast a genuinely accessible recipe for every schedule rather than a weekend-only special occasion dish.
- The Most Satisfying Make-Ahead Dinner Available: Pot roast made the day before and reheated gently is genuinely better than fresh pot roast — the fat rises and can be skimmed for a cleaner gravy, the flavors deepen and integrate overnight, and the beef becomes even more tender through its extended rest in the braising liquid. For Sunday dinner entertaining, making the pot roast on Saturday and reheating it Sunday evening produces the best possible result while freeing Sunday entirely from kitchen work.
- Feeds a Crowd from One Pan with Minimal Effort: A 3–4 pound chuck roast feeds 8 people generously — from one Dutch oven, one slow cooker insert, or one Instant Pot. One vessel, one cook, eight people served with a complete meal of protein, vegetables, and gravy from the same pot. Pot roast is the most efficient large-format dinner in the home cooking repertoire for the combination of servings produced per hour of active cooking time.
- The Best Leftovers of Any Recipe: Leftover pot roast makes pot roast sandwiches, pot roast tacos with the shredded beef and braising liquid as sauce, pot roast hash with potatoes for breakfast, and pot roast soup by extending the gravy with additional broth. The leftover value of a pot roast — the number of genuinely good subsequent meals produced from the remainder — is unmatched by any other recipe of comparable effort.
- Uses the Most Economical Beef Cut Possible: Chuck roast — the correct and only appropriate cut for pot roast — is one of the most affordable beef cuts available and produces one of the most impressive results of any cooking method through the alchemy of low-and-slow braising. The high collagen content of chuck, which makes it unsuitable for quick cooking methods, is precisely what makes it extraordinary in a braise — the collagen converts to gelatin over hours of gentle heat, enriching the broth and producing the characteristic fork-tender texture that makes pot roast so deeply satisfying.
- The Gravy Is Its Own Reward: The braising liquid that accumulates during pot roast cooking is one of the richest, most deeply flavored sauces in the entire home cooking repertoire — concentrated beef fat, dissolved collagen, wine, herbs, and vegetable sweetness creating a gravy that coats the back of a spoon and makes every piece of bread and every mashed potato it touches genuinely extraordinary. The pot roast and the gravy together are why this dish earns more enthusiastic responses than almost any other single recipe.
INGREDIENTS
- The Beef:
- 3–4 lb beef chuck roast — one large piece rather than pre-cut stew beef. A single large piece retains more moisture during braising than smaller pieces and produces the classic pull-apart presentation. Look for a roast with good marbling throughout — visible fat streaks within the muscle indicate the collagen content that produces the best braise result
- 2 tablespoons neutral oil with high smoke point
- Kosher salt and coarse black pepper — season the roast generously on all surfaces at least 30 minutes before searing, or ideally overnight in the refrigerator uncovered
- The Aromatics:
- 1 large onion, roughly chopped
- 4 cloves garlic, smashed
- 2 stalks celery, roughly chopped
- 2 tablespoons tomato paste
- 2 tablespoons Worcestershire sauce
- The Braising Liquid:
- 1 cup dry red wine — or substitute additional beef broth if preferred. The wine contributes acidity and complexity that makes the gravy significantly more interesting than broth alone
- 2 cups beef broth, good quality
- 2 sprigs fresh thyme or ½ teaspoon dried
- 2 sprigs fresh rosemary or ½ teaspoon dried
- 2 bay leaves
- The Vegetables (added in the last hour for oven method, added whole for slow cooker):
- 4 medium carrots, cut into 2-inch pieces
- 4 medium Yukon Gold potatoes, halved or quartered depending on size
- 1 lb baby potatoes (alternatively, to reduce cooking time variability)
- Fresh parsley for serving
DIRECTIONS
- Step No.1: Season and sear the roast (all methods)
Pat the chuck roast completely dry on all surfaces with paper towels — this is the most important preparation step for achieving the deep, mahogany sear that is the flavor foundation of all three methods. Season very generously with kosher salt and coarse black pepper on every surface — more than feels comfortable, pressing the seasoning into the surface with your palm. Heat oil in a large Dutch oven or heavy skillet over the highest possible heat until it just begins to smoke. Place the roast in the pan and do not touch it for 4–5 minutes until the first side is deeply, almost blackly seared. Turn and sear every remaining surface — 4–5 minutes per surface, including the narrow sides. Total searing time: 18–22 minutes. The roast should emerge looking dramatically dark on all surfaces with a firm, caramelized exterior. Remove and set aside. In the same pan with the remaining fat, cook the onion and celery for 5 minutes, add garlic and tomato paste, cook 2 minutes until paste darkens. Deglaze with wine, scraping up every bit of the browned fond. Add beef broth, Worcestershire, and herbs.
- Step No.2 — Classic Oven Method:
Preheat oven to 300°F. Return the seared roast to the Dutch oven, nestling it into the braising liquid — the liquid should come approximately halfway up the sides of the roast, not submerge it. Cover the Dutch oven tightly with its lid. Braise at 300°F for 3–3.5 hours, checking at 2.5 hours. At the 2.5-hour mark, add carrots and potatoes to the braising liquid around the roast. Cover and continue braising for 45–60 more minutes until the beef pulls apart with a fork and the vegetables are completely tender. Remove roast and vegetables to a serving platter. Skim fat from the braising liquid with a spoon or a fat separator, then reduce uncovered on the stovetop over medium-high heat for 8–10 minutes to concentrate the gravy to a coating consistency. Season generously and serve.
- Step No.2 — Slow Cooker Method:
Transfer the seared roast to the slow cooker. Pour the aromatic-wine-broth mixture from the searing pan over the roast. Add carrots and potatoes around and beneath the roast — in the slow cooker vegetables can go in at the beginning since the lower heat prevents them from becoming completely dissolved over 8 hours. Cook on LOW for 8–10 hours or HIGH for 5–6 hours until the beef pulls apart completely when pressed with tongs. Remove roast and vegetables. Pour braising liquid into a saucepan and reduce over medium-high heat for 10–15 minutes to concentrate into a gravy, or thicken with a cornstarch slurry (1 tablespoon cornstarch + 2 tablespoons cold water, stirred into simmering liquid for 3–4 minutes). The slow cooker produces the most tender beef of the three methods — after 8–10 hours on LOW the beef has the texture of pulled pork and shreds effortlessly.
- Step No.2 — Instant Pot Method:
Use the Instant Pot's Sauté function for the entire searing and aromatic preparation described in Step No.1. After building the braising liquid, add the seared roast back to the Instant Pot and add carrots and potatoes around it — all vegetables go in at the start since pressure cooking is brief enough that they won't overcook if cut generously. Seal the lid and set to Manual/Pressure Cook on HIGH for 60 minutes for a 3-pound roast, 70 minutes for a 4-pound roast. Allow natural pressure release for 20 minutes, then quick release any remaining pressure. The beef should be completely tender and falling apart — if there is any resistance, seal and pressure cook for an additional 15 minutes. Remove roast and vegetables. Set to Sauté and reduce braising liquid for 8–10 minutes until thickened to a gravy, or use a cornstarch slurry for a faster thickening.
- Step No.3: Make the gravy and serve (all methods)
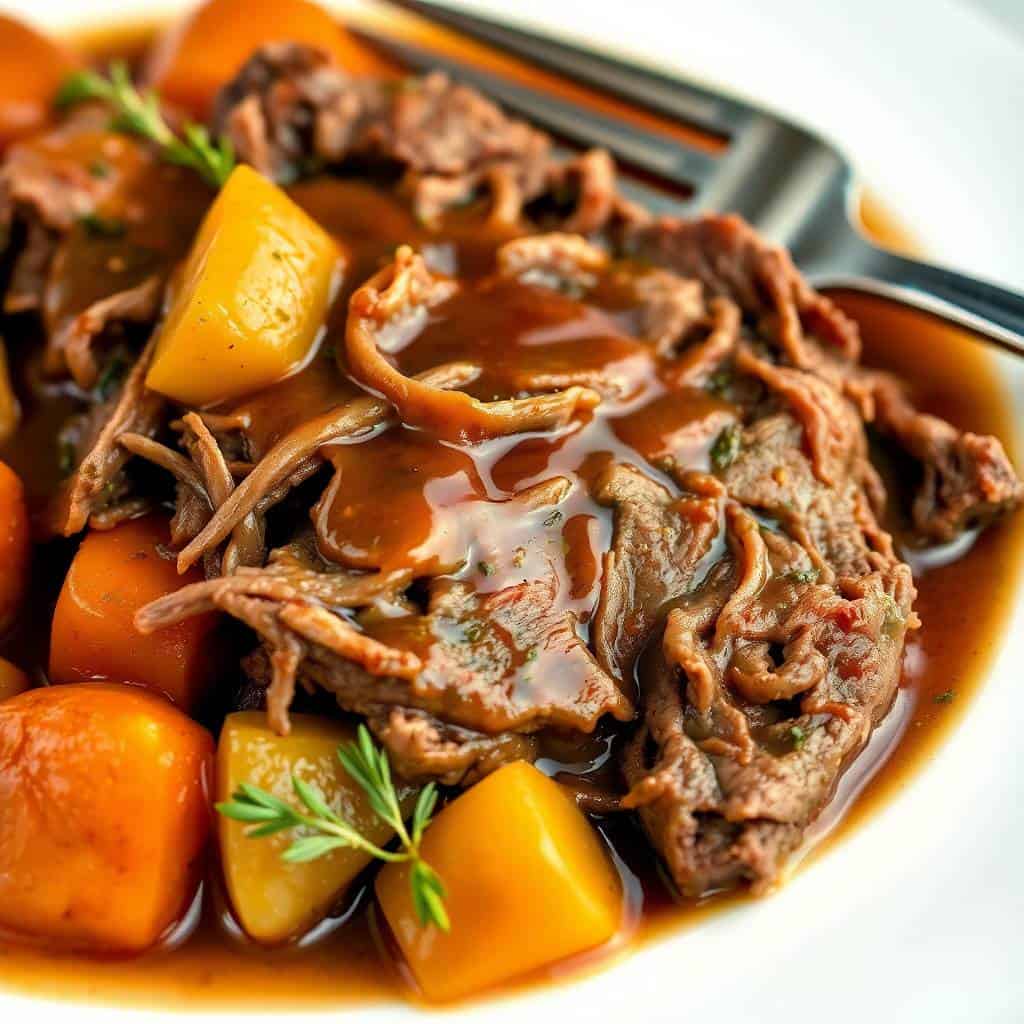
Taste the reduced braising liquid and adjust seasoning very generously — pot roast gravy almost always needs significantly more salt at the end of cooking than it received at the beginning. If the gravy is still thinner than desired after reduction, stir in a cornstarch slurry and simmer 3–4 minutes. Taste for acidity — if the gravy tastes flat, add a small splash of red wine vinegar or balsamic to brighten it. Pull the beef apart with two forks into large, rough chunks directly on the serving platter — resist the urge to shred it completely fine. Large, irregular pieces that retain some structure look more impressive and provide better texture than finely shredded meat. Arrange vegetables around the beef, pour half the gravy over everything, and serve remaining gravy in a small pitcher or gravy boat alongside. Scatter fresh parsley generously across the entire platter.
TIPS FOR SUCCESS
- Season the Roast the Night Before for the Best Possible Crust: Salting the chuck roast generously on all surfaces and leaving it uncovered in the refrigerator overnight produces a surface that is completely dry by searing time — the overnight air exposure draws out surface moisture and the salt penetrates the outer layer of the meat. This dry-brined roast develops a dramatically more impressive, more deeply colored sear than a roast that was patted dry immediately before searing, because there is genuinely no residual surface moisture to steam and prevent Maillard browning. Even 30 minutes of uncovered rest after seasoning produces a noticeably better crust than seasoning and immediately searing.
- Sear Every Surface Including the Narrow Sides: Most home cooks sear the two large flat sides of a pot roast and consider it done — this produces flavor on 40% of the beef's surface and leaves 60% pale and unflavored. Turn the roast onto its narrow sides and sear those as well — the total searing time of 18–22 minutes produces a roast that is deeply caramelized on every surface, which means every piece of beef in the final pulled presentation has maximum flavor rather than only the pieces that happened to be near the originally seared surfaces.
- Low and Slow — 300°F Maximum for Oven Method: Pot roast braised above 300°F produces dry, stringy beef that shreds unpleasantly rather than pulling apart in tender, moist chunks. The collagen-to-gelatin conversion that produces the characteristic pot roast texture occurs only when the liquid is maintained at a gentle simmer rather than a boil — 300°F in the oven maintains this gentleness throughout the entire braise. Check the braising liquid at the 1-hour mark — it should be barely simmering with occasional small bubbles. If it is actively boiling, reduce the oven to 275°F.
- The Roast Is Done When It Falls Apart — Not When the Timer Sounds: Chuck roast varies significantly in collagen content and density between individual pieces of the same weight — a 3-pound roast might need 3 hours in one session and 3.5 hours in another. The only reliable doneness indicator is the fork test: press two forks into the center of the roast and gently pull in opposite directions. If the beef parts easily with almost no resistance and the fibers separate cleanly, it is done. If there is any chewiness or toughness when pulled, cover and continue braising in 30-minute increments until it yields completely.
- Don't Skip the Gravy Reduction: The braising liquid straight from the pot is thin, slightly diluted from the vegetable moisture, and flat-tasting compared to its potential. Reducing it uncovered over medium-high heat for 8–10 minutes concentrates all the flavors, deepens the color from pale amber to a rich mahogany, and develops a glossy, coating consistency that is genuinely one of the best sauces in home cooking. This 10-minute investment after the main cooking is complete produces a gravy that makes the entire pot roast feel genuinely special rather than merely adequate.
- Serve with Something That Captures the Gravy: Pot roast without mashed potatoes, egg noodles, crusty bread, or polenta to absorb the gravy is an incomplete meal — the gravy is too good and too central to the experience to be wasted without a vehicle specifically designed to receive it. Creamy mashed potatoes are the most traditional and most beloved pairing. Our funeral potatoes alongside pot roast makes one of the most satisfying cold-weather comfort meals possible. Crusty bread for mopping the plate is non-negotiable regardless of what else is served.
VARIATIONS
- Mississippi Pot Roast: The viral, most widely made slow cooker pot roast variation — place the seared roast in the slow cooker with 1 packet of ranch dressing mix, 1 packet of au jus gravy mix, 6 tablespoons of butter cut into pieces, and 6–8 whole pepperoncini peppers (with a tablespoon of the brine). No liquid added — the butter and the pepperoncini brine provide sufficient moisture. Cook on LOW for 8 hours. The result is a tangy, buttery, slightly spicy shredded beef that is unlike classic pot roast in flavor but equally addictive and beloved. The ranch and au jus packets provide all the seasoning — no additional salt or pepper needed. Find our dedicated Mississippi pot roast version in our Mississippi chicken inspired collection.
- Red Wine Pot Roast: Increase red wine to 2 full cups and reduce beef broth to 1 cup for a more sophisticated, more wine-forward braise that produces a gravy with greater depth and complexity. Add 8 oz of cremini mushrooms halved (added in the last hour of oven braising) and pearl onions (frozen, thawed) alongside the carrots. The red wine version produces a result closer to classic French boeuf bourguignon and is the version for dinner party occasions when you want pot roast to feel genuinely elegant.
- Italian Pot Roast (Stracotto): Add 1 can (14 oz) of crushed tomatoes to the braising liquid, increase garlic to 6 cloves, add 1 teaspoon dried oregano and ½ teaspoon red pepper flakes, and use Italian red wine (Chianti or Barolo). Serve over polenta or egg pappardelle rather than with root vegetables. The Italian pot roast produces a deeper, slightly acidic, tomato-enriched braise that is more robustly flavored than the classic version and that makes an extraordinary pasta sauce when the shredded beef is mixed back into the reduced tomato braising liquid. Find more Italian inspiration in our best Italian dinners.
- Beer-Braised Pot Roast: Replace red wine with one 12 oz bottle of dark beer — stout, porter, or dark ale. The malt and bitter notes of dark beer produce a braise that is deeply savory, slightly bitter, and complexly flavored in a way that neither wine nor plain broth achieves. Add 1 tablespoon of brown sugar to balance the bitterness and 1 tablespoon of Dijon mustard to the braising liquid. This version is particularly delicious served alongside buttered egg noodles and a simple green salad. Pairs naturally with our Guinness beef stew variation for back-to-back beer-braised beef cooking projects.
SERVING AND STORAGE
Serving
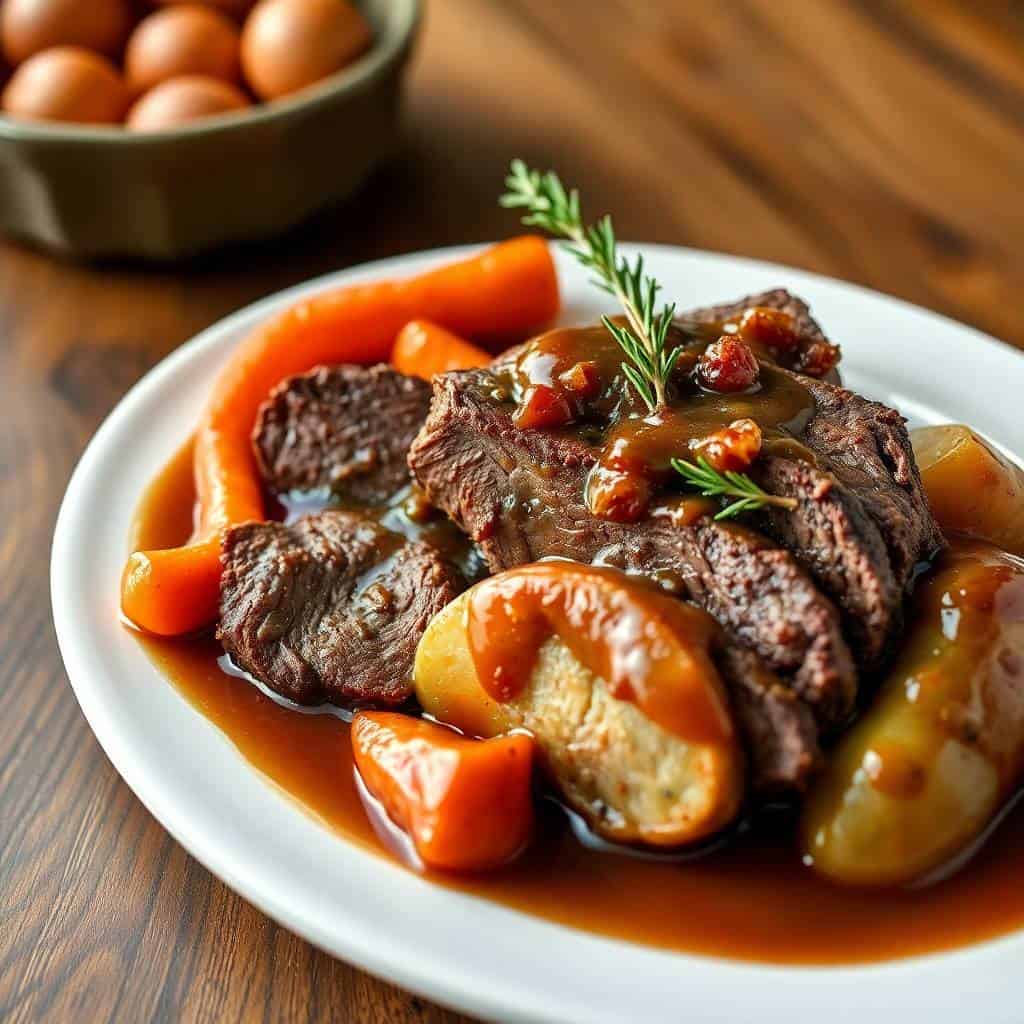
Serve pot roast on a large, warmed platter with the beef pulled into generous irregular pieces, vegetables arranged around it, gravy poured over everything, and fresh parsley scattered generously across the surface. Bring the platter to the table whole for the presentation moment before serving — the visual of a properly presented pot roast platter, with its dark, glossy beef and root vegetables glistening with reduced gravy, is one of the most visually satisfying dinner table moments available. Have a pitcher of additional gravy and a basket of crusty bread available at the table — both will be needed and both will be finished.
Storage
Pot roast stores refrigerated with the beef submerged in the gravy for up to 4 days — storing the beef in the gravy keeps it moist and prevents the drying that stored beef without its cooking liquid experiences. After overnight refrigeration, the fat rises and solidifies on the surface of the gravy and can be lifted off cleanly with a spoon before reheating — a fat-skimmed day-two pot roast gravy is genuinely cleaner and more refined than the fresh gravy. Reheat gently on the stovetop over low heat with a splash of beef broth to loosen the gravy. For freezing food safely, portion beef and gravy together into freezer containers and freeze for up to 3 months. Thaw overnight in the refrigerator and reheat gently — pot roast survives freezing with minimal quality loss.
FAQ
Chuck roast is the definitive best cut for pot roast — its high collagen content converts to gelatin during braising, producing the characteristic fork-tender texture and enriching the braising liquid into a glossy, body-rich gravy. Specifically, look for a boneless chuck roast (also sold as chuck shoulder or pot roast) with visible marbling throughout. Brisket is a good second choice that produces slightly more fibrous but equally tender results with a slightly different shredded texture. Bottom round and rump roast work but are leaner and produce a drier result. Avoid expensive cuts like sirloin or tenderloin — they are not designed for long braising and will produce dry, texturally disappointing pot roast regardless of technique.
Tough pot roast has one of three causes: insufficient cooking time (the most common), too high a cooking temperature, or the wrong cut. Chuck roast requires a full 3–3.5 hours at 300°F in the oven or 8 hours on LOW in a slow cooker to fully convert its collagen to gelatin — a pot roast cooked for only 2 hours will be tough and chewy no matter how good the technique. If the roast is tough, continue braising in 30-minute increments until it yields completely. Cooking above 300°F (oven) or on HIGH for the full time (slow cooker) produces beef that tightens and dries rather than relaxing and tenderizing. The correct response to a tough pot roast is always more time at lower heat.
Not only can you make it the day before — it is strongly recommended. Day-old pot roast is measurably better than fresh pot roast in every way: the fat rises and can be cleanly skimmed for a more refined gravy; the beef continues absorbing the braising liquid overnight, becoming more moist and more deeply seasoned; the flavors integrate and deepen significantly; and the collagen in the gravy sets to a soft gel that gives the reheated sauce a silkier, more coating consistency than fresh gravy. Reheat gently on the stovetop over low heat with a splash of additional beef broth to loosen the gravy, returning the beef to the pot and warming covered for 20–25 minutes until heated through.
The best method for thickening pot roast gravy is reduction — removing the lid and simmering the braising liquid over medium-high heat for 8–12 minutes reduces its volume and concentrates its flavors, producing a naturally thick, glossy gravy without any starch additions. For faster thickening, stir a cornstarch slurry (1 tablespoon cornstarch dissolved in 2 tablespoons cold water) into the simmering liquid and cook 3–4 minutes until thickened. A flour-butter roux can also be whisked into simmering braising liquid for a slightly heavier, more traditional gravy consistency. The reduction method produces the most naturally flavored result; cornstarch produces the glossiest, most restaurant-style result; the roux produces the most classic, most opaque gravy.
Carrots and potatoes are the classic and most appropriate pot roast vegetables — both are sturdy enough to survive the long braising time without completely dissolving, both absorb the braising liquid's flavor beautifully, and both provide a complete starchy-sweet-savory accompaniment to the beef. Yukon Gold potatoes hold their shape better than Russets during long braising. Parsnips, turnips, and rutabaga are excellent additions or substitutions for more complex vegetable flavor. Mushrooms added in the last 30–45 minutes contribute an earthy umami depth. Avoid delicate vegetables like zucchini, green beans, or asparagus — they disintegrate completely before the beef is tender and contribute nothing to the finished dish except mush.
This pot roast recipe — across all three methods — is the Sunday dinner that earns the most consistent, most enthusiastic responses of any dish in the home cooking repertoire. Master the sear, trust the low-and-slow process, and make it the day before for the best result.
Try the red wine variation for dinner party occasions, or the Mississippi pot roast for the easiest possible slow cooker preparation that earns the most surprised enthusiastic reactions. Pair with our funeral potatoes, our beef stew, and our goulash for the complete cold-weather beef dinner collection. 🥩🥕✨
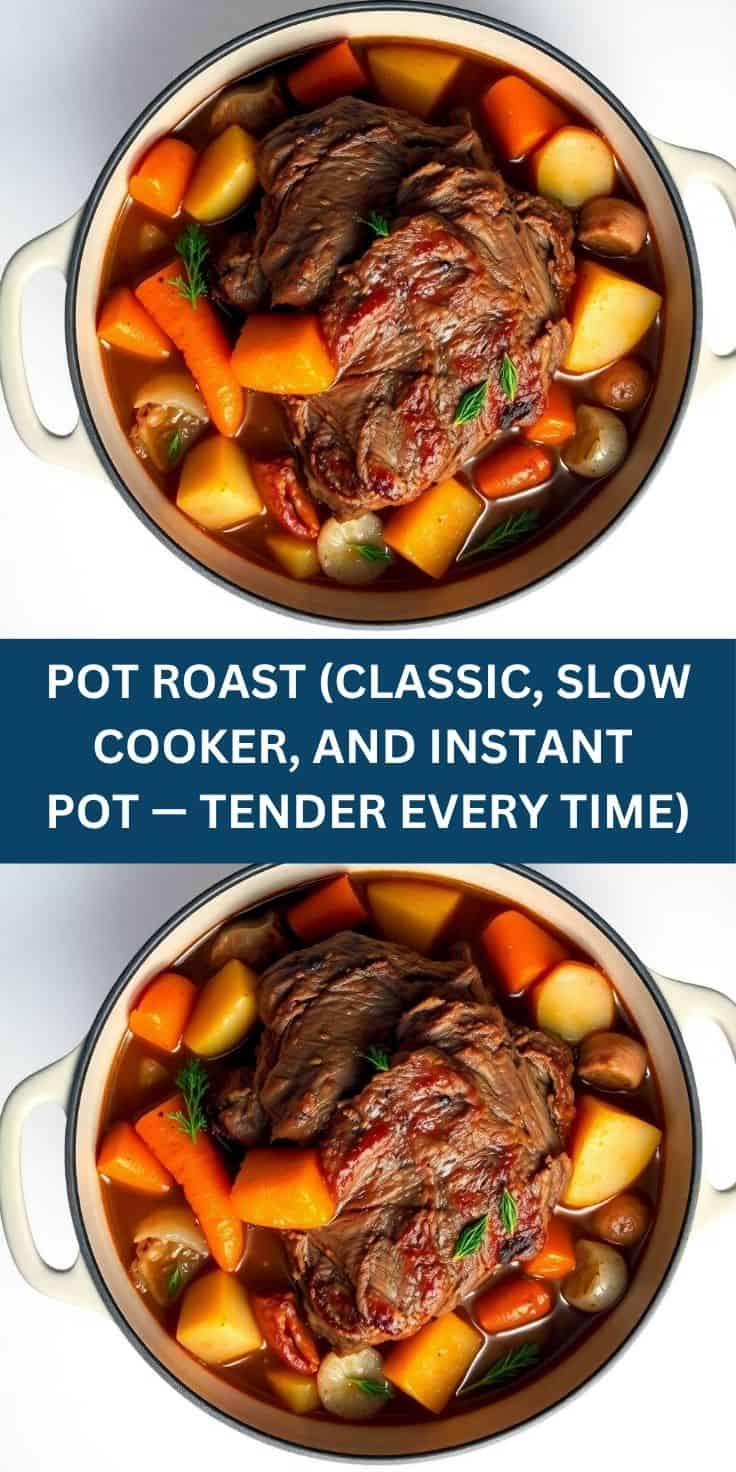
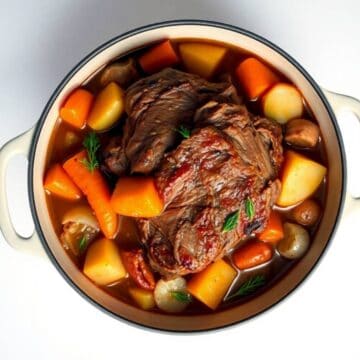
POT ROAST (CLASSIC, SLOW COOKER, AND INSTANT POT — TENDER EVERY TIME)
Equipment
- Slow cooker, Dutch oven, or Instant Pot
- Large skillet
- Tongs
- Cutting board
Ingredients
Beef:
- 3 lbs beef chuck roast
Vegetables:
- 1 ½ lbs baby potatoes
- 4 carrots cut into chunks
- 1 yellow onion sliced
- 4 garlic cloves minced
Seasoning & Sauce:
- 2 tablespoon olive oil
- 2 cups beef broth
- 2 tablespoon Worcestershire sauce
- 1 tablespoon tomato paste
- 1 teaspoon Italian seasoning
- 1 ½ teaspoon salt
- 1 teaspoon black pepper
Optional Gravy:
- 2 tablespoon cornstarch
- 2 tablespoon water
Instructions
Season Roast:
- Pat roast dry and season generously with salt and black pepper.
Sear Beef:
- Heat olive oil in a skillet over medium-high heat. Sear roast for 3–4 minutes per side until browned.
Prepare Cooking Base:
- Add potatoes, carrots, onions, and garlic to the slow cooker, Dutch oven, or Instant Pot.
Mix Sauce:
- Whisk together beef broth, Worcestershire sauce, tomato paste, and Italian seasoning.
Cook:
- Place roast over vegetables and pour sauce on top. Cook on LOW in slow cooker for 8–9 hours, bake covered at 300°F (150°C) for 4 hours, or pressure cook in Instant Pot for 60 minutes with natural release.
Make Gravy (Optional):
- Mix cornstarch and water into a slurry. Stir into cooking liquid and simmer until thickened.
Serve:
- Shred or slice roast and serve warm with vegetables and gravy.
Notes
- Chuck roast gives the best tender texture.
- Low and slow cooking creates maximum flavor.
- Leftovers are excellent for sandwiches or mashed potatoes.





Comments
No Comments