
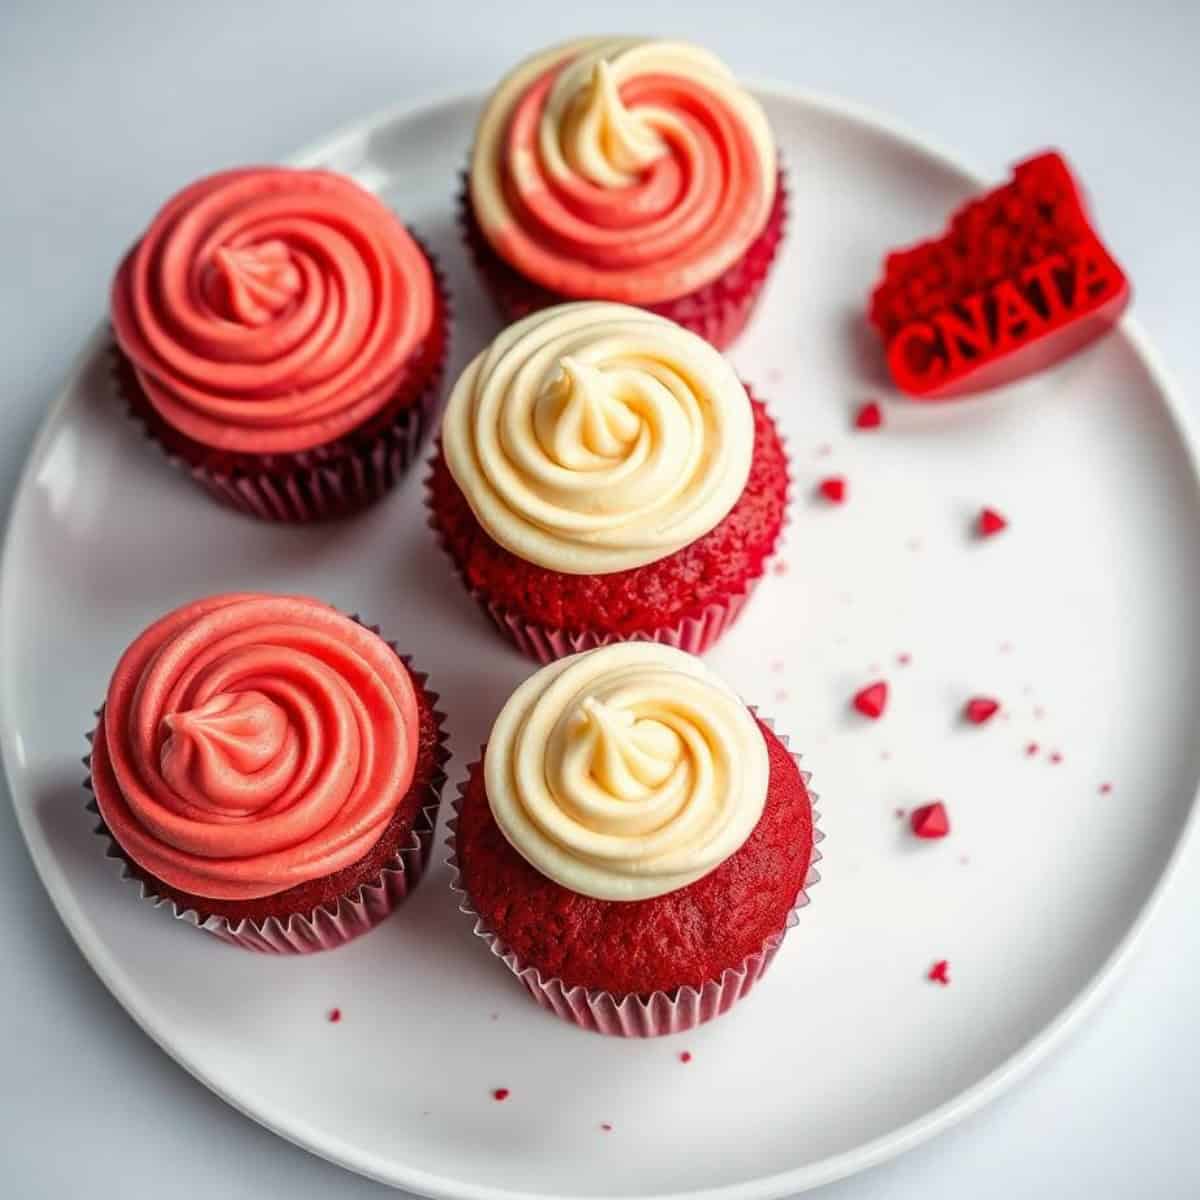
There are cupcakes that are beautiful, cupcakes that are delicious, and then there are cupcakes that are both — and these Red Velvet Cheesecake Cupcakes belong firmly in that extraordinary third category. A tender, moist red velvet cupcake with its characteristic mild cocoa flavor and brilliant crimson color, wrapped around a hidden creamy cheesecake center that surprises you with its tangy sweetness with every single bite — this is genuinely one of the most impressive, most genuinely extraordinary cupcake recipes available to make at home.
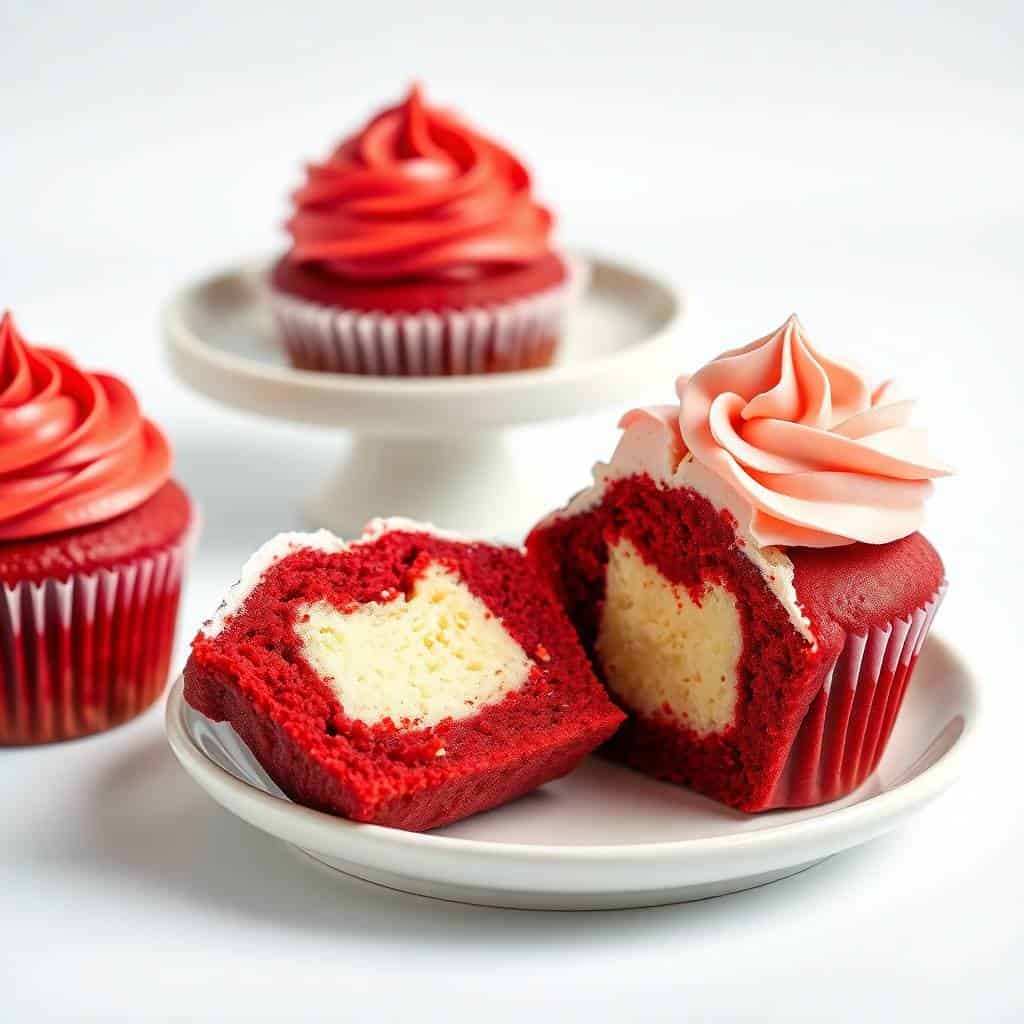
The genius of this recipe is the hidden cheesecake filling — a smooth, lightly sweet cream cheese mixture that is spooned into the center of each partially-filled cupcake liner before being topped with more red velvet batter. During baking, the cheesecake filling remains creamy and distinct, creating a surprise center that melts on the tongue and adds a rich, tangy contrast to the sweet, lightly chocolatey cupcake surrounding it. Each bite delivers a perfect balance — sweet and tangy, rich and light, vibrant and creamy all at the same time.
These Red Velvet Cheesecake Cupcakes are genuinely one of the most versatile celebratory baked goods available — they are beautiful enough for Valentine's Day, festive enough for Christmas, elegant enough for a birthday dessert table, and genuinely irresistible enough for any day you want something extraordinary. The recipe is straightforward enough for beginner bakers and produces consistently gorgeous results. Find more celebration dessert inspiration in our easy homemade cake recipes and our red velvet cheesecake brownie bars.
Whether you serve these cupcakes as-is, topped with a swirl of classic cream cheese frosting, or dressed up with festive decorations — they will charm everyone who tastes them and leave a genuinely lasting impression. Let's bake the most extraordinary, most irresistibly beautiful cupcakes of the entire year!
WHY YOU WILL LOVE THIS RECIPE
- The Most Irresistible Flavor Combination: The blend of the mild cocoa richness of red velvet with the sweet, tangy cheesecake filling creates a flavor experience that is genuinely extraordinary — neither flavor overwhelms the other, and together they create something that is more complex, more satisfying, and more genuinely irresistible than either component alone.
- Perfect Layered Texture: Moist, soft red velvet cake meets a luscious, creamy cheesecake center that melts on the tongue — the textural contrast between the cake exterior and the creamy cheesecake interior is genuinely extraordinary and makes every bite a different, layered experience.
- Stunning Visual Appeal: The vibrant red color of the cupcake base with the creamy white cheesecake center visible at the top creates a genuinely beautiful, striking visual that makes these cupcakes showstoppers at any party, celebration, or dessert table. They are effortlessly eye-catching.
- Beginner-Friendly with Bakery-Level Results: Despite their genuinely extraordinary appearance and flavor, these cupcakes are made with straightforward steps that are genuinely accessible to bakers at every skill level. The recipe uses simple mixing techniques and standard equipment — no special skills required for spectacular results.
- Perfect for Every Celebration: The bold red color and festive appearance make these cupcakes ideal for Valentine's Day, Christmas, birthdays, holiday parties, and everyday indulgences alike. They are genuinely one of the most versatile celebratory baked goods in the entire dessert repertoire.
INGREDIENTS
For the Red Velvet Cupcakes
- 1¼ cups all-purpose flour
- 1 tablespoon unsweetened cocoa powder — use high-quality cocoa for the most genuine red velvet flavor depth
- ½ teaspoon baking soda
- ¼ teaspoon salt
- ½ cup unsalted butter, softened — or ½ cup vegetable oil for extra moisture
- ¾ cup granulated sugar
- 1 large egg, at room temperature
- ½ cup buttermilk — the buttermilk is essential for the characteristic red velvet tenderness and slight tang
- 1 teaspoon white vinegar
- ½ teaspoon pure vanilla extract
- 1 tablespoon red food coloring (gel preferred for the most vibrant color)
For the Cheesecake Filling
- 8 oz cream cheese, softened to true room temperature
- ¼ cup granulated sugar
- 1 large egg yolk
- ½ teaspoon pure vanilla extract
Optional Frosting
- Classic cream cheese frosting or whipped cream for topping
DIRECTIONS
- Step No.1: Preheat the oven and prepare the muffin pan
Preheat your oven to 350°F (175°C). Line a standard 12-cup muffin pan with cupcake liners — paper liners work well but foil liners provide cleaner removal and prevent sticking. Make sure all ingredients for both the batter and the filling are at room temperature before you begin mixing — room temperature ingredients mix more evenly and produce a significantly more consistent batter.
- Step No.2: Make the cheesecake filling first
In a medium bowl, beat the softened cream cheese on medium speed until completely smooth with no lumps. Add the granulated sugar, egg yolk, and vanilla extract and beat until the mixture is silky, uniform, and lightly fluffy. Set aside — this can be refrigerated briefly while you make the cupcake batter. A smooth, lump-free filling is essential for a beautiful creamy center in every cupcake.
- Step No.3: Mix the dry ingredients
In a medium bowl, whisk together the flour, cocoa powder, baking soda, and salt until evenly combined. Thorough whisking ensures the cocoa, leavening, and salt distribute evenly through the flour for a consistently flavored, evenly textured cupcake.
- Step No.4: Make the red velvet batter
In a large mixing bowl, cream the softened butter and granulated sugar together on medium-high speed for 2–3 minutes until light and fluffy. Add the egg and beat until incorporated. Add the buttermilk, white vinegar, vanilla extract, and red food coloring and mix on low speed until evenly combined and uniformly red. Gradually add the dry ingredients in three additions, mixing on low speed just until the flour disappears after each addition — do not overmix as this develops gluten and produces a tough, dense cupcake rather than the tender, soft result this recipe produces when mixed correctly.
- Step No.5: Assemble the cupcakes with the cheesecake surprise center
Spoon approximately 1½ tablespoons of red velvet batter into each cupcake liner — enough to cover the bottom. Add exactly 1 teaspoon of the cheesecake filling to the center of each partially-filled liner, placing it directly in the middle. Top each cupcake with an additional 1–1½ tablespoons of red velvet batter, completely enclosing the cheesecake filling. Each liner should be filled to approximately two-thirds full. Do not overfill — overfilled cupcake liners overflow during baking and produce misshapen, unattractive cupcakes.
- Step No.6: Bake and cool completely
Bake for 18–20 minutes until a toothpick inserted into the cake portion (not the cheesecake center — the cheesecake center will always come out with moist crumbs) comes out with only dry crumbs attached. The tops should be set, slightly domed, and spring back gently when touched. Allow the cupcakes to cool in the pan for 5 minutes before transferring to a wire rack to cool completely to room temperature before frosting or serving — serving warm cupcakes with cheesecake filling can cause the center to be unpleasantly runny.
TIPS FOR SUCCESS
- Room Temperature Ingredients Are Essential: Cold butter does not cream properly with sugar, cold eggs can cause the batter to curdle, and cold cream cheese produces a lumpy filling. Remove all dairy ingredients from the refrigerator at least 1 hour before baking. Room temperature ingredients incorporate together more evenly and produce a dramatically smoother, more consistent batter and filling.
- Do Not Overmix the Cupcake Batter: Overmixing develops gluten and produces tough, dense, rubbery cupcakes that lack the soft, tender crumb characteristic of a great red velvet. Mix only until each addition of flour is just incorporated — a few strokes of the spatula to finish by hand after the mixer is stopped is a good practice to ensure the batter is not over-worked.
- Center the Cheesecake Filling Precisely: Place the cheesecake filling directly in the center of the partially-filled liner — not touching the edges. Filling that touches the liner sides during baking can leak out and caramelize unattractivately on the outside of the cupcake. Precise center placement ensures the cheesecake stays entirely encased within the red velvet for the most beautiful surprise center reveal.
- Check for Doneness Early: All ovens vary in temperature and the line between perfectly baked and overbaked cupcakes is narrow. Begin checking at the 17-minute mark by inserting a toothpick into the cake portion of one cupcake. The moment it comes out with dry crumbs, remove the pan. Overbaked cupcakes become dry and lose the tender, moist quality that defines this recipe.
- Use High-Quality Cocoa Powder: The cocoa powder is the flavor backbone of the red velvet batter — a higher quality Dutch-process or natural unsweetened cocoa produces a noticeably deeper, more genuinely chocolatey flavor than cheaper cocoa alternatives. The difference in quality is detectable in the finished cupcake and worth the small additional investment.
- Cool Completely Before Serving or Frosting: The cheesecake center needs time to fully set from its warm, slightly loose baked state into the firm, creamy, cool texture that makes it so genuinely extraordinary. Allow at least 30–45 minutes of room temperature cooling before serving, and ideally refrigerate for 1 hour for the most beautiful, most defined cheesecake center texture.
VARIATIONS
- Chocolate Chip Center: Fold 2 tablespoons of mini chocolate chips into the cheesecake filling before assembling for a rich, chocolatey surprise inside the cheesecake center that adds an extra layer of flavor and textural interest to every bite.
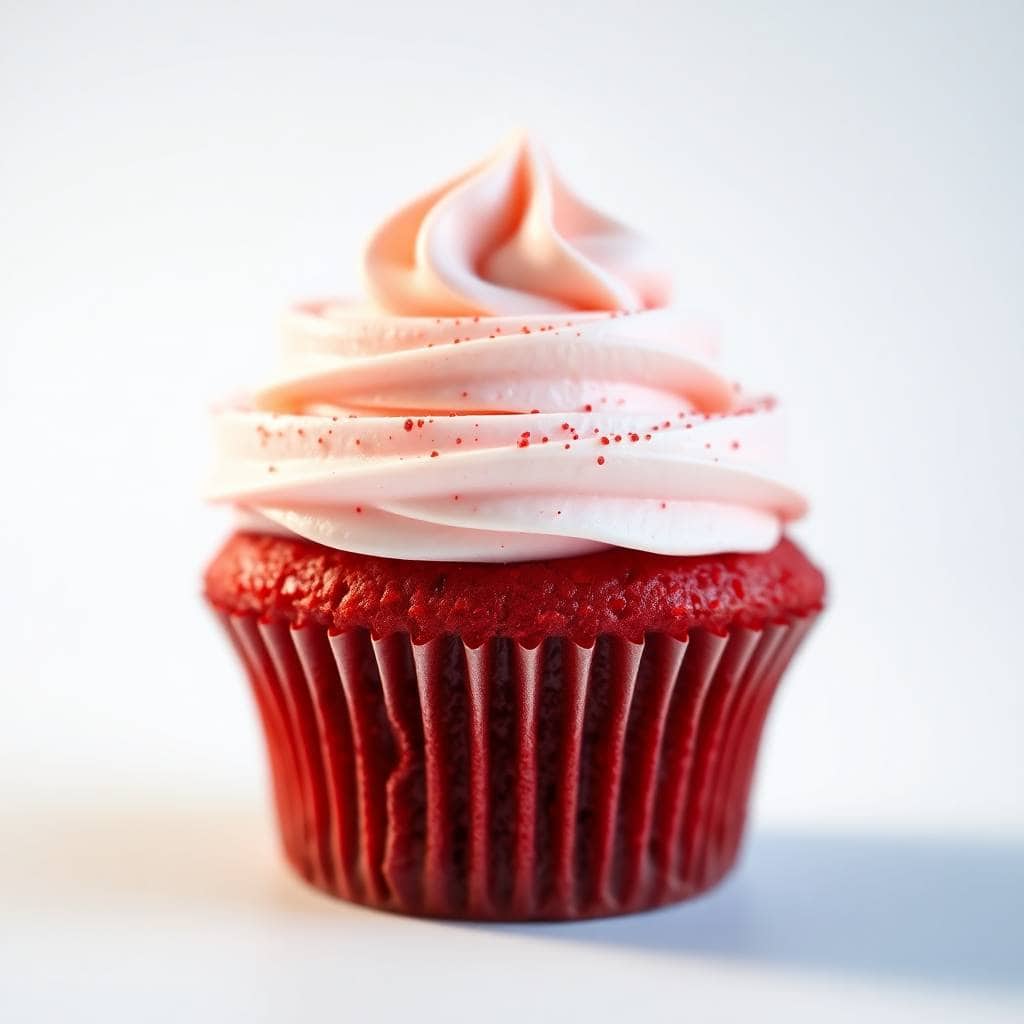
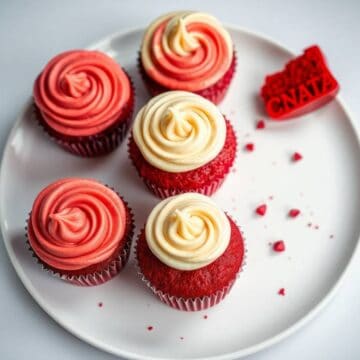
- Classic Cream Cheese Frosting Topping: Pipe a generous swirl of classic cream cheese frosting on each cooled cupcake for an extra layer of tangy richness and a beautifully elegant presentation. The cream cheese frosting doubles down on the cheesecake element and makes these cupcakes even more indulgent and more visually striking.
- Marble Effect: After placing the cheesecake filling on top of the first layer of batter, use a toothpick to gently swirl the cheesecake filling into the red batter in a marble pattern before adding the final layer of batter on top for a beautiful marbled design visible in the top of each baked cupcake.
- Holiday Decorated Edition: Frost with white cream cheese frosting and decorate with red and pink heart-shaped sprinkles for Valentine's Day, red and green sprinkles for Christmas, or themed liners and toppers for any holiday or special event throughout the year.
- Gluten-Free Version: Substitute a 1:1 gluten-free all-purpose flour blend containing xanthan gum for the all-purpose flour for a gluten-free version suitable for guests with dietary restrictions. The flavor and texture are genuinely comparable to the standard version with a good-quality blend.
- Mini Cheesecake Cupcakes: Use mini muffin tins and reduce the baking time to 10–12 minutes for bite-sized versions that are perfect for party dessert platters, gift boxes, and special occasion spreads where individual small portions are more practical.
SERVING AND STORAGE
Serving
Serve these Red Velvet Cheesecake Cupcakes slightly chilled or at room temperature — slightly chilled is the most recommended serving temperature as it keeps the cheesecake center firm, creamy, and clearly distinct from the surrounding cake, which produces the most extraordinary textural contrast. For the most visually stunning presentation, top with a swirl of cream cheese frosting and garnish with a dusting of red velvet cake crumbs or festive holiday-colored sprinkles. These cupcakes pair beautifully with a cup of coffee, a glass of cold milk, or a warm cup of tea.
Storage
Store Red Velvet Cheesecake Cupcakes in an airtight container in the refrigerator for up to 5 days — the cheesecake center requires refrigeration and the cold temperature also keeps the cupcakes moist and the cream cheese frosting firm. Remove from the refrigerator 15 minutes before serving to take the chill off slightly. For freezing, freeze unfrosted cupcakes in an airtight freezer-safe container for up to 2 months — wrap each cupcake individually in plastic wrap before placing in the container. Thaw overnight in the refrigerator and frost just before serving.
FAQ
Yes — freeze unfrosted cupcakes individually wrapped in plastic wrap in an airtight freezer-safe container for up to 2 months. Thaw overnight in the refrigerator and bring to desired serving temperature before frosting and serving. The cheesecake center maintains a good texture through freezing and thawing when stored correctly.
Absolutely — beetroot powder or concentrated natural red dye both work well as alternatives to artificial red food coloring. Beetroot powder produces a slightly more burgundy than scarlet color but is completely undetectable in terms of flavor. Use approximately 2 teaspoons of beetroot powder dissolved in 1 teaspoon of water as a substitute for 1 tablespoon of gel food coloring.
A hand mixer or stand mixer is the most practical tool for creaming the butter and sugar and for beating the cream cheese filling smooth. However, both tasks can be accomplished by hand with a whisk and significant elbow grease — cream the butter and sugar vigorously by hand with a wooden spoon for at least 4–5 minutes to achieve the necessary lightness, and beat the cream cheese filling thoroughly to eliminate all lumps.
Yes — bake and cool completely, then store unfrosted in an airtight container in the refrigerator for up to 2 days. Frost just before serving for the freshest presentation. The cheesecake filling actually firms and improves with overnight refrigeration, making the day-after texture of these cupcakes genuinely excellent.
You can, but skipping it removes the most distinctive and most extraordinary element of this recipe — the surprise creamy cheesecake center is what sets these cupcakes apart from a standard red velvet cupcake. Without the filling, the result is a very good red velvet cupcake; with the filling, it is an genuinely extraordinary, memorable experience that guests talk about long after the event.
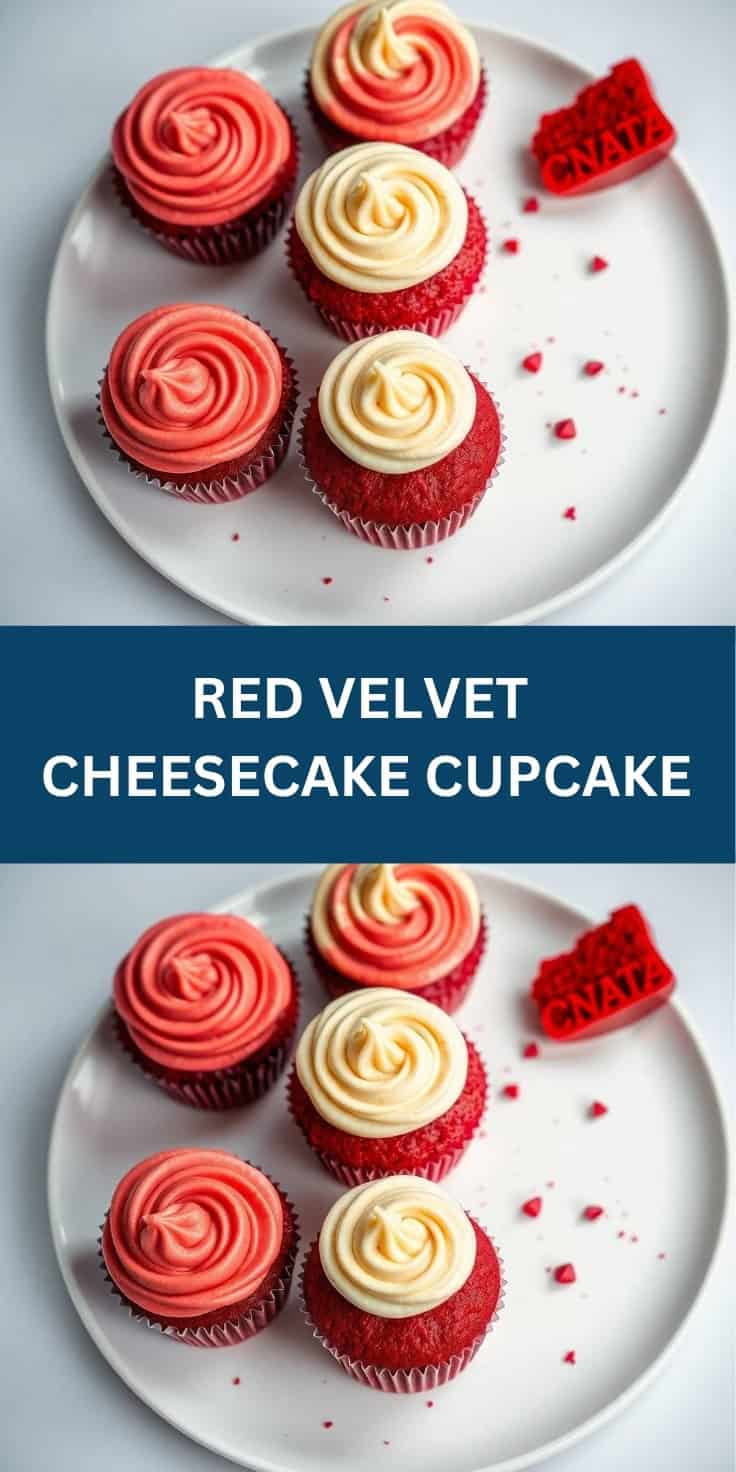
Each Red Velvet Cheesecake Cupcake perfectly captures the romance of red velvet and the indulgence of cheesecake in a single, genuinely delightful bite. They are versatile enough for birthdays, holiday parties, or everyday treats, offering a unique combination of comfort and elegance with every swirl of rich flavor.
This recipe is genuinely impressive in its results while remaining accessible to bakers at every skill level — making it the ideal choice for anyone who wants bakery-level results at home without complicated technique. Find more celebration dessert inspiration in our easy homemade cake recipes, our German chocolate cupcakes, and our easy cookie recipes. 🧁✨
RED VELVET CHEESECAKE CUPCAKE
Ingredients
For the Cupcakes:
- 1 ¼ cups all-purpose flour
- 1 tablespoon cocoa powder
- ½ teaspoon baking soda
- ¼ teaspoon salt
- ½ cup vegetable oil
- ¾ cup granulated sugar
- 1 large egg
- ½ cup buttermilk
- 1 teaspoon vanilla extract
- 1 teaspoon white vinegar
- 1 tablespoon red food coloring
For the Cheesecake Filling:
- 8 oz cream cheese softened
- ¼ cup granulated sugar
- 1 teaspoon vanilla extract
- 1 large egg yolk
For the Frosting (Optional):
- 1 cup whipped cream or cream cheese frosting
Instructions
- Preheat the Oven: Preheat oven to 350°F (175°C). Line a muffin tin with cupcake liners.
- Prepare Cheesecake Filling: In a small bowl, beat cream cheese, sugar, vanilla, and egg yolk until smooth. Set aside.
- Make Cupcake Batter: In another bowl, whisk together flour, cocoa powder, baking soda, and salt. In a large bowl, mix oil, sugar, egg, buttermilk, vanilla, vinegar, and red food coloring until combined. Gradually add dry ingredients and stir until smooth.
- Assemble: Fill each cupcake liner halfway with red velvet batter. Add a spoonful of cheesecake filling in the center, then top with a little more batter.
- Bake: Bake for 18–20 minutes, or until a toothpick comes out clean. Cool completely before frosting.
- Frost (Optional): Top with whipped cream or cream cheese frosting for a beautiful finish.
Notes
- Make Ahead: Cheesecake filling can be prepared up to 2 days in advance and stored in the refrigerator.
- Customizing the Flavor: Add chocolate chips to the cheesecake layer for extra richness.
- Serving Suggestions: Perfect for Valentine’s Day, birthdays, or tea parties.
- Allergy-Friendly Options: Use dairy-free cream cheese and milk alternatives for a lighter version.
- Storage Tips: Store cupcakes in the refrigerator for up to 4 days. Bring to room temperature before serving.





Comments
No Comments