
This recipe brings together two irresistible treats—cheesecake and brownies—into one showstopping dessert. These layered bars not only look gorgeous but also taste divine, making them ideal for celebrations, gifting, or a luxurious dessert indulgence.
Red velvet adds a festive touch to any dessert table, and this recipe takes it up a notch with a luscious cheesecake layer. Each bar is a perfect harmony of red velvet richness and velvety cream cheese swirls. Plus, it’s easier than it looks!
Made with basic pantry staples, this treat doesn’t require any fancy baking tools or advanced skills. It’s the kind of recipe that makes you look like a baking pro without all the stress and effort. If you can mix and bake, you can make this dessert.
The combination of tangy cream cheese and rich cocoa is what makes these bars unforgettable. The vibrant red base also makes these perfect for Valentine’s Day, Christmas, or any time you want to impress with flavour.
They’re also surprisingly versatile. You can cut them into small squares for easy sharing or go for big bars to serve as a full dessert. Each bite gives you a balanced flavour—sweet, slightly tangy, and deeply chocolatey.
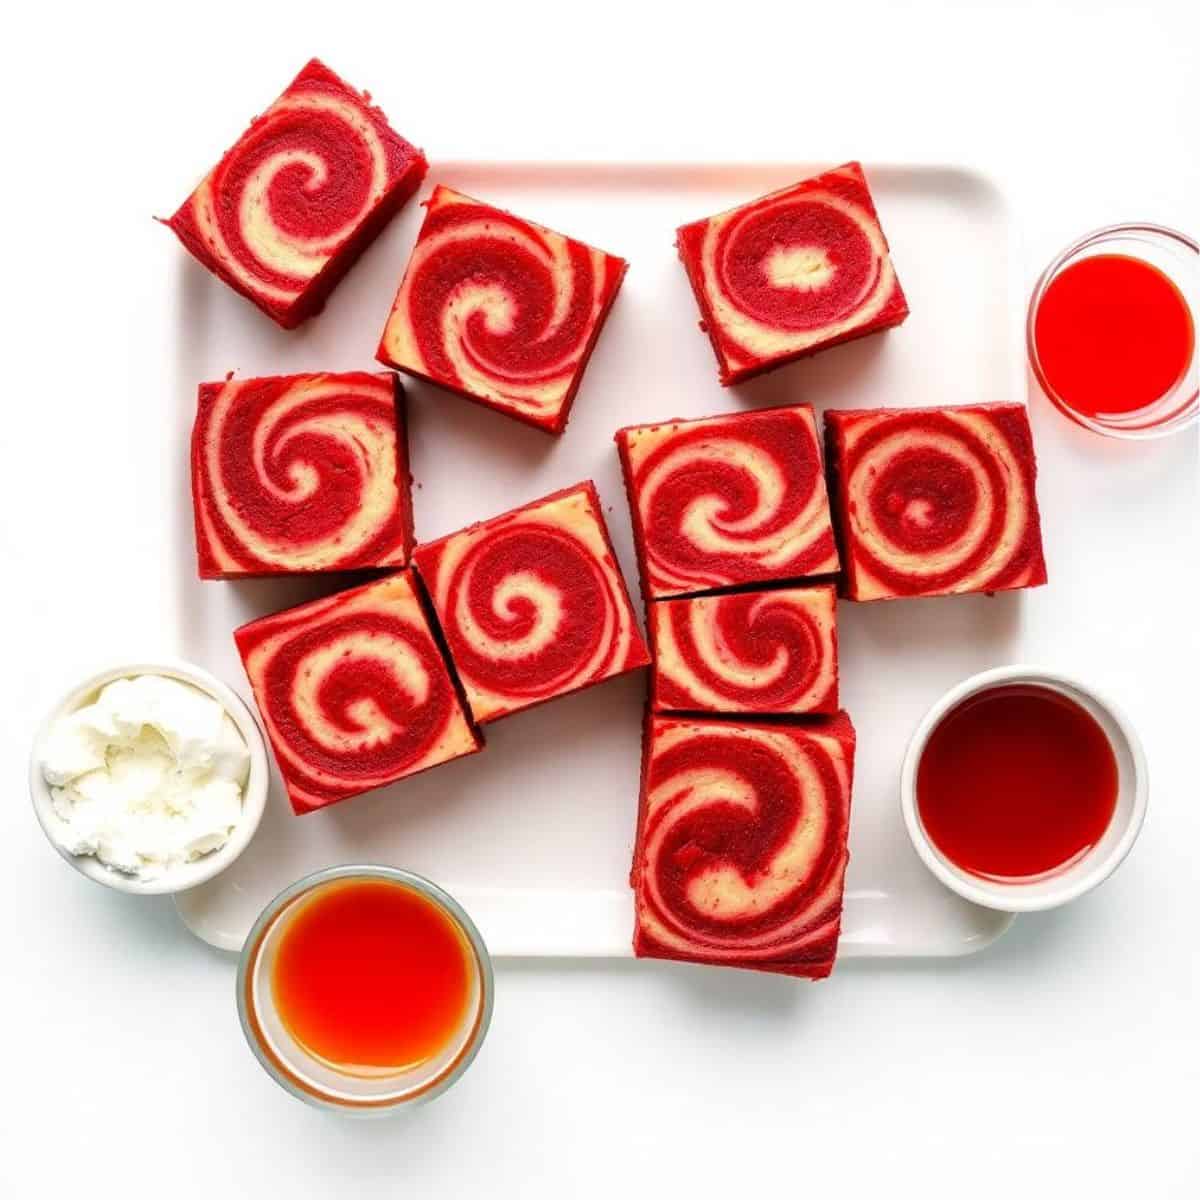
WHY YOU WILL LOVE THIS RECIPE
- Elegant Layers: These bars look bakery-worthy thanks to the swirled cheesecake top and deep red velvet base.
- Delicious Contrast: Tangy cheesecake and rich chocolate create a sweet, satisfying flavour with every single bite.
- Easy to Make: You don’t need special skills or tools—just layer, swirl, and bake with simple instructions.
- Perfect for Holidays: Their red colour and creamy swirl make them festive for Valentine’s Day or Christmas.
- Freezer-Friendly: Make ahead, freeze, and enjoy later—flavour and texture stay intact for days.
- Shareable Treats: Great for parties or gift boxes—easy to slice and portion beautifully.
- Reliable Texture: These bars hold their shape well and are soft, moist, and creamy every time.
INGREDIENTS
- ½ cup unsalted butter, melted
- 1 cup granulated sugar
- 1 tablespoon cocoa powder
- 1 tablespoon red food colouring
- 1 teaspoon vanilla extract
- 1 teaspoon white vinegar
- 2 large eggs
- ¾ cup all-purpose flour
- ¼ teaspoon salt
For Cheesecake Layer:
- 8 oz cream cheese, softened
- ¼ cup granulated sugar
- 1 large egg
- ½ teaspoon vanilla extract
DIRECTIONS
- Step No.1: Prepare the oven
Preheat your oven to 350°F (175°C) and line an 8x8-inch baking pan with parchment paper for easy removal.
- Step No.2: Make the brownie base
In a bowl, whisk melted butter, sugar, cocoa, red food colouring, vanilla, and vinegar. Add eggs one at a time, then stir in flour and salt until smooth.
- Step No.3: Reserve some batter
Pour most of the red velvet batter into the pan, spreading evenly. Reserve about ¼ cup of the batter for the swirl on top.
- Step No.4: Mix the cheesecake layer
Beat cream cheese, sugar, egg, and vanilla until smooth and creamy. Pour the cheesecake mixture over the red velvet layer.
- Step No.5: Add the swirl
Drop small spoonfuls of the reserved red velvet batter on top of the cheesecake layer. Use a toothpick to create swirls gently.
- Step No.6: Bake and cool
Bake for 30–35 minutes, or until the centre is set. Let it cool completely, then chill in the fridge before slicing into bars.
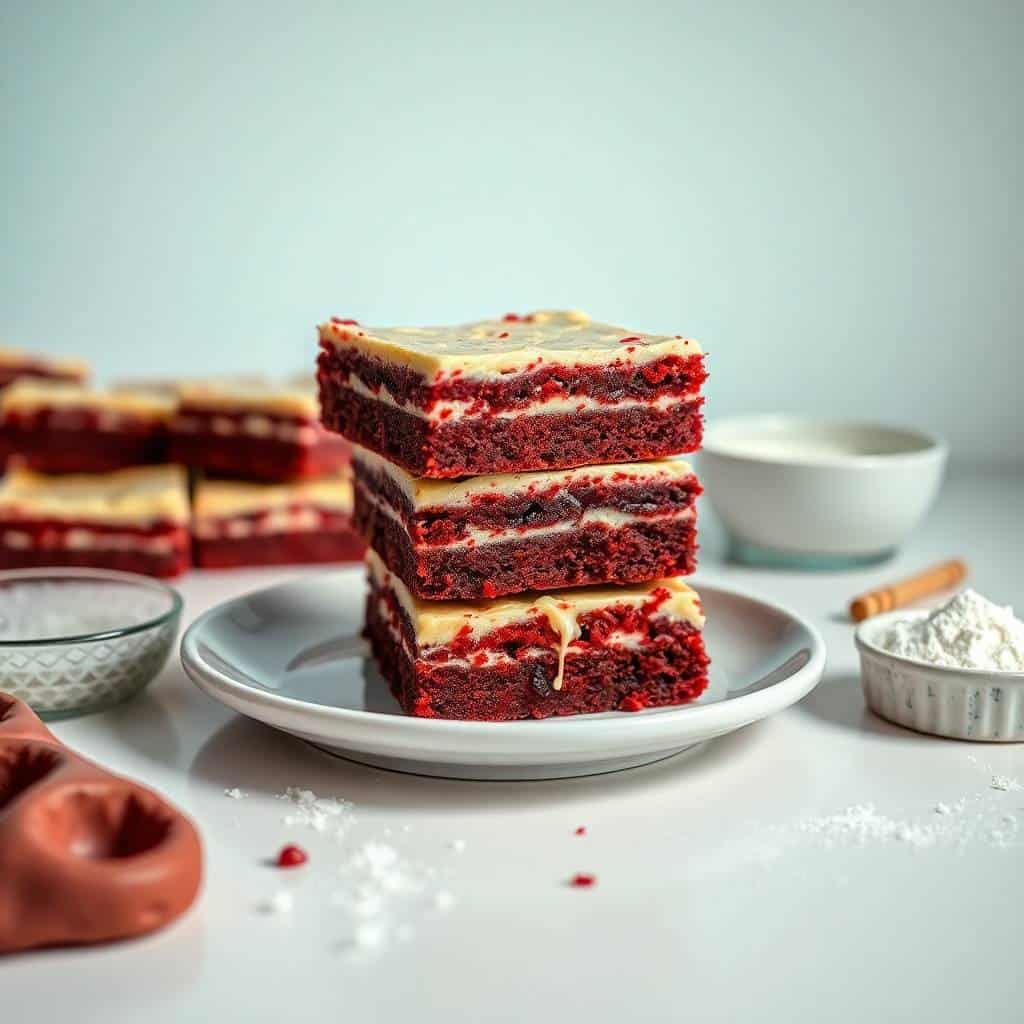
TIPS FOR SUCCESS
- Use Room Temperature Ingredients: This helps your batter and cheesecake layers mix smoothly without lumps or separation.
- Don't Overmix Swirl: A few gentle swirls with a toothpick create a marbled effect—don’t overdo it.
- Chill Before Cutting: Chilling ensures clean, sharp edges when slicing into bars.
- Line the Pan: Parchment paper makes it easy to lift the bars out of the pan without sticking.
- Test with a Toothpick: Insert in the centre—if it comes out clean or with a few moist crumbs, it’s ready.
- Use Full-Fat Cream Cheese: It gives the cheesecake layer a rich, creamy texture and better structure.
- Red Food Colouring Gel Works Best: It gives a more vibrant red without thinning your batter.
VARIATIONS
- Add chocolate chips: Stir mini chips into the batter for extra chocolate bursts in every bite.
- Use Different Colours: Swap red food colouring for green or pink to suit the occasion.
- Try a Crust Layer: Press crushed Oreo or graham cracker crumbs into the bottom before pouring the batter.
- Top with Whipped Cream: A small dollop of whipped cream makes these even more decadent when serving.
- Add a Nutty Crunch: Sprinkle chopped pecans or walnuts on top before baking for extra texture.
- Use Brownie Mix: In a hurry? Use boxed brownie mix for the base and add the cheesecake swirl.
- Add Fruit Puree: Mix raspberry or strawberry puree into the cheesecake layer for a fruity swirl.
SERVING AND STORAGE
Serving
Best served chilled or at room temperature, cut into squares, and optionally topped with whipped cream or berries.
Storage
Store in an airtight container in the fridge for up to 5 days or freeze for up to 2 months.
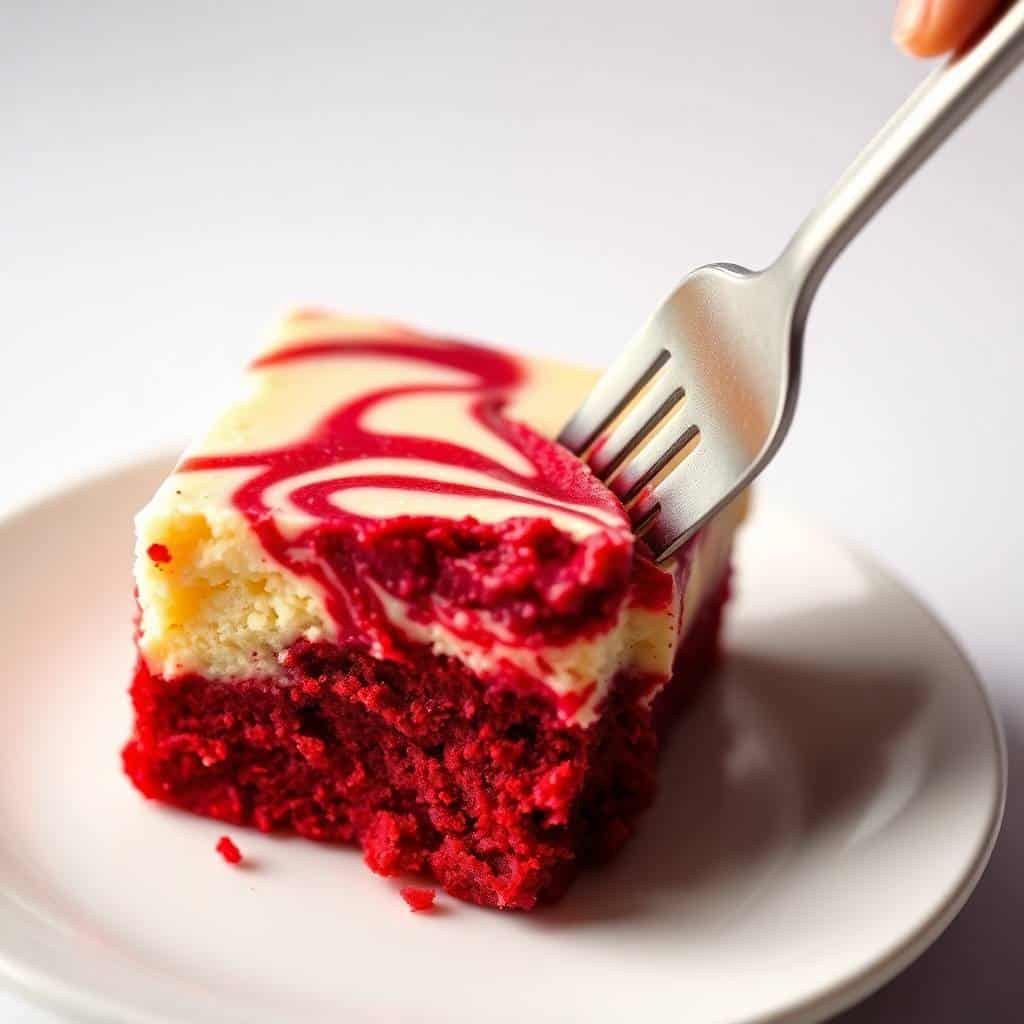
FAQ
Yes, boxed brownie mix works great—just add the cheesecake layer as instructed for a shortcut version.
Use a sharp knife wiped clean between cuts. Chilling the bars also helps you get neater slices.
Yes! You can make it a day in advance and refrigerate. In fact, the flavours improve after chilling overnight.
Yes, vinegar reacts with the cocoa and helps achieve that classic red velvet texture and subtle tang.
You can still make these as regular chocolate cheesecake brownie bars—just skip the colouring and enjoy them as-is!
These red velvet cheesecake brownie bars are an irresistible marriage of rich cocoa and creamy cheesecake swirls.
They’re as beautiful as they are delicious, with that signature red velvet flair making them perfect for holidays, date nights, or just treating yourself.
The steps are beginner-friendly and the ingredients are pantry staples, which means anyone can make them easily at home.
They’re also one of those desserts that look like you’ve spent hours in the kitchen, even though they come together in just a few simple steps.
The marbled cheesecake layer on top bakes into a silky, tangy contrast to the fudgy red velvet base.
Once chilled and cut into squares, they’re sure to disappear fast at any gathering.
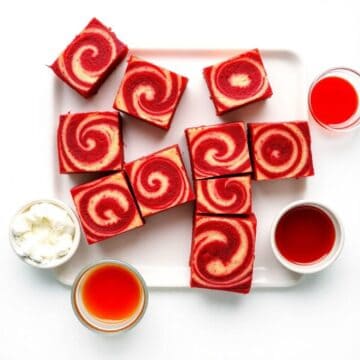
RED VELVET CHEESECAKE BROWNIE BARS
Ingredients
For the Brownie Layer:
- ½ cup unsalted butter melted
- 1 cup granulated sugar
- 2 large eggs
- 1 teaspoon vanilla extract
- ⅓ cup unsweetened cocoa powder
- ½ cup all-purpose flour
- ¼ teaspoon salt
- ¼ teaspoon baking powder
- 1 teaspoon red food coloring
For the Cheesecake Layer:
- 8 oz cream cheese softened
- ¼ cup granulated sugar
- 1 large egg
- ½ teaspoon vanilla extract
Instructions
Prepare Brownie Batter:
- Preheat oven to 350°F (175°C). In a bowl, whisk melted butter and sugar. Add eggs and vanilla; mix well. Stir in cocoa powder, flour, salt, baking powder, and red food coloring until combined.
Prepare Cheesecake Filling:
- In a separate bowl, beat cream cheese and sugar until smooth. Add egg and vanilla; mix until creamy.
Assemble Bars:
- Pour half the brownie batter into a greased 8x8-inch baking pan. Spread cheesecake mixture evenly over it. Top with remaining brownie batter, swirling gently with a knife.
Bake:
- Bake for 35–40 minutes until edges are set and a toothpick comes out mostly clean. Cool completely before cutting.
Notes
- Make Ahead: Store bars in the refrigerator for up to 4 days.
- Serving Suggestion: Serve chilled or at room temperature, optionally topped with whipped cream.
- Customization: Add white chocolate chips or crushed pecans for extra texture.
- Freezing: Freeze bars for up to 2 months; thaw before serving.

Comments
No Comments