
My husband doesn't really love cheesy snacks — except for these. The first time I pulled a tray of mozzarella stuffed baked onion rings out of the oven, he stood at the counter eating them before I could even get a dipping sauce ready. That told me everything I needed to know.
What makes this recipe work is the double-coat and the freeze step. I skipped the freezing the first time I made these and the cheese melted straight through the coating before the outside had a chance to crisp up. Lesson learned. Now I always give them 25 minutes in the freezer before they go into the oven, and the coating stays put, the cheese stays inside, and everything comes out golden and crunchy the way it should. These aren't deep-fried, but they genuinely get crispy — the panko breadcrumbs do a lot of that work.
I make these on movie nights mostly, when Saad and Zainab want something they can pick up with their hands and dip into sauce. They disappear fast — I usually make a double batch because one tray is never enough for four people. If you need something to serve alongside these, my chicken taquitos go really well on the same snack platter.
One thing to know going in: the assembly takes a little patience. You're matching onion ring pairs by size and pressing cheese between them, which sounds fiddly but actually goes quickly once you get a rhythm. The whole prep — slicing, stuffing, coating, freezing — takes about 45 minutes, and then the oven does the rest. Totally worth it.
Why You'll Love This Recipe
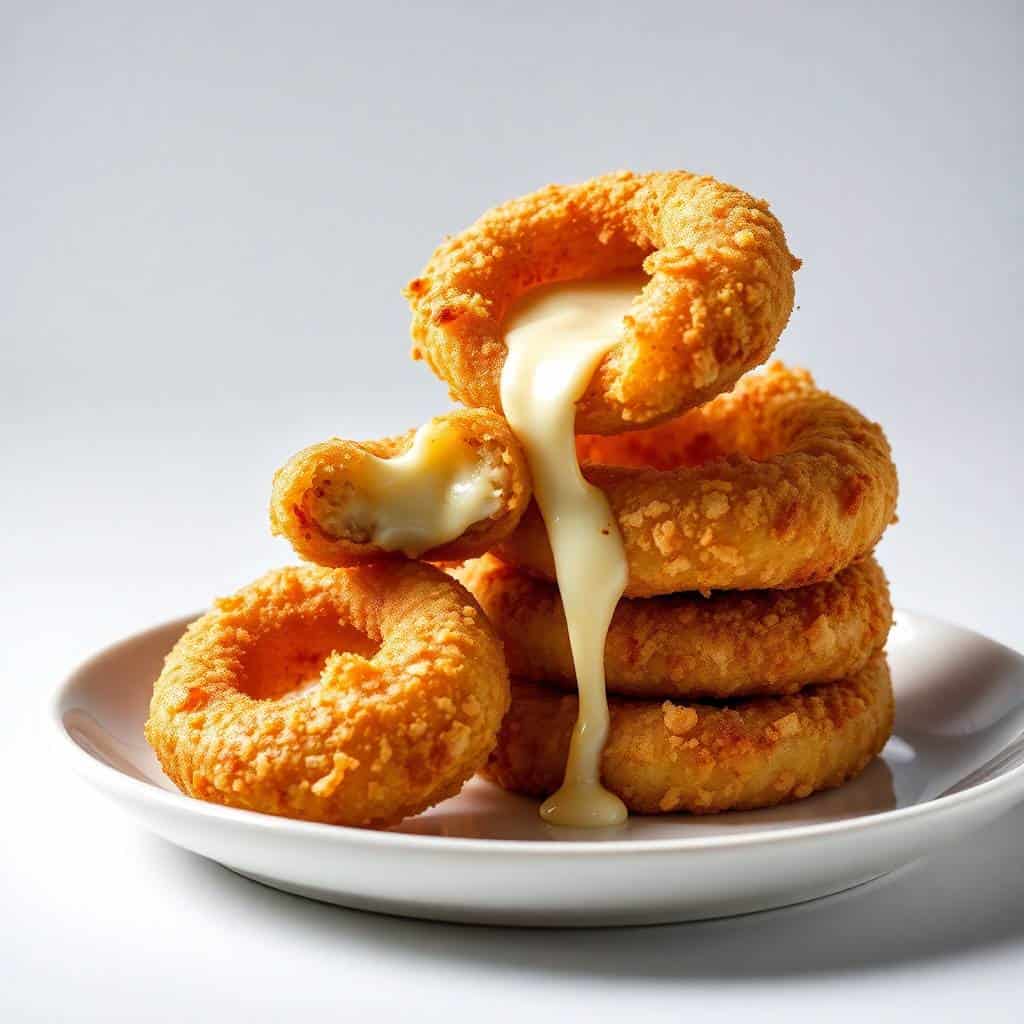
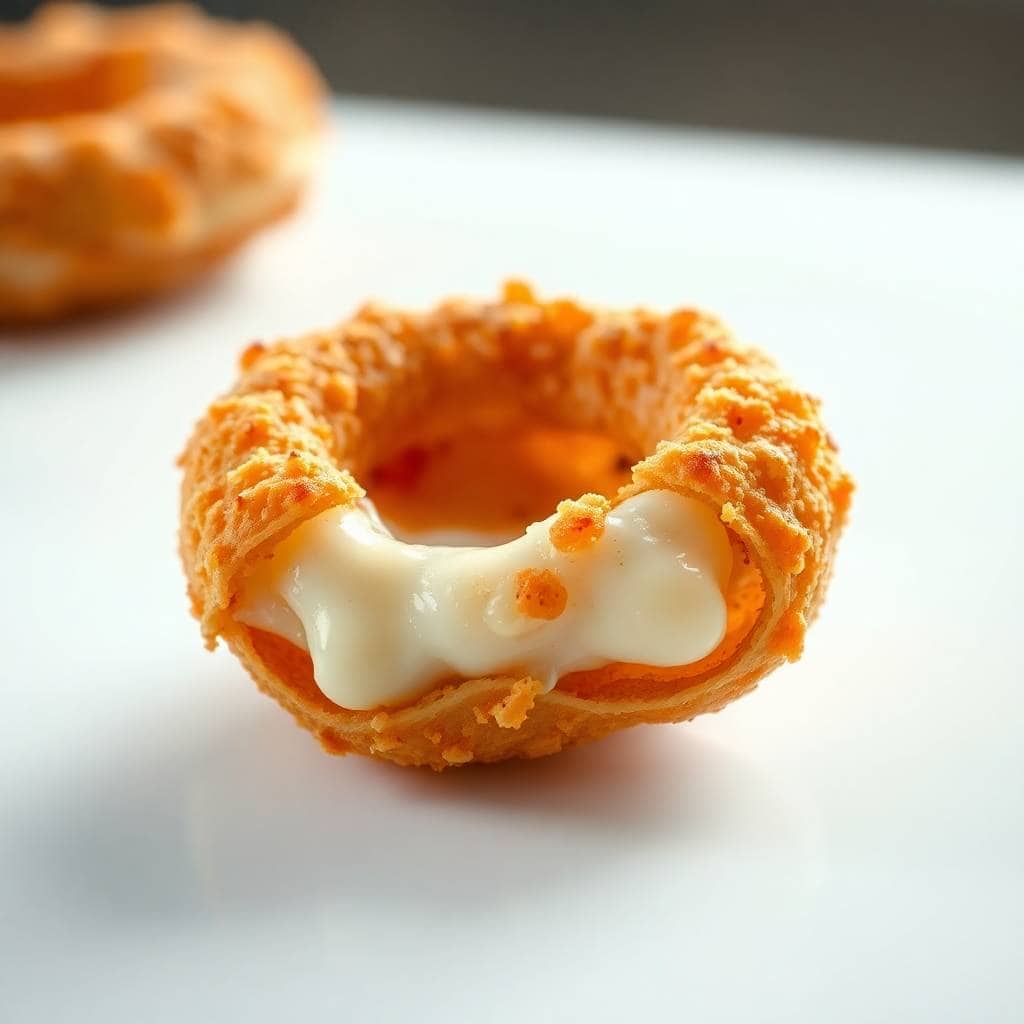
- The cheese actually stays inside: As long as you freeze the rings before baking, the mozzarella doesn't just melt and vanish — it stays tucked in the middle and stretches when you pull one apart. That gooey pull is the whole point of this recipe. I've made versions where I skipped the freeze and regretted it every time.
- Genuinely crispy without frying: Baked snacks can sometimes come out soft and sad, but panko breadcrumbs and an oil spray before baking give these a real crunch. The texture is close enough to fried that my husband didn't even ask why I didn't deep-fry them.
- Freezer-friendly before baking: You can assemble a full batch, freeze them on a tray, then transfer to a freezer bag and pull them out whenever you need a quick snack. Bake straight from frozen — just add 3 or 4 extra minutes to the cook time. I love having a stash ready for unplanned guests.
- The coating is easy to customize: The base recipe is pretty neutral — garlic powder, paprika, salt — which means you can go in a lot of directions depending on your mood. Chili flakes if you want heat. Italian seasoning and parmesan if you want something herby. Everything bagel seasoning is one I've been meaning to try.
- Kids absolutely love these: Saad calls them "cheese rings" and has asked for them on every movie night for the past two months. The combination of crunchy outside and melty inside is exactly the kind of texture kids can't resist. They're also easy enough for kids to help assemble — matching the ring sizes and pressing the cheese in is a good task for little hands.
Ingredients
- 2 large sweet onions, sliced into thick rings
- 8 mozzarella cheese sticks (cut to fit onion rings)
- 1 cup all-purpose flour
- 3 large eggs, beaten
- 2 cups panko breadcrumbs
- ½ teaspoon garlic powder
- ½ teaspoon paprika
- Salt and pepper to taste
- Cooking spray or olive oil spray
Directions
- Prep the oven and tray: Preheat your oven to 425°F (220°C) and line a baking sheet with parchment paper. Getting the oven fully hot before the rings go in makes a real difference for crispiness — don't rush this.
- Slice and match the onion rings: Peel the onions and slice them into thick rounds, about ¾ inch each. Separate the rings and sort them into pairs of similar sizes. You need two rings that nest snugly together to hold the cheese in place.
- Stuff with mozzarella: Cut each cheese stick to fit the diameter of your onion rings. Place a piece of mozzarella between two matched rings and press gently so they sit flush. The cheese should be snug but you shouldn't be forcing the rings apart.
- Set up your coating station: Set out three shallow bowls — one with the flour, one with the beaten eggs, one with the panko mixed with garlic powder, paprika, salt, and pepper. Having everything lined up before you start makes the coating process go smoothly.
- Double-coat each ring: Dredge each stuffed ring in flour first (shake off the excess), then dip in egg, then press into the panko. For extra crunch, dip back into the egg and panko a second time. Press the breadcrumbs on gently but firmly so they stick.
- Freeze before baking: Arrange the coated rings on the lined baking sheet and place the whole tray in the freezer for 20–25 minutes. This is the step I skipped the first time and deeply regretted — the freeze sets the coating and keeps the cheese from leaking out before the crust has time to crisp up.
- Spray and bake: Take the tray straight from the freezer, spray the rings generously with cooking spray, and bake for 12–15 minutes until the coating is deep golden and crisp. Serve immediately while the cheese is still melty.
Tips for Success
- Don't skip the freeze: I can't stress this enough. The first batch I made went straight from coating to oven and the cheese melted out before the breadcrumbs had a chance to brown. Twenty-five minutes in the freezer changes everything — the coating sets firmly and the cheese stays contained until the outer crust is already crisping up.
- Use low-moisture mozzarella sticks: The individually wrapped string cheese you find at any Walmart or Costco is exactly what you want here. Fresh mozzarella has too much moisture and tends to seep out even with the freeze step. Stick with the firm, dry kind.
- Give each ring space on the tray: When rings touch each other on the baking sheet, they steam instead of bake and the coating goes soft. I learned this after a batch came out with one crispy side and one sad soggy side. Spread them out — use two trays if you need to.
- Be generous with the cooking spray: Panko needs fat to brown properly in the oven. A light mist won't cut it — spray until you can see a sheen on the breadcrumbs. If you have a little olive oil in a spray bottle, that works even better than the aerosol kind.
- Serve within 5 minutes of coming out: These are at their best immediately out of the oven when the crust is at peak crunch and the cheese is still fully melted. If they sit for 15 minutes the coating softens and the cheese firms back up. I set out the dipping sauces before the rings go in so everything is ready the moment the tray comes out.
Variations
- Spicy version: Add ½ teaspoon of cayenne to the panko mix or a few dashes of hot sauce to the egg wash. My husband does this every time he makes a batch himself. The heat cuts through the richness of the cheese in a way that works really well — these pair nicely with a cool ranch dip on the side.
- Italian-style coating: Mix 2 tablespoons of finely grated parmesan and 1 teaspoon of Italian seasoning into the panko. This is my personal favorite variation — the parmesan toasts in the oven and adds another layer of savory flavor. Serve with warm marinara for dipping.
- Gluten-free swap: Use a 1:1 gluten-free all-purpose flour and certified gluten-free panko breadcrumbs. The texture is almost identical to the original — I've made this version for a friend who can't eat gluten and she didn't notice any difference. Most large grocery chains carry gluten-free panko now.
- Bacon-wrapped filling: Wrap each piece of mozzarella in a thin strip of bacon before stuffing it into the onion rings. The bacon crisps up during baking and adds a smoky, salty contrast to the melty cheese. This is the version I'd serve on a game-day platter alongside my chicken taquitos — they disappear together at the same rate.
- Different cheese fillings: Cheddar, pepper jack, and gouda all work — just make sure whatever cheese you use is firm enough to slice cleanly and hold its shape during the freeze. Soft cheeses like brie or fresh goat cheese tend to leak no matter what you do.
Serving and Storage
Serving
Serve these straight from the oven while the cheese is still fully melted. Set out a few dipping options — marinara, ranch, and garlic aioli are the three I always put on the table. I usually plate these with whatever else I'm serving for movie night; they work well alongside my slow cooker Cajun potato soup on colder evenings when you want something warm and comforting alongside a snack.
Storage
Leftovers (if you have any) can be stored in an airtight container in the fridge for up to 3 days. Reheat in the oven at 375°F for 6–8 minutes or in an air fryer at 350°F for 4–5 minutes — both methods bring the coating back to a decent crunch. Do not microwave them; the coating goes completely soft. For make-ahead storage, freeze the assembled and coated rings (before baking) on a parchment-lined tray, then transfer to a freezer bag once solid. They keep for up to 2 months frozen and bake straight from the freezer — just add 4–5 minutes to the bake time.
Frequently Asked Questions
Can I make these ahead of time?
Yes — assemble and coat the rings, then freeze them on the tray. Once frozen solid, transfer to a freezer bag and keep them for up to 2 months. Bake straight from frozen at 425°F and add 4–5 minutes to the bake time. I always have a bag in the freezer for last-minute guests.
Do I really need to freeze them before baking?
Yes, and I say this from experience. The first time I skipped the freeze step, the cheese melted straight through the coating before the outside had a chance to brown. The 20–25 minute freeze sets the coating and gives the crust time to crisp up before the cheese gets hot enough to move. It's the most important step in the recipe.
Can I use a different cheese?
Absolutely. Cheddar, pepper jack, and gouda all work well — just make sure the cheese is firm and low-moisture. Avoid fresh mozzarella or any soft cheese that's already wet, because it will leak no matter what precautions you take. The string cheese you find in the snack aisle at any grocery store is ideal.
Can I fry these instead of baking?
You can deep-fry them at 350°F until golden brown, about 2–3 minutes. They come out slightly crunchier than the baked version, though the baked rings are honestly close enough that I don't bother with the oil and cleanup. If you do fry them, still freeze them first — the logic is the same either way.
How do I stop the coating from falling off?
Two things: double-coat and freeze. The first coat of flour gives the egg something to grip, the egg gives the panko something to stick to, and a second pass through egg and panko locks it all in. Then freezing sets everything firm before the heat hits it. Press the breadcrumbs on firmly with your palm rather than just rolling the ring around — that physical pressure makes a difference.

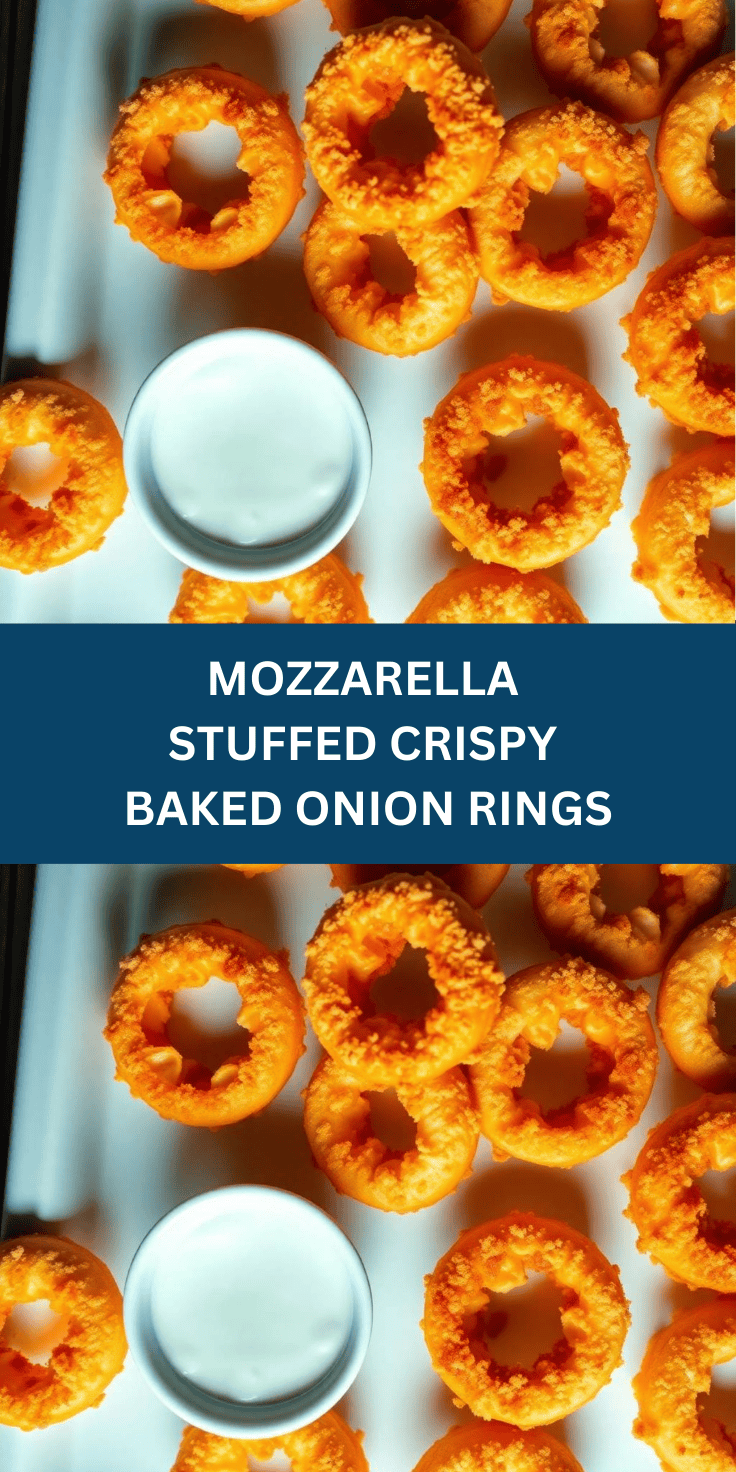
MOZZARELLA STUFFED CRISPY BAKED ONION RINGS
Ingredients
- 2 large sweet onions sliced into thick rings
- 8 mozzarella cheese sticks cut to fit onion rings
- 1 cup all-purpose flour
- 3 large eggs beaten
- 2 cups panko breadcrumbs
- ½ teaspoon garlic powder
- ½ teaspoon paprika
- Salt and pepper to taste
- Cooking spray
Instructions
- Preheat oven to 425°F (220°C) and line a baking sheet with parchment paper.
- Separate onion rings and match two similar-sized rings. Insert a strip of mozzarella between them.
- Secure by pressing gently and repeating until all are filled.
- Dredge each ring in flour, dip in egg, then coat in seasoned panko breadcrumbs.
- Arrange on the baking sheet and spray lightly with cooking spray.
- Bake for 12–15 minutes or until golden brown and crisp. Serve warm with dipping sauce.
Notes
- Make Ahead: Assemble the rings and refrigerate for up to 24 hours before baking.
- Customizing the Flavour: Spice up the panko with chili flakes or Italian seasoning.
- Serving Suggestions: Serve with marinara, ranch, or garlic aioli.
- Allergy-Friendly Options: Use gluten-free flour and breadcrumbs for a gluten-free version.
- Storage Tips: Best enjoyed fresh. Reheat leftovers in the oven for a few minutes to retain crispiness.
These mozzarella stuffed baked onion rings have become a regular at our house, and honestly I didn't expect that. I thought they'd be a one-time novelty — interesting once, then forgotten. But my kids keep asking for them and my husband has started requesting them specifically for game nights, which is how I know a recipe has earned its place in the rotation.
What I like most about them is that the whole thing is fairly low-effort once you've done it once. The first time feels like a lot of steps — flour bowl, egg bowl, breadcrumb bowl, freeze, spray, bake — but the second time you do it on autopilot. The freeze step does all the hard work for you, and the oven handles the rest. If you want something to serve alongside these on a snack night, the strawberry cheesecake nachos box makes a great sweet follow-up after the savory rings.
If you make a batch and have people over, don't warn them there's cheese inside — let them discover it. That first pull when the mozzarella stretches is one of those moments that gets a reaction every single time. 🧀✨
If you liked this recipe, here are a few more from the site you might enjoy:
- Chicken Taquitos — crispy, handheld, and great for the same kind of snack platter
- Slow Cooker Cajun Potato Soup — a hearty warm-up for movie nights in colder weather
- Strawberry Cheesecake Nachos Box — the sweet finish to a savory snack spread
- Chicken Alfredo Tater Tot Casserole — comfort food that kids and adults both go for
- 17 Best Grilled Chicken Sandwich Recipes — if you need something more substantial for the same crowd





Comments
No Comments