
Candy-making terrified me for years. I'd read recipes with candy thermometers and soft-ball stages and just quietly close the tab. Then one winter I decided to actually try pralines — Southern buttermilk pecan pralines specifically — and I'm so glad I stopped being scared. The technique is straightforward once you understand what you're looking for, and the result is something genuinely special: creamy, nutty, caramel-rich candy that tastes like it came from a fancy confectionery shop.
What makes these work is the buttermilk. It adds a faint tang that cuts through the sweetness and gives the pralines that soft, fudge-like texture instead of the rock-hard crunch you sometimes get with cheaper candy recipes. The powdered sugar stirred in at the end is what sets this version apart from the cooked-to-temperature method — it gives you a more forgiving window to work with, which is exactly what I needed as a first-timer. I won't pretend this is how every Southern grandmother makes them, but it's the version I've made six times now and keep coming back to.
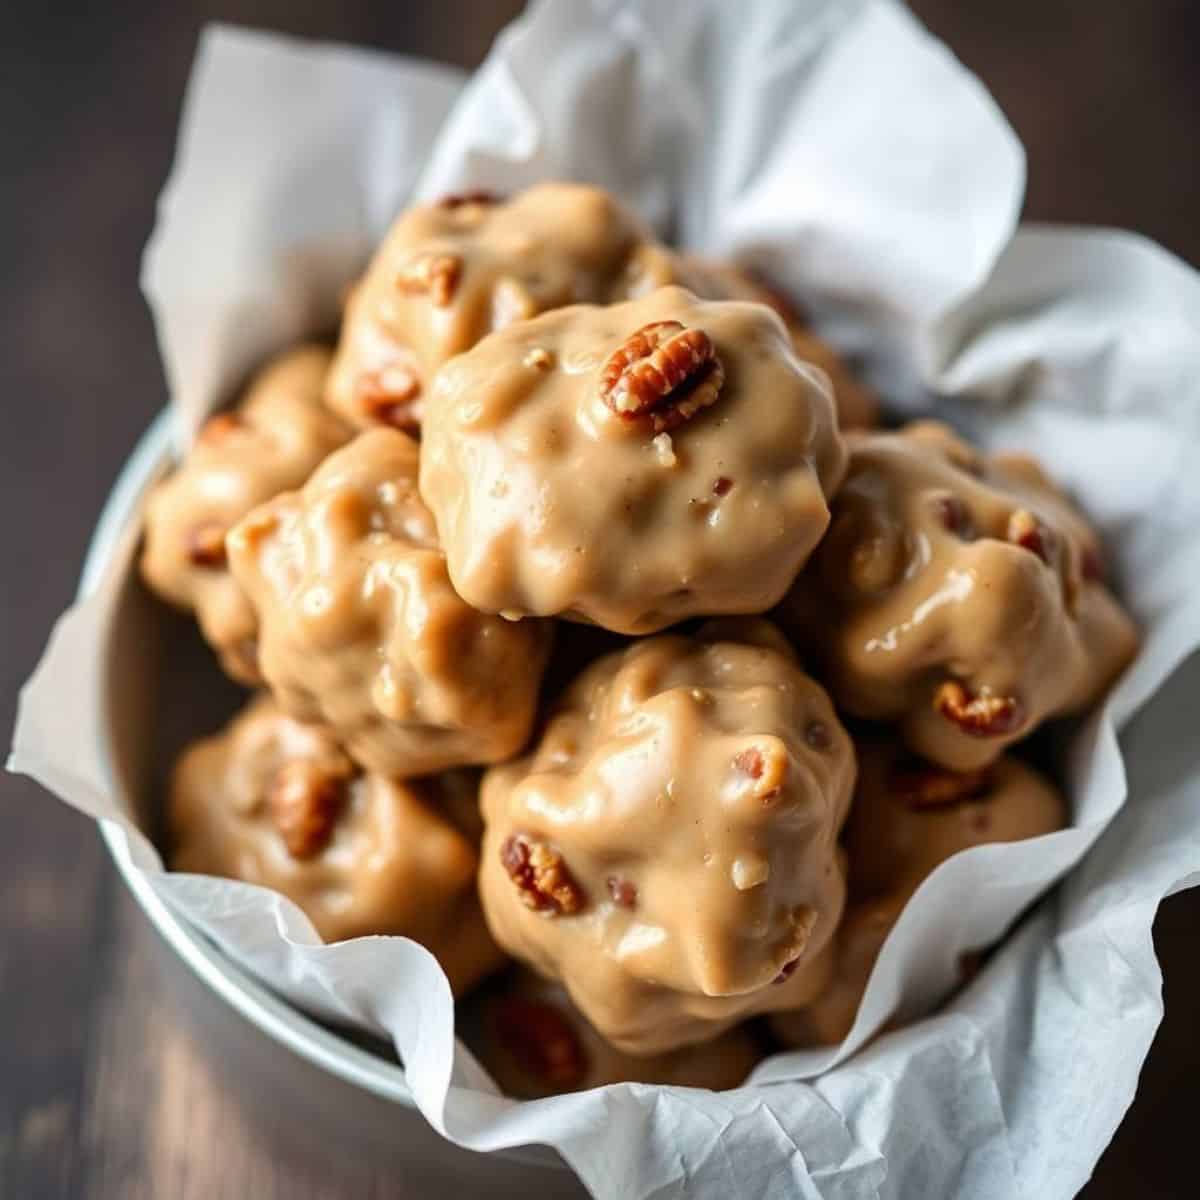
My husband has a serious weakness for anything with pecans. He spotted these cooling on the parchment paper and ate three before they were fully set. I'd also packed some up for a neighbor around the holidays alongside a batch of my Apple Butter Cookies — the two together made a genuinely nice little gift. These pralines travel well, hold their shape, and last longer than most homemade candy, which makes them ideal for gifting.
One honest warning: you need to work fast once the mixture is ready. I didn't the first time. I stopped to adjust the parchment paper and by the time I got back to spooning, the mixture had stiffened in the pan. I had to scrape it out in chunks, which was messy. Now I have everything laid out before I even turn on the stove — parchment down, spoon ready, pecans measured. Prep first, every time.
Why You'll Love This Recipe
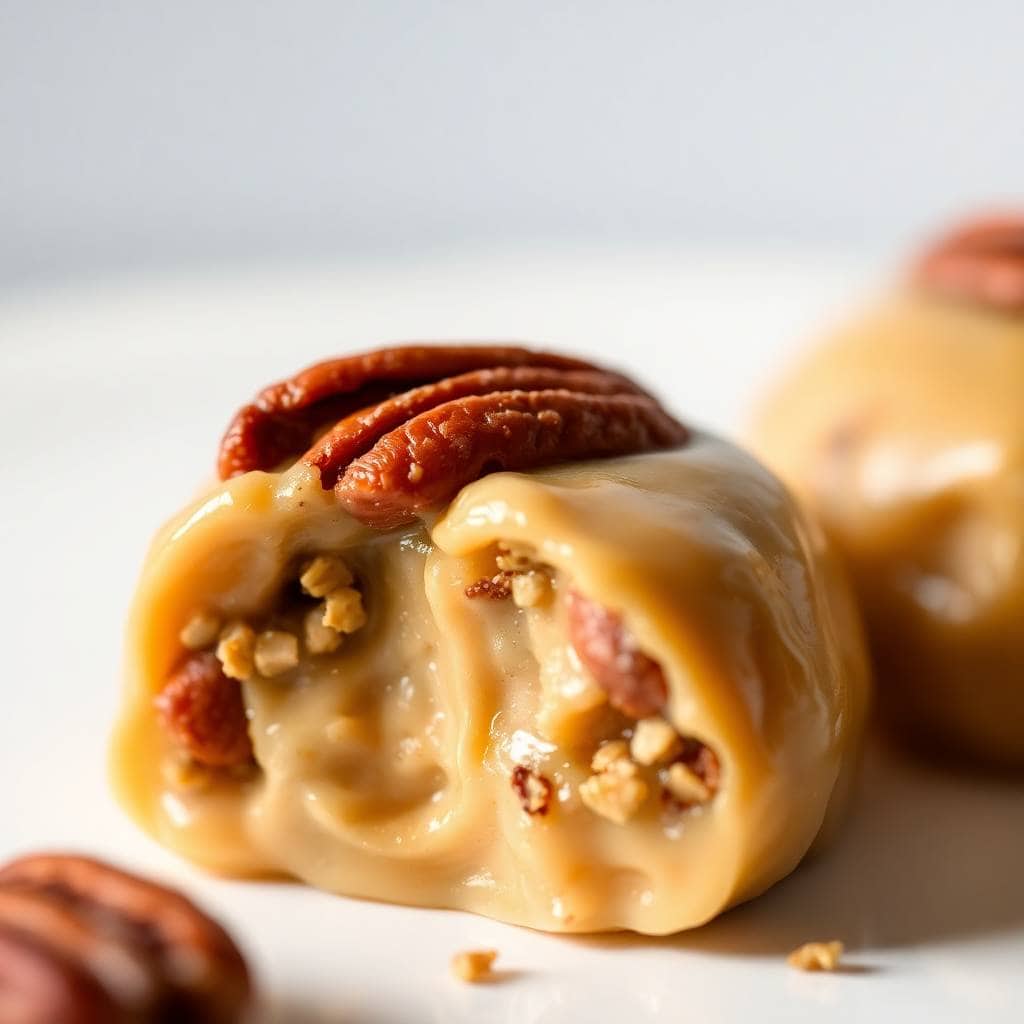
- The buttermilk makes all the difference: Most candy recipes use heavy cream or evaporated milk, but buttermilk gives these pralines a subtle depth that plain sugar-and-cream candy doesn't have. It's slightly tangy, which keeps them from being cloyingly sweet. If you've tried pralines before and found them too one-dimensional, this version will change your mind.
- No candy thermometer anxiety: This recipe uses powdered sugar stirred in off the heat, which means you're not racing to hit a precise temperature window. You bring the mixture to a boil, cook it for a few minutes, pull it off, and stir. It's much more forgiving than the traditional soft-ball method, and I say that as someone who has failed the cold-water test more than once.
- Real pantry ingredients: Butter, brown sugar, buttermilk, vanilla, pecans, powdered sugar. That's it. You can find all of these at any grocery store — Walmart, Aldi, Kroger, Sainsbury's if you're in the UK (swap pecans for whatever's available). No specialty candy-making supplies, no obscure ingredients.
- They keep well and gift beautifully: I make a double batch at Christmas because one batch disappears before I've finished cleaning up the kitchen. Stored in an airtight tin, they stay good for a week at room temperature or two weeks in the fridge. Stack them between layers of parchment and they travel without crumbling.
- Incredibly easy to customize: Once you understand the base recipe, swapping in different nuts or adding a drizzle of chocolate takes about thirty seconds of extra effort. The variations section below has a few directions I've actually tried, not just ideas I pulled from thin air.
Ingredients
- 1 cup unsalted butter
- 1 cup brown sugar, packed
- ½ cup buttermilk
- 1 teaspoon vanilla extract
- 1 ½ cups roasted pecans, chopped
- 1 ½ cups powdered sugar
- Pinch of salt
Directions
- Step 1: Get everything ready before you start — Set out a parchment-lined baking sheet, a large spoon or cookie scoop, and your measured pecans and powdered sugar. Once the mixture is off the heat, you'll have maybe 2-3 minutes to work before it starts setting. Not the moment to be searching for a spoon.
- Step 2: Melt the butter — In a medium heavy-bottomed saucepan, melt the butter over medium heat. A heavier pan matters here — thin pans scorch the sugar faster than you can react. I use a 3-quart stainless saucepan I've had for years.
- Step 3: Add the brown sugar and buttermilk — Stir in the packed brown sugar and buttermilk. Mix until combined and bring the whole thing to a boil over medium heat, stirring frequently. Once it hits a full boil, let it cook for 3-4 minutes, still stirring. You're building the caramel base here, so don't walk away.
- Step 4: Pull it off the heat — Remove the saucepan from the heat entirely. Stir in the vanilla extract, the pinch of salt, and the chopped roasted pecans.
- Step 5: Add the powdered sugar — Gradually stir in the powdered sugar, mixing until it's smooth and fully incorporated with no lumps. The mixture will thicken quickly as you stir. This is what sets the pralines into that soft, fudge-like consistency.
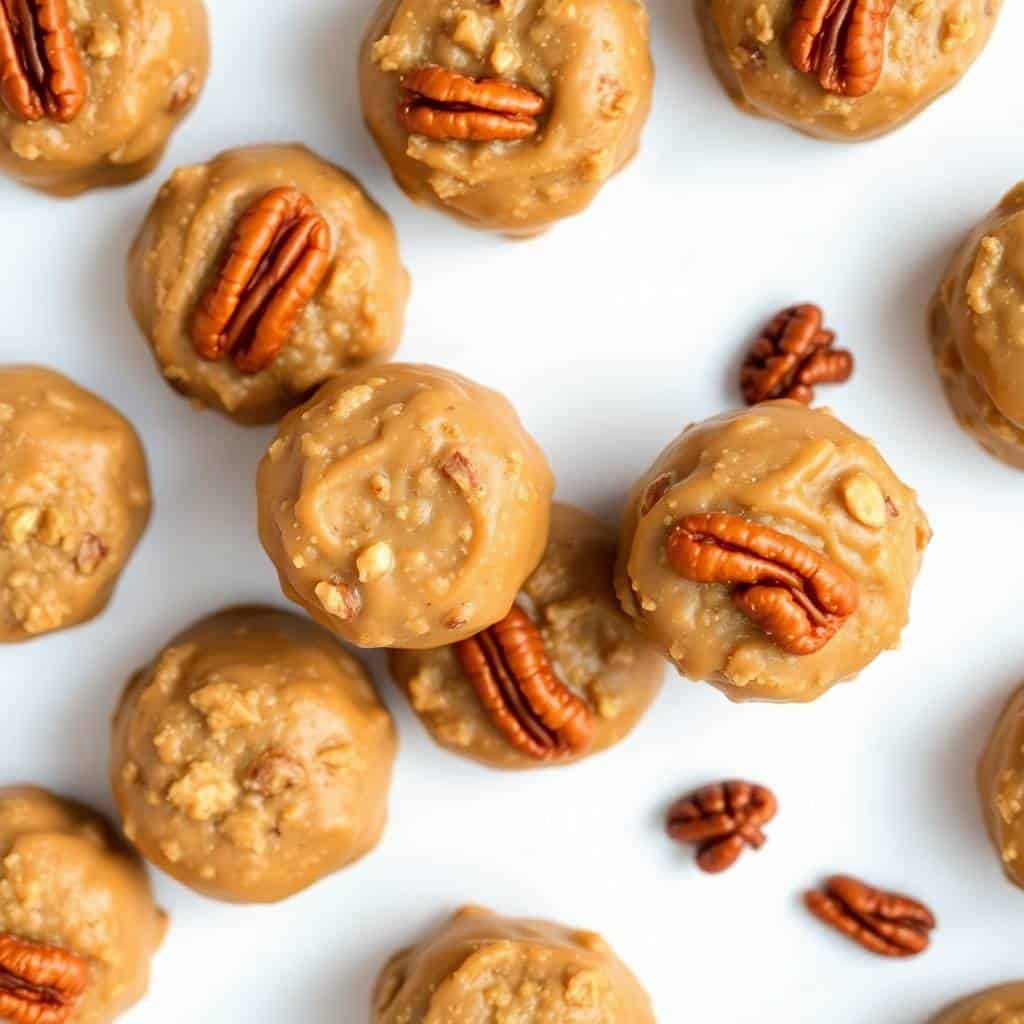
- Step 6: Drop and shape fast — Working quickly, drop spoonfuls of the mixture onto your parchment-lined baking sheet. Use the back of the spoon to shape them into rough rounds. They don't need to be perfect — rustic is fine. If the mixture stiffens in the pan before you're done, a few seconds over very low heat can loosen it slightly.
- Step 7: Cool completely — Leave the pralines undisturbed for at least 30 minutes. They'll firm up as they cool. Don't rush this — I've picked one up too early and it just bent in half. Patience here pays off.
Tips for Success
- Toast your pecans even if they're labeled "roasted": A quick 3-4 minutes in a dry skillet over medium heat deepens the flavor significantly. Store-bought roasted pecans are fine but they've often sat in a bag long enough to lose some of their nuttiness. Toasting them yourself right before you start brings them back to life. Let them cool a bit before adding them to the hot mixture so they don't go soggy.
- Use a heavy pan, not a thin one: I learned this the hard way. My first attempt used a lightweight saucepan and the bottom scorched before the sugar had time to fully dissolve. A heavier pan distributes heat more evenly and gives you more control. A stainless steel or enamel-coated saucepan is what I reach for. Any heavy pan from any store works — doesn't need to be expensive.
- Sift the powdered sugar if it's lumpy: If your powdered sugar has been sitting in the cupboard for a while, it can clump. Lumpy powdered sugar makes lumpy pralines, and no amount of stirring will fully fix it once it's in the hot mixture. Takes 30 seconds to sift and saves you from a grainy texture.
- Work fast but don't panic: The mixture sets quickly — that's actually what makes it work. But "quickly" means 2-3 minutes, not 30 seconds. Keep calm, drop spoonfuls steadily, and don't try to make them perfect circles. If it does start seizing before you're done, set the pan over the lowest heat for about 15-20 seconds and stir gently — that usually buys you another minute.
- Don't double the batch in one pan: I tried this once — doubled the ingredients and cooked them all together. The mixture didn't reduce properly and the texture came out strange. Make two separate batches if you want more. The whole process only takes about 15 minutes of active time anyway, so it's not a big deal to run it twice.
Variations
- Chocolate drizzle pralines: Once the pralines have cooled and set, melt ½ cup of chocolate chips in a microwave in 30-second increments and drizzle over the tops with a spoon. Let the chocolate set before storing. I've done this for holiday boxes and the combination of pecan, caramel, and chocolate is something else entirely. Saad calls them "the fancy ones."
- Sea salt pralines: Before the pralines set, sprinkle a tiny pinch of flaky sea salt on top of each one. The salt makes the sweetness pop in a way that's hard to explain until you try it. This is my husband's preferred version — he's been requesting it since the first time I made it by accident when I overdid the salt slightly.
- Spiced pralines: Add ½ teaspoon of cinnamon and a small pinch of cayenne pepper to the mixture along with the vanilla. The heat from the cayenne is very subtle — you mostly notice it as a warm finish after you swallow. If you like the idea but not the heat, just use the cinnamon alone. It shifts these into fall-spice territory, which pairs nicely alongside something like apple butter cookies in a gift tin.
- Walnut or almond version: Pecans are traditional, but this recipe works with walnuts or almonds too. Walnuts give a slightly more bitter edge that balances the sweetness well. Almonds stay crunchier and give the pralines a different texture. Either way, toast them first — that step isn't optional.
- Coconut pecan pralines: Stir in ¼ cup of shredded sweetened coconut along with the pecans. The coconut softens as the mixture sets and adds a slight chewiness that's different from the standard version. If you're a fan of anything coconut-flavored (my husband definitely is), this variation is worth trying. It reminds me a little of the flavors in my Almond Joy Poke Cake — that same chocolate-coconut-nut combination.
Serving and Storage
Serving
Serve these at room temperature — straight off the parchment is fine. They're rich enough that two or three is genuinely satisfying, so a small batch goes further than you'd expect. I put them out at the end of dinner as something sweet to pick at while we talk. They also go well on a dessert platter alongside something lighter, like a fruit salad or a simple cookie. For gifting, I stack them in a small tin between layers of parchment paper — they stack cleanly without sticking together once fully set. If you're building a holiday gift box, they pair nicely with White Trash snack mix for a sweet-and-salty combination people actually enjoy.
Storage
Store in an airtight container at room temperature for up to 1 week. Keep them away from humidity — they can get sticky if there's a lot of moisture in the air. For longer storage, refrigerate for up to 2 weeks. Let them come to room temperature before serving if they've been in the fridge, as the cold makes them a bit harder than they should be. I don't recommend freezing — the texture changes in a way I don't love once thawed.
Frequently Asked Questions
Can I make these pralines ahead of time?
Yes, and honestly they're better after a few hours of resting than straight off the parchment. I usually make them the night before I need them. Store them in an airtight container at room temperature and they'll be in perfect condition for at least a week.
What if I don't have buttermilk?
You can make a quick substitute: add 1 tablespoon of white vinegar or lemon juice to ½ cup of regular whole milk and let it sit for 5 minutes. It will curdle slightly, which is exactly what you want. The flavor isn't identical to real buttermilk, but it works well enough that I've done it in a pinch and no one noticed the difference.
Can I use a different nut instead of pecans?
Yes — walnuts and almonds both work well here. Toast whichever nut you're using before adding it to the mixture. Walnuts give a slightly bitter edge that I actually like against the sweet caramel base. Almonds stay crunchier and add a different texture. I wouldn't use cashews — they're too soft and get lost in the mixture.
Why did my pralines come out grainy or crumbly?
This usually happens if the powdered sugar wasn't fully incorporated, or if the mixture was stirred too vigorously while cooling. Stir the powdered sugar in steadily but not frantically — you want smooth incorporation, not a lot of air beaten in. If your batch came out crumbly, they still taste fine, they just won't have that smooth fudge-like texture. Chalk it up to a learning batch and adjust next time.
Can I freeze buttermilk pecan pralines?
Technically yes, but I don't recommend it. When they thaw, the texture becomes softer and slightly sticky in a way that doesn't match the original. They lose that clean, firm bite. Refrigerating for up to 2 weeks is a much better option if you want to make them far in advance.

BUTTERMILK PECAN PRALINES
Ingredients
- 1 cup unsalted butter
- 1 cup brown sugar packed
- ½ cup buttermilk
- 1 teaspoon vanilla extract
- 1 ½ cups roasted pecans chopped
- 1 ½ cups powdered sugar
- Pinch of salt
Instructions
- In a medium saucepan, melt the butter over medium heat.
- Add the brown sugar and buttermilk to the saucepan. Stir to combine, and bring to a boil. Allow the mixture to boil for 3-4 minutes, stirring frequently.
- Remove the saucepan from the heat and stir in the vanilla extract, salt, and chopped pecans.
- Gradually stir in the powdered sugar, mixing until smooth and fully incorporated.
- Drop spoonfuls of the mixture onto a parchment-lined baking sheet, shaping them into rounds with the back of the spoon.
- Allow the pralines to cool and set for about 30 minutes. They will firm up as they cool.
- Once set, enjoy your delicious homemade buttermilk pecan pralines!
Notes
- You can substitute the pecans with other nuts, such as walnuts or almonds, for a different flavor.
- If you prefer a firmer candy, allow the pralines to cook for a slightly longer time during the boiling step.
- Be sure to work quickly when spooning the praline mixture onto the parchment paper, as it will begin to set quickly.
- For a smoother texture, you can lightly toast the pecans before adding them to the mixture.
- These pralines can be stored in an airtight container at room temperature for up to a week or refrigerated for up to 2 weeks.
- To make them extra festive, drizzle the pralines with melted chocolate or sprinkle them with sea salt.
Pralines were one of those recipes I assumed were beyond me for a long time — candy-making felt like a different category of cooking, one that required precision I didn't have. What I found when I actually tried was that this version is genuinely manageable. The powdered sugar method removes most of the technical pressure, and once you've made a batch you understand exactly how the mixture should look and feel at each stage. The second batch is always better than the first.
These are now a regular item in my holiday baking rotation. I make them in late November when I start building up gift tins, and I always make at least two batches because the first one rarely survives long enough to be wrapped up. My husband finds them somehow every time, no matter where I hide them. If you're looking for something that feels special without requiring a professional kitchen or professional skills, this is a recipe worth trying.
If you're building out a dessert spread or a gift box, I'd also point you toward my Almond Joy Poke Cake for something showstopping that serves a crowd, or the Amish Apple Fritter Bread if you want something that wraps beautifully and travels well. Both are forgiving recipes that reward a little patience — which is exactly the spirit of these pralines too. 🍬✨
If you liked this recipe, here are a few more from the site you might enjoy:
- Almond Joy Poke Cake (Chocolate, Coconut & Almond Layers)
- Apple Butter Cookies (Soft, Chewy, and Full of Fall Spice)
- Amish Apple Fritter Bread with Vanilla Glaze (No Mixer Needed)
- White Trash Snack Mix
- Condensed Milk Bread (Soft, Fluffy Loaf That Stays Fresh for Days)





Comments
No Comments