
I stumbled onto condensed milk bread by accident. I was trying to use up a can of sweetened condensed milk that had been sitting in my pantry for weeks, and I remembered reading somewhere that it makes bread incredibly soft. I was skeptical — I thought the extra sugar would make it too sweet for breakfast. I was wrong, and now I make this loaf at least twice a month.
What makes this recipe work is the condensed milk doing double duty: it adds a gentle sweetness and it keeps the crumb tender for days. This is a quick bread — no yeast, no kneading, no rising time. You mix the wet ingredients, mix the dry ingredients, combine them, and bake. That's genuinely it. I've made fancier breads that took three hours and honestly tasted worse than this one.
My daughter Zainab asks for this on weekend mornings, toasted with a little butter. My husband eats it plain with his tea. I've brought it to school events twice and people always ask for the recipe — they assume it's more complicated than it is. If you enjoy baking something sweet on a slow Sunday morning, this pairs really well alongside something like a strawberries and cream coffee cake for a proper weekend spread.
One thing to set expectations on: this is a quick bread, meaning the texture is a little more tender and cake-like than a yeasted sandwich loaf. Don't slice it straight out of the oven — let it cool at least 10 minutes in the pan. I've rushed this step and the middle collapses slightly. Just wait. It's worth it.
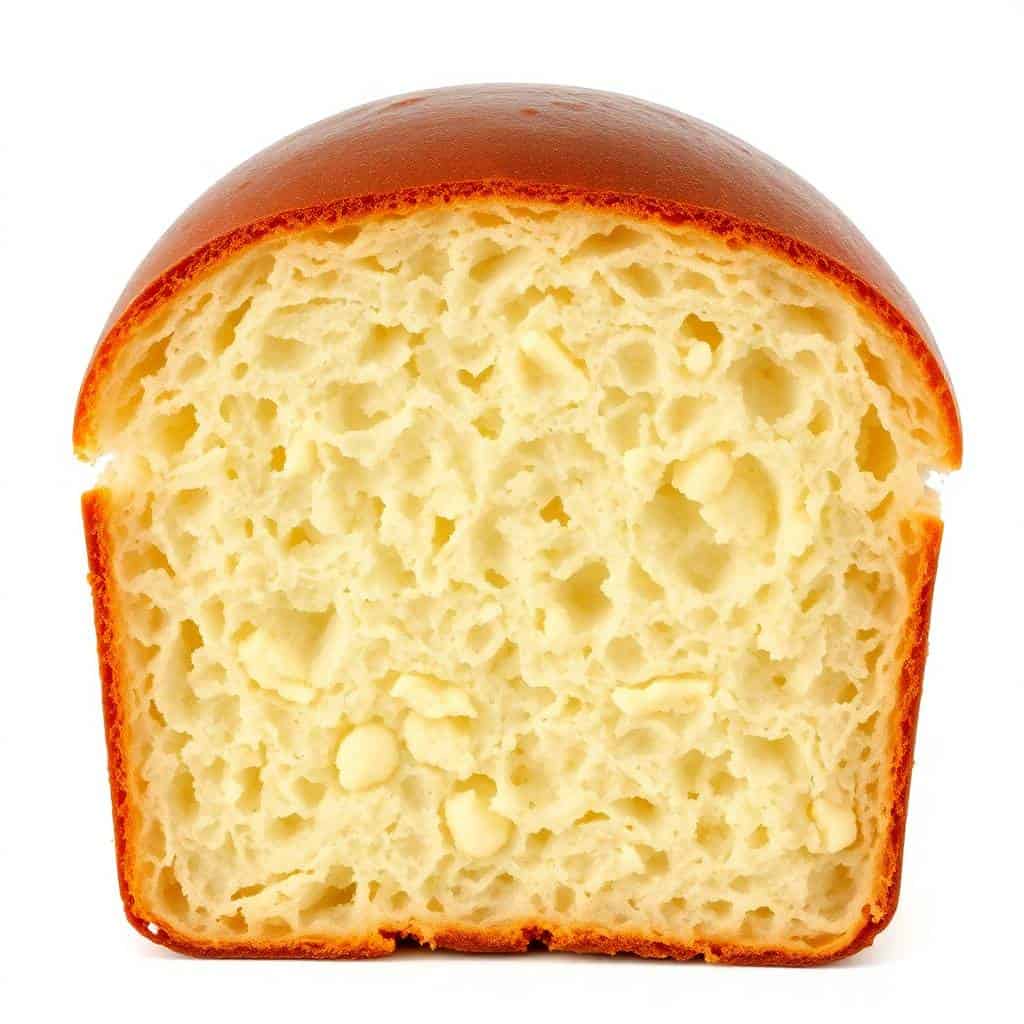
Why You'll Love This Recipe
- No yeast, no waiting: This bread goes from mixing bowl to oven in about 10 minutes. There's no proofing, no kneading, no guessing whether your yeast is still alive. On mornings when I want fresh bread without a project, this is the one I reach for. The baking powder does all the lifting work for you.
- Stays soft for days: Most quick breads dry out by day two. This one genuinely doesn't — the condensed milk keeps the crumb moist and tender even on day three or four. I've tested this more times than I'd like to admit because I kept making loaves and leaving them on the counter to see how long they'd last. Four days, wrapped in plastic wrap, still good.
- Minimal pantry requirements: Flour, baking powder, salt, condensed milk, regular milk, butter, an egg, vanilla. That's it. I usually have all of these on hand already. The condensed milk is the one thing you might need to grab — I keep a few cans from Walmart or Costco in my pantry specifically for this recipe.
- Lightly sweet, not dessert-level sweet: A lot of sweet breads go too far and taste more like cake than bread. This one has a gentle sweetness that works at breakfast, as a snack, or alongside your afternoon tea. It's not a cake. It's bread that tastes a little special, which is exactly what I want it to be.
- Forgiving for new bakers: The first time I made this I accidentally used salted butter instead of unsalted. It was fine. I've also overmixed it once — the texture was a little denser but still completely edible. The recipe has enough margin for error that even if you're not super confident in the kitchen yet, you'll get a good result.
Ingredients
- 2 cups all-purpose flour
- 2 teaspoons baking powder
- ½ teaspoon salt
- 1 cup sweetened condensed milk (one standard 14 oz can is about 1¼ cups — measure out 1 cup and save the rest for drizzling if you like)
- ½ cup whole milk (2% works too)
- ¼ cup unsalted butter, melted and cooled slightly
- 1 large egg
- 1 teaspoon vanilla extract
- 1 tablespoon sugar (optional — I skip this most of the time, the condensed milk is sweet enough)
Directions
- Step 1: Preheat and prep your pan — Set your oven to 350°F (175°C). Grease a 9x5-inch loaf pan and line it with parchment paper, leaving some overhang on the sides so you can lift the loaf out cleanly. If you don't have parchment, just butter the pan well — it'll still release, just requires a little more patience.
- Step 2: Mix the dry ingredients — In a medium bowl, whisk together the flour, baking powder, and salt. Whisking instead of stirring distributes the baking powder evenly, which means your bread will rise more uniformly. Set this bowl aside.
- Step 3: Mix the wet ingredients — In a larger bowl, whisk together the condensed milk, whole milk, melted butter, egg, and vanilla extract until everything is combined and smooth. If you're adding the optional sugar, stir it in here. The mixture will look glossy and slightly thick — that's exactly right.
- Step 4: Combine wet and dry — Add the dry ingredients to the wet ingredients and mix with a wooden spoon or a spatula until just combined. Stop mixing as soon as you don't see dry flour streaks anymore. Overmixing develops the gluten and makes the bread tough and dense — I learned this the hard way on my second attempt when I kept stirring "just a little more." A few lumps are fine.
- Step 5: Bake — Pour the batter into your prepared pan and smooth the top. Bake for 30–35 minutes, until a toothpick inserted in the center comes out clean. If the top is getting dark before the center is done, lay a piece of foil loosely over the top and keep baking. My oven runs a little hot so I usually check at the 28-minute mark.
- Step 6: Cool before slicing — Let the bread cool in the pan for 10 minutes, then lift it out using the parchment overhang and transfer to a wire rack. Wait until it's mostly cool before slicing — the crumb needs time to set up. I know it's tempting to cut in immediately, but if you do it too soon the slices compress and get gummy in the middle.
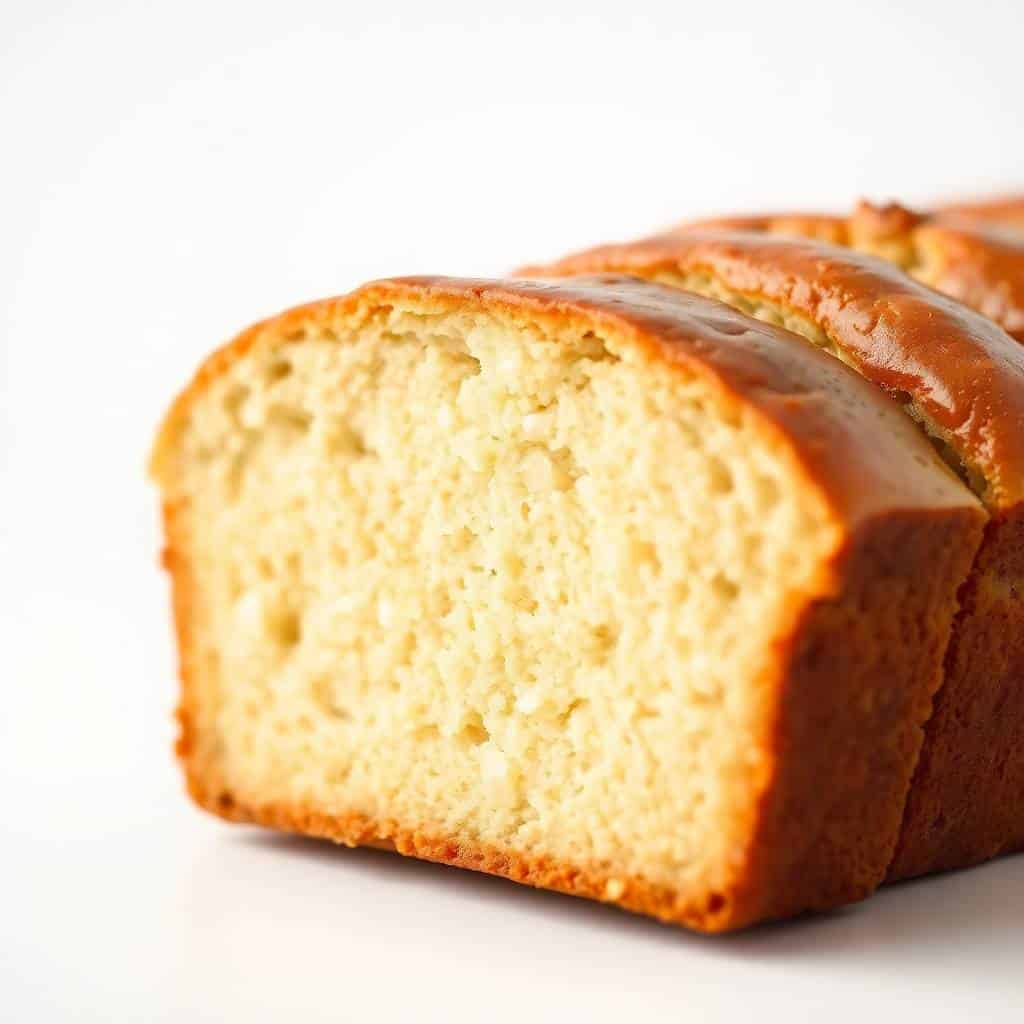
Tips for Success
- Don't overmix the batter: I said it in the directions and I'll say it again because it's the single most common mistake with quick breads. Mix until the flour disappears — literally that's the signal to stop. Overmixed quick bread turns out dense and almost rubbery. The batter should look a little rough and uneven, and that's completely fine.
- Let the butter cool before adding it: If your melted butter is still hot when you mix it with the egg, you risk scrambling the egg slightly. Melt the butter first, then do everything else — by the time you need it, it'll have cooled down enough. I melt mine in a small saucepan, then set the pan aside while I measure everything else.
- Check your baking powder freshness: Old baking powder is the reason a lot of quick breads come out flat and dense. Drop a teaspoon into hot water — if it bubbles actively, it's good. If nothing happens, it's dead and needs replacing. I keep mine in a small jar labeled with the date I opened it and replace it every 6 months.
- Use room temperature egg and milk: Cold ingredients straight from the fridge can make the melted butter seize up and go lumpy in the batter. I just take the egg and milk out of the fridge about 20 minutes before I start. In warm climates like mine, 10 minutes is usually enough.
- Brush with melted butter right out of the oven: This is optional but worth doing. A thin brush of melted butter over the hot loaf the moment it comes out of the oven gives the crust a beautiful sheen and adds a little richness to every slice. I use about half a tablespoon — just enough to coat the top.
Variations
- Cinnamon swirl version: Mix 2 tablespoons of sugar with 1 teaspoon of cinnamon. Pour half the batter into the pan, sprinkle the cinnamon sugar over it, then pour the remaining batter on top and use a knife to swirl it gently. Zainab asks for this version specifically in autumn — she loves the smell when it bakes.
- Chocolate chip version: Fold ½ cup of chocolate chips into the batter right before pouring it into the pan. This turns it firmly into dessert territory rather than breakfast bread, which is sometimes exactly what you want. My family treats this version the way they treat fudgy brownies — it disappears within hours.
- Mini loaves or muffins: Divide the batter into a muffin tin (greased or lined with papers) and bake at 350°F for 18–22 minutes. You get about 10–12 muffins. These are great for school lunchboxes because they're already portioned. I make a double batch when I go this route because they disappear faster than a single loaf.
- Dairy-free version: Swap the condensed milk for a coconut condensed milk (available at most health food stores or Amazon), use oat milk or almond milk in place of the whole milk, and use dairy-free butter. The coconut condensed milk adds a very faint tropical note that honestly works beautifully here. This isn't the traditional version, but it's good in its own way.
- French toast with the leftovers: Day-old condensed milk bread makes extraordinary French toast. The sweetness is already built in, so you barely need to add anything — just a quick dip in egg and milk, then fry in butter. Serve it on a weekend morning alongside something savory like baked garlic brown sugar chicken if you want a real sweet-and-savory brunch situation.
Serving and Storage
Serving
Serve slices warm or at room temperature. My go-to is a thick slice with salted butter — the salt plays off the sweetness of the bread in a way I really like. It also works with jam, honey, or even peanut butter. Toasting leftover slices in a dry pan on the stovetop crisps up the edges slightly and makes the bread taste almost freshly baked. In Pakistan we'd serve a sweet bread like this with chai; my readers in the US and UK tend to go for coffee or tea either way.
Storage
Wrap the cooled loaf tightly in plastic wrap or store it in an airtight container at room temperature for up to 4 days. Don't refrigerate it — the fridge dries out quick bread faster than leaving it on the counter. If you want to freeze it, slice the whole loaf first, then wrap the slices in plastic wrap and put them in a zip-lock freezer bag. Pull out individual slices and toast them straight from frozen — it takes about 3–4 minutes in a toaster and the texture is nearly identical to fresh.

Frequently Asked Questions
Can I make this without a stand mixer?
Yes, absolutely — I don't own a stand mixer and I make this with a wooden spoon every single time. Because it's a quick bread (no yeast, no kneading), there's no real mixing effort involved. You're just combining wet and dry ingredients until they come together, which takes about 30 seconds by hand. A wooden spoon or a spatula is all you need.
Can I freeze condensed milk bread?
Yes, and I actually recommend slicing it before freezing so you can take out one slice at a time without defrosting the whole loaf. Wrap individual slices in plastic wrap, put them in a freezer bag, and they'll keep for up to 2 months. Toast straight from frozen — no need to thaw first.
My batter looks very thick — is that normal?
Yes, that's normal. Condensed milk is thick, and combined with flour you get a batter that's noticeably denser than, say, a pancake batter. It should still pour into the pan, just slowly. If it seems completely unmixable, check that you used the right amounts — occasionally I've accidentally measured 2½ cups of flour instead of 2 and the batter turns very stiff. Stick to the measurements and it'll be fine.
Can I use instant yeast instead of baking powder?
This particular recipe uses baking powder, not yeast — they work completely differently and aren't interchangeable here. Baking powder is what makes this a quick bread you can bake right away. If you want to make a yeasted condensed milk bread (which has a slightly different, chewier texture), that's a different recipe entirely with a longer process. For this loaf, stick with baking powder.
How sweet is this bread exactly?
It's gently sweet — noticeable but not sugary. Think of it as sitting somewhere between a dinner roll and a pound cake, much closer to the dinner roll end. My husband, who doesn't have a sweet tooth, eats it happily. If you want it sweeter, add the optional tablespoon of sugar or drizzle a little extra condensed milk over the top before baking. If you want it less sweet, reduce the condensed milk to ¾ cup and make up the difference with regular milk.

EASY SWEET CONDENSED MILK BREAD
Ingredients
- 2 cups all-purpose flour
- 2 teaspoons baking powder
- ½ teaspoon salt
- 1 cup sweetened condensed milk
- ½ cup whole milk
- ¼ cup unsalted butter melted
- 1 large egg
- 1 teaspoon vanilla extract
- 1 tablespoon sugar optional
Instructions
Preheat the Oven:
- Preheat the oven to 350°F (175°C). Grease and line a 9x5-inch loaf pan with parchment paper or lightly butter it.
Mix Dry Ingredients:
- In a medium bowl, whisk together flour, baking powder, and salt. Set aside.
Prepare Wet Ingredients:
- In a large bowl, whisk together sweetened condensed milk, whole milk, melted butter, egg, and vanilla extract until well combined. If you prefer a sweeter bread, stir in 1 tablespoon of sugar.
Combine Ingredients:
- Gradually add the dry ingredients to the wet ingredients, mixing until just combined. Be careful not to overmix, as this can make the bread dense.
Bake the Bread:
- Pour the batter into the prepared loaf pan and spread it evenly. Bake for 30–35 minutes or until a toothpick inserted into the center comes out clean. If the top of the bread begins to brown too quickly, cover it with aluminum foil and continue baking.
Cool:
- Allow the bread to cool in the pan for 10 minutes before transferring it to a wire rack to cool completely.
Serve:
- Slice and serve this soft, sweet bread with butter or enjoy it on its own with a hot drink!
Notes
This bread can be baked in advance and stored in an airtight container for up to 3 days at room temperature. You can also freeze the bread for up to 1 month. Simply wrap it in plastic wrap and foil before freezing. Customizing the Flavor:
Feel free to add chocolate chips, dried fruit, or nuts to the batter for extra flavor and texture. Serving Suggestions:
This bread is perfect for breakfast with a cup of coffee or tea, or as a sweet treat after dinner. It also pairs well with a spread of butter, jam, or peanut butter. Allergy-Friendly Options:
For a dairy-free version, substitute the sweetened condensed milk with a dairy-free condensed milk alternative and use plant-based butter and milk. Storage Tips:
Store the bread in an airtight container at room temperature for up to 3 days. If you’ve added frosting or toppings, refrigerate it to preserve freshness.
This bread has become a quiet constant in my kitchen. I make it when I want something baked but don't have the energy for a full project — when I want the house to smell good and have something to put on the table without spending the whole afternoon in the kitchen. The fact that it keeps well for days means I'm not scrambling to use it up before it goes stale.
If you're new to baking bread, start here. It genuinely requires no special skills or equipment. I make it with a wooden spoon, a regular loaf pan I bought for about $8, and a wire rack I've had for years. No stand mixer, no fancy thermometers, nothing special. The oven does most of the work.
And if you want to turn a weekend morning into a proper baking session, make this loaf alongside the lemon meringue pie bites — sweet, different, and both manageable in the same morning. My kitchen has been a messier and happier place since I started doubling up on weekend bakes. 🍞✨
If you liked this recipe, here are a few more from my kitchen you might want to try next:





Comments
No Comments