
Making these cake balls is simpler than you might expect. Every morsel melts in your mouth, delivering a balanced sweetness that complements the chocolate coating beautifully. They’re perfect for beginners or experienced bakers alike.
The combination of red velvet flavor with cream cheese frosting makes each bite heavenly. With minimal effort and a few basic ingredients, you can create a dessert that looks impressive and tastes even better.
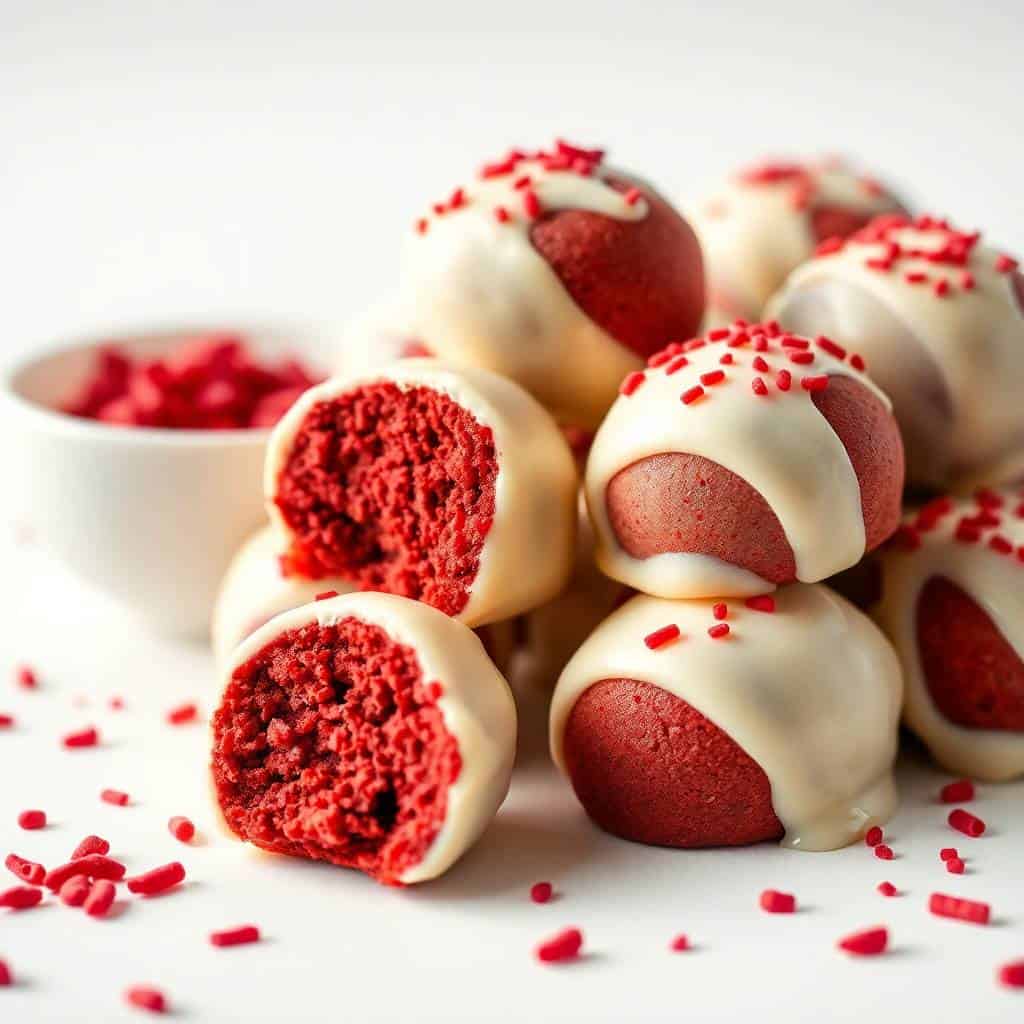
Sprinkles, drizzles, or heart-shaped toppings can add a personal touch, making them ideal for parties, gifts, or dessert tables. With a few basic ingredients, you can create a visually stunning and delicious treat that will impress anyone.
Beyond Valentine’s Day, these cake balls are perfect for birthdays, baby showers, or any celebration. Their small size and elegant appearance make them a universally loved treat.
WHY YOU WILL LOVE THIS RECIPE
- Irresistible Flavor: This recipe delivers rich red velvet flavor, perfectly balanced with creamy frosting in every decadent bite.
- Easy to Make: With simple steps, even beginner bakers can create stunning, bakery-quality cake balls effortlessly at home.
- Perfect for Gifts: Individually coated, these cake balls make charming, homemade presents for loved ones and friends alike.
- Customizable Decorations: Add sprinkles, drizzle chocolate, or use heart-shaped toppings for a personalized and festive look.
- Fun for Kids: Children enjoy helping roll, coat, and decorate, turning baking into an enjoyable activity for the family.
- Moist and Tender: Every bite is soft, perfectly moist, and melts in your mouth with the ideal texture combination.
INGREDIENTS
- 1 box red velvet cake mix (plus ingredients listed on the box)
- 1 cup cream cheese frosting
- 12 oz white or dark chocolate, for coating
- Sprinkles or decorative toppings (optional)
DIRECTIONS
- Step No.1: Bake the Cake
Prepare the red velvet cake according to the package instructions. Bake until fully cooked, then let it cool completely in the pan.
- Step No.2: Crumble the Cake
Once cooled, crumble the cake into a large bowl, breaking it into fine crumbs with your hands or a fork.
- Step No.3: Mix with Frosting
Add cream cheese frosting to the cake crumbs. Mix thoroughly until the texture is moist enough to form balls without crumbling.
- Step No.4: Form Cake Balls
Roll the mixture into 1-inch balls using your hands. Place them on a parchment-lined baking sheet and refrigerate for at least 1 hour.
- Step No.5: Coat with Chocolate
Melt the chocolate in a microwave-safe bowl. Dip each cake ball into the melted chocolate, ensuring full coverage. Let excess chocolate drip off.
- Step No.6: Decorate and Set
Place coated cake balls on parchment paper. Add sprinkles or drizzle extra chocolate if desired. Chill until the chocolate hardens.
TIPS FOR SUCCESS
- Chill Thoroughly: Refrigerating cake balls ensures they hold their shape during dipping.
- Avoid Overmixing: Mix frosting just enough; overmixing can make balls too soft or dense.
- Use High-Quality Chocolate: Better chocolate melts smoothly and sets beautifully without cracking.
- Room Temperature Dipping: Warm the chocolate slightly, but not hot, for easier coating.
- Decorate Quickly: Add sprinkles before chocolate sets for better adhesion and a polished finish.
- Uniform Size: Use a cookie scoop to make equally sized balls for consistent baking and presentation.
- Store Properly: Keep cake balls refrigerated until serving to maintain freshness and texture.
VARIATIONS
- Dark Chocolate Coating: Swap white chocolate for dark chocolate to add a bittersweet touch.
- Peanut Butter Filling: Add a small peanut butter center inside each ball for a surprising twist.
- Flavored Frosting: Use flavored frosting like vanilla or raspberry to create new taste combinations.
- Mini Cake Pops: Insert sticks for cake pops to make them easier to serve and fun for parties.
- Nutty Crunch: Roll cake balls in finely chopped nuts before chocolate coating for added texture.
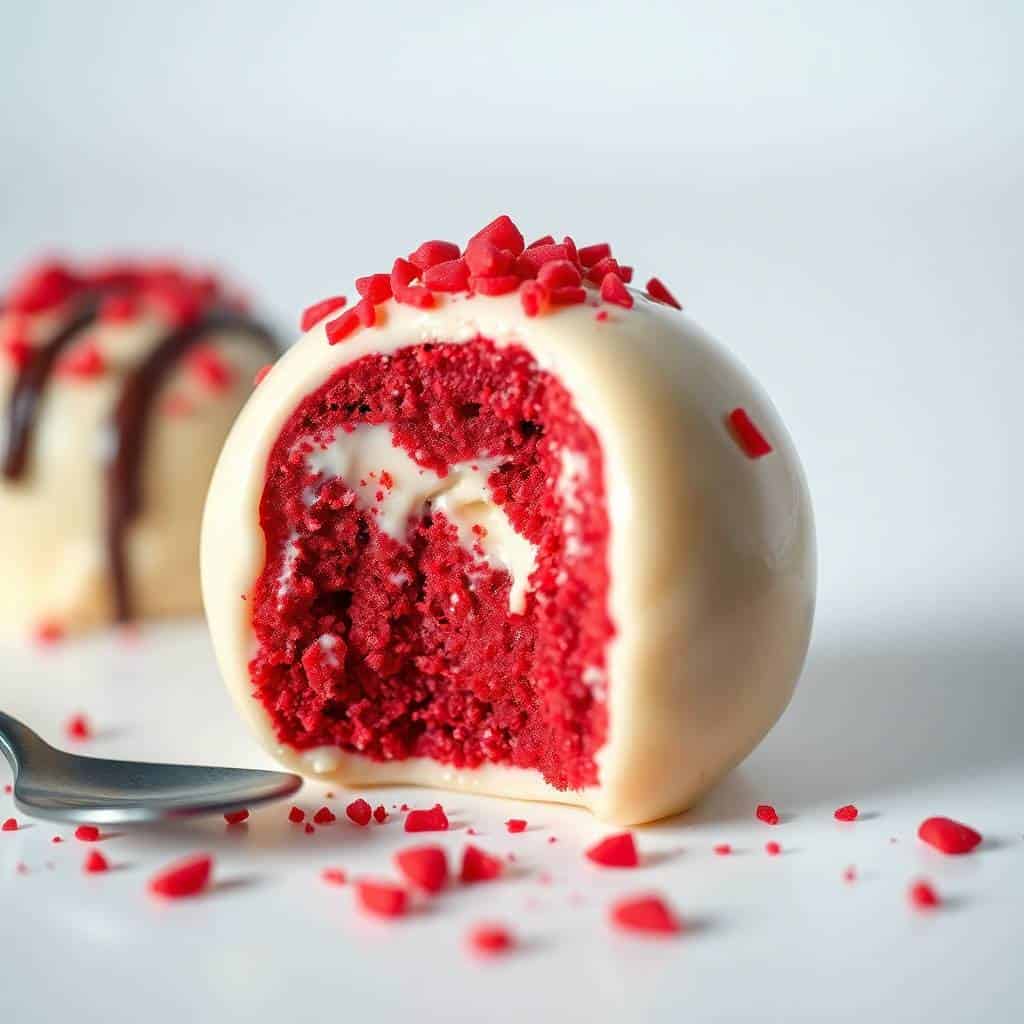
- Drizzled Chocolate: Drizzle contrasting chocolate over coated balls for an elegant, decorative finish.
- Festive Sprinkles: Change decorations according to holidays or themes for versatility and presentation.
SERVING AND STORAGE
Serving
Serve chilled for maximum flavor, ideally on a decorative platter with optional sprinkles or drizzle for extra charm.
Storage
Store in an airtight container in the refrigerator for up to one week, keeping them fresh and moist.
FAQ
Yes, you can prepare them a day or two in advance and refrigerate until ready to serve.
Absolutely! Freeze uncoated or coated cake balls in a sealed container for up to 2 months.
Gently reheat the chocolate in short intervals and stir to achieve a smooth, dip-ready consistency.
Yes, homemade red velvet cake works perfectly; just ensure it’s fully cooled and crumbled finely.
Keep them chilled before dipping and avoid overmixing with frosting to maintain firm, smooth balls.
Valentine’s Day red velvet cake balls are a delightful, easy-to-make dessert that brings joy to any occasion.
From baking the cake to rolling and decorating, every step feels like a creative project that ends in delicious results.
Sprinkles, chocolate, and fillings allow for endless variations, ensuring each batch is unique and visually appealing.
Simple, elegant, and scrumptious, they bring smiles with every bite, making any Valentine’s Day celebration truly special.


VALENTINE’S DAY RED VELVET CAKE BALLS
Ingredients
For the Cake Balls:
- 1 box red velvet cake mix plus ingredients needed on box
- 1 cup cream cheese frosting
- 1 cup white chocolate chips
- 1 cup pink or red candy melts
For Decoration (Optional):
- Sprinkles
- Crushed freeze-dried strawberries
- Extra melted chocolate
Instructions
Bake the Cake:
- Prepare the red velvet cake according to package directions. Let it cool completely before moving to the next step.
Crumble the Cake:
- In a large bowl, crumble the cooled cake into fine crumbs using your hands.
Mix with Frosting:
- Add the cream cheese frosting to the crumbs. Mix until the texture becomes soft and dough-like.
Shape the Balls:
- Scoop and roll the mixture into 1-inch balls. Place them on a baking sheet lined with parchment paper.
Chill:
- Refrigerate the balls for 30 minutes to help them firm up for dipping.
Melt the Chocolate:
- Melt the white chocolate chips and candy melts in separate bowls. Stir until smooth.
Dip the Cake Balls:
- Dip each cake ball into the melted chocolate, letting any excess drip off. Place back onto the parchment paper.
Decorate (Optional):
- Add sprinkles or other toppings before the chocolate sets.
Set & Serve:
- Allow the chocolate coating to harden completely before serving.
Notes
- Make Ahead:
The cake balls can be prepared 1 day ahead. Keep chilled until dipping. - Flavor Options:
Use dark chocolate or milk chocolate for dipping. Add strawberry extract for extra flavor. - Serving Suggestions:
Pack them as Valentine gifts, arrange on a dessert board, or serve at parties. - Storage Tips:
Store in an airtight container in the fridge for up to 5 days.





Comments
No Comments