
I've been making this Christmas fudge every December for the last five years, and I'll be honest — the first time I tried it, I burned the chocolate because I got distracted by Zainab asking me to help with a craft project. Scorched chocolate smells terrible, by the way. But once I figured out the right method, this became the one thing I make every single holiday season without fail.
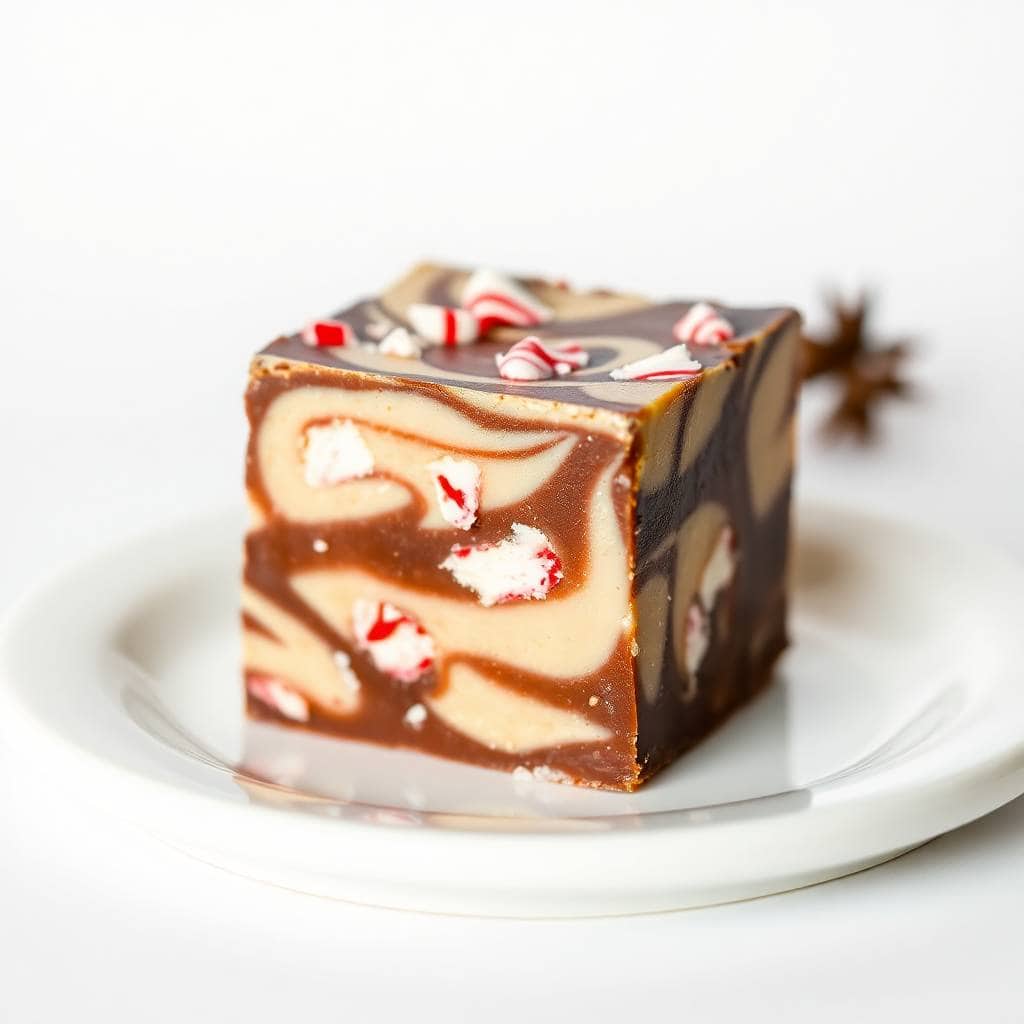
What makes this fudge work is the combination of sweetened condensed milk and butter melted directly with the chocolate chips. No candy thermometer, no soft-ball stage, no stress. The condensed milk does the heavy lifting — it gives you that smooth, dense, almost truffle-like texture that sets up firm but still cuts cleanly. I top mine with crushed candy canes because the kids love the crunch and the peppermint hits differently against dark chocolate.
I make a double batch every year — one batch goes into a tin for my husband's office, and the other disappears at home before I can even wrap it. Saad picks out the candy cane pieces and eats them separately, which is annoying but very on-brand for him. If you're building a holiday dessert spread, this fudge pairs really well alongside something like my Christmas Sausage Rolls with Sage and Cranberry for a savory-sweet balance at the table.
One thing to know going in: this fudge needs at least 2 hours in the fridge to fully set. Don't rush it. I made that mistake once, tried to cut it at the 90-minute mark, and ended up with chocolate soup in squares. Let it go the full two hours — overnight is even better if you can wait.
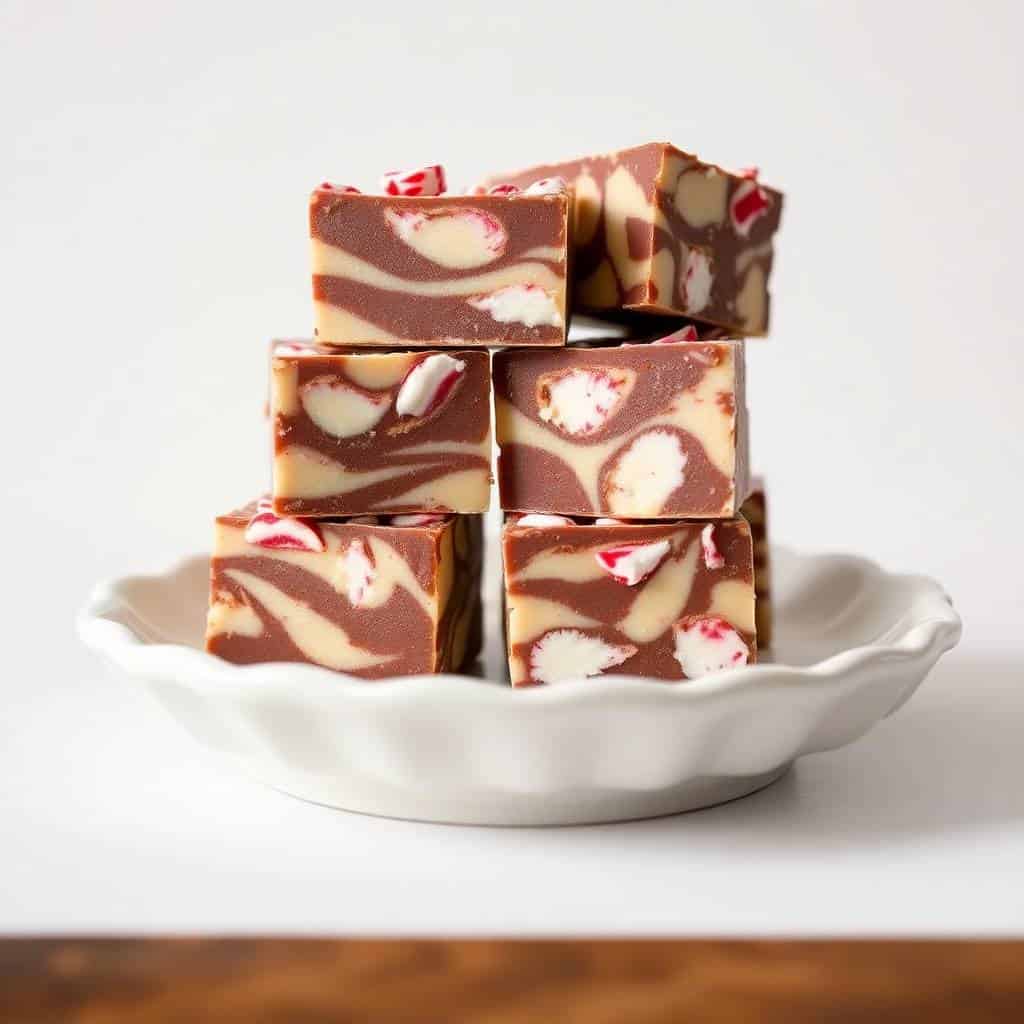
Why You'll Love This Recipe
- No baking required: This entire recipe happens on your stovetop and then in your fridge. There's no oven to preheat, no baking time to babysit, and no risk of anything burning in the oven while you're wrapping gifts. On the counter to cut-and-serve in about 2 hours 15 minutes total, most of which is just waiting.
- Five real ingredients: Chocolate chips, sweetened condensed milk, butter, vanilla, and salt. That's your base. Everything else is optional toppings you can grab at any grocery store — Walmart, Aldi, wherever. I've made this with store-brand chocolate chips and it turned out just as good as when I used the fancy kind.
- It travels and gifts well: Unlike cookies that crumble in transit or cakes that need refrigeration warnings, fudge is sturdy. I cut mine into 1-inch squares, layer them in a small tin with parchment between layers, and they hold up beautifully. I've shipped these to my in-laws without a single sad, squashed piece arriving on the other end.
- You can make it a week ahead: December is busy. I usually make this fudge the first weekend of the month and it keeps fine in the fridge until Christmas. One less thing to stress about in the final days before the holidays.
- Kids can help with the topping step: Once the fudge is poured into the pan, handing a child a bag of crushed candy canes and telling them to sprinkle is a genuinely useful task. Zainab takes this very seriously. She presses each piece in with her fingers and then licks her hands, so factor that into your hygiene calculations.
Ingredients
- 3 cups semi-sweet chocolate chips
- 1 (14 oz) can sweetened condensed milk
- ¼ cup unsalted butter
- 1 teaspoon vanilla extract
- Pinch of salt
- ½ cup crushed candy canes (or festive sprinkles, chopped walnuts, mini marshmallows — all optional)
Directions
- Prepare the pan: Line an 8x8-inch baking dish with parchment paper, leaving a couple inches of overhang on two sides. This overhang is how you'll lift the whole slab out cleanly later — don't skip it, or you'll be chiseling fudge out of the corners.
- Melt the chocolate: In a medium saucepan over medium-low heat, combine the chocolate chips, sweetened condensed milk, and butter. Stir constantly with a wooden spoon or silicone spatula. The mixture will look separated at first, then suddenly come together smooth and glossy — that's when you know it's ready. Don't walk away during this step.
- Add vanilla and salt: Pull the pan off the heat and stir in the vanilla extract and pinch of salt. If you're adding any mix-ins like nuts or mini marshmallows, fold them in now while the fudge is still warm and pliable.
- Pour into the pan: Scrape the mixture into your prepared pan and spread it out evenly with a spatula. Work fairly quickly — it starts setting up as it cools. Don't stress about getting it perfectly smooth; the toppings will cover any unevenness.
- Add toppings: Scatter crushed candy canes or sprinkles over the top and press them in gently with your palm so they stick. Do this within the first 5 minutes of pouring, while the surface is still slightly tacky.
- Chill until firm: Refrigerate for at least 2 hours, or overnight if you can. The fudge needs to be completely firm — no soft spots — before you try to cut it.
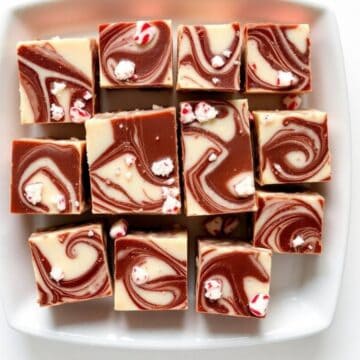
- Cut and serve: Lift the fudge slab out using the parchment overhang and set it on a cutting board. Use a sharp knife to cut into 1-inch squares. For clean cuts, wipe the knife with a damp cloth between slices.
Tips for Success
- Stir the whole time it melts: I know, it's tedious. But chocolate scorches fast if you leave it sitting on heat without moving it. I learned this the hard way on my very first batch. Keep the heat at medium-low and keep that spoon going — the whole melting process only takes about 5 minutes anyway.
- Don't substitute the condensed milk: Evaporated milk is not the same thing. I've seen people make this swap and end up with fudge that never properly sets. Sweetened condensed milk is thick, sweet, and acts as a binder — evaporated milk is thinner and won't give you the right texture. Check the label carefully at the store.
- Use room-temperature butter: Cold butter takes longer to melt and can cause the mixture to seize slightly before everything comes together. I just leave my butter out on the counter for 20 minutes before I start. It makes the whole process smoother.
- Add peppermint extract carefully if you use it: Peppermint extract is strong — much stronger than vanilla. If you want a more pronounced peppermint flavor throughout the fudge (not just from the candy cane topping), start with ¼ teaspoon and taste. You can always add a little more, but you cannot undo it once it's in. I once added ½ teaspoon thinking more would be better and the whole batch tasted like toothpaste.
- Let it chill the full two hours: I know it's tempting to check it early. The top will feel set before the inside actually is. Give it the full 2 hours minimum. If you're making this the night before, just leave it in the fridge overnight and cut it in the morning — it'll be perfectly firm and the cuts will be clean.
Variations
- White chocolate and cranberry: Swap the semi-sweet chips for white chocolate chips and fold in ½ cup of dried cranberries before pouring. The tartness of the cranberries cuts through the sweetness of white chocolate really nicely. It looks beautiful in a gift box — very festive red and white without any food coloring.
- Dark chocolate with sea salt: Use dark chocolate chips (60% or higher) instead of semi-sweet, and skip the candy cane topping. Once poured, scatter a pinch of flaky sea salt over the top. This is my husband's preferred version — he thinks the candy canes make it "too sweet," which is a sentence I will never fully understand, but the sea salt version is genuinely excellent.
- Nutty fudge: Fold in 1 cup of roughly chopped walnuts or pecans after you pull the pan off the heat. The nuts add texture and make each square feel more substantial. If you're making this for people with nut allergies, obviously skip this one — but for everyone else, toasted pecans in chocolate fudge is a very good life decision.
- Caramel swirl: After spreading the fudge into the pan, drizzle 3-4 tablespoons of store-bought caramel sauce over the top and drag a toothpick through it to create a swirl pattern. It looks impressive and takes about 45 seconds of extra effort. If you like baking projects beyond fudge, my Amish Apple Fritter Bread with Vanilla Glaze uses a similar drizzle technique and is another good make-ahead option for holiday baking.
- Layered fudge: Make a half batch of white chocolate fudge and a half batch of dark chocolate fudge. Pour the dark layer first, let it chill for 30 minutes until just barely set, then pour the white layer over the top. The two layers stay distinct and it looks incredible sliced. This is my "I want to impress someone" version.
Serving and Storage
Serving
Serve the fudge at room temperature or straight from the fridge — both work, though at room temperature the texture is a bit softer and more velvety. Cut into 1-inch squares for a gift tin, or slightly larger if you're putting them on a dessert table alongside other sweets. I usually set mine out on a small wooden board with a few candy canes for decoration. They look genuinely festive without any extra effort.
Storage
Store fudge in an airtight container in the refrigerator for up to 2 weeks. Layer the squares between sheets of parchment paper so they don't stick together. If you want to freeze it, wrap the whole slab tightly in plastic wrap, then in foil, and freeze for up to 3 months. Thaw overnight in the fridge before cutting or serving. I wouldn't leave it out at room temperature for more than a day or two — it softens, and depending on how warm your kitchen is, it can get a bit sticky on top.

Frequently Asked Questions
Can I make this fudge ahead of time?
Yes, and I'd actually recommend it. This fudge keeps well in the fridge for up to 2 weeks, so you can make it the first week of December and it'll still be perfect on Christmas Day. Store it uncut in the pan (covered with plastic wrap) or already cut in an airtight container with parchment between layers.
Can I freeze this fudge?
Yes. Wrap the uncut slab tightly in plastic wrap, then wrap again in foil, and freeze for up to 3 months. When you're ready to use it, thaw it overnight in the fridge — not on the counter. Thawing too fast causes condensation on the surface which makes the top sticky and can make the candy cane topping dissolve.
My fudge didn't set — what went wrong?
The most common cause is swapping evaporated milk for sweetened condensed milk — they look similar on the shelf but behave completely differently. The second cause is not chilling it long enough. Give it the full 2 hours in the fridge, and if it's still not set, leave it another hour. If it genuinely won't firm up, you can pour it back into the saucepan, reheat gently, and try again — it's forgiving like that.
Can I use dark chocolate instead of semi-sweet?
Absolutely. Dark chocolate (60-70% cacao) gives you a richer, less sweet fudge that works really well with the candy cane topping — the bitterness of the chocolate and the sweetness of the peppermint balance each other nicely. Just know that very high-percentage dark chocolate (85%+) can sometimes make the fudge slightly grainy, so I'd stay at 70% or below.
What can I use instead of candy canes for the topping?
Festive sprinkles work great and are usually easier to find in large quantities. Chopped walnuts or pecans give you a more classic fudge look. Flaky sea salt is my husband's pick. You can also leave the top completely plain — the fudge is good enough on its own that it doesn't need decoration. The topping is purely for looks and texture.
THE JOY OF CHRISTMAS FUDGE
Ingredients
- 3 cups semi-sweet chocolate chips
- 1 14 oz can sweetened condensed milk
- ¼ cup unsalted butter
- 1 teaspoon vanilla extract
- Pinch of salt
- Optional mix-ins: crushed candy canes chopped nuts, mini marshmallows, festive sprinkles
Instructions
Prepare Pan:
- Line an 8x8-inch baking dish with parchment paper, leaving overhang on the sides.
Melt Ingredients:
- In a saucepan over medium heat, combine chocolate chips, sweetened condensed milk, and butter. Stir constantly until melted and smooth.
Add Vanilla:
- Remove from heat. Stir in vanilla extract and salt. Fold in any optional mix-ins.
Spread and Chill:
- Pour mixture into prepared pan and smooth the top. Add sprinkles or toppings if desired. Chill for at least 2 hours or until firm.
Cut and Serve:
- Lift fudge from the pan using parchment overhang. Cut into 1-inch squares.
Notes
Flavor Variations: Add peppermint extract, orange zest, or swirl in peanut butter.
Serving Suggestions: Wrap in festive boxes or tins for gifts.
Storage Tips: Store in an airtight container in the fridge for up to 2 weeks or freeze for longer.
This is the kind of recipe I come back to every year not because it's complicated or impressive in a technical sense, but because it's reliable. I know exactly what I'm going to get when I make it, and after a December full of unpredictable holiday chaos, reliable is genuinely wonderful. I keep a batch in the fridge from about December 10th onward and just pull squares out whenever someone needs a little something sweet.
If you're building out a full holiday dessert spread, the fudge pairs nicely with something lighter like my Coconut Ricotta Cloud Cake — the richness of the chocolate fudge and the airy texture of the cake work really well together on the same table. And if you need something savory to balance out all the sweet, the Christmas Sausage Rolls with Sage and Cranberry are exactly what you want.
The candy cane topping is optional but I think it matters — it signals "holiday" the moment someone picks up a piece, and there's something about the peppermint crunch against the dense chocolate that makes it feel like Christmas. I'm not usually a sentimental person about food, but this fudge gets me every time. 🍫❄️
If you made this and have questions or tweaks that worked for you, drop them in the comments — I read every single one. And if you're looking for more things to bake and make this season, here are a few more recipes from the site:
- Christmas Sausage Rolls with Sage and Cranberry — savory, flaky, and exactly what a holiday party table needs
- Coconut Ricotta Cloud Cake — light and elegant, a nice contrast to rich chocolate fudge
- Amish Apple Fritter Bread with Vanilla Glaze — another make-ahead holiday bake with zero stress
- Banana Bread Cookies — great for gift tins alongside fudge squares
- One Pan Sausage and Veggie Bake — for when you need a quick dinner in the middle of all the holiday baking chaos





Comments
No Comments