
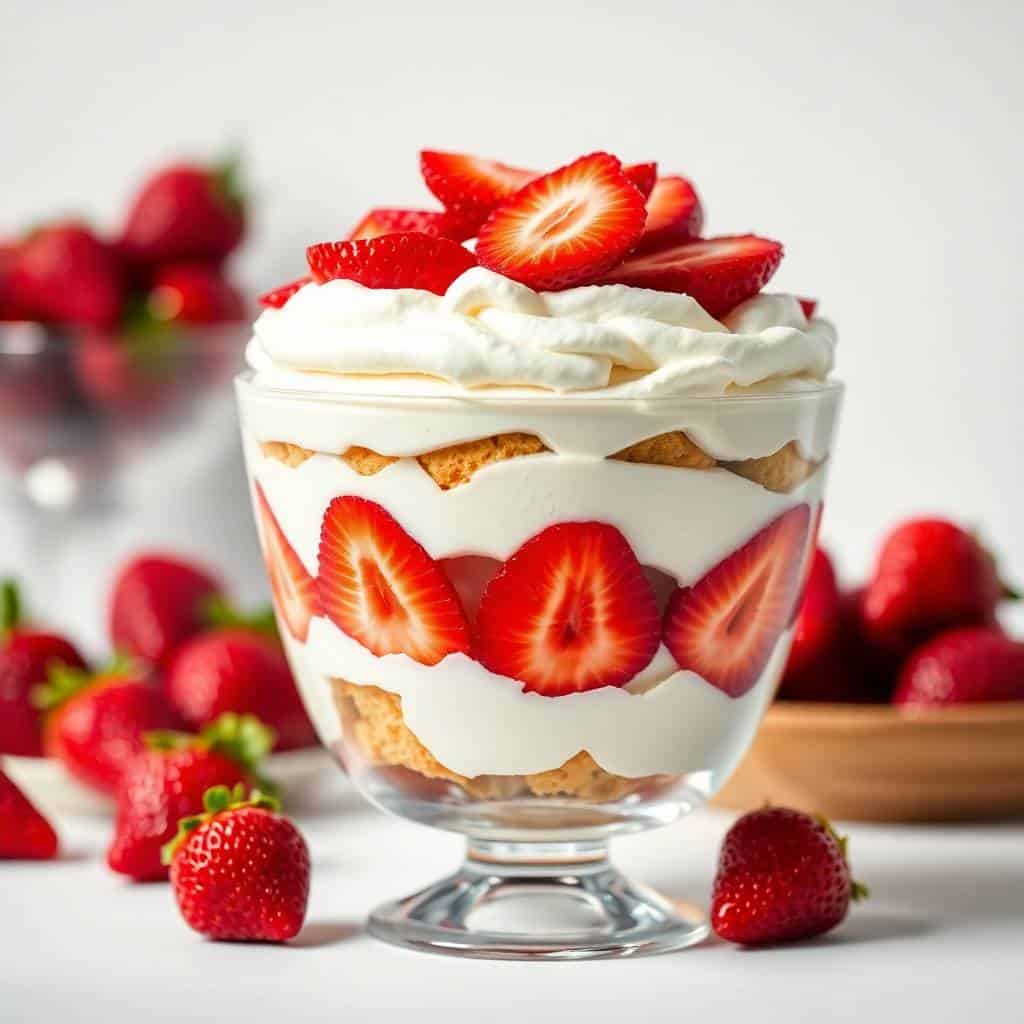
I made these strawberry shortcake trifles for the first time on a Saturday afternoon in June when I had a punnet of strawberries that needed using up and zero desire to turn on the oven. I'd been meaning to make a proper shortcake, but it was too hot and I was too tired, so I grabbed some store-bought pound cake, whipped up some cream, and started layering things into glasses. Twenty minutes later I had something that looked genuinely impressive on the counter, and I was annoyed I hadn't done this years ago.
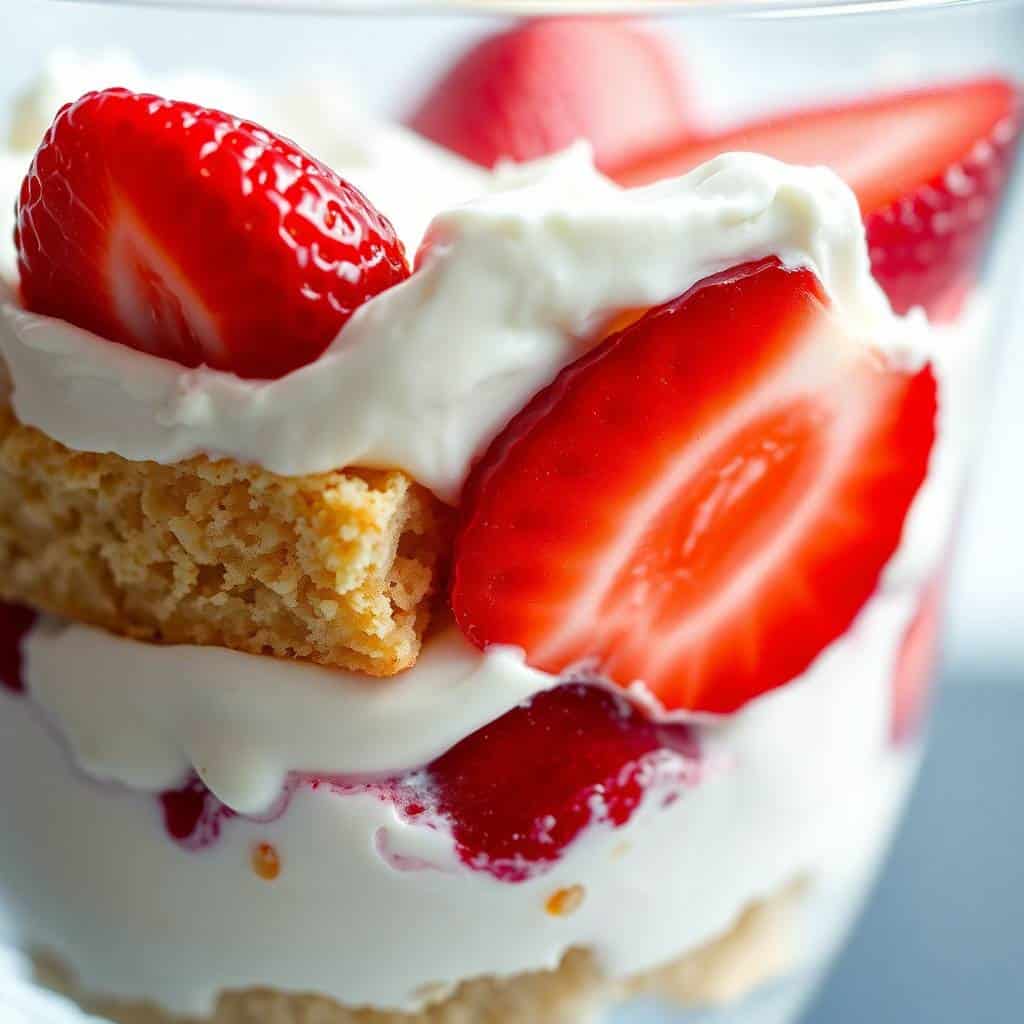
What makes these work is the ratio — you want enough cream so each spoonful has cake, berry, and cream in the same bite. The first time I leaned too heavy on the cake and it tasted dry and dense in the middle. Now I do equal-ish thirds of each layer and it comes together exactly the way it should. The strawberries soften slightly as it chills, and that juice seeps into the cake a little. That's not a flaw — that's the best part.
Zainab is the one who asks for these on repeat. She loves anything that comes in her own little glass, so individual trifles are basically a guaranteed hit with her. I make these for summer birthdays, casual get-togethers, or honestly just when I want something that looks like I put in effort but didn't. I've also made a big batch for my cookie and dessert spreads when we have guests over, and they disappear faster than anything baked.
One thing to set expectations on: these are best assembled a couple hours before you serve them. Right after assembling, the layers are a bit separate. After chilling, everything melds together and tastes a hundred times better. I usually make them in the late morning for an afternoon gathering. Don't skip the chill time — it genuinely makes a difference.
Why You'll Love This Recipe
- No oven required: This is my go-to when it's too hot to bake and I still want to put something proper on the table. You just whip cream, slice strawberries, and layer. There's no timing, no temperature to watch, no waiting for something to cool before you frost it. On the hottest days of summer, that matters more than I can explain.
- Looks fancier than it is: The red strawberries, white cream, and golden cake in a glass just look beautiful — and I say that as someone who is not a decorator. I've brought these to gatherings where people assumed I'd bought them from a bakery. Individual glasses do a lot of the visual work for you. You don't need to pipe anything perfectly or garnish elaborately.
- Scales up easily for a crowd: I usually make a double batch because one trifle per person is never actually enough. If you're feeding more than four people, just double everything — the assembly takes maybe ten extra minutes. I've made eight individual trifles at once and it still felt manageable. No special equipment, just glasses and a spoon.
- Make-ahead friendly: You can assemble these up to four hours before serving, which is a relief when you're hosting. The whipped cream holds in the fridge without collapsing, the strawberries soften just enough, and the cake soaks up a little juice. I find the two-hour mark is the sweet spot — assembled but not soggy.
- Genuinely flexible ingredients: Pound cake, angel food cake, store-bought sponge — all of them work. If strawberries aren't in season and you have other berries, use those. This isn't a recipe that needs everything to be exact. I've made it with a mix of strawberries and raspberries and it was honestly better than the original.
Ingredients
- 4 cups pound cake or angel food cake, cut into cubes
- 3 cups fresh strawberries, hulled and sliced
- 2 cups heavy whipping cream
- ¼ cup powdered sugar
- 1 teaspoon vanilla extract
- Optional: fresh mint leaves for garnish
- Optional: a layer of vanilla custard or sweetened cream cheese for added richness
Directions
- Whip the cream: Pour the heavy cream into a chilled bowl, add the powdered sugar and vanilla extract, and beat until stiff peaks form. I chill my bowl in the freezer for about 10 minutes beforehand — it makes the cream whip faster and gives you more volume. Stop as soon as you have stiff peaks; if you keep going, you'll end up with something closer to butter.
- Prep the strawberries: Hull and slice your strawberries. If they're on the tart side, toss them with an extra teaspoon of sugar and let them sit for five minutes — they'll release a little juice that tastes great soaked into the cake layers.
- Start your first layer: Arrange a layer of cake cubes in the bottom of each glass or bowl. I use whatever glasses I have — tall glasses, wide bowls, mason jars. Aim for the cake to cover the bottom in a roughly even layer.
- Add strawberries: Spoon a layer of sliced strawberries over the cake. Don't be shy here — the strawberries are the whole point.
- Add whipped cream: Spoon or pipe a generous layer of whipped cream over the strawberries. Smooth it gently with the back of a spoon. This doesn't need to be precise — rustic is fine.
- Repeat the layers: Continue layering cake, strawberries, and cream until the glasses are full, finishing with a layer of whipped cream on top. Most glasses fit two full rounds of layers.
- Chill before serving: Refrigerate for at least 2 hours. This is not optional if you want the flavors to actually come together. Right after assembling they taste fine; after chilling they taste significantly better.
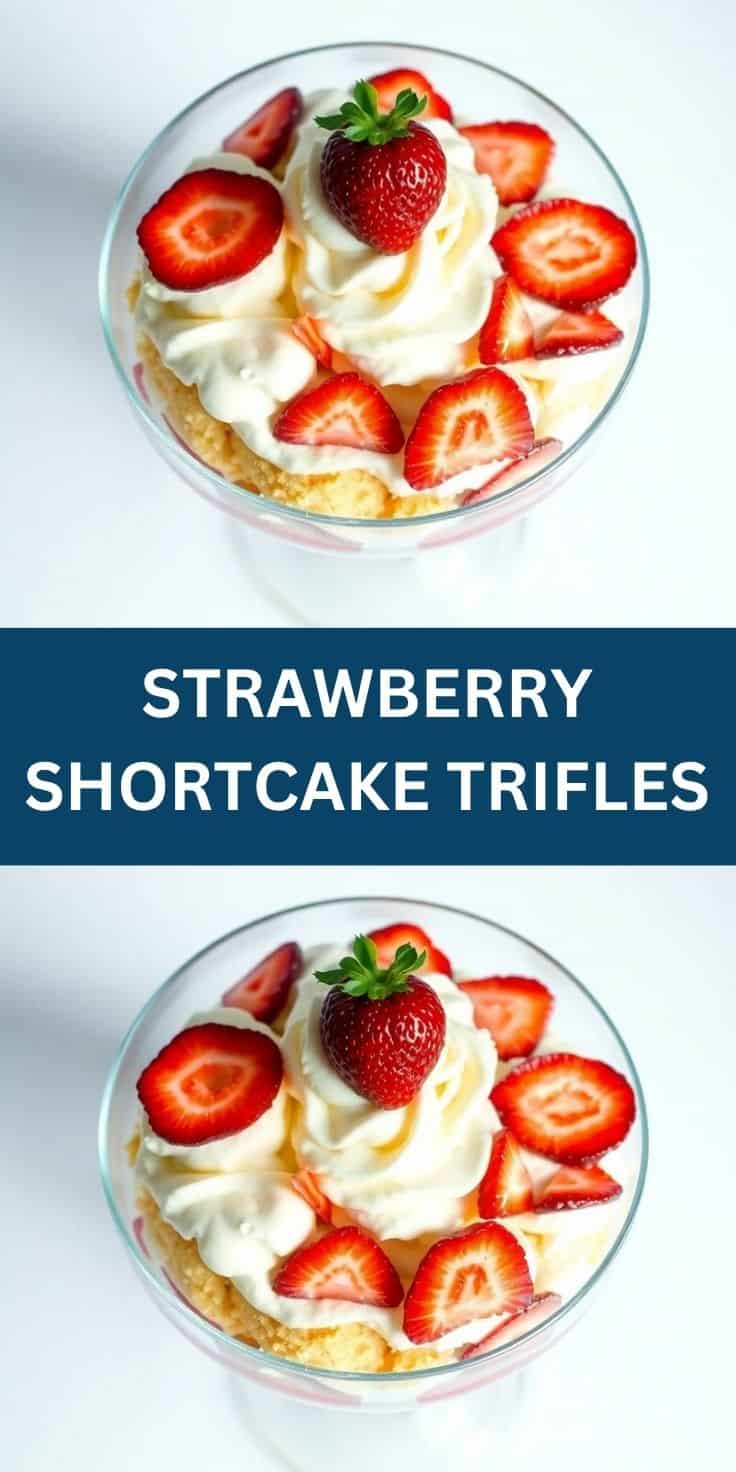
- Garnish and serve: Just before serving, add a whole strawberry on top and a sprig of fresh mint if you have it. A light dusting of powdered sugar also looks nice.
Tips for Success
- Chill your bowl before whipping: I learned this after wondering for years why my cream never whipped as fast as it was supposed to. Cold cream in a cold bowl with cold beaters makes a real difference — especially in summer when your kitchen is warm. Ten minutes in the freezer before you start is all it takes. You'll get stiffer peaks and more volume.
- Don't over-whip the cream: Stiff peaks means the cream holds its shape when you lift the beater — it doesn't flop over. Past that point it starts to look grainy and yellow. Once I went too far and had to fold in a spoonful of fresh cream to rescue it. Watch it closely in the last minute of whipping and stop as soon as it's there.
- Use ripe strawberries: I know this sounds obvious, but it matters more here than in baked desserts because the strawberries aren't being cooked or sweetened down. If they're pale and hard, the trifle will taste flat. The best ones for this are deep red all the way through — the kind you find at a farmers market in June or July, or at Costco when they're in peak season.
- Cut cake into similar-sized cubes: This sounds fussy but it affects how the layers look and how they eat. Uneven pieces mean some parts of the trifle are mostly cake and some are mostly cream. I aim for roughly 1-inch cubes — not perfect, just roughly consistent. A serrated knife works better than a regular one for soft cake.
- Add the garnish last: If you put fresh strawberries on top before refrigerating, they can weep a little and make the cream look messy by the time you serve. I keep a few whole berries aside and add them right before bringing the glasses to the table. It takes thirty seconds and keeps everything looking clean.
Variations
- Mixed berry version: Swap half the strawberries for raspberries or blueberries. This is the version I make when strawberries are expensive or I just have odds and ends of different berries in the fridge. The mix of colors looks even better in the glass, and the different textures make each spoonful more interesting. My husband actually prefers this version.
- Custard layer: Add a thin layer of store-bought vanilla custard between the cake and the whipped cream. It makes the trifle richer and more substantial — more of a proper British-style trifle. If you're feeding adults who want something a little more filling, this is the version to make. Bird's custard powder is easy to find and works perfectly here.
- Cream cheese whip: Beat 4 oz of softened cream cheese with 2 tablespoons of powdered sugar, then fold it into the whipped cream before layering. This gives the cream a slight tang that cuts through the sweetness of the strawberries. I made this version once when I was running low on heavy cream and didn't want to go to the store — it turned out to be one of the better accidents I've had in the kitchen.
- Chocolate drizzle: Melt a handful of chocolate chips and drizzle over the top layer before chilling. If you're already a fan of chocolate-covered strawberries, this direction makes a lot of sense. It also makes the finished trifle look more dramatic — something worth considering if you're serving these at a dinner party. Pairs nicely alongside my flourless chocolate cake for a full dessert table.
- Dairy-free version: Use coconut whipped cream (the canned kind from Trader Joe's or Whole Foods works well) and a dairy-free pound cake. The coconut flavor is subtle but it actually works nicely with the strawberries. This is the version I make when I have guests with dairy restrictions — nobody feels like they're eating a lesser version of the dessert.
Serving and Storage
Serving
Serve these cold, straight from the fridge. I usually pull them out about 5 minutes before serving just so the glasses aren't ice-cold to hold, but the dessert itself should be chilled. These work well as individual glasses at the table, or you can do one large trifle bowl if you're serving buffet-style. Either way, add your fresh strawberry garnish and mint just before bringing them out. If you're building a full dessert spread, these sit nicely next to something like red velvet cookies for contrast in color and texture.
Storage
Cover each glass tightly with plastic wrap and refrigerate for up to 2 days. After that the cake gets too soft and the cream starts to break down. I've tried freezing them and it doesn't work — the cream separates when it thaws and the texture goes wrong. Make them fresh or at most a day ahead, and keep them covered in the fridge until you're ready to serve.
Frequently Asked Questions
Can I use frozen strawberries instead of fresh?
You can, but you need to thaw them completely and drain off the liquid first. Frozen strawberries release a lot of water as they thaw, and if that liquid gets into your layers it'll make the whole thing watery and the cake will go mushy fast. Fresh is genuinely better here — this is a dessert where the quality of the fruit shows.
Can I make the whipped cream ahead of time?
Yes, you can whip the cream a few hours in advance and keep it covered in the fridge. It holds reasonably well for about 4 hours. I wouldn't push it much past that — it can start to lose volume and weep a little. If you're making it the night before, I'd suggest whipping it fresh the morning of instead.
What kind of cake works best for the layers?
Pound cake and angel food cake are my top two choices. Pound cake is denser and soaks up the strawberry juice in a way that's really satisfying. Angel food cake is lighter and more airy, which some people prefer. Store-bought works fine for both — I've used the Sara Lee pound cake from Walmart and it's perfectly good here. Avoid anything too soft or crumbly, like a very delicate sponge, because it can disintegrate in the layers.
Can I freeze these trifles?
No — I tried this once and it does not work. The whipped cream separates when it thaws, the strawberries go mushy and release water everywhere, and the cake texture gets strange. These are a make-ahead-by-a-few-hours dessert, not a freeze-ahead one. Make them the same day or at most the morning before you serve them.
How far in advance can I assemble the trifles?
Up to 4 hours is the sweet spot. At the 2-hour mark they taste noticeably better than freshly assembled — the layers have had time to settle and the flavors come together. Past 4-5 hours the cake starts to get quite soft and can lose its structure. I usually assemble in the morning for an afternoon gathering, or early afternoon for an evening dinner.
These trifles have quietly become my most-requested summer dessert. There's something about a dessert that requires no oven, comes together in under half an hour, looks genuinely beautiful in the glass, and tastes like the height of strawberry season — it just works every time. I've made these for Eid gatherings, for birthday lunches, for a Wednesday afternoon when we just needed something sweet, and they've never once let me down.
I like that this recipe is mine to adapt. Sometimes I add a custard layer, sometimes I use mixed berries, sometimes I fold a little cream cheese into the whip to make it tangier. The base recipe is so simple and forgiving that there's almost no way to mess it up — and I say that as someone who has ruined plenty of things in this kitchen. If you're in the mood for something a bit more chocolatey to serve alongside, my chocolate snowball cookies are a nice contrast on the same dessert table.
The next time you see good strawberries at the store — deep red, fragrant, properly ripe — pick up an extra punnet and make these. You won't regret it. 🍓✨
STRAWBERRY SHORTCAKE TRIFLES
Ingredients
- 4 cups pound cake or angel food cake cubed
- 3 cups fresh strawberries sliced
- 2 cups heavy whipping cream
- ¼ cup powdered sugar
- 1 teaspoon vanilla extract
- Optional: fresh mint leaves for garnish
Instructions
- Prepare the Whipped Cream:
- In a chilled bowl, whip heavy cream, powdered sugar, and vanilla extract until soft peaks form.
- Assemble the Trifles:
- In individual glasses or a large trifle dish, layer cubed cake, sliced strawberries, and whipped cream. Repeat layers until the containers are full, ending with whipped cream on top.
- Chill:
- Refrigerate for at least 1 hour to let flavors meld.
- Serve:
- Garnish with extra strawberries and mint leaves if desired. Serve chilled
Notes
If you made these and loved them, here are a few more recipes from my kitchen you might want to try next:
- Red Velvet Cookies — soft, chewy, and deeply chocolatey with that signature red color
- Best Flourless Chocolate Cake — rich, fudgy, and naturally gluten-free for when you want something more substantial
- Chocolate Snowball Cookies — melt-in-your-mouth and perfect alongside any dessert spread
- Cinnamon Cheesecake Cookies — these are dangerously good and take about 30 minutes start to finish





Comments
No Comments