
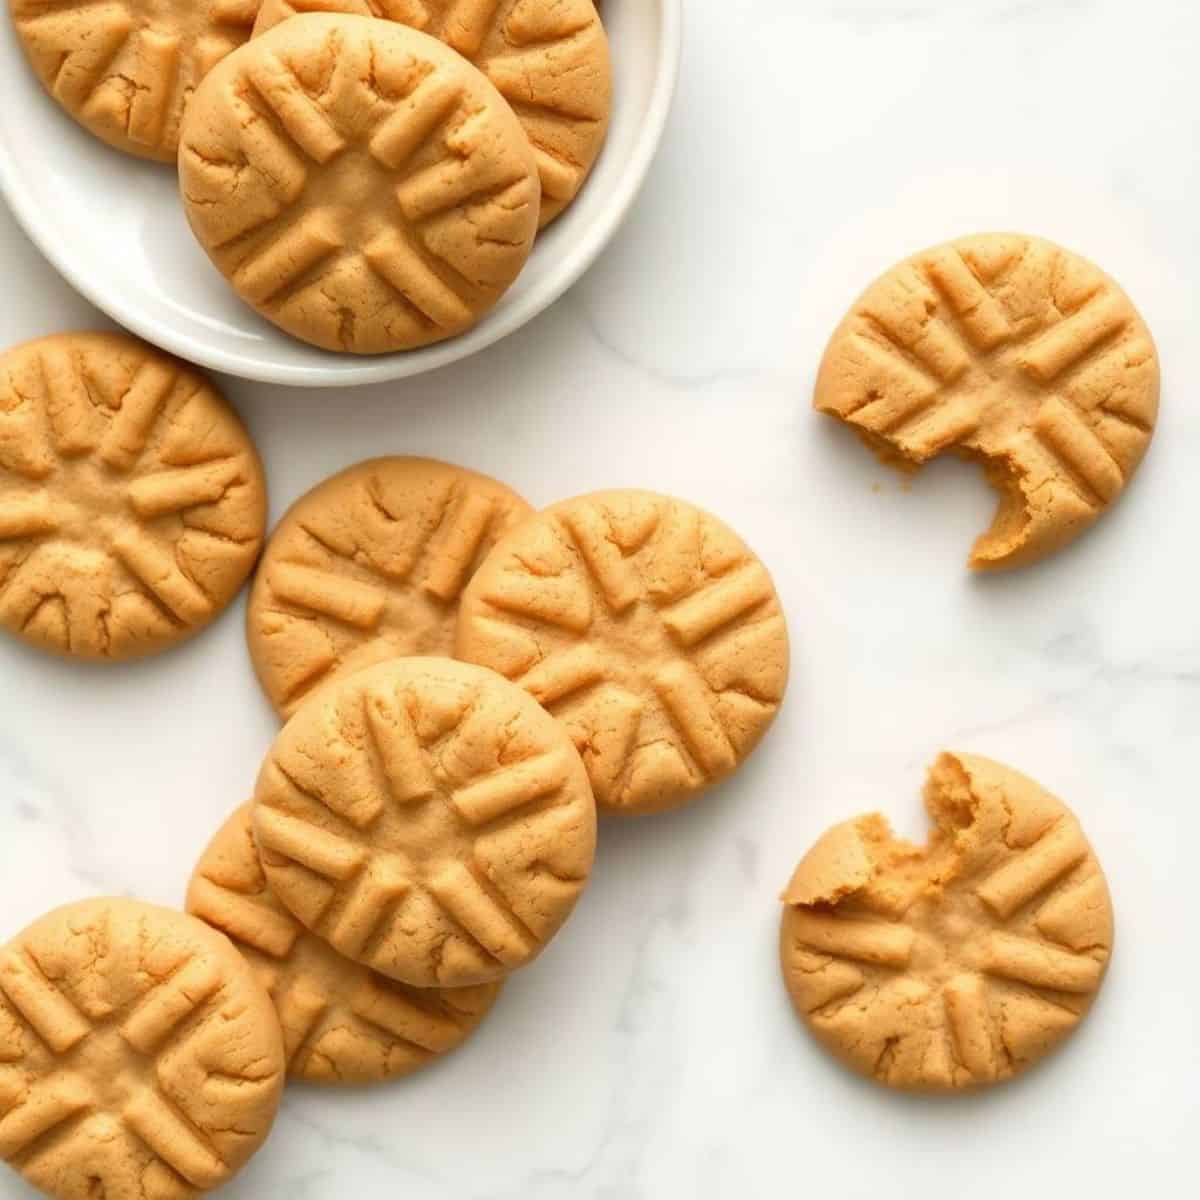
Saad asked me to make peanut butter cookies three weeks in a row before I finally sat down and wrote the recipe out properly. He'd been requesting them after school, and every time I'd tweak something — a little more brown sugar, a little less flour — until I landed on a version that had that specific chew I was going for: soft all the way through with edges that just barely crisp up.
What I love about this recipe is that it uses real butter alongside the peanut butter, which makes a noticeable difference in texture. A lot of the simpler peanut butter cookie recipes you'll find skip the butter entirely — and they can work — but they tend to produce a denser, drier cookie. This version is richer, softer, and holds together beautifully. I use creamy peanut butter most of the time (Jif or Skippy from Walmart, nothing fancy), but chunky works too if that's what you have.
I make a double batch whenever I bake these because a single batch disappears the same day — between Saad, my husband, and honestly myself sneaking one while they cool. These are also the cookies I bring to Eid gatherings or pack into little bags as gifts, because peanut butter translates well across pretty much every crowd. If you're looking for more holiday baking ideas, my roundup of 19 Easy Christmas Bundt Cake Recipes has a lot of good options alongside these.
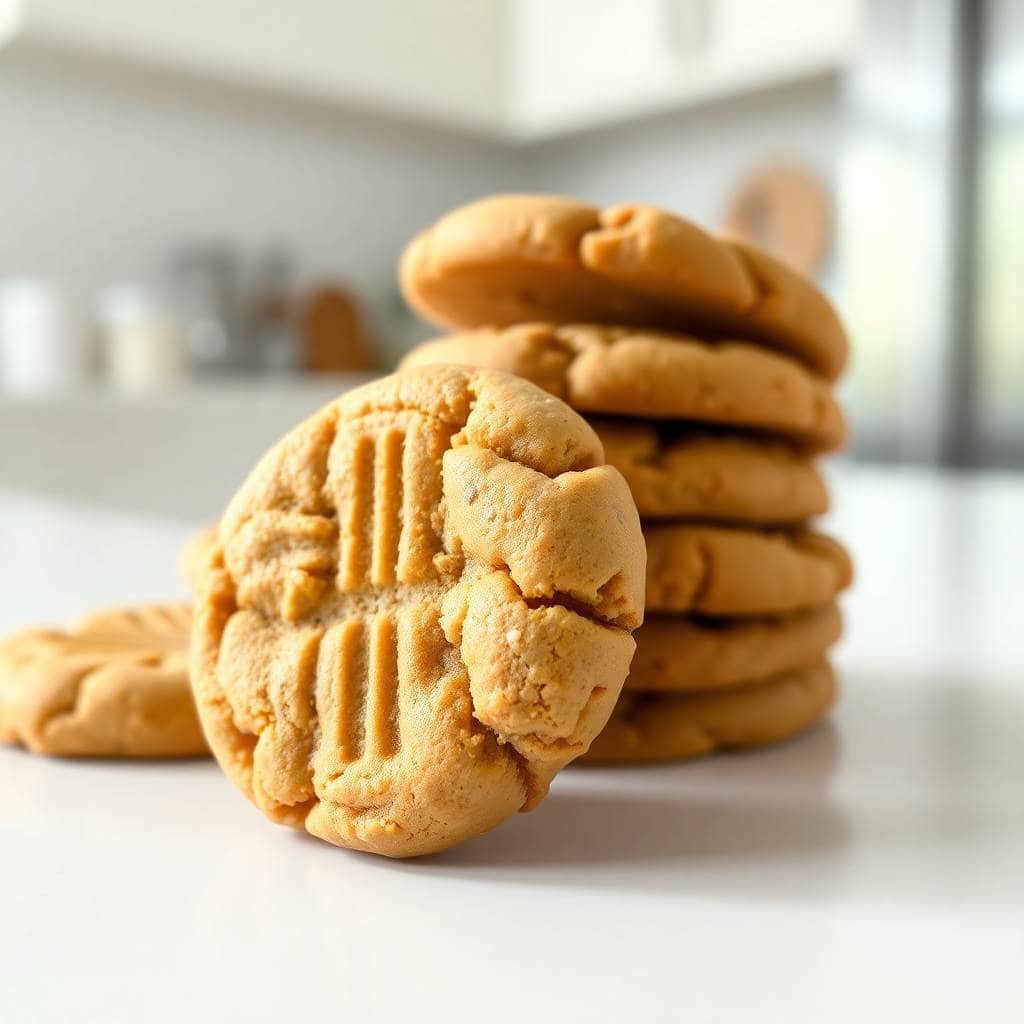
One thing to know going in: pull the cookies out when the centers still look slightly underdone. I know it feels wrong, but they firm up on the baking sheet as they cool — that's how you get that soft, pillowy center. The first time I made these, I left them in an extra two minutes and they came out fine but noticeably drier. Now I set a timer and trust the process.
Why You'll Love This Recipe
- Real butter makes a real difference: Most basic peanut butter cookie recipes use just peanut butter as the fat, and they can be good, but using actual softened butter alongside the peanut butter gives these a richer, more tender crumb. They stay soft for days in the container — not drying out by the next morning the way some cookies do. It's a small addition that completely changes the texture.
- Chewy centers, slightly crisp edges: This is the balance I was chasing for weeks before I got it right. The combination of granulated and brown sugar is what does it — granulated sugar helps with the edges crisping slightly, while brown sugar adds moisture and chew. If you use only white sugar, you'll get a crispier, flatter cookie. Both are valid, but this version is the one my family keeps coming back to.
- Comes together with pantry staples: There's nothing in this recipe I don't already have in my kitchen at any given time. Butter, peanut butter, two kinds of sugar, eggs, flour, baking soda, salt, vanilla. No specialty ingredients, no trips to any particular store. On a slow Friday afternoon when the kids are home and want something sweet, I can have these in the oven in under 15 minutes.
- Easy to customize: The base dough is a good canvas. I've stirred in chocolate chips, pressed a Hershey's Kiss into the center while they're still warm, rolled them in sugar before baking for a crinkly top — all of it works. My husband prefers them plain. Saad wants chocolate chips in his. I usually split the batch so everyone's happy.
- Freezer-friendly dough: I often roll the dough into balls and freeze half of them before baking. When we want cookies and I haven't planned ahead, I pull out a few frozen balls, let them sit for 10 minutes, and bake. Fresh cookies in 15 minutes with almost no work — that's a win on any busy weeknight.
Ingredients
- 1 cup (2 sticks / 225g) unsalted butter, softened to room temperature
- 1 cup creamy peanut butter (Jif or Skippy work well — avoid natural peanut butter that separates)
- 1 cup granulated sugar
- 1 cup packed brown sugar
- 2 large eggs, at room temperature
- 2½ cups all-purpose flour
- 1 teaspoon baking soda
- ½ teaspoon salt
- 1 teaspoon vanilla extract
- 1 tablespoon milk, optional (add if dough feels too stiff)
Directions
- Step 1: Preheat and prep your pan. Set your oven to 350°F (175°C) and line a baking sheet with parchment paper. If you don't have parchment, greasing the sheet works fine — I've done both and the cookies come out equally well.
- Step 2: Cream the butter and sugars. In a large bowl, beat the softened butter, peanut butter, granulated sugar, and brown sugar together until the mixture looks light and fluffy. This takes about 2-3 minutes if you're using a hand mixer, or a bit longer with a wooden spoon. I don't have a stand mixer, so I use a hand mixer I've had for years — it gets the job done.
- Step 3: Add the eggs and vanilla. Beat in the eggs one at a time, making sure the first is fully mixed in before adding the second. Then add the vanilla extract and stir. The mixture will look glossy and smooth at this point.
- Step 4: Mix in the dry ingredients. In a separate bowl, whisk together the flour, baking soda, and salt. Add the dry mixture to the wet ingredients gradually, stirring until just combined. Don't overmix once the flour is in — that can make the cookies tough. If the dough seems very stiff, add the tablespoon of milk and stir it in.
- Step 5: Roll and place the dough. Scoop about a tablespoon of dough and roll it into a 1-inch ball. Place the balls on the prepared baking sheet, spacing them about 2 inches apart — they spread a bit while baking.
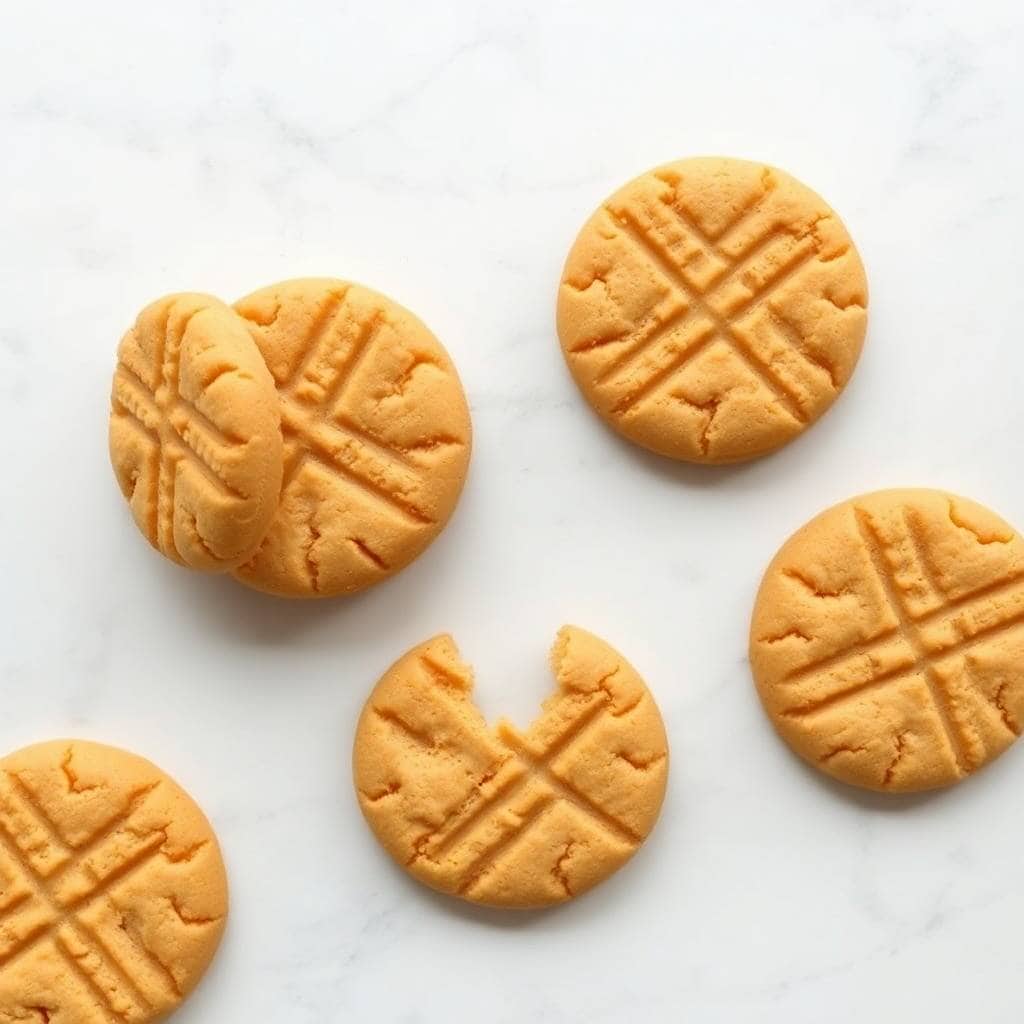
- Step 6: Flatten with a fork. Use a fork to gently press each ball down, making a criss-cross pattern on top. This is the classic peanut butter cookie look, and it also ensures even baking. Don't press too hard — you want them about ½ inch thick, not flat.
- Step 7: Bake. Bake for 10-12 minutes, until the edges are just lightly golden. The centers will still look soft and slightly underdone — that's exactly what you want. They firm up as they cool.
- Step 8: Cool before moving. Leave the cookies on the baking sheet for 5 minutes before transferring to a wire rack. Moving them too early means they'll fall apart — I've broken a few by being impatient about this step.
Tips for Success
- Use room temperature butter and eggs: Cold butter won't cream properly — you'll end up with a lumpy mixture instead of that smooth, fluffy base. I leave my butter out on the counter about an hour before I start. If I forget (which happens), I'll cut it into small cubes to speed things up. Same with eggs — cold eggs can cause the batter to look slightly curdled when you add them, though it usually comes back together once you add the flour.
- Don't overbake — seriously: This is the single most important thing. Peanut butter cookies look underdone when they're actually done. If you wait until the center looks fully set in the oven, you've gone too far. Pull them out when the edges are just lightly golden and the center still looks a bit soft. Let the residual heat on the baking sheet do the final work. I learned this the hard way during my first few attempts.
- Avoid natural peanut butter: The kind that separates in the jar — where you have to stir the oil back in — tends to make the cookies spread too much and come out greasy. Stick with a stabilized commercial brand like Jif, Skippy, or any store-brand equivalent from Walmart or Costco. The texture will be more consistent and the cookies will hold their shape better.
- Chill the dough if it's sticky: On warm days my dough sometimes gets soft and hard to roll. Putting it in the fridge for 20-30 minutes firms it right back up and also helps the cookies bake up thicker rather than spreading flat. I don't always do this step, but it makes a noticeable difference in thickness if that matters to you.
- Bake one sheet at a time: I know it's tempting to put two pans in the oven at once to speed things up, but the airflow gets uneven and the bottom tray always ends up slightly overdone on the bottom. One sheet at a time, middle rack. It's worth the extra 12 minutes.
Variations
- Chocolate chip peanut butter cookies: Stir ½ cup of semi-sweet chocolate chips into the dough before rolling. This is Saad's preferred version and honestly the one I make most often. The chocolate doesn't overpower the peanut butter — it just adds little pockets of richness throughout. Mini chips work especially well because they distribute more evenly.
- Peanut butter blossoms: Skip the fork flattening step. Bake the dough balls as rounds, then as soon as they come out of the oven, press a Hershey's Kiss into the center of each one. The warmth of the cookie slightly melts the base of the chocolate and it sets into the cookie as it cools. These are great for holiday cookie platters alongside something like my Chocolate Protein Bliss Balls if you want a mix of textures.
- Crunchy peanut butter version: Swap the creamy peanut butter for chunky. The bits of peanut throughout give the cookies a more textured, nutty bite. My husband actually prefers this version — he says the plain creamy ones are "too smooth." You can also add 2 tablespoons of roughly chopped roasted peanuts on top of each cookie before baking for even more crunch.
- Peanut butter oatmeal cookies: Add ½ cup of old-fashioned rolled oats to the dough. They give the cookies a heartier, slightly chewier texture that's different from the classic version. I'd reduce the flour by 2 tablespoons to compensate for the extra bulk. This version feels more substantial — closer to a breakfast cookie if you're into that.
- Sugar-rolled tops: Before pressing with a fork, roll each dough ball in granulated or coarse sugar. It gives the finished cookie a slightly sparkly, crinkly top and a tiny bit of extra sweetness on the outside. This is what I do when I'm bringing these somewhere — they look more finished without any extra effort.
Serving and Storage
Serving
These cookies are best served at room temperature, a few hours after baking once they've fully set. Warm out of the oven they're a little fragile and the texture is almost too soft — give them an hour and they hit their stride. I usually serve them as an after-school snack, on a weekend dessert plate alongside tea, or packaged up in a little bag as a gift. They also pair well as a dessert after something savory — after a meal of something like my Cajun Shrimp and Sausage Alfredo Pasta, a couple of these with tea is a perfect finish.
Storage
Store baked cookies in an airtight container at room temperature for up to 1 week. They actually get slightly chewier on day two, which some people (including my husband) prefer. For longer storage, freeze the baked cookies in a zip-lock bag for up to 3 months — just let them thaw at room temperature for 20-30 minutes before eating. If you want to freeze the raw dough instead, roll it into balls first, freeze on a baking sheet until solid, then transfer to a freezer bag. Bake straight from frozen at 350°F, adding 2-3 minutes to the baking time.
Frequently Asked Questions
Can I make these cookies gluten-free?
I haven't tested this myself with a gluten-free flour blend, so I can't give you exact numbers — but readers have told me a 1:1 gluten-free all-purpose flour (like Bob's Red Mill or King Arthur's measure-for-measure blend) works in similar cookie recipes without much change. The texture might be slightly different, but the cookies should still hold together. Just make sure whichever blend you use contains xanthan gum, which helps with structure.
Can I use crunchy peanut butter instead of creamy?
Yes, and I actually do this sometimes when the creamy jar runs out. Crunchy peanut butter gives you small bits of peanut throughout the cookie, which adds a little extra texture with each bite. The recipe works exactly the same way — no other changes needed. Just make sure you're using a commercial brand, not a natural one that separates.
My cookies spread too much and came out flat. What went wrong?
A few things can cause this: butter that was too warm or melted rather than just softened, natural peanut butter with a high oil content, or dough that wasn't chilled before baking. If your kitchen is warm, refrigerate the dough for 30 minutes before rolling. Also make sure you're measuring flour correctly — spoon it into the cup and level off rather than scooping directly from the bag, which can pack in too little flour.
Can I freeze the cookie dough?
This is actually my preferred method. I roll the whole batch into balls, freeze them flat on a baking sheet for an hour, then transfer to a freezer bag. They keep frozen for up to 3 months. When I want fresh cookies, I pull out however many I need, let them sit for 10 minutes, and bake at 350°F for 12-14 minutes. No thawing required beyond that short rest — they come out just as good as fresh.
Can I make these cookies ahead for a party or holiday?
Absolutely. Baked cookies keep well in an airtight container for up to a week, so you can bake them 2-3 days in advance without any quality loss. They're one of the easiest cookies to prep ahead for holiday baking — I usually make them a day or two before Eid or any gathering. If you want to go further ahead, freeze the baked cookies and pull them out the morning of your event to thaw.

SOFT PEANUT BUTTER COOKIES
Ingredients
- 1 cup unsalted butter softened
- 1 cup peanut butter creamy or chunky
- 1 cup granulated sugar
- 1 cup packed brown sugar
- 2 large eggs
- 2 ½ cups all-purpose flour
- 1 teaspoon baking soda
- ½ teaspoon salt
- 1 teaspoon vanilla extract
- 1 tablespoon milk optional for extra softness
Instructions
- Preheat the oven to 350°F (175°C) and line a baking sheet with parchment paper.
- In a large bowl, cream together the butter, peanut butter, granulated sugar, and brown sugar until light and fluffy.
- Beat in the eggs, one at a time, then add the vanilla extract.
- In a separate bowl, whisk together the flour, baking soda, and salt. Gradually add the dry ingredients to the wet mixture, mixing until just combined.
- If the dough feels a bit thick, add 1 tablespoon of milk to soften it up.
- Roll the dough into 1-inch balls and place them onto the prepared baking sheet. Flatten each ball slightly with a fork, making a criss-cross pattern.
- Bake for 10-12 minutes, or until the edges are lightly golden. The center should still look soft.
- Allow the cookies to cool on the baking sheet for 5 minutes before transferring them to a wire rack to cool completely.
Notes
- For extra texture, you can fold in chocolate chips or chopped peanuts into the dough.
- You can substitute the granulated sugar with coconut sugar for a different flavor.
- If you prefer crunchy cookies, flatten the dough more before baking.
- These cookies can be stored in an airtight container for up to 1 week or frozen for up to 1 month.
- If you want to make the cookies even softer, you can add an extra tablespoon of butter.
- If you don't have parchment paper, greasing the baking sheet works fine as well.
- To make them extra festive, roll the cookie dough balls in sugar before baking.
These cookies have become a fixture in my kitchen — not because they're trendy or complicated, but because they work, every time, with ingredients I always have on hand. The criss-cross fork pattern, the slightly crisp edges, the soft center that holds together when you pick it up — that's the cookie I spent weeks trying to nail down, and this is the recipe that got me there.
If you're making them for a holiday spread, they sit well on a platter alongside something chocolatey — I often make a batch of these the same day I make something from my Christmas Bundt Cake roundup for variety. They're also genuinely good on their own with just a cup of tea, which is usually how I eat them.
If you try the recipe, let me know in the comments which variation you went with. I'm always curious whether people go plain or straight for the chocolate chips — in my house it's always split right down the middle. 🥜🍪✨
{"@context":"https://schema.org","@type":"Article","headline":"SOFT PEANUT BUTTER COOKIES","description":"Soft Peanut Butter Cookies are chewy, soft, and filled with rich peanut butter flavor, making them the perfect treat for any occasion.","datePublished":"2025-03-24T15:45:45+00:00","dateModified":"2026-05-04T04:04:35+00:00","author":{"@type":"Person","name":"Sana Umer","url":"https://forfoodiefriends.com/about/","description":"Self-taught home cook with 10+ years of kitchen experience. Mom of two who develops every recipe in her own kitchen.","jobTitle":"Recipe Developer & Food Blogger","image":"https://forfoodiefriends.com/wp-content/uploads/sana-umer-author-photo.jpg"},"publisher":{"@type":"Organization","name":"For Foodie Friends","url":"https://forfoodiefriends.com/","logo":{"@type":"ImageObject","url":"https://forfoodiefriends.com/wp-content/uploads/forfoodiefriends-logo.png"}},"mainEntityOfPage":{"@type":"WebPage","@id":"https://forfoodiefriends.com/soft-peanut-butter-cookies/"},"image":"https://forfoodiefriends.com/wp-content/uploads/2025/03/SOFT-PEANUT-BUTTER-COOKIES-1.jpg"}





Comments
No Comments