
The smell of molasses and warm spices hitting a hot oven is what gets everyone in my house to wander into the kitchen. I'm not exaggerating — my daughter Zainab will appear from nowhere, ask "are those ginger cookies?" and park herself at the kitchen table waiting. It happens every single time.
What I love about this recipe is how little fuss it takes to get a genuinely great cookie. The dough mixes in one bowl, no chilling required if you work quickly, and the sugar-rolling step takes about two minutes. The molasses keeps the centers soft for days — I've made these on a Wednesday and they were still chewy on Sunday, stored in a zip-lock bag on the counter.
I usually bake these in December, but honestly I've made them in July too. They pair really well alongside something festive — last Christmas I put them out next to a pitcher of my Holly Jolly Christmas Citrus Cocktail and they disappeared in about twenty minutes. My husband had four before dinner and pretended he hadn't.
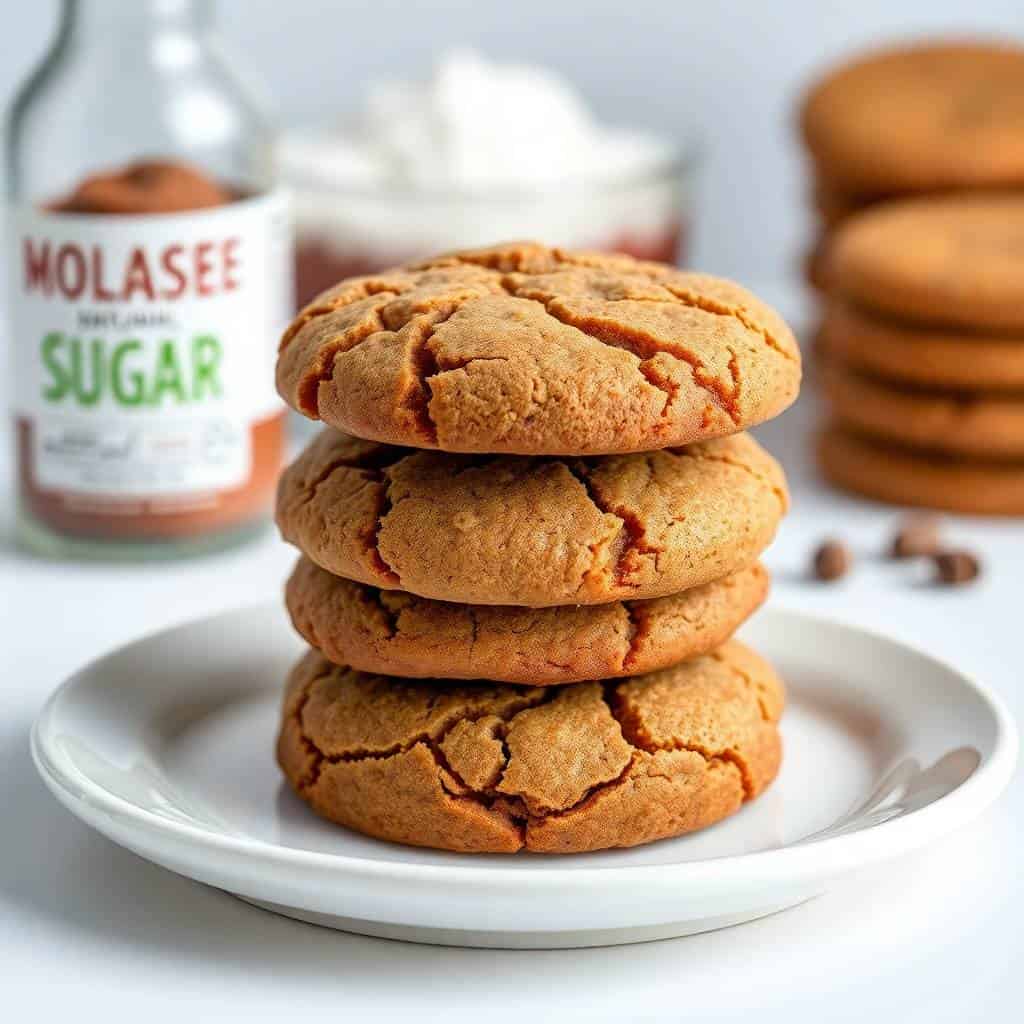
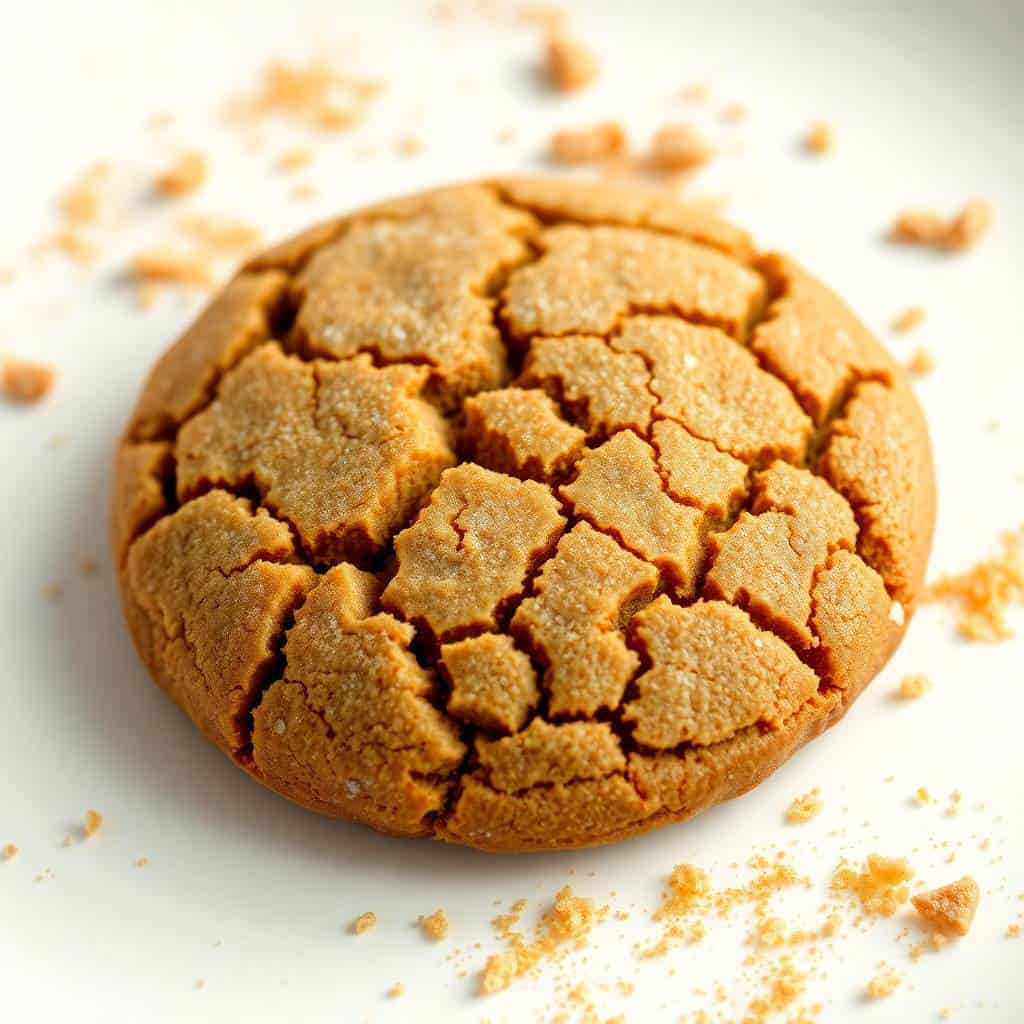
One thing to know going in: these cookies look underdone when you pull them out of the oven. The centers will still be soft and they'll look a little puffed and pale. That's exactly right. They firm up as they cool. The first time I made them I left them in two extra minutes because I panicked, and they turned into something closer to a biscuit than a cookie. Pull them when the edges just set — trust the timer.
Why You'll Love This Recipe
- One bowl, no mixer required: I don't own a stand mixer and I make these all the time. A hand mixer works great, but if yours is buried somewhere, a wooden spoon and some elbow grease gets the job done too. The butter just needs to be genuinely soft — not cold, not melted, properly softened — and then it creams up easily by hand. The whole dough comes together in about ten minutes.
- That chewy center holds for days: Molasses is the reason these stay soft. It's hygroscopic, which basically means it pulls moisture from the air and keeps the cookies from drying out. I've stored these in an airtight container at room temperature for five days and they were still soft on day five. That makes them genuinely useful for holiday gifting — you can bake a batch two or three days ahead without stressing.
- The spice level is warm, not aggressive: I know some people are wary of ginger cookies because they expect something sharp or medicinal. This recipe isn't that. The ginger, cinnamon, and cloves together smell incredible, but the flavor is rounded and warm rather than biting. My kids both eat these happily, and Zainab is not someone who tolerates anything spicy.
- The sugar crust gives you texture contrast: Rolling the dough balls in granulated sugar before baking does two things — it gives the outside a very slight crunch against the soft interior, and it makes the cookies look pretty without any decoration. No icing, no piping, no effort. Just roll and bake.
- The dough freezes beautifully: I almost always make a double batch and freeze half the dough balls before rolling them in sugar. When I want fresh cookies, I pull out however many I need, let them sit on the counter for 20 minutes, roll in sugar, and bake straight from there. It's one of the more useful things I do in my kitchen during the holidays.
Ingredients
- 2 ¼ cups all-purpose flour
- 1 teaspoon baking soda
- 1 teaspoon ground ginger
- 1 teaspoon ground cinnamon
- ¼ teaspoon ground cloves
- ½ teaspoon salt
- ¾ cup unsalted butter, softened (leave it out for at least an hour)
- 1 cup granulated sugar, divided (¾ cup for the dough, ¼ cup for rolling)
- 1 large egg
- ¼ cup molasses (unsulfured — I use Grandma's brand, easy to find at Walmart or Kroger)
- 1 teaspoon vanilla extract
Directions
- Step 1: Preheat the oven — Set your oven to 350°F (175°C) and line a baking sheet with parchment paper. I use a regular sheet pan from Walmart — nothing fancy needed here.
- Step 2: Mix the dry ingredients — Whisk together the flour, baking soda, ginger, cinnamon, cloves, and salt in a medium bowl until evenly combined. Set it aside. Getting the spices fully distributed at this stage means every cookie tastes the same, not just the lucky ones.
- Step 3: Cream butter and sugar — In a large bowl, beat the softened butter with ¾ cup of the granulated sugar until light and fluffy, about 2 minutes with a hand mixer or a bit longer by hand. If your butter is properly soft this goes quickly — cold butter will leave lumps and you'll fight it the whole way.
- Step 4: Add the egg, molasses, and vanilla — Beat in the egg, molasses, and vanilla extract until the mixture is smooth. It will look slightly dark and glossy — that's the molasses doing its thing.
- Step 5: Add the dry ingredients — Add the flour mixture gradually, stirring just until a dough comes together. Stop as soon as you don't see dry streaks. Overmixing develops the gluten and you'll end up with a tougher, denser cookie.
- Step 6: Roll into balls and coat in sugar — Scoop tablespoon-sized portions and roll them into balls with your hands. Roll each ball in the remaining ¼ cup of granulated sugar. Place them on the prepared sheet about 2 inches apart — they spread a bit.
- Step 7: Bake — Bake for 10–12 minutes. The edges should look set and the centers will still look a little soft and underdone. That's correct. Don't add more time — pull them now.
- Step 8: Cool on the sheet first — Leave the cookies on the baking sheet for 5 minutes before moving them to a wire rack. They're fragile right out of the oven and will fall apart if you move them immediately. The 5 minutes lets them firm up enough to transfer cleanly.
Tips for Success
- Butter temperature actually matters here: I know "softened butter" sounds like generic advice but with cookies it genuinely makes a difference. Cold butter won't cream properly and your dough will be uneven. Melted butter makes the cookies spread too thin. You want butter you can press a finger into easily — leaves an indent but doesn't collapse. I leave mine on the counter for an hour before I start.
- If the dough is sticky, refrigerate it briefly: In a warm kitchen, the dough can get soft and hard to roll. I learned this in summer — my first attempt looked fine until I tried to roll the balls and the dough just stuck to my hands. Fifteen to twenty minutes in the fridge firms it up enough to handle. You don't need to chill it in cooler weather.
- Pull them early, not late: The biggest mistake with these cookies is overbaking. When I pull mine at 10 minutes the centers still look almost raw. By the time they've cooled on the sheet they're perfectly set — soft through and through. At 12 minutes the edges are fully golden and the centers are just right for people who like a slightly firmer cookie. Beyond 12 minutes they'll start to harden as they cool.
- Use unsulfured molasses: There are different types of molasses at the grocery store. Unsulfured (like Grandma's brand) is lighter and has a cleaner, almost caramel-like flavor. Blackstrap molasses is much more bitter and intense — I've used it by accident once and the cookies were edible but had a strong, almost medicinal edge to them. Check the label before you buy.
- Make uniform balls for even baking: I use a small cookie scoop (a cheap one from Walmart, about $8) to portion the dough before rolling. All the cookies end up the same size and bake in the same time. When I've just eyeballed it, some cookies are done at 10 minutes and others need 12, and it's harder to keep track. If you don't have a scoop, a regular tablespoon works fine — just try to be consistent.
Variations
- Add a pinch of black pepper: This sounds odd but it works. About ¼ teaspoon of freshly ground black pepper added to the dry ingredients gives the cookies a very subtle warmth that sneaks up on you after the initial spice flavor. My husband figured this out by accident and now he adds it every time he makes these. The kids don't notice it but the adults always ask what's different.
- Chocolate-dipped: Melt ½ cup of dark chocolate chips in the microwave in 30-second bursts, stirring between each, until smooth. Dip the cooled cookies halfway in and set them on parchment to firm up. This makes them feel much more dressed up, which is useful if you're putting together a holiday cookie box alongside something like a Cranberry Pineapple Upside-Down Cake for gifting.
- Citrus zest addition: A teaspoon of orange zest stirred into the dough right before you add the dry ingredients brightens the whole flavor profile. It doesn't taste like orange cookies — it just lifts the spices slightly and makes everything smell even better while they bake. Lemon zest works too, though it's a bit sharper.
- Dairy-free version: Swap the unsalted butter for a dairy-free butter stick (I've used Earth Balance and it works well). Everything else stays the same. The texture is very slightly different — a tiny bit less rich — but honestly most people wouldn't notice. Zainab can't tell the difference.
- Gluten-free swap: A 1:1 gluten-free flour blend (Bob's Red Mill or King Arthur both work) can replace the all-purpose flour directly. The dough will feel slightly stickier — refrigerating it for 20 minutes before rolling helps. I'm not going to claim these are identical to the original, but they're genuinely good and I've served them to guests without mentioning the swap.
Serving and Storage
Serving
These are best at room temperature, a few hours after baking when they've fully cooled and the texture has settled. I like them with a cup of tea — chai especially, because the spices echo. They're also good as part of a holiday dessert spread alongside something like Chocolate Cupcakes if you're baking for a small gathering and want variety without too much work.
Storage
Store cooled cookies in an airtight container at room temperature for up to one week. They actually get slightly softer on day two and three as the molasses continues to work. For longer storage, freeze baked cookies in a zip-lock bag for up to 3 months — thaw at room temperature for about 30 minutes. You can also freeze raw dough balls (before the sugar coating) for up to a month; roll them in sugar straight from frozen and add 1–2 minutes to the bake time.

Frequently Asked Questions
Why do my cookies come out hard instead of chewy?
Almost always overbaking. These cookies look underdone when they're actually done — the centers should still look soft when you pull them from the oven. They firm up as they cool on the sheet. Try pulling them at exactly 10 minutes the first time and see how they turn out. Also make sure your butter was properly softened, not melted — melted butter changes the texture.
Can I make the dough ahead of time?
Yes, and it actually works well. The dough keeps in the fridge for up to 3 days — just press plastic wrap directly onto the surface so it doesn't dry out. You can also roll the dough into balls first, freeze them on a sheet pan until solid, then transfer to a bag. Bake from frozen at 350°F and add 1–2 extra minutes.
Can I use blackstrap molasses instead of regular molasses?
Technically yes, but I'd avoid it if you can. Blackstrap is significantly more bitter and has a much stronger, almost sharp flavor. The cookies will bake fine but the taste is quite different — not in a good way, in my experience. Unsulfured molasses (like Grandma's brand) is what gives these their rounded, slightly sweet depth. If you absolutely can't find it, a mix of half molasses and half honey gets you closer than blackstrap alone.
Do I need to chill the dough before baking?
Not always, but it depends on your kitchen temperature. In a cool kitchen the dough rolls easily straight away. In summer, or if your butter was on the softer side, the dough gets sticky and harder to roll into clean balls. If that's happening, 15–20 minutes in the fridge solves it completely. You don't need to chill it for hours the way some cookie recipes require.
Can I substitute honey or maple syrup for the molasses?
You can, but the cookies will taste noticeably different. Molasses is what gives ginger cookies their distinctive dark, slightly bitter-sweet backbone. Honey or maple syrup will make sweeter, lighter cookies — still good, just a different flavor entirely. If you go this route, use the same quantity (¼ cup) and know you're making a different cookie rather than a direct substitute.
SOFT & CHEWY GINGER MOLASSES COOKIES
Ingredients
- 2 ¼ cups all-purpose flour
- 1 teaspoon baking soda
- 1 teaspoon ground ginger
- 1 teaspoon ground cinnamon
- ¼ teaspoon ground cloves
- ½ teaspoon salt
- ¾ cup unsalted butter softened
- 1 cup granulated sugar divided
- 1 large egg
- ¼ cup molasses
- 1 teaspoon vanilla extract
- Extra sugar for rolling
Instructions
Preheat the Oven:
- Preheat your oven to 350°F (175°C). Line a baking sheet with parchment paper or a silicone baking mat.
Mix Dry Ingredients:
- In a medium bowl, whisk together the flour, baking soda, ginger, cinnamon, cloves, and salt. Set aside.
Make the Dough:
- In a large bowl, beat the softened butter and ¾ cup of sugar until light and fluffy. Add the egg, molasses, and vanilla extract, and beat until combined. Gradually add the dry ingredients, mixing until a dough forms.
Shape the Cookies:
- Roll the dough into 1-inch balls and then roll each ball in the remaining ¼ cup sugar. Place them on the prepared baking sheet about 2 inches apart.
Bake:
- Bake for 10-12 minutes or until the edges are set and the centers are soft. Let the cookies cool on the baking sheet for 5 minutes before transferring them to a wire rack to cool completely.
Notes
The cookie dough can be prepared in advance and stored in the fridge for up to 3 days. You can also freeze the dough for up to 1 month. Customizing the Flavor:
Add a bit of black pepper for an extra zing or a pinch of allspice for a deeper, spicier flavor. Serving Suggestions:
These cookies are perfect for holiday gatherings, as a snack with tea, or as a sweet gift for friends and family. Allergy-Friendly Options:
For a dairy-free version, substitute the butter with a dairy-free butter alternative. Storage Tips:
Store the cookies in an airtight container at room temperature for up to 1 week. For longer storage, freeze the cookies for up to 3 months.
These ginger molasses cookies have been in my regular rotation for a few years now, and I genuinely haven't gotten tired of them. The recipe is short, the ingredient list is stuff I almost always have on hand, and the results are consistent. That's more than I can say for a lot of baking projects.
If you're building out a holiday baking day, these pair really well with something like a Easy Breakfast Cheese Danish in the morning and then a cookie baking session in the afternoon. The cookies also package well for gifting — I usually stack them in sets of four in small cellophane bags and tie them with ribbon. Simple, but people are always happy to receive them.
The one thing I keep coming back to is that moment when the first batch comes out of the oven and the whole kitchen smells like warm spices. Zainab shows up. My husband wanders in from the other room. It's a reliable ten minutes of everyone being in the same place at the same time, which in my house is harder than it sounds. 🍪✨
If you liked this recipe, here are a few more you might want to try:





Comments
No Comments