
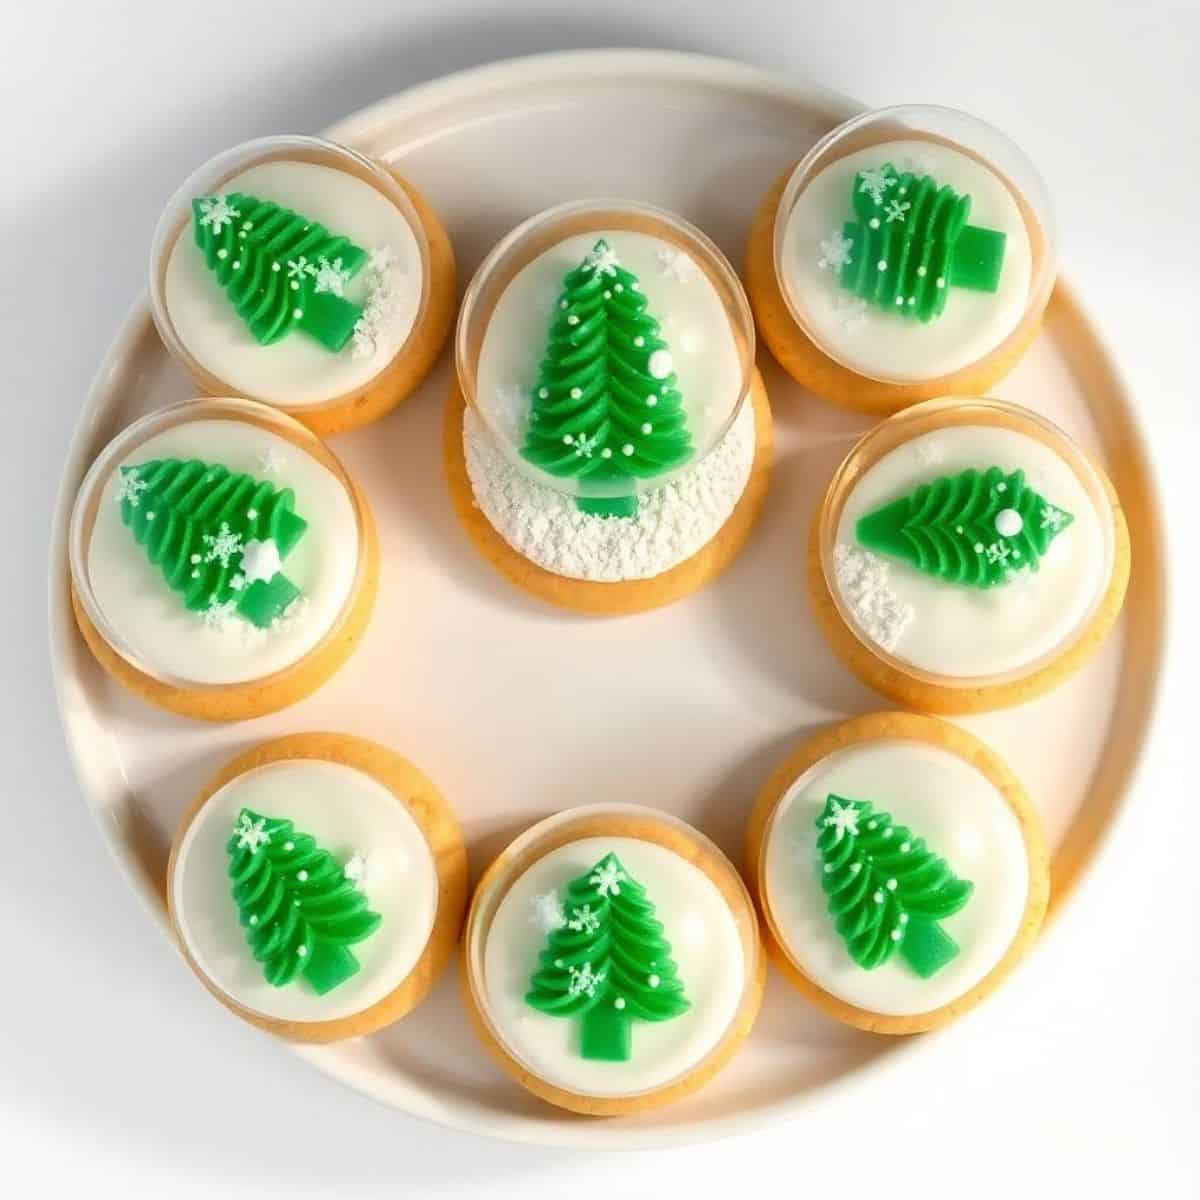
These magical Snow Globe Cookies are the perfect treat to brighten your holiday season. With their cute designs and sparkling details, they look just like real snow globes—but even better because you can eat them!
Kids will love decorating them, and adults will admire how charming and tasty they are. These cookies combine buttery sugar cookie bases with clear candy windows and themed decorations, making them stand out.
The best part is how customizable they are. You can pick any tiny candy or sprinkle figure to create the inside “scene” of your snow globe. Whether you want snowmen, tiny trees, reindeer, or even mini gifts, the design options are endless.
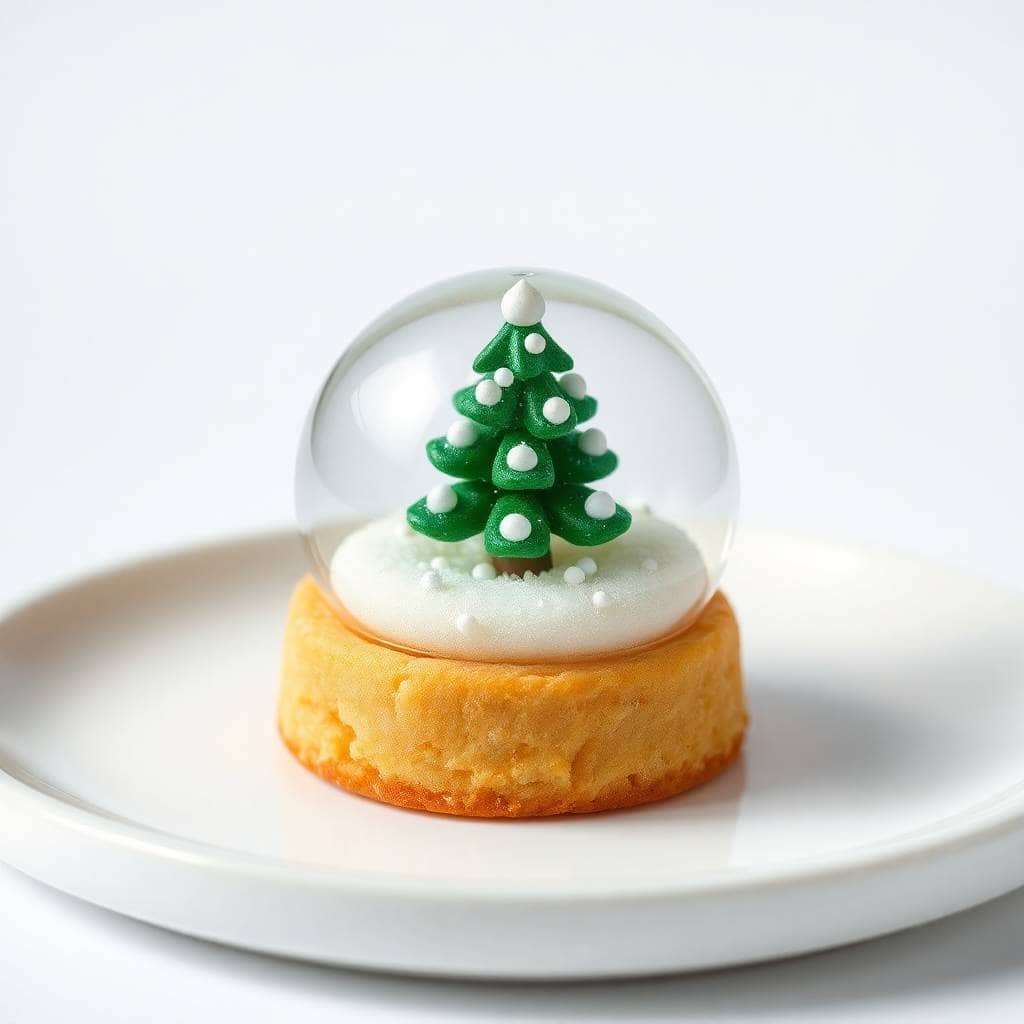
The recipe is simple and beginner-friendly, but the result looks like something from a professional bakery. The clear candy center is easier than you think, and gives the cookies their signature snow globe look.
Prepare to get creative, have fun, and wow your friends with these cute and clever cookies this holiday season! They’re great for Christmas parties, baking projects with kids, or thoughtful gifts wrapped in clear bags.
WHY YOU WILL LOVE THIS RECIPE
- Festive and Fun: These cookies look just like real snow globes and bring smiles to everyone during the holidays.
- Kid-Friendly Activity: Children love decorating their own edible snow globes with sprinkles and tiny candy shapes.
- Customizable Design: Use your creativity to create different winter scenes inside each snow globe.
- Tastes Delicious: Buttery sugar cookies with sweet candy centers make a delightful flavor and texture combo.
- Perfect Gift: Wrapped in cellophane, these cookies make charming and thoughtful holiday gifts.
- Wow Factor: These cookies look professional but are surprisingly easy to make at home.
- Holiday Centrepiece: They’ll be the star of your dessert table or cookie exchange.
INGREDIENTS
- 2 ½ cups all-purpose flour
- 1 cup unsalted butter, softened
- 1 cup granulated sugar
- 1 large egg
- 1 teaspoon vanilla extract
- ½ teaspoon almond extract (optional)
- 1 teaspoon baking powder
- ½ teaspoon salt
- Clear hard candies (like Jolly Ranchers or Life Savers), crushed
- Assorted sprinkles and mini holiday candies
- Royal icing or melted chocolate (for decorating)
DIRECTIONS
- Step No.1: Make the sugar cookie dough
In a large bowl, cream the butter and sugar until light and fluffy. Add the egg, vanilla, and almond extract. Mix well. In another bowl, whisk the flour, baking powder, and salt. Slowly add the dry ingredients to the wet mixture until a dough forms.
- Step No.2: Chill the dough
Wrap the cookie dough in plastic wrap and refrigerate for at least 1 hour. This helps prevent spreading while baking.
- Step No.3: Roll and cut the cookies
Preheat the oven to 350°F (175°C). Roll out the chilled dough on a floured surface to about ¼-inch thickness. Cut out round snow globe shapes and smaller circle “windows” from the centers of half the cookies.
- Step No.4: Fill centers with candy
Place cookies on a lined baking sheet. Fill the cut-out centers with crushed clear candies. Bake for 8–10 minutes, or until the edges are lightly golden and the candy is melted.
- Step No.5: Cool and assemble scenes
Let cookies cool completely on the baking sheet. The candy will harden into a clear “window.” Use royal icing to attach small sprinkles or candies inside the window for your snow globe scene.
- Step No.6: Decorate and finish
Use royal icing or melted chocolate to add borders and snow-like details. Let decorations set before serving or packaging.

TIPS FOR SUCCESS
- Use cold dough: Chilled dough helps cookies keep their shape and avoids spreading in the oven.
- Line baking sheets: Parchment paper or silicone mats prevent sticking and help the candy centers set smoothly.
- Crush candy finely: Smaller pieces melt evenly, avoiding bumps or holes in your clear “glass” centers.
- Work quickly: Add sprinkles while icing is wet to help them stick well.
- Let cookies cool: Wait until the candy center is fully set before handling or moving cookies.
- Use food-safe decorations: Ensure all tiny figures or sprinkles are edible and safe for consumption.
- Store flat: Avoid stacking until decorations are fully set and firm.
VARIATIONS
- Flavored dough: Add cinnamon, nutmeg, or citrus zest to the cookie dough for a seasonal twist.
- Colored candy glass: Mix clear and colored candies to create tinted snow globes.
- Mini versions: Make smaller bite-sized snow globe cookies for parties or favors.
- Icing borders: Use different colored icings for more vibrant snow globe frames.
- Themed scenes: Create themed cookies like Santa’s workshop, snowy forests, or reindeer games.
- Chocolate base: Use chocolate cookie dough for a rich variation with the same fun shape.
- Sparkling finish: Add edible glitter for a dazzling effect that mimics falling snow.
SERVING AND STORAGE
Serving
Serve snow globe cookies as a festive treat on dessert platters or as holiday party favors for kids and adults alike.
Storage
Store cookies in a single layer in an airtight container at room temperature for up to one week without decorations smudging.
FAQ
Yes, any clear hard candy like Life Savers works well. Avoid gummy or chewy candies, as they don’t melt properly.
Crush the candy finely and avoid overbaking. Let it melt just enough to fill the window without boiling.
The dough can be frozen, but finished cookies are best enjoyed fresh due to their delicate candy centers.
Royal icing helps designs hold well, but melted white chocolate is a great alternative for snowy details.
The melted candy cools and hardens within 10–15 minutes after baking. Let it set fully before decorating.
Snow Globe Cookies are a delightful combination of creativity and sweetness.
They’re fun to make, fun to look at, and absolutely perfect for spreading holiday cheer.
With buttery sugar cookie dough and magical clear centers, these cookies are guaranteed to grab attention and start conversations.
Whether you're baking with your family or preparing holiday gifts, these cookies make a wonderful project that everyone will remember.
They allow endless creativity—from snowy winter scenes to bright holiday themes.
They’re also a practical way to involve kids in baking without much mess or complication.
A few sprinkles, some candy, and a little icing go a long way to creating a batch of showstopping cookies.
Snow Globe Cookies are more than just a treat—they’re an experience.

SNOW GLOBE COOKIES
Ingredients
For the Cookies:
- 2 ½ cups all-purpose flour
- 1 teaspoon baking powder
- ½ teaspoon salt
- ¾ cup unsalted butter softened
- ¾ cup granulated sugar
- 1 large egg
- 1 teaspoon vanilla extract
- ¼ teaspoon almond extract optional
For the Decoration:
- Hard clear candies like clear mints or isomalt chips
- Royal icing or store-bought decorating icing
- Edible glitter or sprinkles
- Small decorative candies or sugar decorations
- Food coloring optional
Instructions
Preheat Oven:
- Preheat your oven to 350°F (175°C). Line baking sheets with parchment paper.
Mix Dry Ingredients:
- In a bowl, whisk together flour, baking powder, and salt. Set aside.
Make the Dough:
- Cream butter and sugar until light and fluffy. Beat in egg, vanilla, and almond extract. Gradually add flour mixture until combined.
Roll and Cut:
- Roll dough to ¼-inch thickness. Use a snow globe-shaped cookie cutter (or a circle and base) to cut shapes. Use a smaller cutter to make a window in the center.
Bake and Add Candy:
- Place cookies on the baking sheet. Fill the center cut-out with crushed clear candy. Bake for 10–12 minutes or until edges are golden and candy is melted. Cool completely.
Decorate:
- Use icing, sprinkles, and candies to decorate the outside of each cookie. Let icing dry completely before serving.
Notes
- Make Ahead: Cookie dough can be refrigerated for up to 2 days or frozen for 1 month.
- Glass Effect: Use isomalt for a clearer, shinier “glass” center if desired.
- Storage: Store in an airtight container at room temperature for up to 5 days.
- Tip: Great for gifting or displaying as edible ornaments!





Comments
No Comments