
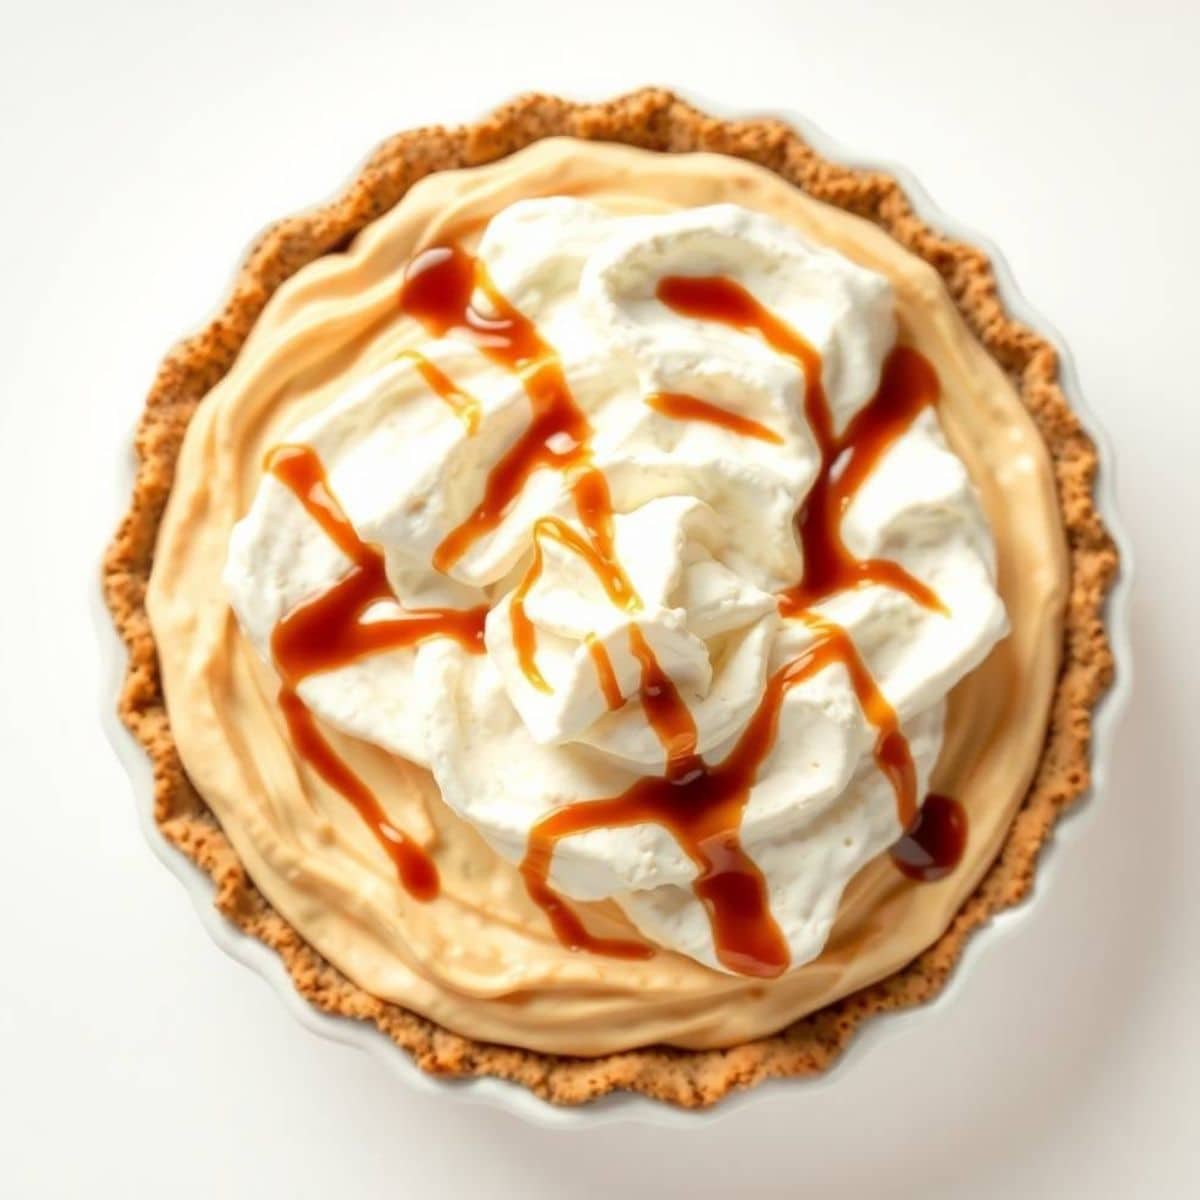
This root beer float pie captures the nostalgic charm of a classic soda fountain treat in a creamy, sliceable dessert form. It blends the rich, smooth taste of vanilla with the fizzy sweetness of root beer.
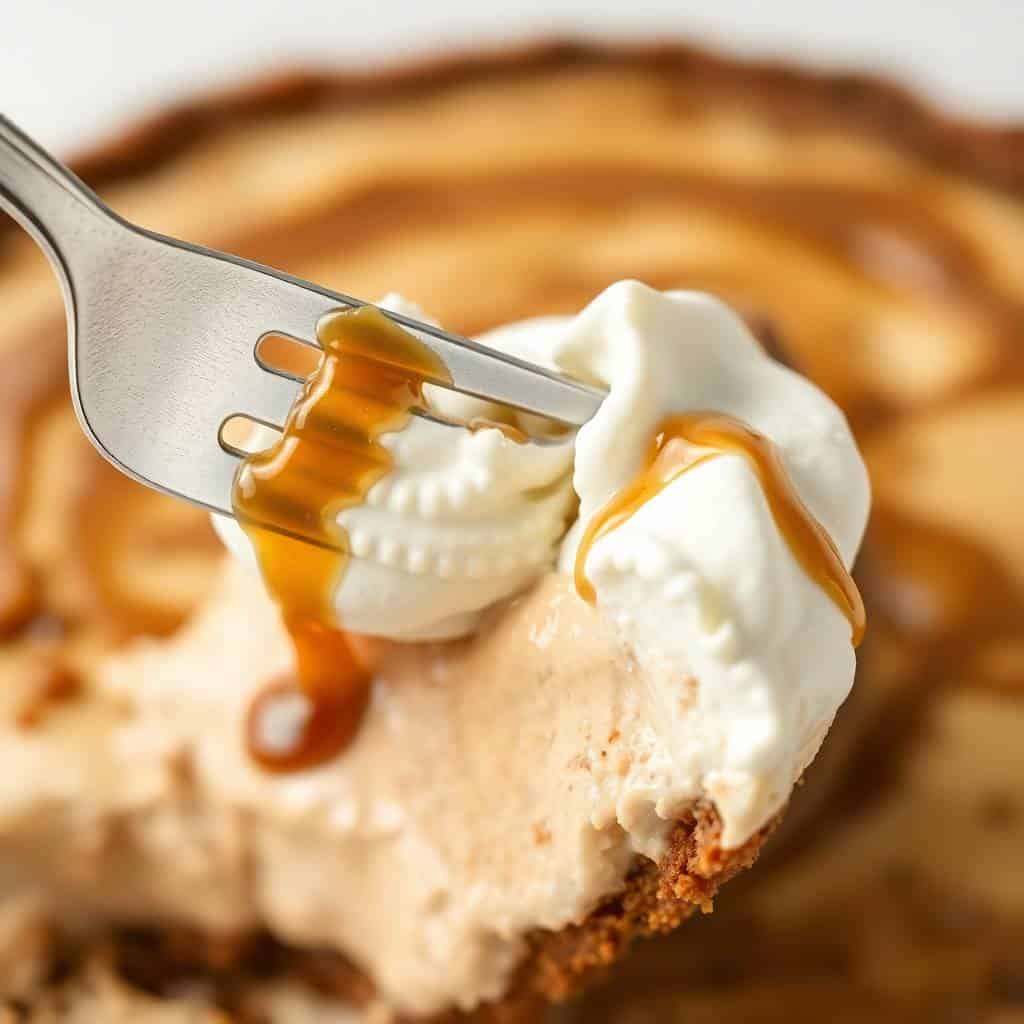
Every bite delivers a light and airy texture that melts in your mouth while still offering a satisfying crunch from the crust. It’s the perfect balance of creamy and refreshing flavors.
Ideal for warm days or casual gatherings, this pie requires minimal effort while delivering maximum flavor. Its no-bake nature makes it especially convenient for busy schedules.
Whether you’re a fan of traditional root beer floats or simply love unique desserts, this recipe offers something special. It’s both familiar and delightfully different at the same time.
With simple ingredients and easy steps, this pie is approachable for beginners yet impressive enough to serve guests. It’s a guaranteed crowd-pleaser for all ages.
WHY YOU WILL LOVE THIS RECIPE
- No-Bake Convenience: This recipe requires no oven time, making it perfect for hot days when you want a quick and easy dessert.
- Nostalgic Flavor: It captures the classic root beer float taste, blending creamy vanilla and fizzy sweetness into a delightful dessert experience.
- Quick Preparation: With minimal ingredients and simple steps, this pie comes together quickly without complicated techniques or long preparation times required.
- Crowd-Pleasing Dessert: Its unique flavor and creamy texture make it a favorite for parties, gatherings, and family dinners alike every single time.
- Kid-Friendly Treat: Children love the sweet, familiar taste, making it an excellent dessert option that appeals to both kids and adults equally.
- Customizable Options: You can easily adapt the recipe with different crusts, toppings, or flavors to suit your personal taste preferences perfectly.
INGREDIENTS
- graham cracker crust (store-bought or homemade)
- Root beer (chilled)
- Vanilla ice cream (softened)
- Whipped topping (like Cool Whip)
- Instant vanilla pudding mix
- Milk
- Maraschino cherries (optional, for garnish)
- Whipped cream (optional, for serving)
DIRECTIONS
- Step No.1: Prepare the Filling
In a large mixing bowl, whisk together the instant vanilla pudding mix and milk until smooth and slightly thickened. This forms the creamy base of your pie filling.
- Step No.2: Add Root Beer Flavor
Slowly stir in the chilled root beer, mixing gently to preserve some of the carbonation while evenly distributing the signature flavor throughout the pudding mixture.
- Step No.3: Incorporate Ice Cream
Fold in the softened vanilla ice cream until fully combined, creating a rich, smooth texture that enhances the float-like experience in every bite.
- Step No.4: Add Whipped Topping
Gently fold in the whipped topping until the mixture becomes light and fluffy, ensuring an airy consistency that makes the pie soft and delightful.
- Step No.5: Assemble the Pie
Pour the prepared filling into the graham cracker crust, spreading it evenly with a spatula to create a smooth and level surface.
- Step No.6: Chill Until Set
Place the pie in the refrigerator for at least four hours or until fully set, allowing the flavors to meld and the texture to firm up properly.

TIPS FOR SUCCESS
- Use Chilled Root Beer: Cold root beer helps maintain carbonation and enhances flavor, giving the pie a more authentic and refreshing taste overall.
- Soften Ice Cream Properly: Allow ice cream to soften slightly before mixing to ensure smooth blending without lumps or uneven texture in the filling.
- Fold Gently: Avoid overmixing when folding whipped topping to keep the mixture light, airy, and perfectly fluffy for best texture results.
- Chill Thoroughly: Let the pie chill for several hours to fully set, ensuring clean slices and a firm yet creamy consistency when serving.
- Choose Quality Ingredients: Using high-quality vanilla ice cream and root beer significantly improves the overall flavor and richness of the dessert.
- Use a Firm Crust: A sturdy graham cracker crust prevents crumbling and supports the creamy filling effectively when slicing and serving portions.
- Serve Cold: Always serve the pie chilled for the best flavor and texture, as warmth can cause the filling to soften too much.
VARIATIONS
- Chocolate Twist: Add a drizzle of chocolate syrup or mix in chocolate chips for a richer flavor that pairs beautifully with root beer.
- Oreo Crust Option: Swap the graham cracker crust with an Oreo crust for a deeper, chocolatey base that enhances the dessert’s overall taste.
- Diet Version: Use sugar-free pudding, diet root beer, and light whipped topping to create a lower-calorie version without sacrificing much flavor.
- Caramel Drizzle: Add caramel sauce on top before serving to introduce a sweet, buttery contrast that complements the vanilla and root beer.
- Float Supreme Style: Top with extra whipped cream and a cherry to mimic the classic root beer float presentation in a fun way.
- Ice Cream Swap: Experiment with different ice cream flavors like French vanilla or even chocolate for a unique twist on the traditional recipe.
- Mini Pies: Make individual servings using small tart shells, perfect for parties and easier portion control when serving guests.
SERVING AND STORAGE
Serving
Serve chilled slices topped with whipped cream and cherries for a refreshing dessert that perfectly captures the nostalgic root beer float experience.
Storage
Store covered in the refrigerator for up to three days, keeping the pie fresh, creamy, and flavorful while preventing it from absorbing unwanted odors.
FAQ
Yes, this pie is perfect for making ahead. Prepare it a day in advance and keep it refrigerated until ready to serve.
Yes, freezing is possible. It creates a firmer, ice cream-like texture, but allow slight thawing before serving for best results.
Any quality root beer works well, but choose one with a strong, classic flavor for the most authentic taste.
Yes, homemade whipped cream can be used, but stabilize it slightly to maintain the pie’s structure.
Ensure the filling is properly thickened before adding and keep the pie well chilled to maintain the crust’s firmness.
This root beer float pie is more than just a dessert—it’s a nostalgic experience transformed into a sliceable delight. It brings together familiar flavors in a refreshing and unique way.
The simplicity of the recipe makes it accessible for anyone, regardless of cooking skill level. With no baking required, it’s perfect for quick preparation and stress-free entertaining.
Its light texture and sweet, fizzy flavor profile make it especially enjoyable during warm weather. Each bite feels refreshing while still being indulgent and satisfying.
Whether served at family gatherings or enjoyed as a personal treat, this pie consistently delivers smiles. It’s a conversation starter and a memorable addition to any dessert table.

ROOT BEER FLOAT PIE
Ingredients
For the Crust:
- 1 ½ cups graham cracker crumbs
- ¼ cup granulated sugar
- 6 tablespoons unsalted butter melted
For the Filling:
- 1 ½ cups root beer chilled
- 1 cup heavy whipping cream
- 8 oz cream cheese softened
- 1 cup powdered sugar
- 1 tsp vanilla extract
For Topping (Optional):
- Whipped cream
- Maraschino cherries for garnish
Instructions
Prepare Crust:
- Mix graham cracker crumbs, sugar, and melted butter. Press into the bottom of a 9-inch pie dish. Chill while preparing filling.
Make Filling:
- In a bowl, beat cream cheese until smooth. Add powdered sugar and vanilla, mixing well.
Whip Cream:
- Whip heavy cream until stiff peaks form. Fold gently into cream cheese mixture, then gradually fold in chilled root beer.
Assemble Pie:
- Spread filling evenly over crust. Chill for at least 3 hours or until set.
Serve:
- Top with whipped cream and maraschino cherries if desired. Slice and serve chilled.
Notes
- Make Ahead: Pie can be made a day in advance and chilled until serving.
- Variations: Add chocolate syrup drizzle or crushed root beer candies for extra flavor.
- Serving Suggestions: Serve as a fun summer dessert or at holiday gatherings.
- Allergy-Friendly: Use dairy-free cream and cream cheese for a lactose-free version.
- Storage Tips: Store in an airtight container in the refrigerator for up to 3 days. Do not freeze.





Comments
No Comments