
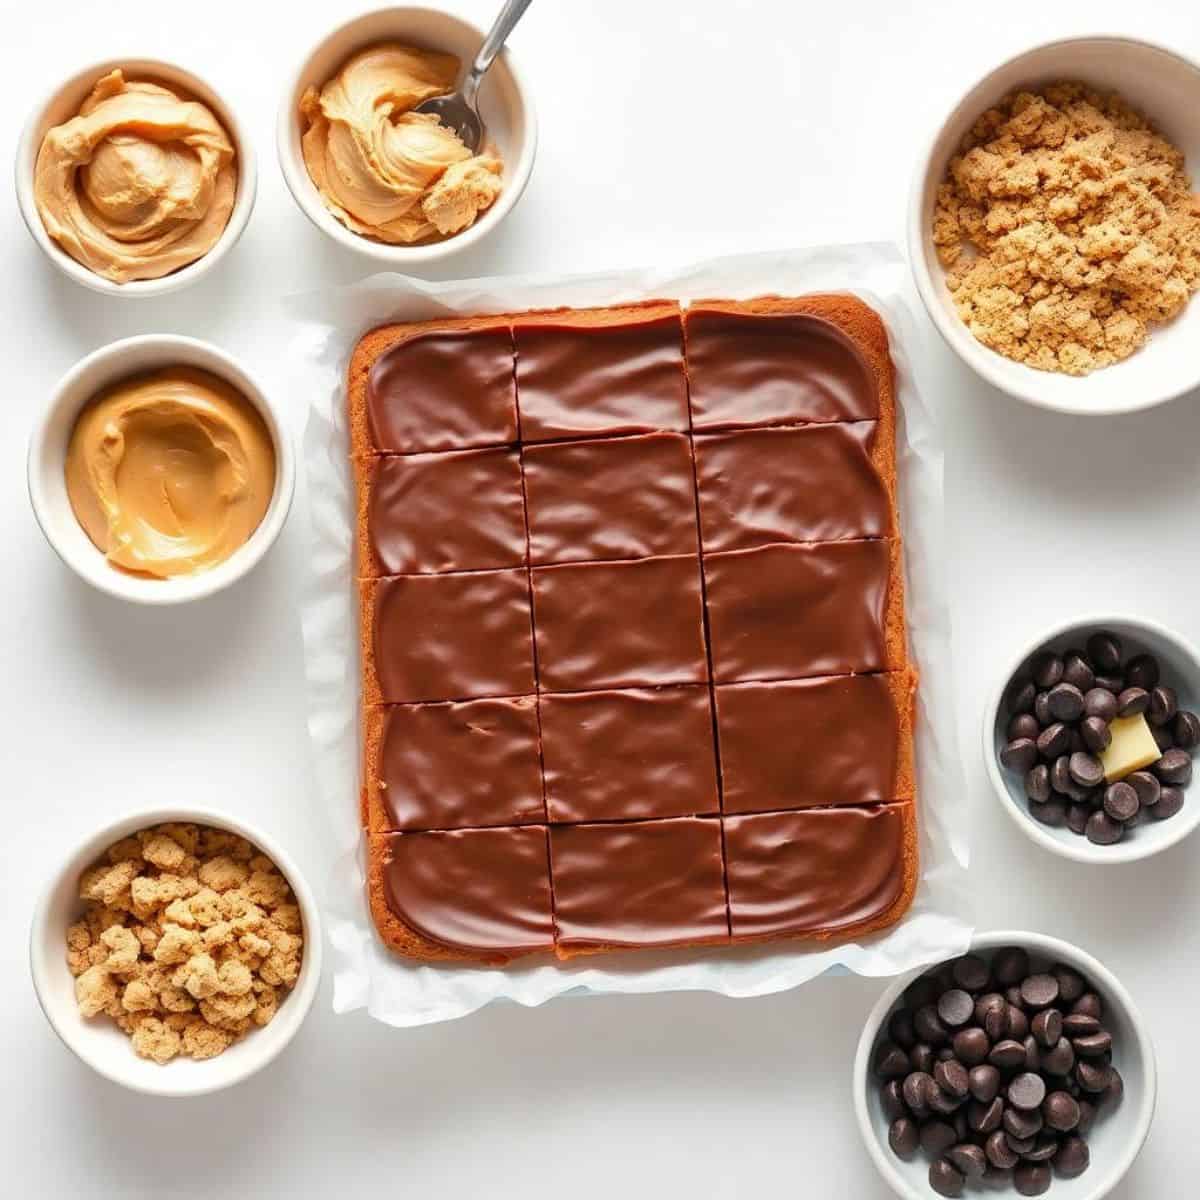
These Reese’s Peanut Butter No-Bake Bars are the ultimate treat for anyone who loves the classic chocolate and peanut butter combo. They’re rich, indulgent, and layered with delicious flavour.
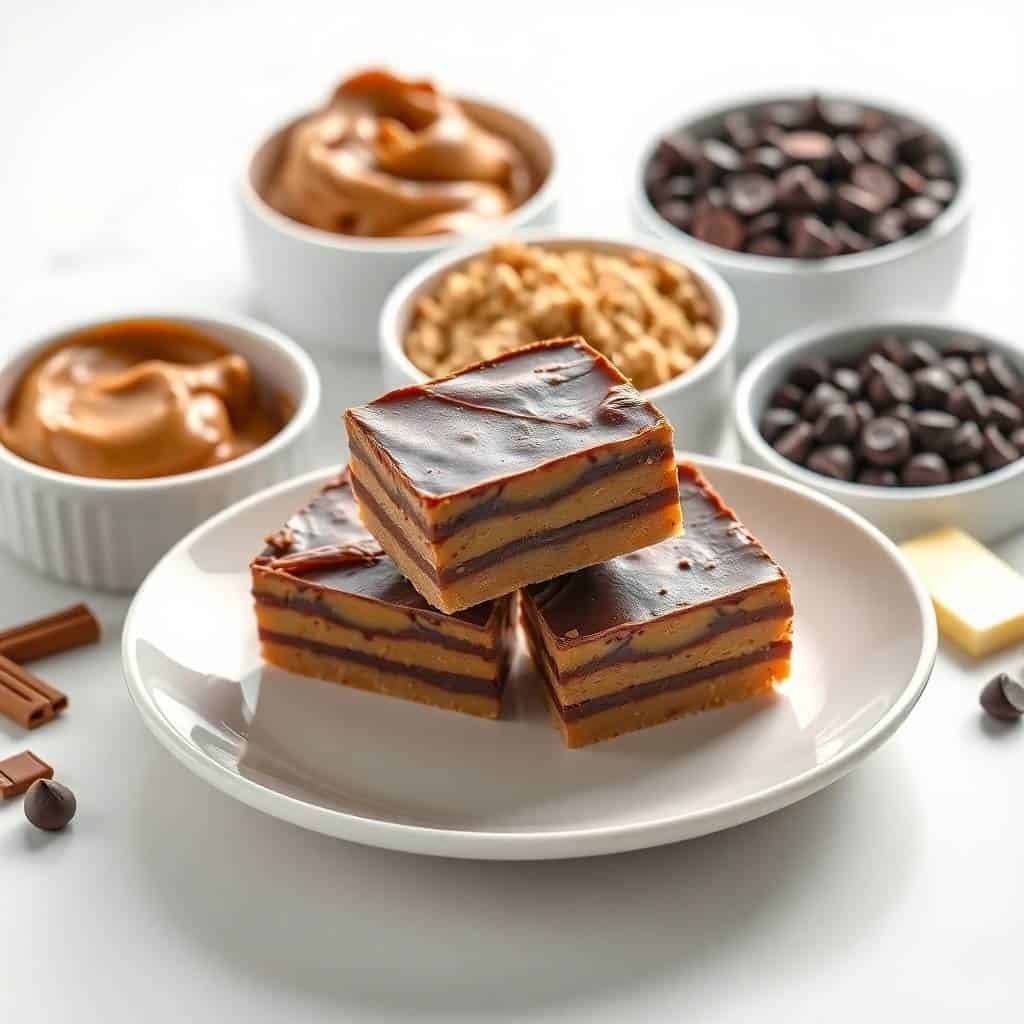
The base layer is creamy, sweet peanut butter mixed with graham cracker crumbs and powdered sugar, creating a soft and slightly chewy texture. The top layer is a smooth, melted chocolate coating that hardens perfectly once chilled.
Every bite tastes like your favourite Reese’s candy bar—but even better because they’re homemade! With just a few ingredients and no baking required, these bars are perfect for busy days, last-minute desserts, or quick party snacks.
You don’t need any fancy tools or baking experience to make these bars. Just mix, layer, chill, and enjoy. They’re great for potlucks, school lunches, or holiday trays, and they store beautifully in the fridge or freezer.
Easy, rich Reese’s Peanut Butter No-Bake Bars with chocolate topping—perfect for peanut butter lovers and ready in minutes. Whether you’re a peanut butter lover or just need a no-fuss dessert, these bars will hit the spot every single time.
WHY YOU WILL LOVE THIS RECIPE
- No Oven Needed: This no-bake recipe skips the oven and comes together quickly with just a handful of basic pantry ingredients.
- Tastes Like Reese’s: Every bite has that perfect peanut butter and chocolate combo just like your favourite Reese’s candy bar.
- Kid-Friendly Fun: Children love helping with this recipe—it’s safe, simple, and lets them get hands-on in the kitchen.
- Perfect for Parties: These bars are crowd-pleasers and perfect for potlucks, bake sales, and festive dessert trays.
- Easy to Slice and Serve: Once chilled, the bars cut cleanly into neat squares and hold their shape beautifully.
- Great for Make-Ahead: These bars store well in the fridge or freezer, making them ideal for prepping ahead of time.
- Customisable Layers: You can easily adjust the thickness of peanut butter or chocolate layers to suit your preference.
INGREDIENTS
- 1 cup unsalted butter, melted
- 2 cups graham cracker crumbs
- 2 cups powdered sugar
- 1 cup creamy peanut butter
- 1½ cups semisweet chocolate chips
- ¼ cup peanut butter (for topping layer)
DIRECTIONS
- Step No.1: Prepare the base
In a large mixing bowl, combine melted butter, graham cracker crumbs, powdered sugar, and 1 cup peanut butter. Mix until fully combined.
- Step No.2: Press into pan
Spread the peanut butter mixture evenly into a greased or parchment-lined 9x13-inch baking dish. Press down firmly to form a smooth base.
- Step No.3: Melt the topping
In a microwave-safe bowl, melt the chocolate chips and ¼ cup peanut butter together in 30-second intervals, stirring until smooth.
- Step No.4: Spread the topping
Pour the melted chocolate mixture over the base. Spread evenly with a spatula to cover completely.
- Step No.5: Chill until firm
Place the pan in the refrigerator and chill for at least 2 hours or until the bars are completely set and firm.
- Step No.6: Slice and serve
Once chilled, lift the bars out using parchment and slice into squares. Wipe the knife between cuts for neat edges.
TIPS FOR SUCCESS
- Use Smooth Peanut Butter: Creamy peanut butter works best to create a silky, cohesive base layer with perfect texture.
- Firmly Press the Base: Press the base tightly into the pan so the bars hold together and don’t crumble when sliced.
- Line the Pan: Use parchment paper for easy removal and cleaner slicing with less mess and better presentation.
- Stir Chocolate Frequently: Stir the chocolate-peanut butter topping frequently while melting to avoid scorching or uneven texture.
- Chill Fully Before Cutting: Ensure bars are completely set in the fridge before cutting to get sharp, neat squares every time.
- Clean Knife Between Cuts: Wipe the knife after every cut to keep each square smooth and free of chocolate smudges.
- Store in Layers: If stacking bars for storage, place parchment between layers to prevent them from sticking together.
VARIATIONS
- Add Crunchy Peanut Butter: Swap creamy for crunchy peanut butter to add a little extra texture and bite to the bars.
- Top with Candy Pieces: Sprinkle chopped mini Reese’s or M&Ms over the melted chocolate before chilling for a colourful twist.
- Use Dark Chocolate: For a richer, less sweet version, replace semisweet chocolate chips with dark chocolate chips in the topping.
- Swap Graham Crackers: Try crushed digestive biscuits or vanilla wafers instead of graham crackers for a unique crust flavour.
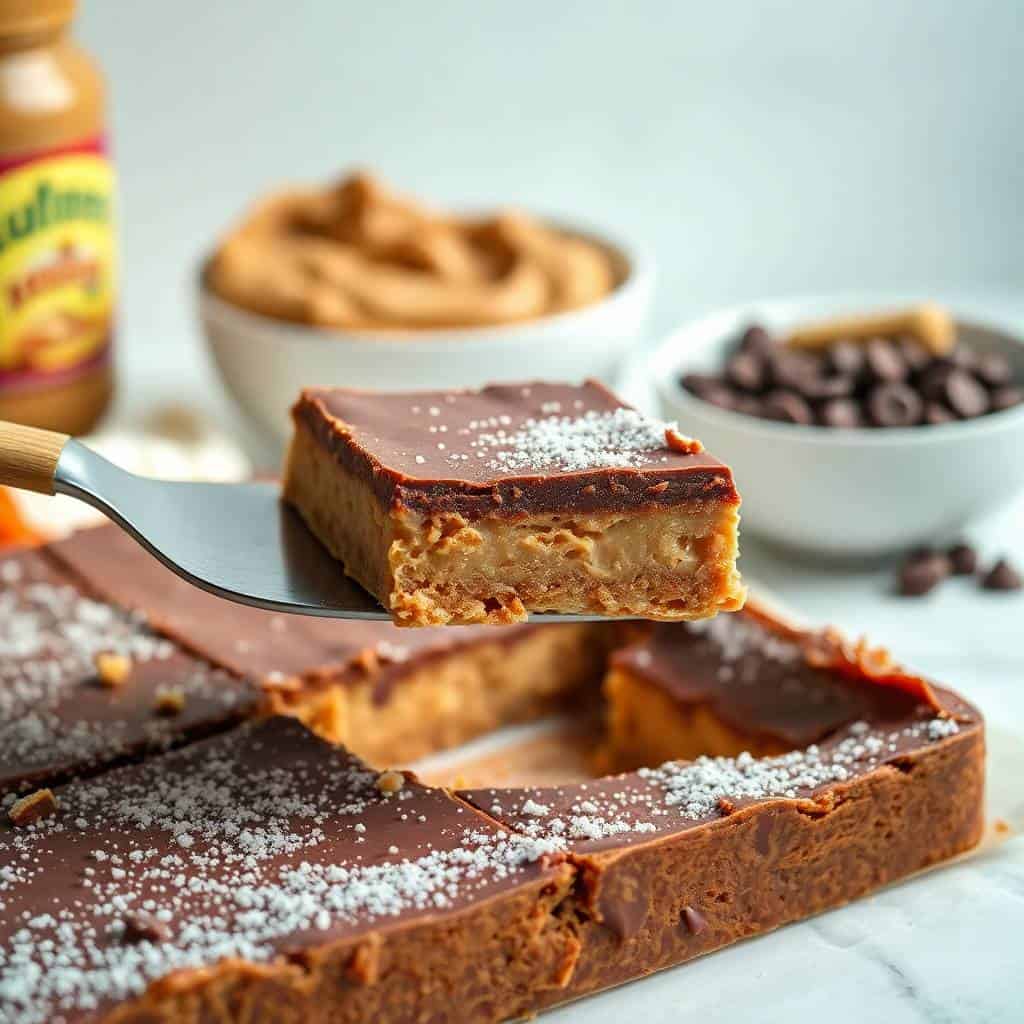
- Add a Pinch of Salt: A tiny pinch of sea salt over the chocolate layer adds a gourmet sweet-salty contrast.
- Mini Muffin Version: Press the mixture into lined mini muffin tins for bite-sized, party-ready peanut butter cups.
- Layer with Jam: Add a thin layer of strawberry jam under the chocolate for a PB&J-inspired dessert bar.
SERVING AND STORAGE
Serving
Serve chilled or at room temperature for best texture. Cut into small squares and enjoy as a handheld treat.
Storage
Store bars in an airtight container in the fridge for up to 7 days or freeze for up to 2 months.
FAQ
Natural peanut butter can separate. For best texture, stick with no-stir creamy peanut butter.
Yes! Freeze in layers with parchment paper in between. Thaw in the fridge or at room temp before serving.
Use gluten-free graham cracker crumbs for a delicious gluten-free version.
Semi-sweet chocolate chips work great, but dark chocolate or milk chocolate can also be used depending on your taste.
Yes, using a smaller pan like 8x8 will yield thicker bars—adjust chilling time slightly longer.
These Reese’s Peanut Butter No-Bake Bars are proof that simple ingredients can make something truly special.
They’re sweet, smooth, and full of that classic peanut butter and chocolate flavour everyone loves.
No baking means less time in the kitchen and more time enjoying the results.
Whether you're making these for a holiday tray, an after-school snack, or a last-minute dessert, they’re always a hit.
They slice easily, travel well, and store beautifully—what more could you want in a treat? Keep a batch in the fridge or freezer, and you’ll always have something delicious ready to go.
Once you try them, they’ll become a regular part of your dessert rotation.
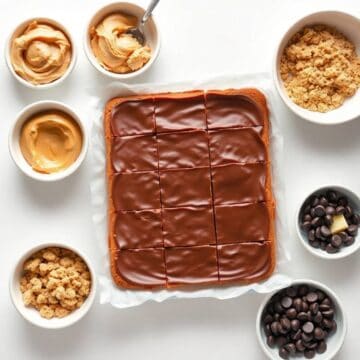
REESE’S PEANUT BUTTER NO-BAKE BARS
Ingredients
For the Base:
- 1 cup unsalted butter melted
- 2 cups graham cracker crumbs
- 2 cups powdered sugar
- 1 ½ cups creamy peanut butter
For the Topping:
- 1 ½ cups semi-sweet chocolate chips
- ½ cup creamy peanut butter
Instructions
Step 1 – Prepare the Base:
- In a large bowl, mix melted butter, graham cracker crumbs, powdered sugar, and peanut butter until smooth. Press the mixture firmly into a greased or parchment-lined 9x13-inch pan.
Step 2 – Make the Topping:
- In a microwave-safe bowl, combine chocolate chips and peanut butter. Microwave in 30-second intervals, stirring in between, until smooth and melted.
Step 3 – Spread and Chill:
- Pour the chocolate mixture over the peanut butter layer and spread evenly. Refrigerate for at least 2 hours, or until firm.
Step 4 – Slice and Serve:
- Once set, slice into bars and enjoy. Store chilled for best results.
Notes
- Make Ahead: These bars can be made 2–3 days in advance and stored in the fridge.
- Texture Tip: For a firmer base, press down with the bottom of a glass or measuring cup.
- Topping Variations: Use white chocolate or add crushed peanuts on top for extra crunch.
- Allergy-Friendly Tip: Use sunflower butter and gluten-free graham crackers for allergy-friendly options.
- Storage: Store bars in an airtight container in the refrigerator for up to 1 week or freeze for longer shelf life.





Comments
No Comments