
Saad asked me to make these three weeks in a row before I finally wrote down the actual measurements. It started with a bag of Halloween candy sitting on the counter — a mix of Reese's and Butterfinger minis that nobody had gotten around to eating — and I thought, what if I just threw them into a cheesecake bar? Turns out that was a very good idea.
What makes these work is the peanut butter in the filling itself, not just the candy on top. A lot of similar recipes I've seen skip that step and rely entirely on the toppings, but adding half a cup of creamy peanut butter directly into the cheesecake layer means every single bite has that flavor, not just the ones that happen to land on a candy chunk. The Butterfinger adds crunch, the Reese's pieces add richness, and the graham cracker crust holds everything together without crumbling apart when you cut it.
My husband isn't usually a cheesecake person — he finds most versions too dense — but he ate two of these in one sitting and didn't complain once. If you've got kids who love candy, or you're taking something to a party and want it to disappear fast, this is the recipe. I usually make a batch the night before so it's fully chilled and slices cleanly. If you're more of a cookie-first person, my edible cookie dough cups are also a crowd-stopper, but these bars are more substantial if you want something that actually fills people up.
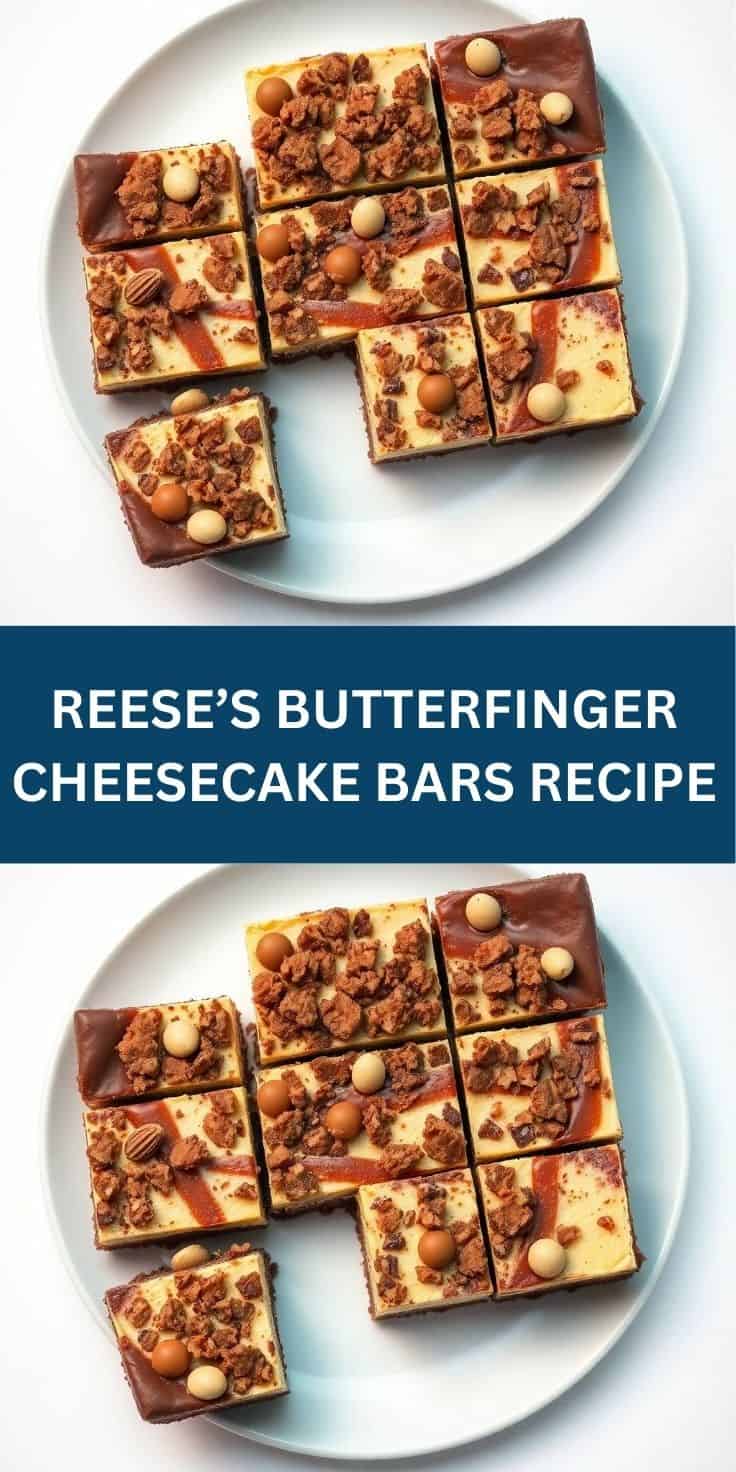
One honest note: these are sweet. Very sweet. I cut them into 16 squares rather than 9 because even a small piece is enough. If you're serving kids, smaller pieces go a long way. If you're serving adults who claim they don't want dessert but will absolutely eat dessert, bigger pieces are fine.
Why You'll Love This Recipe
- The peanut butter is in the filling, not just the topping: A lot of candy bar cheesecake recipes just pile toppings on a plain cheesecake base and call it a day. I added creamy peanut butter directly into the filling, which changes the whole thing. Every bite has that peanut-chocolate flavor baked in, and it makes the bars taste more intentional than just "dessert with candy thrown on top."
- Make-ahead friendly: These actually get better overnight. The first time I made them, I pulled a bar out while they were still warm and it was decent but soft and hard to cut cleanly. The next morning, after a full night in the fridge, they sliced into perfect squares with sharp edges and a fully set filling. I almost always make these the day before I need them now.
- No water bath, no cracking stress: Regular baked cheesecakes can crack if you look at them wrong — too much air, temperature shifts, opening the oven at the wrong moment. Bars are more forgiving. The small surface area and shorter bake time mean you're not dealing with any of that drama. These come out of the oven looking fine every time.
- Works with whatever candy you have: I've made this with straight Reese's and Butterfinger, I've made it with a mix of leftover Halloween candy, and I've made it with just Reese's when Butterfinger wasn't available. It's flexible. As long as you're working with something peanut butter and chocolate based, it holds up. Snickers works really well too.
- One pan, minimal cleanup: You mix the crust in one bowl, the filling in another, press and bake in one pan. That's genuinely it. I don't have a stand mixer — I just use a hand mixer for the cream cheese and it works fine. The whole thing takes maybe 20 minutes of active work before it goes into the oven.
Ingredients
- For the Crust:
- 1 ½ cups graham cracker crumbs
- ¼ cup granulated sugar
- ½ cup unsalted butter, melted
- For the Filling:
- 16 oz cream cheese, softened to room temperature
- ½ cup creamy peanut butter (not natural/drippy — use Jif or Skippy)
- ½ cup granulated sugar
- 2 large eggs, room temperature
- 1 teaspoon vanilla extract
- ½ cup crushed Butterfinger candy bars
- ½ cup chopped Reese's peanut butter cups
- For Topping (Optional):
- Extra chopped Reese's and Butterfinger pieces
- Drizzle of melted chocolate or peanut butter
Directions
- Prepare the crust: Preheat your oven to 325°F (163°C) and line an 8×8-inch pan with parchment paper, leaving some overhang on two sides — this makes lifting the bars out later much easier. Mix the graham cracker crumbs, sugar, and melted butter together until it looks like wet sand, then press it firmly and evenly into the bottom of the pan. Bake for 8 minutes, then set aside to cool slightly while you make the filling.
- Make the filling: Beat the softened cream cheese, peanut butter, and sugar together until completely smooth — no lumps. This is the step where room temperature cream cheese really matters; cold cream cheese will leave lumps no matter how long you beat it. Add the eggs and vanilla and beat again until the mixture is creamy and uniform.
- Fold in the candy: Gently fold in the chopped Reese's and crushed Butterfinger, saving a handful of each for the topping. Don't overmix at this stage — you just want the candy distributed through the batter, not broken down further.
- Assemble and bake: Pour the filling over the pre-baked crust and smooth the top with a spatula. Scatter the reserved candy pieces over the surface. Bake for 25–27 minutes, until the edges are set and the center has just a slight jiggle — it will firm up fully as it cools.
- Cool and chill: Let the bars cool completely at room temperature (at least an hour), then refrigerate for a minimum of 2 hours, though overnight is genuinely better. Once fully chilled, lift out using the parchment overhang, slice into bars, and add any chocolate or peanut butter drizzle right before serving.
Tips for Success
- Use full-fat, block-style cream cheese: The kind that comes in a brick, not the spreadable kind in a tub. I made this once with the whipped spreadable version because it was what I had, and the filling never set properly — it stayed softer than it should have even after overnight chilling. Block cream cheese has the right fat content and structure for baked cheesecake bars.
- Don't skip the room temperature step: Pull the cream cheese and eggs out of the fridge at least 30 minutes before you start. Cold cream cheese lumps. Cold eggs can make the batter seize slightly. I've rushed this step and regretted it — a lumpy filling doesn't smooth out in the oven. Take the extra time.
- Use stabilized peanut butter: This means Jif, Skippy, or any regular supermarket peanut butter — not the natural kind where the oil separates. Natural peanut butter adds too much moisture and the filling can turn out greasy or soft. I found this out the hard way when I used what was left in an open jar of natural PB and the texture of the bars was completely off.
- Watch the bake time carefully: At 25 minutes, check the center. It should jiggle like Jell-O — not liquid, not completely still. If it's still very liquid, give it another 2–3 minutes. If it's completely solid, you've gone a bit far but it'll still be fine. The bars set up significantly more as they cool and chill, so don't try to judge doneness by how firm they look fresh out of the oven.
- Line the pan with parchment and leave an overhang: This is not optional if you want neat bars. Without parchment, the first few pieces will crumble when you try to lift them out, and you'll end up eating them in the pan with a spoon (which is fine, honestly, but not ideal for serving). Press the parchment into the corners and leave at least an inch of overhang on two sides to use as handles.
Variations
- Swap the candy bars: Snickers, Twix, or Milky Way all work in place of Butterfinger if that's what you have. Snickers is my personal favorite substitute — the caramel and nougat add a slightly chewy element that plays really well against the creamy filling. Just keep the total amount of candy about the same (1 cup mixed into the batter, extra for topping).
- Make it extra chocolatey: Add 2 tablespoons of cocoa powder to the filling along with the sugar. It deepens the chocolate flavor without making the bars too heavy. I've also drizzled the top with melted dark chocolate instead of milk chocolate and that version felt a little more grown-up — good if you're serving adults.
- Add a salty-sweet crust: Mix a handful of crushed pretzels (about ¼ cup) into the graham cracker crust before pressing it in. The salt from the pretzels cuts through the sweetness of the filling in a way that makes each bite taste more balanced. My husband likes this version better than the plain crust.
- Make mini cheesecake cups: Press the crust into lined muffin tins (standard size), fill with about 3 tablespoons of filling each, and bake for 15–18 minutes. These are great for parties because everyone gets their own individual portion without any cutting or serving mess. I've done this for Saad's class birthday treats and they held up well even after an hour at room temperature.
- Gluten-free version: Swap the graham crackers for gluten-free graham-style crackers — most large grocery stores carry them now (Bob's Red Mill makes one, and I've also seen store brands at Walmart). Everything else in this recipe is naturally gluten-free. The texture of the crust is very similar, maybe just slightly more crumbly, but it holds together once chilled.
Serving and Storage
Serving
Serve these cold, straight from the fridge — that's when the texture is at its best. The filling is firm enough to hold its shape but still creamy when you bite in. If you want to add the melted chocolate or peanut butter drizzle, do that right before serving rather than before chilling; it looks better fresh. I cut them into 16 small squares rather than 9 large ones because they're quite rich — a smaller piece is genuinely satisfying. These work well as part of a dessert table alongside something lighter like my white chocolate cranberry oatmeal cookies.
Storage
Store leftover bars in an airtight container in the fridge for up to 5 days. They actually taste better on day 2 and 3 as the flavors settle. For freezing, wrap individual bars tightly in plastic wrap, then place them in a zip-lock freezer bag — they'll keep for up to 1 month. Thaw in the fridge overnight rather than at room temperature; it keeps the texture cleaner.
Frequently Asked Questions
Can I make these bars ahead of time?
Yes, and I'd actually recommend it. These bars need at least 2 hours of chilling after baking, but overnight chilling gives you cleaner slices and a better-set filling. I almost always make them the evening before I need them. Just keep them covered in the fridge and add any drizzle toppings right before serving.
Can I use low-fat cream cheese?
You can, but the bars will be noticeably softer and less rich. Full-fat block cream cheese gives the filling its dense, creamy structure. Low-fat versions have more water content, which can make the filling a bit looser even after chilling. If full-fat is what you have, use it — the difference is real.
What size pan should I use?
An 8×8-inch square pan is what the recipe is built for. A 9×9-inch pan will work but the bars will be slightly thinner and may need 2–3 fewer minutes in the oven. I'd check them at the 22-minute mark if you go that route. Avoid round cake pans — the portions don't cut as neatly into bars.
Can I double the recipe?
Yes — use a 9×13-inch pan and add about 8–10 minutes to the bake time. I've done this for parties and it works well. The bars will be roughly the same thickness as the original recipe in an 8×8 pan, which is what you want. Start checking at the 33-minute mark and look for that slight jiggle in the center.
Why does the crust need to be pre-baked?
Pre-baking for 8 minutes sets the crust so it doesn't turn soft and soggy once you pour the wet cheesecake filling on top. I skipped this step once when I was in a hurry and the bottom layer came out mushy and kind of melted into the filling. Eight minutes is all it takes and it makes a real difference in the final texture.
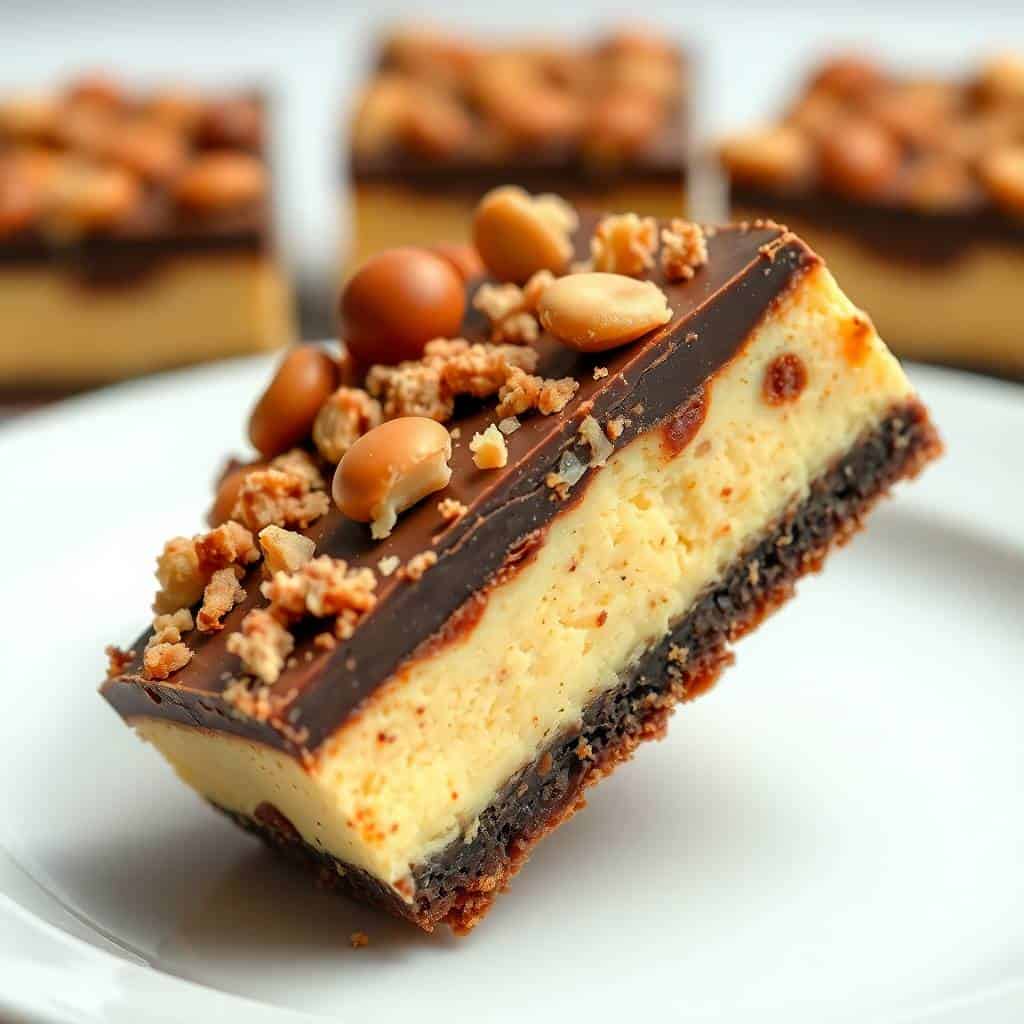
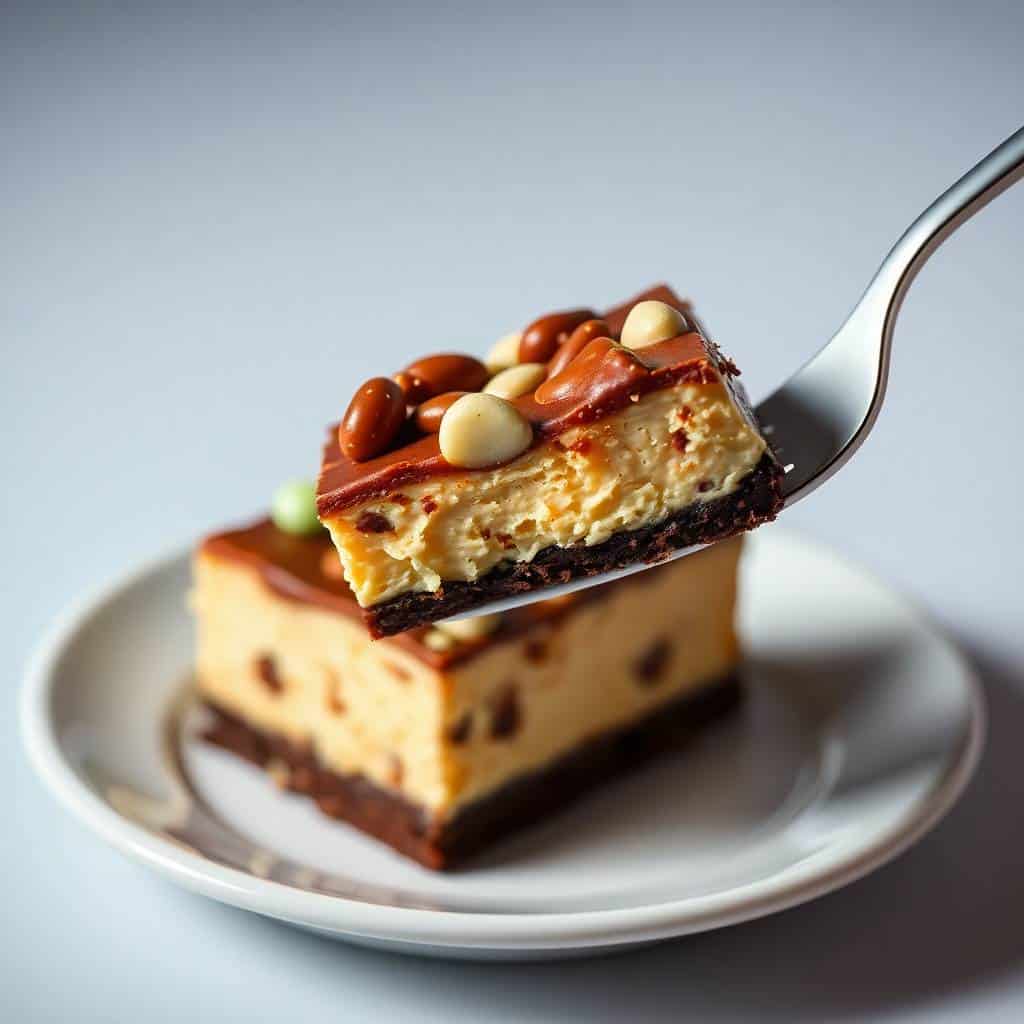
These bars have become my go-to when I need a dessert that takes minimal effort but looks like I spent a lot of time on it. The layers are distinct — you can see the crust, the creamy filling, and the candy topping when you cut into them — and that visual makes them feel more impressive than the work involved actually justifies. I've brought them to a neighbor's potluck, made them for Eid gatherings, and baked them on random weekends when the kids were asking for something sweet.
The thing I keep coming back to is how well the peanut butter filling carries the whole recipe. It's not just a cheesecake with candy on top — the peanut butter is woven through the entire filling, so even a bar that doesn't have a big Reese's chunk in it still tastes exactly right. That's the part I'd have missed if I hadn't added it. If you want more baked desserts in this direction, my double chocolate orange cupcakes are another one that sounds complicated but actually comes together really fast.
Make a batch the night before you need them, slice them cold, and stack them on a plate. That's really all there is to it. 🍫🥜✨
REESE’S BUTTERFINGER CHEESECAKE BARS RECIPE
Ingredients
For the Crust:
- 1 ½ cups graham cracker crumbs
- ¼ cup granulated sugar
- ½ cup unsalted butter melted
For the Filling:
- 16 oz cream cheese softened
- ½ cup creamy peanut butter
- ½ cup granulated sugar
- 2 large eggs
- 1 teaspoon vanilla extract
- ½ cup crushed Butterfinger candy
- ½ cup chopped Reese’s peanut butter cups
For Topping (Optional):
- Extra chopped Reese’s and Butterfinger
- Drizzle of melted chocolate or peanut butter
Instructions
Prepare the Crust:
- Preheat oven to 325°F (163°C). Line an 8×8-inch pan with parchment paper. Mix graham cracker crumbs, sugar, and melted butter until combined. Press firmly into the pan and bake for 8 minutes.
Make the Filling:
- Beat cream cheese, peanut butter, and sugar until smooth. Add eggs and vanilla and beat until creamy. Fold in chopped Reese’s and crushed Butterfinger.
Assemble and Bake:
- Pour filling over the crust and smooth the top. Bake for 25–27 minutes or until center is just set. Cool completely, then refrigerate for at least 2 hours.
Top and Serve:
- Before serving, top with extra candy pieces and drizzle with melted chocolate or peanut butter if desired. Slice into bars and enjoy!
Notes
- Make Ahead: These bars are even better the next day. Store in the fridge for up to 5 days.
- Freezing Tip: Freeze tightly wrapped bars for up to 1 month. Thaw in the fridge overnight.
- Customise It: Try using Snickers or Milky Way instead of Butterfinger for a fun twist.
If you liked these bars, here are a few more recipes from my kitchen you might want to try next:
- Edible Cookie Dough Cups — no baking required, and Saad considers these a personal food group
- Double Chocolate Orange Cupcakes — rich, fudgy, and the orange makes them feel slightly less indulgent than they actually are
- White Chocolate Cranberry Oatmeal Cookies — good for when you want something a little lighter on the dessert table
- Strawberry Frosted Matcha Cookies — unusual flavor combination that works really well, and they look beautiful



Comments
No Comments