
The first time I made a red white and blue trifle for a 4th of July cookout, I set it on the table and watched every single person stop mid-conversation to look at it — the alternating layers of ruby strawberries, blueberries, fluffy white cream, and golden cake visible through the glass bowl created something so genuinely beautiful that people were reluctant to actually serve it. Then they tasted it, and the bowl was empty within ten minutes. A layered berry trifle is the patriotic dessert that delivers maximum visual impact with minimum actual effort, and it's been my go-to for every summer celebration since.
What makes this trifle genuinely special is the combination of textures in every spoonful — the softened pound cake that absorbs the berry juices and cream, the burst of fresh strawberry against cool whipped cream, the slight crunch of blueberries — and the fact that every component can be prepared the day before and assembled the morning of your celebration. There is no baking required on party day, no last-minute cooking, and no serving anxiety because a trifle actually improves with several hours of refrigeration as the layers meld and the cake absorbs the cream.
This post covers the classic red white and blue trifle plus five genuinely different variations — a lemon curd version, a chocolate version for the chocolate lovers at your table, a no-bake cheesecake trifle, an angel food cake version for something lighter, and a boozy adult version with a hint of Grand Marnier. Every version uses the same basic layering technique and every version is genuinely, memorably delicious.
Make this for your 4th of July, Memorial Day, or any summer gathering where you want a dessert that makes everyone stop and stare before they take their first bite. Let's build the most beautiful dessert of the summer!
WHY YOU WILL LOVE THIS RECIPE
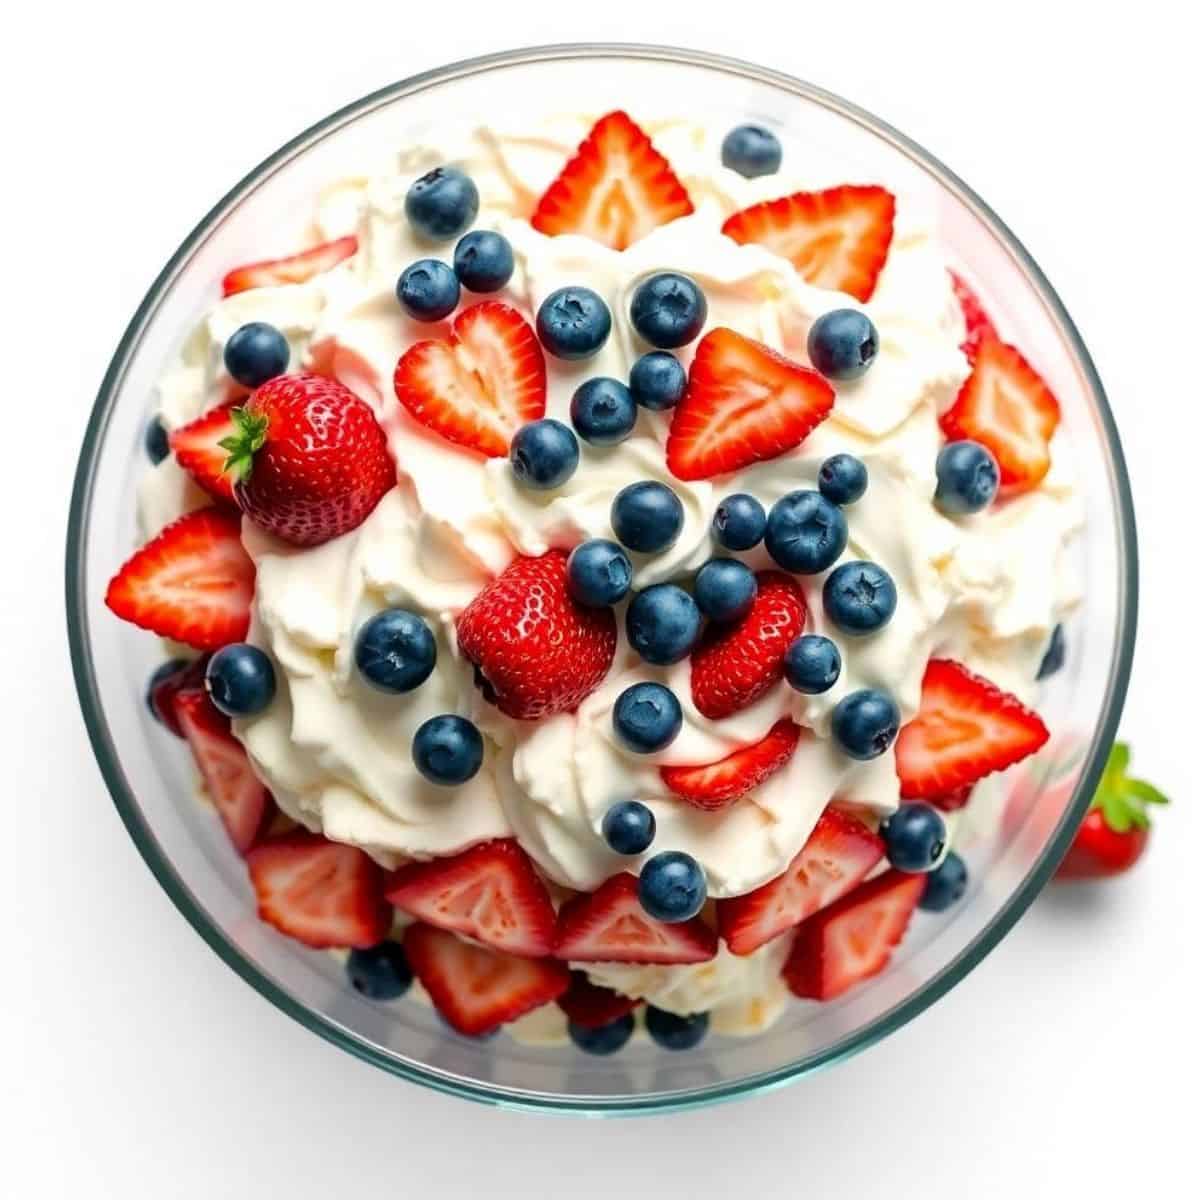
- Genuinely Show-Stopping Presentation: The alternating red, white, and blue layers visible through a clear glass trifle bowl or individual glasses create the most visually dramatic dessert at any patriotic gathering — and the visual impact requires no decorating skill whatsoever, just careful layering of ingredients that are beautiful by nature.
- Make Completely Ahead: Every component can be prepared the day before — the cake cut and stored, the berries washed and sliced, the cream whipped and refrigerated. Assembly takes 15 minutes and the finished trifle actually improves with 4–8 hours of refrigeration as the cream softens the cake and the flavors meld into something more cohesive and deeply delicious than a freshly assembled version.
- Six Genuinely Different Versions: The classic strawberry-blueberry-whipped cream version is the starting point, but this post covers a lemon curd variation, a cheesecake filling version, a chocolate variation, an angel food cake version, and a boozy adult version — giving you a genuinely different trifle experience each time you make it rather than one recipe repeated indefinitely.
- Feeds a Crowd Effortlessly: A standard trifle bowl serves 12–16 people from one vessel — it's one of the most efficient large-format desserts available. Doubling is as simple as using a larger bowl or making two bowls. Individual mini trifles in glasses or mason jars work equally well for parties where individual portions are preferred.
- No Special Skills Required: Trifle assembly is the most forgiving dessert format in existence — the layers don't need to be perfect, the cream doesn't need to be professionally piped, and even a slightly uneven arrangement looks beautiful through the glass. It's the dessert that looks like it required significant skill while actually requiring almost none.
- Celebrates Peak Summer Fruit: Strawberries and blueberries are both at their absolute sweetest and most flavorful during June and July — the exact window when 4th of July entertaining peaks. Using peak-season summer berries rather than out-of-season fruit makes a genuinely noticeable difference in the flavor of the finished trifle, and the natural beauty of perfect summer berries is what makes the presentation so striking.
INGREDIENTS
- The Classic Red White and Blue Trifle Base:
- 1 store-bought pound cake (16 oz) or one homemade loaf, cut into 1-inch cubes (slightly stale or day-old is ideal — it holds up better in the layers)
- 2 lbs fresh strawberries, hulled and sliced ¼-inch thick — the flat slices press beautifully against the glass
- 2 cups fresh blueberries, rinsed and patted dry
- 2 cups heavy whipping cream, very cold
- 3 tablespoons powdered sugar
- 1 teaspoon pure vanilla extract
- 8 oz cream cheese, softened (optional — for a more stable, slightly tangy cream layer)
- 3 tablespoons strawberry jam or preserves for macerating the strawberries (optional but elevates the berry layer significantly)
- You will need a large clear trifle bowl (3–4 quart capacity) or 12–16 individual glass cups or mason jars
DIRECTIONS
- Step No.1: Prepare the berries
Wash and thoroughly dry all berries — any surface moisture on the strawberries will make the cream watery during assembly and storage. Hull and slice strawberries to ¼-inch thickness. If using the strawberry jam technique (highly recommended), toss sliced strawberries with 3 tablespoons of strawberry preserves and let them macerate at room temperature for 20–30 minutes. The preserves draw out the strawberry juices and create a slightly syrupy, intensely flavored berry layer that is significantly more satisfying than plain sliced berries. Leave blueberries whole — their round shape creates beautiful visual contrast against the flat strawberry slices when pressed against the glass.
- Step No.2: Make the whipped cream layer
Chill the mixing bowl and beaters in the freezer for 10 minutes before whipping — cold equipment is the most important factor in achieving properly whipped cream that holds its structure for hours rather than weeping and deflating. Beat cold heavy cream with powdered sugar and vanilla extract on medium-high speed until stiff peaks form — the cream should hold its shape completely when the beaters are lifted. If adding cream cheese for extra stability, beat the softened cream cheese separately until completely smooth before adding the heavy cream and continuing to whip together to stiff peaks. The cream cheese addition is strongly recommended for a trifle that will be refrigerated for more than 4 hours — it holds the white layer firm and prevents the dreaded whipped cream collapse.
- Step No.3: Prepare the cake layer
Cut pound cake into 1-inch cubes — uniform sizing helps the layer sit evenly without large gaps. If the cake is very fresh, lay the cubes on a baking sheet and let them sit uncovered for 30–60 minutes to dry slightly. Fresh-from-package pound cake is too soft and moist and dissolves into the cream too quickly, while slightly dried cake absorbs the cream slowly and maintains its structure through the refrigeration period. Alternatively, brush the cake cubes lightly with a flavored simple syrup — vanilla, lemon, or orange — for added flavor and controlled moisture. This syrup step is the detail that distinguishes genuinely extraordinary trifle from merely good trifle.
- Step No.4: Layer the trifle — the technique
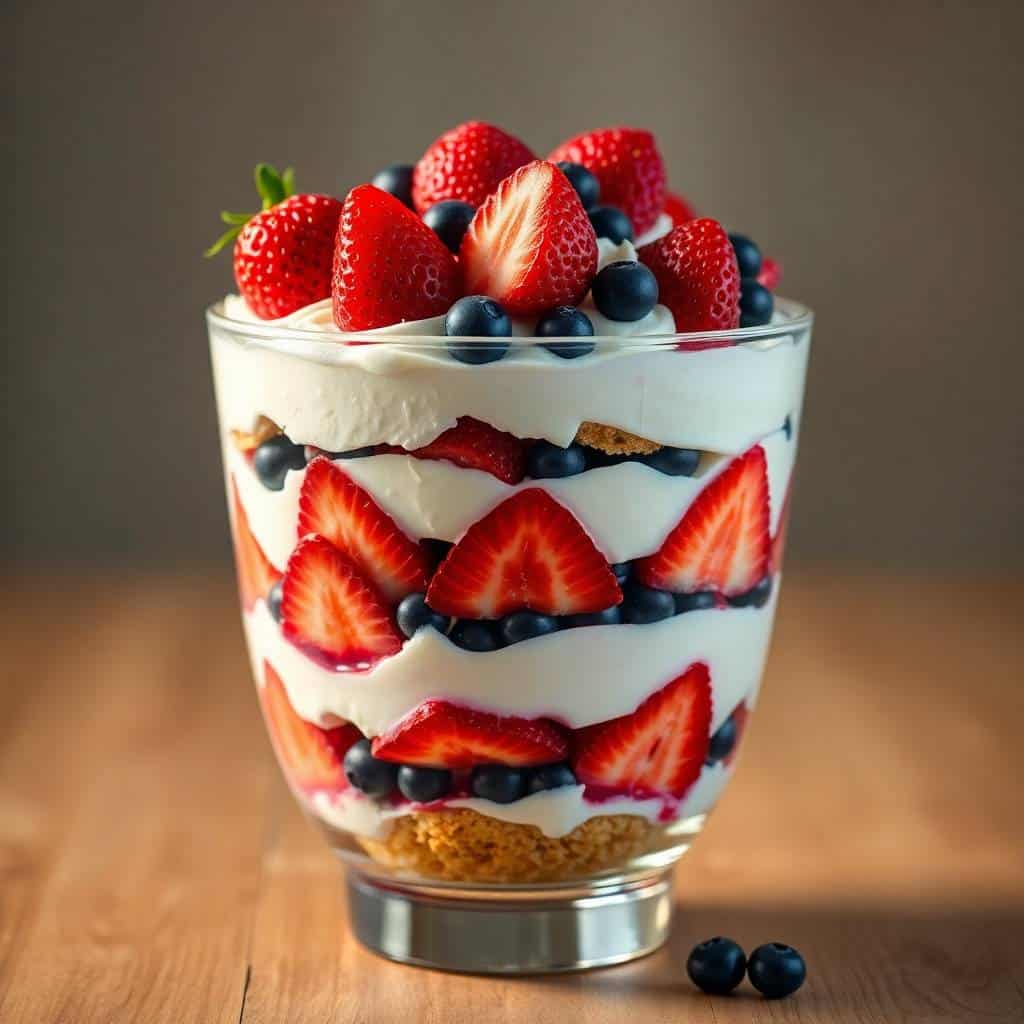
Begin with a layer of cake cubes pressed into the bottom of the trifle bowl — go slightly deeper than seems necessary since this foundation layer absorbs the most cream. Press cake cubes gently against the glass sides of the bowl for the most beautiful cross-section view. Add a layer of sliced strawberries arranged against the glass wall — flat sides pressed against the glass creates the clearest visual red stripe. Add a generous layer of whipped cream, spreading evenly. Add a layer of blueberries, again pressing them against the glass wall for the visual blue stripe. Repeat layers until the bowl is full, finishing with a complete top layer of cream visible from above. The final top layer is where you have the most creative freedom — arrange whole strawberries in a decorative pattern, scatter blueberries, or create a flag pattern with both fruits on the white cream surface.
- Step No.5: Refrigerate and serve
Cover the assembled trifle with plastic wrap and refrigerate for at least 2 hours before serving — 4–8 hours produces the best result as the cream softens the cake to a custardy, bread-pudding-like texture and the berry juices permeate the cream layer for a more unified, cohesive flavor. The trifle can be assembled up to 24 hours ahead and kept refrigerated — the cake will be very soft at 24 hours, which many people prefer. Serve with a large spoon that reaches the bottom of the bowl so each serving includes all layers from top to bottom. The visual drama of the first serving — seeing all the layers from the side — is what makes trifle so memorable.
TIPS FOR SUCCESS
- Press Fruit Against the Glass: The visual impact of a trifle comes almost entirely from what's visible through the glass sides — fruit pressed flat against the bowl wall creates the clean, vivid stripes of color that make the presentation so striking. Fruit scattered loosely in the center of the bowl creates a muddy visual that doesn't photograph or present as dramatically. Take the extra 30 seconds per layer to press each fruit piece firmly against the glass.
- Dry Everything Thoroughly: Any excess moisture — from insufficiently dried berries, from overly fresh cake, or from under-whipped cream — will create pooling liquid at the bottom of the bowl within hours of assembly. Pat all fruit completely dry, let cake cubes dry slightly, and whip cream to true stiff peaks. A properly assembled trifle should have no liquid pooling at the bottom even after 24 hours of refrigeration.
- Make the Cream Stable: Standard whipped cream collapses within 2–4 hours even when refrigerated. For a trifle that will be made ahead and held for a party, stabilize the cream either with cream cheese (the easiest method), with 1 tablespoon of instant vanilla pudding powder beaten into the cream, or with ¼ teaspoon of cream of tartar added before whipping. Any of these additions extends the cream's stability to 24+ hours without any compromise to flavor.
- Use a True Trifle Bowl: A deep, straight-sided, clear glass bowl is the ideal vessel for trifle — the straight sides and the depth create the most dramatic layer presentation. A bowl that's too wide and shallow loses the elegant stacked layer effect. If you don't own a trifle bowl, a large glass punch bowl, a clear glass mixing bowl, or even individual mason jars all work well. The transparency of the vessel is non-negotiable — a ceramic or opaque bowl eliminates the entire visual appeal of the format.
- The Top Layer Is the First Impression: Spend extra time on the final visible top layer — it's what guests see first and what appears in every photograph. Arrange strawberry halves in a decorative pattern, create a flag design with blueberries and strawberry slices on the white cream, or use a piping bag to add decorative cream rosettes before scattering the final berries. A beautifully finished top layer elevates the entire presentation from homemade to genuinely professional.
- Bring to the Table Whole Before Serving: The full impact of a trifle is visible only from the side, where all the layers are simultaneously visible through the glass. Bring the assembled trifle to the table intact before serving so every guest can see the complete layered presentation before it's disturbed. The moment of the trifle arriving at the table whole is genuinely one of the most beautiful dessert presentation experiences possible — don't skip it by pre-portioning in the kitchen.
VARIATIONS
- Lemon Curd Red White and Blue Trifle: Replace the plain whipped cream layer with lemon curd folded into whipped cream — whip 2 cups heavy cream to soft peaks, fold in ½ cup good-quality lemon curd until just combined (visible streaks of yellow in the white cream are beautiful), and use this as the white layer. The lemon brightness against the sweet strawberries and blueberries creates a significantly more complex and sophisticated flavor profile than vanilla cream alone. Add lemon zest between the cake layers for extra fragrance. This is the variation that most consistently receives the most enthusiastic response from adults who find plain whipped cream too one-dimensional.
- No-Bake Cheesecake Trifle: Replace the whipped cream layer with a no-bake cheesecake filling — beat 16 oz softened cream cheese with ½ cup powdered sugar and 1 teaspoon vanilla until completely smooth, then fold in 1 cup whipped cream until light and uniform. This cheesecake cream layer is significantly richer and more substantial than plain whipped cream and holds its structure for 48 hours refrigerated without any softening. The contrast of the tangy, rich cheesecake filling against the sweet summer berries is genuinely extraordinary and makes this variation the most substantial and most filling of all the trifle options.
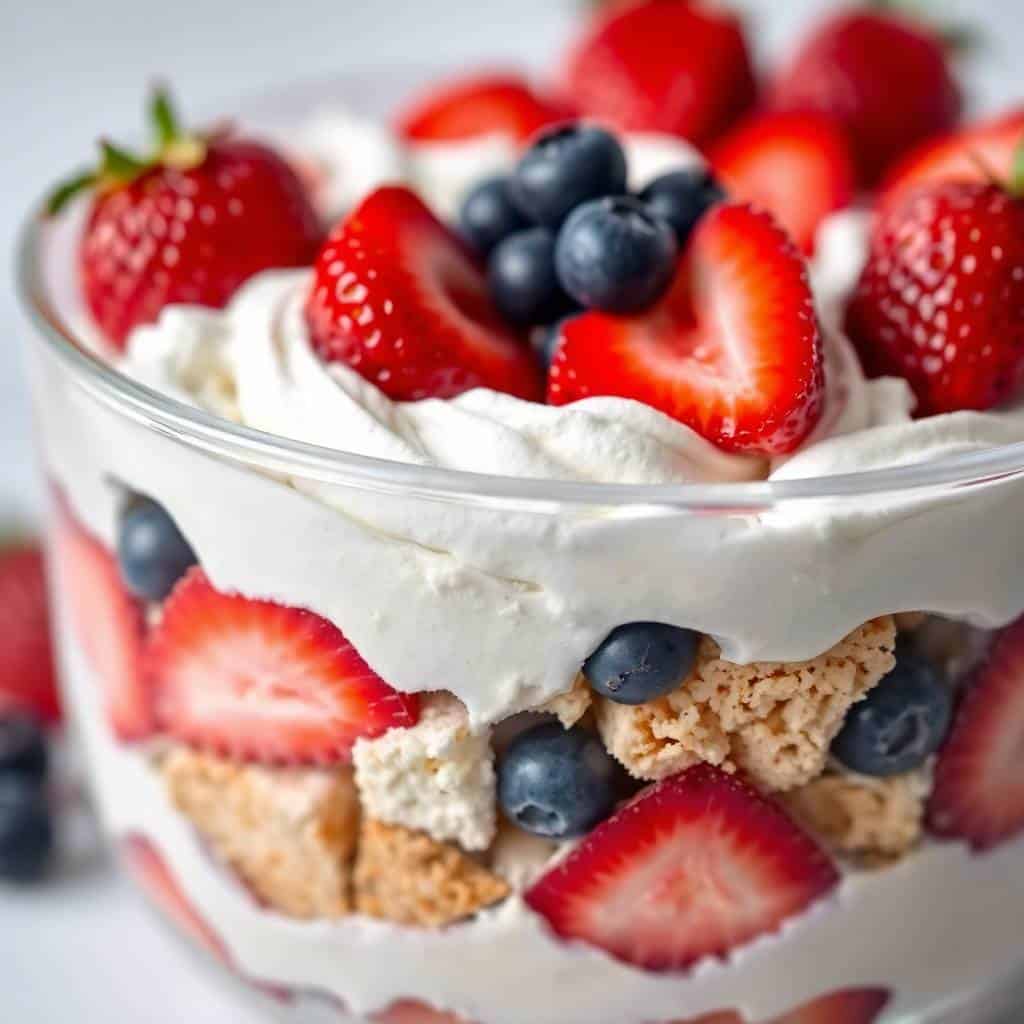
- Angel Food Cake Trifle: Replace pound cake with torn pieces of store-bought or homemade angel food cake for a significantly lighter, airier trifle that feels considerably less rich than the pound cake version. Angel food cake is also naturally fat-free, making this the most nutrition informationally light variation in the collection. The spongy, cloud-like texture of angel food cake absorbs the cream and berry juices beautifully during refrigeration and creates the most custardy, softest cake layer of any variation. This is the version for guests who want something genuinely celebratory but lighter than a traditional dessert.
- Chocolate Patriotic Trifle: Replace pound cake with brownie pieces or chocolate pound cake for a chocolate-berry trifle that is more indulgent and more deeply flavored than the classic version. Use dark chocolate ganache thinned to a pourable consistency drizzled between the chocolate cake and cream layers for an extraordinary chocolate-cream-berry combination. The richness of the chocolate against the brightness of the summer berries creates one of the most genuinely extraordinary dessert flavor combinations available — this is the variation for the chocolate lovers at the 4th of July table who would otherwise feel underserved by a fruit-forward dessert.
- Boozy Adult Patriotic Trifle: Brush pound cake cubes with a tablespoon of Grand Marnier, Chambord, or limoncello before layering — the liqueur absorbs into the cake and contributes an aromatic, slightly boozy depth that makes the trifle genuinely adult-forward without overwhelming the berry and cream flavors. Add 1 tablespoon of the same liqueur to the whipped cream as it's beaten for an additional layer of the flavor. Label this version clearly if serving alongside the classic version at a mixed-age gathering. The boozy trifle is the version that generates the most requests for the recipe from adult guests who discover it for the first time.
- Mini Individual Trifles: Assemble all six variations in individual mason jars, wine glasses, or clear plastic cups for parties where portioned individual desserts are more practical than a shared bowl. Layer the same components in the same order in each jar — the individual versions are photographically beautiful and make serving effortless at large gatherings. Individual trifles can be assembled up to 24 hours ahead, covered with plastic wrap, and refrigerated until serving with no quality loss. They also travel well if the gathering is elsewhere.
SERVING AND STORAGE
Serving
Bring the trifle to the table whole so guests can appreciate the full layered presentation through the glass before serving begins. Use a large serving spoon that reaches the full depth of the bowl so each portion contains all layers from top to bottom — a serving that includes only the top layers misses the contrast of textures that makes trifle genuinely satisfying. Serve alongside additional fresh berries for guests who want extra fruit, and have extra whipped cream available for those who want more cream. The trifle is best served chilled directly from the refrigerator.
Storage
Cover leftover trifle tightly with plastic wrap and refrigerate for up to 2 days. The cake layers will continue softening with extended refrigeration — at 24 hours the cake is custardy and very soft, which many people prefer. At 48 hours the cake has fully dissolved into the cream and berry layers, creating something closer to a parfait than a layered trifle. The trifle cannot be frozen — the cream and berries do not survive freezing and thawing. Plan quantities carefully so leftovers are minimal, as the dessert does not improve significantly past 24 hours.
FAQ
Yes — trifle is genuinely one of the best make-ahead desserts available. Assembling the complete trifle the evening before and refrigerating overnight produces a result that is actually better than a same-day assembly because the cream softens the cake to a custardy texture and the flavors meld together into something more unified and deeply satisfying. The one caution is the top decorative layer — if you want the top fruit arrangement to look perfectly fresh and glossy, add only the final decorative berry layer the morning of serving rather than the night before. The rest of the trifle assembles and refrigerates overnight beautifully.
Angel food cake, store-bought ladyfingers, vanilla sponge cake, brownies, white cake, and Madeira cake all work beautifully as the cake layer in a trifle. Angel food cake produces the lightest, airiest result. Ladyfingers (especially if briefly dipped in a flavored syrup) create an authentic Italian trifle character. Brownies create the richest, most indulgent result. The most important quality regardless of cake type is that the cake should be slightly firm rather than very fresh and soft — a day-old or slightly dried cake absorbs the cream more slowly and holds its structure through the refrigeration period better than freshly baked cake.
Stabilize the whipped cream before assembling the trifle using one of three methods: beat 8 oz softened cream cheese into the cream before whipping (the most reliable and most flavorful method); beat 1 tablespoon of instant vanilla pudding powder into the cream as it whips; or add ¼ teaspoon cream of tartar before whipping. All three methods significantly extend the cream's stability from 2–4 hours to 24+ hours without any noticeable flavor compromise. Additionally, ensuring all fruit is completely dry before layering and using cake that has dried slightly eliminates the excess moisture that contributes most to watery cream in stored trifles.
A standard large trifle bowl (3–4 quart capacity) serves 12–16 people generously. A medium bowl (2 quart) serves 8–10 people. For larger gatherings, make two full trifle bowls rather than attempting to overfill one bowl — two bowls also allows for two different variations, which creates a beautiful spread and accommodates different preferences. Individual mini trifles in mason jars or glasses (approximately ¾ cup each) serve one person per jar and are ideal for parties where individual portions are more practical. Plan for most guests to take generous portions since trifle is a universally beloved dessert.
Fresh berries are strongly preferred for trifle — frozen berries release significant amounts of liquid as they thaw, which pools in the bottom of the bowl, makes the cream watery, and makes the cake soggy much faster than fresh berries. If fresh berries are unavailable, use frozen berries only in the interior layers (not pressed against the glass where their thawing and discoloration would be visible) and thaw and drain them very thoroughly on paper towels before assembling. Fresh strawberries and blueberries at peak summer season are genuinely worth seeking out for a trifle that will be the centerpiece of a 4th of July celebration.
This red white and blue trifle is the 4th of July dessert that earns a standing ovation before a single spoonful is served — build it once and it becomes the patriotic celebration tradition your family requests every single summer.
Try the lemon curd variation if you want something with a bright, sophisticated twist that makes this genuinely the most requested dessert at any summer gathering. For more summer dessert inspiration, see our no bake strawberry icebox cake.
Which variation are you making first? Drop it in the comments — we love hearing which trifle version steals the show at your 4th of July celebration! For more patriotic summer desserts, browse our strawberry crunch cheesecake cups.

Red White and Blue Trifle
Equipment
- Large trifle bowl or glass dish
- Mixing bowls
- Spatula
- Whisk or electric mixer
Ingredients
Cake Layer:
- 1 cake angel food cake or pound cake cubed
Pudding Layer:
- 2 packages vanilla pudding mix
- 3 cups milk cold
Cream Layer:
- 3 cups whipped topping
- 8 oz cream cheese softened
- ½ cup powdered sugar
- 1 teaspoon vanilla extract
Fruit Layer:
- 2 cups strawberries sliced
- 2 cups blueberries
Instructions
Prepare Pudding:
- Whisk vanilla pudding mix with cold milk until thick and smooth. Chill for 5 minutes.
Make Cream Layer:
- Beat cream cheese, powdered sugar, and vanilla until smooth. Fold in whipped topping.
Start Layering:
- In a trifle bowl, add a layer of cubed cake at the bottom.
Add Layers:
- Add pudding, cream mixture, strawberries, and blueberries. Repeat layers until bowl is full.
Top Layer:
- Finish with whipped topping and arrange berries on top in a patriotic pattern.
Chill:
- Refrigerate for at least 2–4 hours before serving.
Serve:
- Serve chilled with a large spoon to scoop through all layers.
Notes





Comments
No Comments