
I've made red velvet cupcakes probably a dozen times now, and the first few batches taught me more than any recipe ever could. The very first time, I used liquid food coloring from my local grocery store and ended up with sad, pinkish-brown cupcakes that looked nothing like the vivid red I was going for. The color was off, the texture was dense, and I was genuinely annoyed at myself for not reading the tips more carefully.
What makes this version work is the combination of oil and buttermilk in the batter. Oil keeps the crumb soft even after refrigerating, which matters because these cupcakes rarely get eaten in one sitting in my house. The vinegar and buttermilk together react with the baking soda and give you that slight tang that's really the whole point of red velvet — it's not just a chocolate cupcake with red dye. That subtle sour note is what sets it apart, and the cream cheese frosting leans right into it.
Zainab is completely obsessed with these. She discovered them during Eid one year when I was experimenting with American-style bakes, and now she asks for them every birthday without fail. I usually make a double batch because twelve cupcakes disappear embarrassingly fast, and I'd like to actually eat one myself. My husband is not normally a cupcake person, but he has never once said no to these when there's a generous swirl of cream cheese frosting on top.
One thing to know before you start: the cream cheese frosting needs room-temperature ingredients. I learned the hard way that cold cream cheese lumps and never quite smooths out, no matter how long you beat it. Pull your cream cheese and butter out of the fridge at least 30 minutes before you start baking so they're ready to go by the time the cupcakes come out. If you're into other baked treats, my banana bread cinnamon rolls follow the same principle — room temp everything, and you're halfway there.
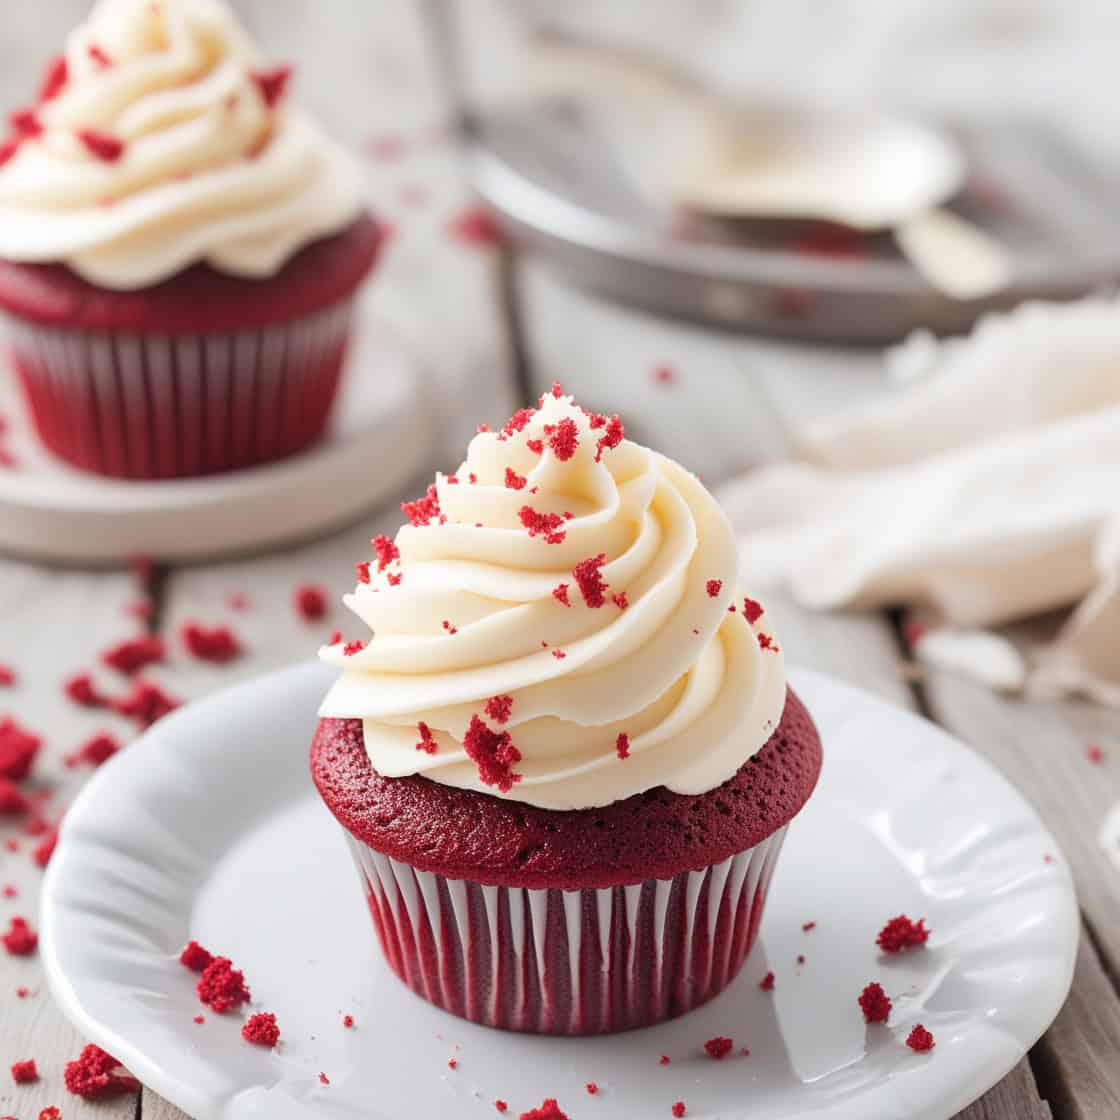
Why You'll Love This Recipe
- The texture stays moist for days: Because the recipe uses oil instead of melted butter, these cupcakes stay soft even after a night in the fridge. A lot of cupcake recipes dry out quickly, and I used to just accept that. The oil swap changed everything. I can make a batch on Friday and they're still perfectly tender on Sunday morning.
- The frosting is genuinely tangy and not too sweet: I've tried a lot of cream cheese frosting recipes and most of them are basically just sugar with a faint cream cheese flavor. This one has a real tang because you're using a full 8 oz of cream cheese and not drowning it in powdered sugar. It balances the sweet cupcake really well. Zainab always asks for extra frosting, so I usually make a little more than the recipe calls for.
- No stand mixer required: I don't own a stand mixer. I make this frosting with a hand mixer I got for about $20 at Walmart, and it works perfectly. If you don't even have that, a hand whisk and some patience will get you there — just make absolutely sure your butter and cream cheese are soft before you start, or your arm will give out before the frosting does.
- The cocoa flavor is subtle, not overwhelming: Red velvet isn't a full chocolate cupcake — there's only a small amount of cocoa in the batter, and that's intentional. It gives the cupcake a hint of depth without making it taste like a brownie. I know some people add extra cocoa, but I'd keep it as written the first time to understand what you're working with.
- It works for celebrations or just a regular Tuesday: I've made these for Zainab's birthday, for a friend's baby shower, and also just because I had buttermilk to use up. They look fancy because of the color and the frosting, but the actual process is very straightforward — nothing here requires special technique or hard-to-find ingredients.
Ingredients
- 2 ½ cups (315g) all-purpose flour
- 1 ½ cups (300g) granulated sugar
- 1 teaspoon baking soda
- 1 teaspoon salt
- 1 teaspoon unsweetened cocoa powder
- 1 ½ cups (360ml) vegetable oil
- 1 cup (240ml) buttermilk, room temperature
- 2 large eggs, room temperature
- 2 tablespoons (30ml) red gel food coloring (liquid works but gives a less vivid color)
- 1 teaspoon vanilla extract
- 1 teaspoon white vinegar
For the Cream Cheese Frosting:
- 8 oz (226g) cream cheese, softened (full-fat gives the best texture)
- ½ cup (115g) unsalted butter, softened
- 4 cups (500g) powdered sugar
- 1 teaspoon vanilla extract
Directions
- Prep the oven and pan: Preheat your oven to 350°F (175°C) and line a standard 12-cup muffin tin with paper liners. Getting the oven properly preheated before the batter is ready makes a real difference — I used to skip this step and wonder why my cupcakes came out uneven.
- Mix the dry ingredients: In a medium bowl, sift together the flour, sugar, baking soda, salt, and cocoa powder. Sifting is worth the extra minute because it gets rid of any flour clumps that would otherwise show up as streaks in your batter. Set this bowl aside.
- Mix the wet ingredients: In a large bowl, whisk together the oil, eggs, buttermilk, red food coloring, vanilla extract, and white vinegar until everything is well combined and the color is even. The mixture will look quite red at this stage — that's normal and exactly what you want.
- Combine wet and dry: Gradually add the dry ingredients to the wet, stirring gently with a spatula or wooden spoon until just combined. Do not keep mixing once the flour is incorporated — overmixing is how you get dense, rubbery cupcakes. A few small streaks of flour disappearing as you fold is fine.
- Fill the liners and bake: Use a large spoon or ice cream scoop to divide the batter evenly among the 12 liners, filling each about ⅔ full. Bake for 18 to 20 minutes. Check at 18 minutes by inserting a toothpick into the center of one cupcake — it should come out clean or with just a dry crumb. Let them cool in the tin for 5 minutes, then transfer to a wire rack and cool completely before frosting.
- Make the cream cheese frosting: Beat the softened cream cheese and butter together with a hand mixer until completely smooth — no lumps at all. Add the powdered sugar one cup at a time, beating well after each addition. Stir in the vanilla extract. The frosting should be thick enough to hold its shape when piped but still spreadable.
- Frost the cupcakes: Once the cupcakes are fully cooled (not just slightly warm — fully cooled), pipe or spread the cream cheese frosting on top. I use a simple round piping tip for a swirl, but a butter knife and a confident spreading hand works just fine. Top with a pinch of red velvet crumbs or sprinkles if you like.
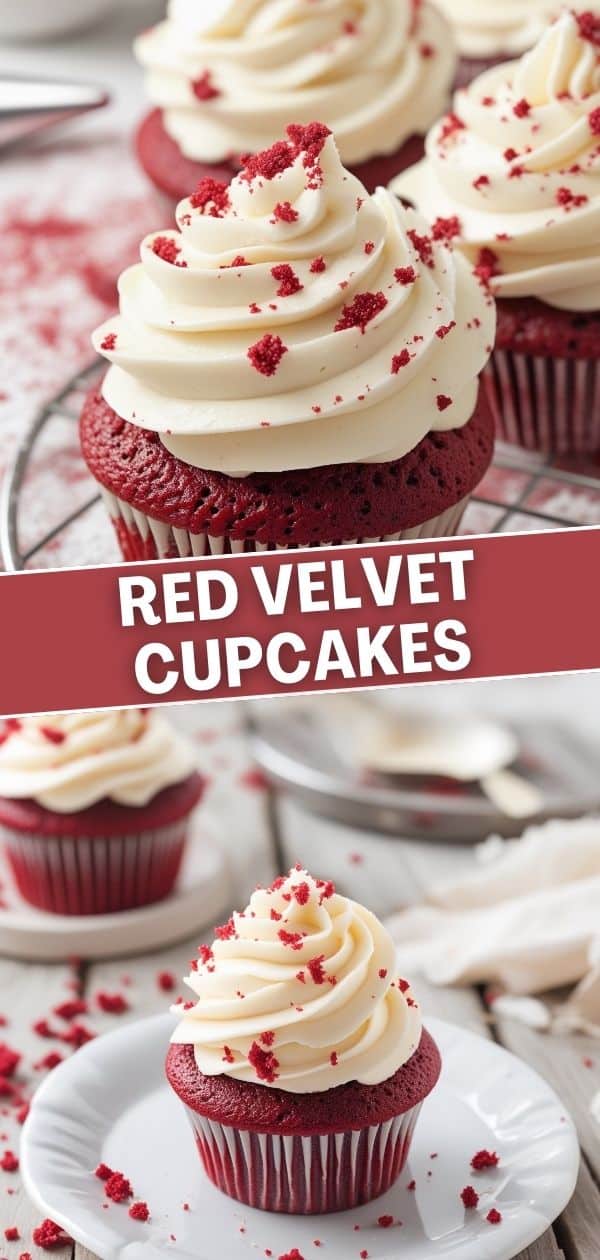
Tips for Success
- Use gel food coloring, not liquid: I made the liquid food coloring mistake my first time and ended up with dull pinkish cupcakes and a slightly watery batter. Gel coloring is more concentrated so you use less of it, and it doesn't add extra liquid to your batter. You can find Wilton or AmeriColor gel at Walmart, Target, or any craft store — it's inexpensive and lasts a long time.
- Don't skip the vinegar: I know it sounds odd to add vinegar to a cupcake, but it reacts with the baking soda to help the cupcakes rise and also deepens that signature red velvet tang. The first time I made these I genuinely thought the recipe had a typo, but it doesn't — the vinegar is doing real work here. You won't taste it in the finished cupcake.
- Room temperature ingredients matter more than you think: Cold eggs and cold buttermilk added to the oil can cause the batter to look slightly curdled or uneven. I set mine out on the counter about 30 minutes before I start baking. Same goes for the cream cheese and butter in the frosting — cold cream cheese does not beat smooth no matter how long you run the mixer.
- Stop mixing the moment the flour disappears: Overmixing develops the gluten in the flour and gives you cupcakes that are chewy and dense instead of tender and fluffy. Once you can no longer see dry flour in the bowl, stop. I stir gently and slowly for this step — no vigorous whisking once the flour goes in.
- Cool completely before frosting — and I mean completely: I rushed this once and the frosting slid right off in a sad puddle. Even if the cupcakes feel cool to the touch on the outside, the inside might still be warm. Give them at least 30 to 45 minutes on the wire rack. If you're making these for an event, bake them the night before and frost them the next day — the cupcakes are actually easier to frost after resting overnight.
Variations
- Chocolate chip red velvet: Fold in ½ cup of mini chocolate chips into the finished batter right before you fill the liners. Toss the chips in a tablespoon of flour first so they don't all sink to the bottom during baking — this is a tip I picked up after a batch where every chip ended up glued to the bottom of the paper liner. The chocolate adds a little richness without changing the cupcake's character.
- Vegan version: Replace the buttermilk with 1 cup of oat milk or soy milk mixed with 1 tablespoon of white vinegar — let it sit for 5 minutes until it curdles slightly. Use a flax egg (1 tablespoon ground flaxseed mixed with 3 tablespoons water, rested for 5 minutes) in place of the egg. For the frosting, vegan cream cheese like Violife and vegan butter work well — just make sure both are fully softened before you beat them. This isn't the traditional version, but it genuinely holds up.
- Full red velvet cake: Pour the batter into two greased and parchment-lined 8-inch round cake pans and bake at 350°F for 30 to 35 minutes. Cool both layers fully before frosting. Stack them with a generous layer of cream cheese frosting between and on top. If you want to go all out on a decorated layer cake, my honey cake cheesecake has a good walkthrough of how I handle decorating layered cakes without losing my mind.
- Easter or holiday version: Swap the red food coloring for pastel pink or purple gel coloring and top with themed sprinkles. I did a soft pink version alongside my Easter swirl pie one year and the dessert table looked genuinely impressive with almost no extra effort. Same batter, same frosting, just a different color and a handful of sprinkles.
Serving and Storage
Serving
These cupcakes are best served at room temperature — the frosting softens just enough to have the right creamy texture, and the cake itself is more tender when it's not cold. If they've been in the fridge, pull them out about 20 to 30 minutes before you plan to serve them. I usually set them out while I'm finishing dinner so they're ready by the time everyone wants dessert. They go well with a cup of coffee or a cold glass of milk, and if you're building a dessert table, they look great next to something like old-fashioned potato candy — the contrast of red and white is very striking on a platter.
Storage
Because of the cream cheese frosting, these need to be stored in the fridge. Put them in an airtight container and they'll keep well for up to 3 days. If you want to make them further ahead, you can bake the cupcakes and freeze them unfrosted — wrap each one individually in plastic wrap and freeze for up to 2 months. Thaw them on the counter, then frost once they've come fully to room temperature. I'd avoid freezing already-frosted cupcakes because the frosting texture changes when it thaws.
Frequently Asked Questions
Can I make these cupcakes ahead of time?
Yes — I actually prefer to bake the cupcakes a day ahead and frost them the next day. The unfrosted cupcakes keep well at room temperature in an airtight container overnight, and they're easier to frost once they've fully settled. Just don't frost them until you're close to serving time if you're storing them at room temp, since the cream cheese frosting needs refrigeration.
Can I use liquid food coloring instead of gel?
You can, but the color will be noticeably less vibrant and you'll need to use more of it, which adds extra liquid to the batter. Gel food coloring is more concentrated and gives you that bold red without affecting the texture. It's worth picking up a small bottle — Wilton red gel is easy to find at most grocery stores and craft stores.
Why are my cupcakes dense instead of fluffy?
Nine times out of ten, dense cupcakes come from overmixing the batter after the flour goes in. Mix only until you can no longer see dry streaks of flour — then stop. Cold ingredients can also cause issues, so make sure your eggs and buttermilk are genuinely at room temperature before you start.
What can I substitute for buttermilk?
If you don't have buttermilk, measure 1 cup of regular whole milk, add 1 tablespoon of white vinegar or lemon juice, stir, and let it sit for 5 minutes. It will curdle slightly — that's what you want. It works as a direct substitute here. Low-fat milk works in a pinch but whole milk gives a better result.
Can I freeze these cupcakes?
Yes, but freeze them unfrosted. Wrap each cooled cupcake in plastic wrap, put them in a zip-lock freezer bag, and freeze for up to 2 months. When you're ready to serve, thaw them on the counter for a couple of hours, then make the frosting fresh and frost just before serving. The frosting itself doesn't freeze well — it tends to weep and get grainy when it thaws.
Red Velvet Cupcakes
Ingredients
- 1 ½ cups all-purpose flour
- 1 cup granulated sugar
- ½ cup unsweetened cocoa powder
- 1 teaspoon baking soda
- ½ teaspoon salt
- 1 cup buttermilk
- ½ cup unsalted butter (softened)
- 1 large egg
- 1 tablespoon red food coloring
- 1 teaspoon vanilla extract
- 1 teaspoon white vinegar
Instructions
- Preheat the oven to 350°F (175°C). Line a cupcake tin with paper liners.
- In a bowl, mix flour, cocoa powder, baking soda, and salt.
- In another bowl, whisk together buttermilk, butter, egg, food coloring, vanilla, and vinegar.
- Combine the wet and dry ingredients until just mixed.
- Spoon batter into the cupcake liners, filling each about ⅔ full.
- Bake for 18-20 minutes or until a toothpick comes out clean.
- Allow to cool completely before frosting with cream cheese frosting.
Notes
- Make Ahead: Red velvet cupcakes can be made ahead and stored in an airtight container at room temperature for up to 3 days. For longer storage, refrigerate for up to 1 week.
- Customizing the Flavor: While red velvet cupcakes have their signature flavor, you can add a twist by mixing in a bit of cocoa powder for a deeper chocolate taste or a dash of vanilla extract for extra richness.
- Serving Suggestions: Serve these cupcakes as is, or top them with classic cream cheese frosting. For a fun twist, decorate with red sprinkles, edible glitter, or even mini chocolate chips for a little crunch.
- Allergy-Friendly Options: To make these cupcakes gluten-free, use a gluten-free all-purpose flour blend. For a dairy-free version, substitute the buttermilk with almond milk and the butter with a dairy-free butter alternative.
- Storage Tips: Store leftover cupcakes in an airtight container to keep them fresh. For longer storage, freeze cupcakes individually wrapped in plastic wrap for up to 2 months. Thaw before serving.
These are the cupcakes I keep coming back to whenever I want something that looks impressive but doesn't require a whole afternoon. The batter comes together in one bowl and the frosting takes maybe ten minutes — the hardest part is waiting for the cupcakes to cool before you can frost them. I've started making the batter, baking, and then walking away to do something else so I don't hover over them and get impatient.
What I love most is that this is genuinely one of those recipes where the result looks like you put in much more effort than you actually did. The red color does a lot of the visual work, and a piped swirl of cream cheese frosting makes any cupcake look like it came from a bakery. I'm not a trained decorator — I have a basic round tip and that's it — and they still come out looking like something I'd be happy to bring somewhere.
If you're looking for more dessert ideas that work for celebrations and everyday baking, my cookie icing recipe pairs really well if you want to do a full dessert spread — the decorated cookies alongside these red velvet cupcakes make a great combination for a party table.
I hope these become a go-to in your kitchen the way they've become one in mine. Make them once and you'll understand why Zainab requests them every single year. 🧁❤️
If you liked this recipe, here are a few more from my kitchen you might enjoy:
- Banana Bread Cinnamon Rolls — soft, swirled, and completely worth the effort
- Honey Cake Cheesecake






Comments
No Comments