
I've been making these peanut butter no bake cookies for years, and they're still the recipe I reach for when someone calls and says they're coming over in an hour. The whole thing takes about 15 minutes of actual work, and then you just wait for them to set. No oven, no mixer, no special equipment — just a saucepan, a wooden spoon, and a bit of patience while they cool on the counter.
What makes these work is the boiling step. You have to bring that sugar and butter mixture to a real, rolling boil and hold it there for exactly one minute. I know that sounds finicky, but trust me — I've rushed it before and ended up with soft cookies that never quite set, and I've overcooked it and ended up with something closer to crumble than cookie. One minute is the sweet spot, and once you've done it a couple of times, it becomes second nature.
My kids absolutely love these. Zainab calls them "chocolate oat cookies" and asks for them in her lunchbox at least once a week. My husband eats them with his afternoon tea, which feels very Pakistani of him even though this is a very American recipe. I usually make a double batch because a single batch disappears embarrassingly fast in this house.
If you're new to no-bake cookies, don't stress. They're genuinely forgiving once you get the boiling step right. And if you're in the mood for more easy dessert ideas after these, my Chocolate Snowball Cookies are another no-fuss recipe that's worth bookmarking. For now, let's talk peanut butter cookies.
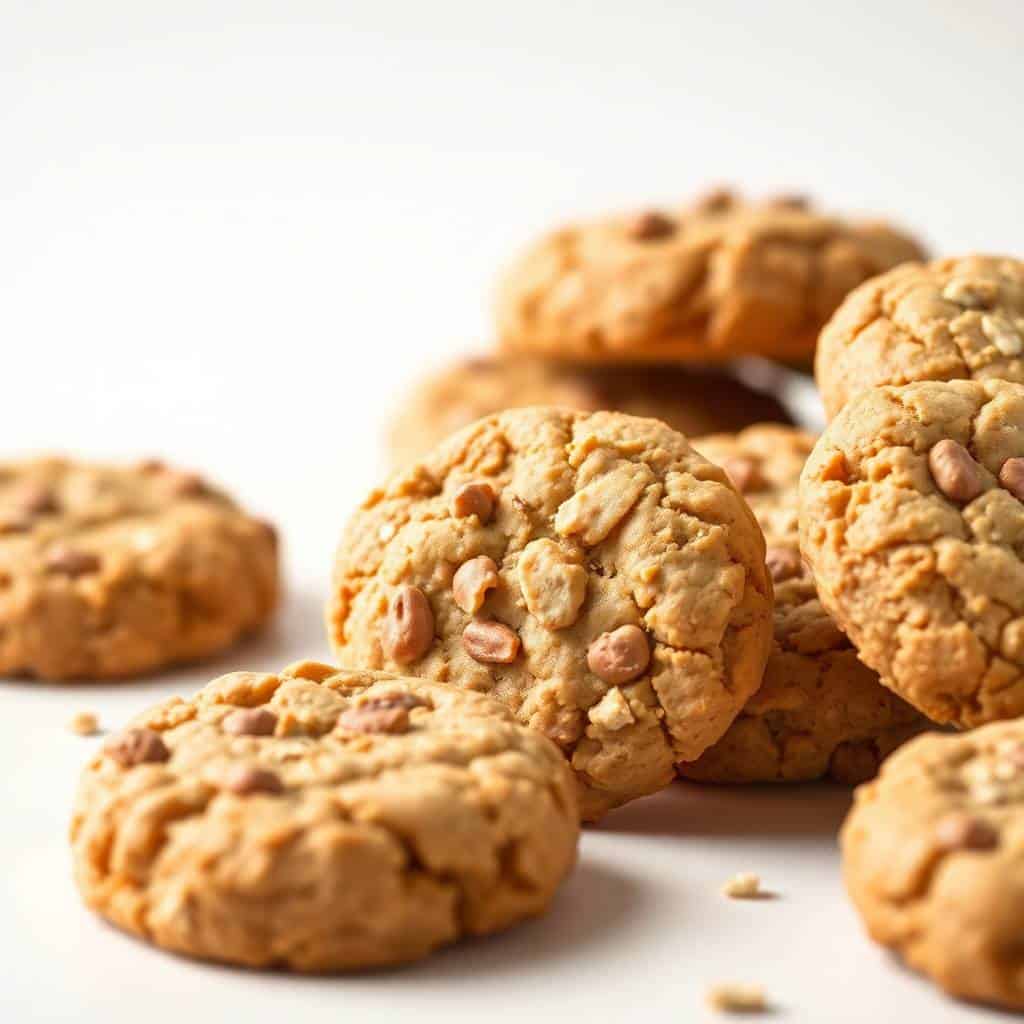
Why You'll Love This Recipe
- Ready in about 15 minutes: From the time I turn on the stove to the time I'm dropping cookies onto the parchment paper, it's maybe 15 minutes of actual work. Then they just sit on the counter for half an hour and firm up on their own. On a Wednesday evening when everyone's tired and I haven't planned dessert, this is the recipe I go to.
- Everything's already in your pantry: Oats, butter, sugar, cocoa powder, peanut butter, vanilla — I don't know a single home cook who doesn't have all of these sitting around. This is the recipe I make when I haven't gone grocery shopping and someone asks for dessert. No special trip required.
- The texture is genuinely good: When the ratios are right and you nail the boil, these cookies are chewy and a little fudgy, not dry or crumbly. The oats give them substance, the peanut butter adds richness, and the cocoa ties it all together. They hold their shape when you pick them up but still give when you bite into them.
- Kids can help make them: Once the stovetop part is done and the mixture has cooled slightly, there's nothing dangerous about dropping spoonfuls onto a sheet. Zainab loves doing that part. It keeps her involved and she feels proud of the finished result, which means she eats two instead of one.
- Easy to customize: The base recipe is solid on its own, but it's also a good starting point for add-ins. Shredded coconut, chopped walnuts, a sprinkle of sea salt on top — any of these work. I've even stirred in a handful of mini chocolate chips after the mixture cools slightly, and they stay mostly intact rather than melting in completely.
Ingredients
- 2 cups granulated sugar
- ½ cup (1 stick) unsalted butter
- ½ cup whole milk
- ¼ cup unsweetened cocoa powder
- ½ cup creamy peanut butter (Jif or Skippy work great — avoid natural peanut butter that separates)
- 2 teaspoons vanilla extract
- 3 cups quick-cooking oats (or old-fashioned oats — see Tips section for the difference)
- Pinch of salt
Directions
- Step 1: Set up your workspace. Line two baking sheets with parchment paper or wax paper and set them somewhere close to your stove. Once this mixture is ready, you'll need to work fast, so having everything within arm's reach matters.
- Step 2: Build the base. In a medium saucepan, combine the sugar, butter, milk, and cocoa powder. Stir them together over medium heat. Keep stirring as the butter melts and everything comes together into a uniform mixture.
- Step 3: Bring it to a boil and time it carefully. Once the mixture starts bubbling around the edges, wait for it to reach a full rolling boil — the kind that keeps bubbling even when you stir it. From that point, boil for exactly one minute without stopping your timer. This step determines whether your cookies set properly, so don't eyeball it.
- Step 4: Add the peanut butter and vanilla. Pull the pan off the heat immediately after the minute is up. Stir in the peanut butter, vanilla extract, and salt until everything is smooth and fully combined. Work quickly here — the mixture will start to thicken as it cools.
- Step 5: Mix in the oats. Add all 3 cups of oats at once and stir fast to coat them evenly before the mixture gets too stiff to work with. Every oat should look glossy and coated when you're done.
- Step 6: Drop onto the prepared sheets. Using a spoon or a small cookie scoop, drop tablespoon-sized mounds onto your parchment-lined sheets. Leave a bit of space between each one. They won't spread, but you'll want room to pick them up cleanly once they set.
- Step 7: Let them set at room temperature. Leave the cookies alone on the counter for 30 to 45 minutes. They'll firm up on their own without any refrigeration. Resist the urge to move them too early — they need the full cooling time to hold their shape.
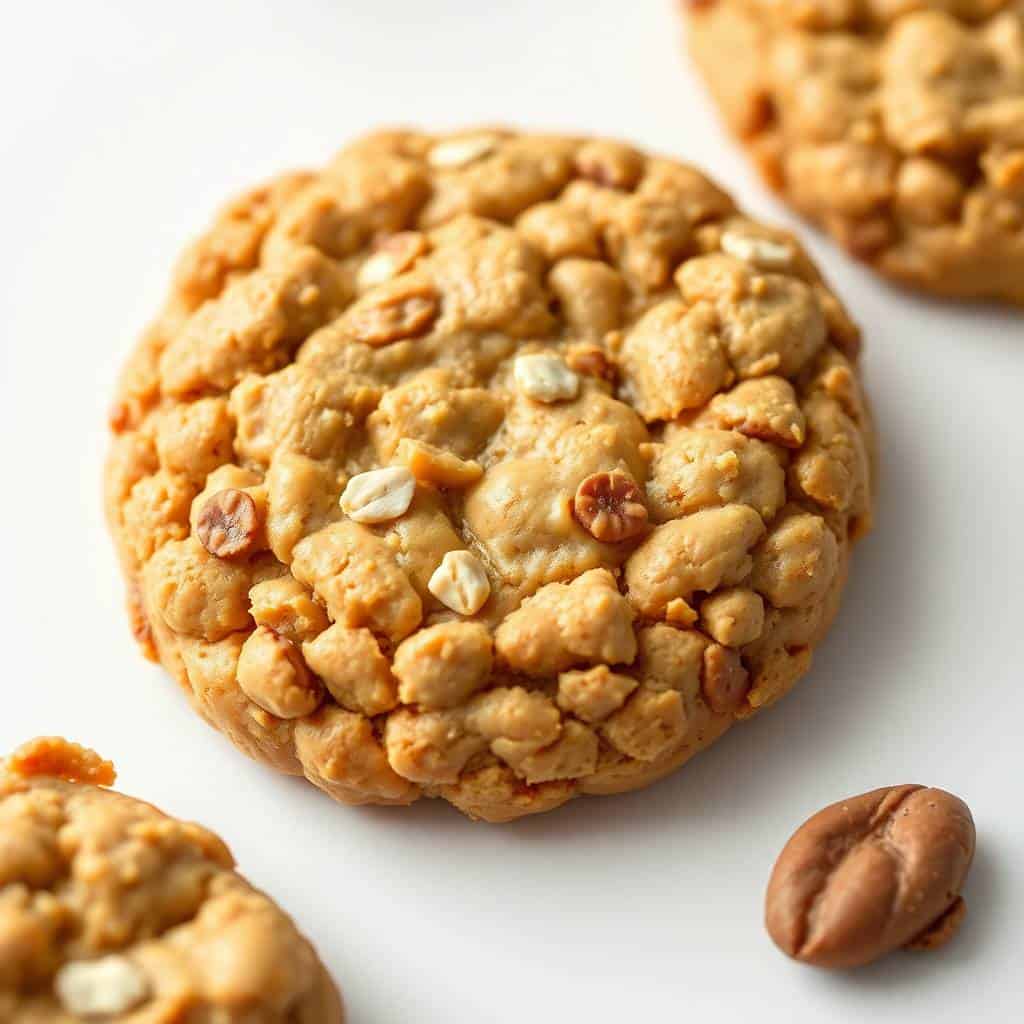
Tips for Success
- Time your boil — don't guess it: The first time I made these, I thought one minute felt too short and let it go a bit longer. The cookies came out dry and sandy-textured, like they wanted to crumble the moment you touched them. Overcooking burns off too much moisture. Set a timer, watch for the full rolling boil, then count exactly sixty seconds.
- Quick oats vs. old-fashioned oats: Quick oats absorb the mixture faster and give you a more cohesive, uniform cookie. Old-fashioned oats work too — I use them in my version and they're fine — but the texture is slightly more toothsome and the cookies can feel a bit more loose when you first drop them. Either one will set; just know what you're getting into.
- Stick with regular peanut butter, not natural: I learned this the hard way. Natural peanut butter — the kind where the oil separates and you have to stir it — throws off the consistency. The cookies either don't set or turn out greasy. Use Jif, Skippy, or whatever commercial brand you have. The stabilizers in regular peanut butter are actually doing useful work here.
- Move fast when the oats go in: The mixture cools and thickens quickly once it's off the heat. Once you add the oats, stir them in right away and get the cookies onto the sheet within the next two or three minutes. If you dawdle, the mixture stiffens and you end up scooping lumpy blobs that don't flatten evenly. It's still fine to eat, just not as pretty.
- Let them cool at room temperature, not the fridge: I know it's tempting to pop them in the fridge to speed things up. But cold air makes them set too firm and they lose that soft, chewy middle. Room temperature cooling takes a bit longer but gives you a much better texture. If your kitchen is genuinely hot, a fan nearby helps.
Variations
- Add shredded coconut: Stir in ½ cup of unsweetened shredded coconut along with the oats. It adds a slightly chewy, nutty layer that works really well against the chocolate-peanut butter base. I use the desiccated coconut from any grocery store — nothing fancy required.
- Swap in almond butter: Replace the peanut butter with almond butter for a slightly milder, less sweet flavor. It works well if someone in your house has a peanut allergy, or if you just want something a little different. Sunflower seed butter is also an option and has a richer, more savory edge to it.
- Use crunchy peanut butter: An easy swap if you want more texture. The peanut pieces stay intact in the finished cookie and give you little pops of crunch that contrast nicely with the chewy oat base. My husband actually prefers this version.
- Sea salt on top: Before the cookies set, sprinkle a tiny pinch of flaky sea salt on each one. It sounds like a small thing but it makes a real difference — the salt cuts through the sweetness and makes every flavor more distinct. This is now my standard version when I'm making these for guests.
- Stir in mini chocolate chips: Wait about a minute after taking the pan off the heat, then stir in ¼ cup of mini chocolate chips before adding the oats. They'll melt slightly but not completely — you get soft pockets of chocolate throughout. Semi-sweet works best here; milk chocolate gets too sweet.
Serving and Storage
Serving
Serve these at room temperature once they've fully set — that's when the texture is at its best, soft and chewy without being sticky. They pair really well with a cold glass of milk, which is how Zainab eats them, or with a cup of tea or coffee if you're an adult making it through the afternoon. If you want to put together a little dessert plate for guests, these look nice alongside my Sugar Star Cookies — the contrast of crisp shortbread and chewy no-bake makes for a good spread.
Storage
Keep them in an airtight container at room temperature for up to 5 days. I layer them between sheets of parchment or wax paper so they don't stick together. If your kitchen runs warm or humid, the fridge is fine — just know they'll be a little firmer cold, and I'd let them sit out for 10 minutes before eating. For longer storage, you can freeze them in a single layer first, then transfer to a zip-lock bag. They keep in the freezer for about 2 months and thaw on the counter in 20 minutes.

Frequently Asked Questions
Why didn't my cookies set properly?
Almost always, this comes down to the boil. If the sugar mixture didn't reach a full rolling boil, or if you didn't hold it there for a full minute, the cookies won't set up firm. The boiling time drives off enough moisture to allow the sugar to harden as it cools. Next time, watch for the point where the bubbles keep going even when you stir — that's a true rolling boil — and then set a timer for exactly one minute from that moment.
Can I use old-fashioned oats instead of quick oats?
Yes, you can. Old-fashioned oats give a slightly chewier, more textured result and the cookies may look a little more rustic, but they'll still set and taste good. I use old-fashioned oats in my own kitchen and have no complaints. Just know that quick oats absorb the mixture faster and give you a more uniform, compact cookie if that's what you're going for.
Can I substitute something for peanut butter?
Yes — almond butter and sunflower seed butter both work well as direct swaps. Sunflower seed butter is a good option for nut-free households (check your oat label too if allergies are a concern). Avoid natural peanut butters that separate, and avoid anything too thin or oily, since that'll affect how the cookies set.
Do these cookies need to be refrigerated?
Not for normal storage — they keep fine at room temperature in an airtight container for up to 5 days. The fridge is an option if your kitchen is very warm or if you want to stretch them past 5 days, but they will firm up significantly when cold. If you do refrigerate them, let them come back to room temperature for about 10 minutes before eating for the best texture.
Can I freeze no bake cookies?
Absolutely. Let them set completely first, then freeze in a single layer on a baking sheet for about an hour before transferring to a freezer-safe bag or container. This keeps them from sticking together. They'll keep for up to 2 months in the freezer. Thaw at room temperature for 20 to 30 minutes — no microwave needed.
I've made a lot of desserts over the years — cakes that took three hours, pastries that required special equipment, cookies that needed chilling overnight. And then there are these. They require one saucepan, about 15 minutes, and ingredients I never run out of. That combination is hard to beat on a regular weeknight.
The thing I keep coming back to is how reliably they work once you understand the boiling step. After the first couple of batches, you stop needing the timer because you can feel when it's right. The mixture looks glossy, it smells like chocolate fudge, and you just know. That kind of intuitive cooking is something I love — where the recipe teaches you something you carry forward.
If you make these and want to keep the no-bake energy going, the Chick-fil-A Frosted Lemonade is a great drink to serve alongside them on a hot day — takes about the same amount of effort and pairs really nicely with the chocolate-peanut butter flavors. My kids have declared that combination official.
I hope your batch sets beautifully and disappears just as fast as mine always does. 🍫🥜✨
PEANUT BUTTER NO BAKE COOKIES
Ingredients
- 2 cups granulated sugar
- ½ cup unsalted butter
- ½ cup milk
- ¼ cup unsweetened cocoa powder
- ½ cup peanut butter
- 2 teaspoons vanilla extract
- 3 cups old-fashioned oats
Instructions
- Combine Ingredients: In a medium saucepan over medium heat, combine sugar, butter, milk, and cocoa. Bring to a rolling boil, stirring frequently.
- Cook: Boil for 1–2 minutes until slightly thickened. Remove from heat and stir in peanut butter and vanilla until smooth.
- Add Oats: Mix in oats until fully coated.
- Form Cookies: Drop spoonfuls of the mixture onto parchment-lined baking sheets.
- Set: Allow cookies to cool and set at room temperature for 20–30 minutes before serving.
Notes
- Make Ahead: Cookies can be stored in an airtight container at room temperature for up to 5 days.
- Flavor Variations: Add a pinch of salt, chopped nuts, or shredded coconut for extra flavor.
- Serving Suggestions: Enjoy with milk, coffee, or as a quick snack anytime.
- Storage Tips: Store in a cool, dry place to prevent stickiness.
If you liked this recipe, here are a few more you might enjoy:
- Chocolate Snowball Cookies (Melt-in-Your-Mouth Holiday Treat)
- Sugar Star Cookies
- Chick-fil-A Frosted Lemonade
- Crunchy Brown Rice Salmon Bowls with Herbed Tahini Dressing





Comments
No Comments