
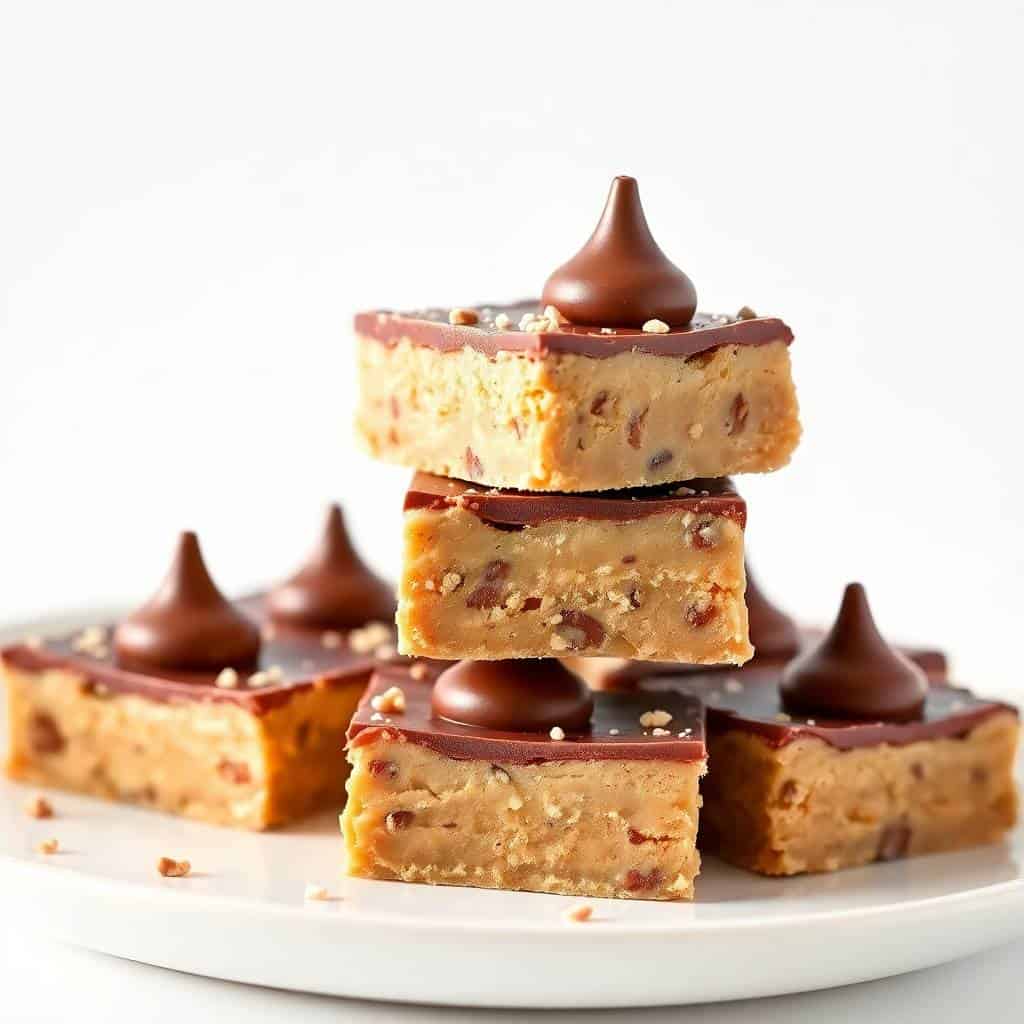
I made these peanut butter blossom bars for the first time because I was too tired to roll individual cookies. Zainab had asked for peanut butter blossoms — the classic round ones — and I just didn't have it in me to scoop and roll 36 balls of dough at 9pm. So I pressed everything into a 9x13 pan instead, baked it, and pressed the Hershey's Kisses on top. They came out soft, a little chewy, and honestly better than I expected from what started as a shortcut.
What I like about bars over individual cookies is that you don't lose anything. The peanut butter flavor is still there. The chocolate kiss still melts just enough on top to get that slightly soft, slightly snappy bite. And cleanup is so much simpler — one pan, done. The only real technique here is pressing the dough in evenly and not overbaking, which I'll explain in detail below because I've gotten it wrong and I want you to avoid that.
My kids both love these, though Zainab eats hers carefully — she always eats the peanut butter part first and saves the kiss for the last bite. Saad just bites straight through. My husband had three of them with his evening tea and then asked if there were more in the freezer. I usually double the batch now because one pan disappears faster than I expect, and if you're baking for a crowd or a school event, I'd do the same. If you're looking for another festive baked treat, the Mardi Gras King Cake on this site is also worth keeping in your rotation for celebrations.
One thing to know going in: don't use natural peanut butter here. I tried it once — the kind where you have to stir the oil back in — and the bars came out greasy and didn't hold together well. Stick with regular creamy peanut butter from the shelf. Jif, Skippy, whatever you have. That's what makes the texture work.
Why You'll Love This Recipe
- No rolling, no scooping, no fuss: If you've ever made classic peanut butter blossoms, you know the part where you roll each ball in sugar and set it on the tray — it takes a while. This skips all of that. You press the dough into a pan and you're done. I made these on a weeknight in about 35 minutes total, which includes the time waiting for the oven to preheat.
- Soft and chewy texture that holds for days: The bars stay soft for several days in an airtight container, which actually makes them better for gifting or making ahead than cookies that dry out overnight. I made a batch on a Thursday before a school bake sale and they were still perfectly soft on Saturday. The peanut butter keeps them moist in a way that flour-only cookies can't match.
- All pantry ingredients: There's nothing in this recipe you'd have to make a special trip for. Peanut butter, butter, sugar, eggs, flour, baking soda — and then a bag of Hershey's Kisses, which you can find at any grocery store, Walmart, Target, even Costco sells them in big bags around the holidays. I always have a backup bag in my pantry this time of year.
- Easy to transport and serve at gatherings: Bars cut into neat squares and stack in a container without crumbling. Cookies can shift around and break in transit. These travel well to potlucks, school events, and holiday tables. I've sent them with my husband to his office twice and both times someone asked for the recipe.
- Freezer-friendly and make-ahead ready: You can bake these a full day ahead and they taste just as good the next day — sometimes better, once they've settled. They also freeze really well for up to three months. I slice them first, then freeze in a single layer before stacking in a container. That way I can pull out just a few at a time when we need them.
Ingredients
- 1 cup creamy peanut butter (Jif or Skippy work well — avoid natural)
- ½ cup unsalted butter, softened to room temperature
- ½ cup granulated sugar
- ½ cup packed brown sugar
- 1 large egg
- 1¼ cups all-purpose flour
- ½ teaspoon baking soda
- ¼ teaspoon salt
- 48 Hershey's Kisses, unwrapped before you start baking
Directions
- Preheat the oven: Set your oven to 350°F (175°C) and line a 9x13-inch baking pan with parchment paper, leaving a bit of overhang on the sides. That overhang is your handle for lifting the whole slab out later — don't skip it.
- Cream the peanut butter and butter: In a large bowl, beat together the peanut butter and softened butter until they're fully combined and smooth. Add both sugars and keep mixing until the mixture looks lighter in color and a little fluffy. This takes about 2 minutes by hand with a wooden spoon, or about 1 minute with a hand mixer.
- Add the egg: Beat in the egg until it's fully incorporated and you don't see any streaks. Add a teaspoon of vanilla if you like — the original recipe I tested didn't call for it but I always add it because it rounds out the flavor.
- Mix in the dry ingredients: In a separate bowl, whisk together the flour, baking soda, and salt. Add this to the wet ingredients gradually and mix until just combined. Don't overmix once the flour goes in — that's what makes bars tough instead of soft.
- Press into the pan and bake: Scoop the dough into the prepared pan and press it out into an even layer. I use my fingers and then smooth the top with the back of a spoon. Bake for 12–15 minutes, until the edges are just golden and the center looks set. It will still look slightly underdone — that's what you want.
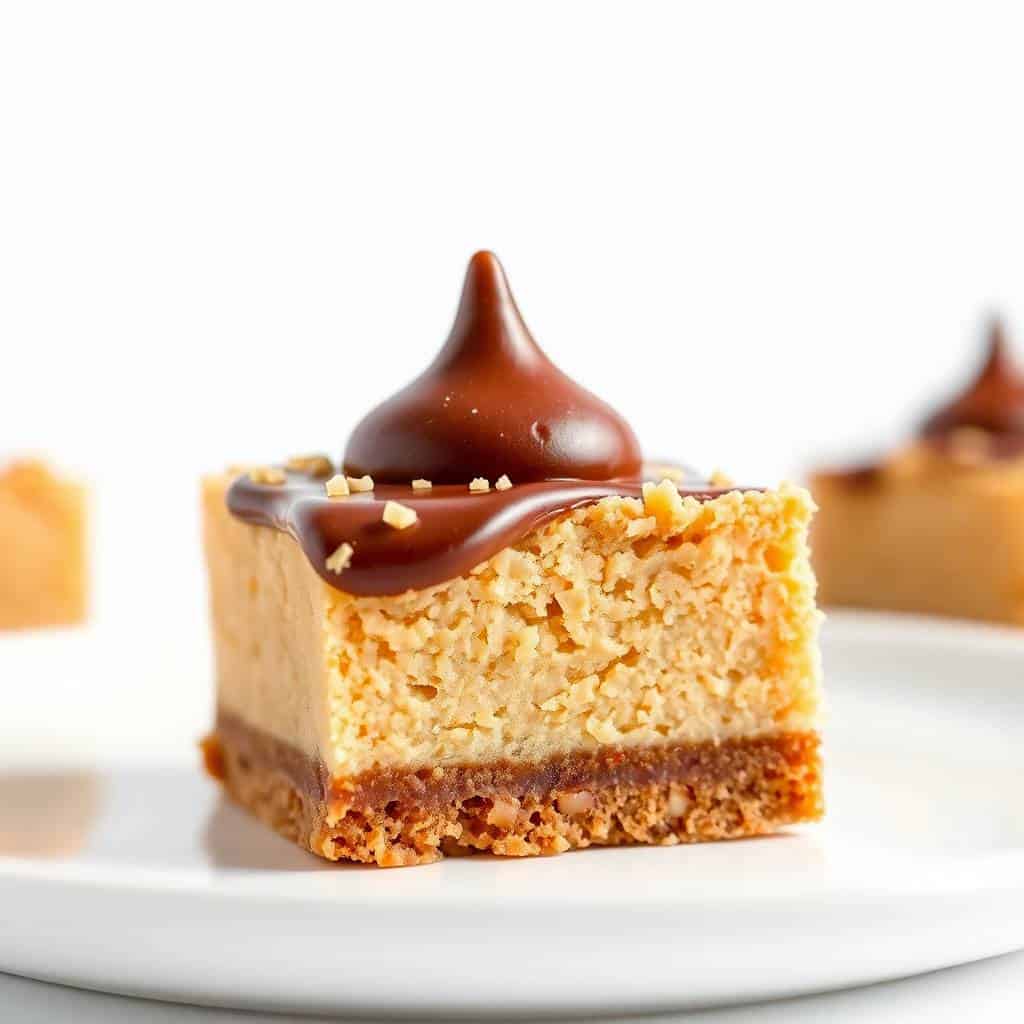
- Press in the Kisses immediately: The moment the pan comes out of the oven, press the unwrapped Kisses evenly across the top. Work quickly. The heat from the bars will soften the chocolate just enough so they sink in slightly and stick, but they won't melt into a puddle if you move fast.
- Cool completely before cutting: Let the bars cool in the pan for at least 30 minutes before you try to slice them. I know that's hard to wait. But if you cut too soon, the chocolate is still soft and will smear, and the bars won't hold their shape cleanly.
Tips for Success
- Unwrap the Kisses before you put the bars in the oven: This sounds obvious but I have been caught mid-bake frantically unwrapping chocolate. By the time you're done the bars have cooled too much and the Kisses don't adhere properly. Set yourself up — unwrap them all while the oven preheats and have them ready in a bowl.
- Don't overbake: The center should look just barely set when you pull the pan out. If you wait until the center looks fully done the way cookies look done, you've gone too far. The residual heat continues cooking as the bars cool. I've pulled them at 12 minutes and they were perfect; at 17 minutes, the edges were a little dry. Set a timer and check early.
- Use room temperature butter: Cold butter won't cream properly with the peanut butter — you'll end up with lumps instead of a smooth, cohesive dough. I leave mine out for about 30 minutes before I start. If you forgot, cut it into small cubes and microwave for 8–10 seconds at a time until just soft but not melted.
- Press dough evenly into the pan: If the dough is thicker in some spots than others, those thick parts won't cook through at the same rate as the thinner edges. I use damp fingers to press it flat, which also keeps the dough from sticking to my hands. Take an extra minute to get it level — it makes a real difference in the final texture.
- Let the chocolate fully set before stacking: If you're packing these up to take somewhere, give the Kisses time to firm back up — about an hour at room temperature, or 20 minutes in the fridge. If you stack them while the chocolate is still soft, they'll press into each other and make a mess. I learned this the day I tried to pack them for a school bake sale too fast.
Variations
- Swap the Kisses for mini peanut butter cups: This is my husband's preferred version. Instead of Hershey's Kisses, press a mini Reese's cup into the top of each bar square. The peanut butter-on-peanut butter combination is richer and a little more indulgent. It also looks really good on a dessert table.
- Add chopped peanuts or pretzels to the dough: Stir in ½ cup of roughly chopped roasted peanuts or crushed pretzel pieces before pressing the dough into the pan. It gives the base a little crunch and a salty edge that works really well against the sweet chocolate on top. This is my personal favorite variation.
- Holiday color versions: Swap the Kisses for holiday-colored ones — red and green for Christmas, pink and red for Valentine's Day. You can also press M&Ms into the bars instead of Kisses for a brighter look that kids really go for. These make a nice addition alongside something like Almond Amaretti Cookies on a holiday cookie platter.
- Dark chocolate version: Use dark chocolate Kisses or press a piece of dark chocolate into each bar instead of milk chocolate. The slightly bitter chocolate plays really well against the sweet peanut butter base. This is the version I prefer for myself when I'm not baking for the kids.
- Top with flaky sea salt: Right after pressing in the Kisses, sprinkle a tiny pinch of flaky sea salt over the warm bars. Maldon or any flaky salt works. It sounds simple but it shifts the whole flavor — the salt pulls out the nuttiness of the peanut butter and makes the chocolate taste more complex. This is what I do when I'm making these for adults rather than kids.
Serving and Storage
Serving
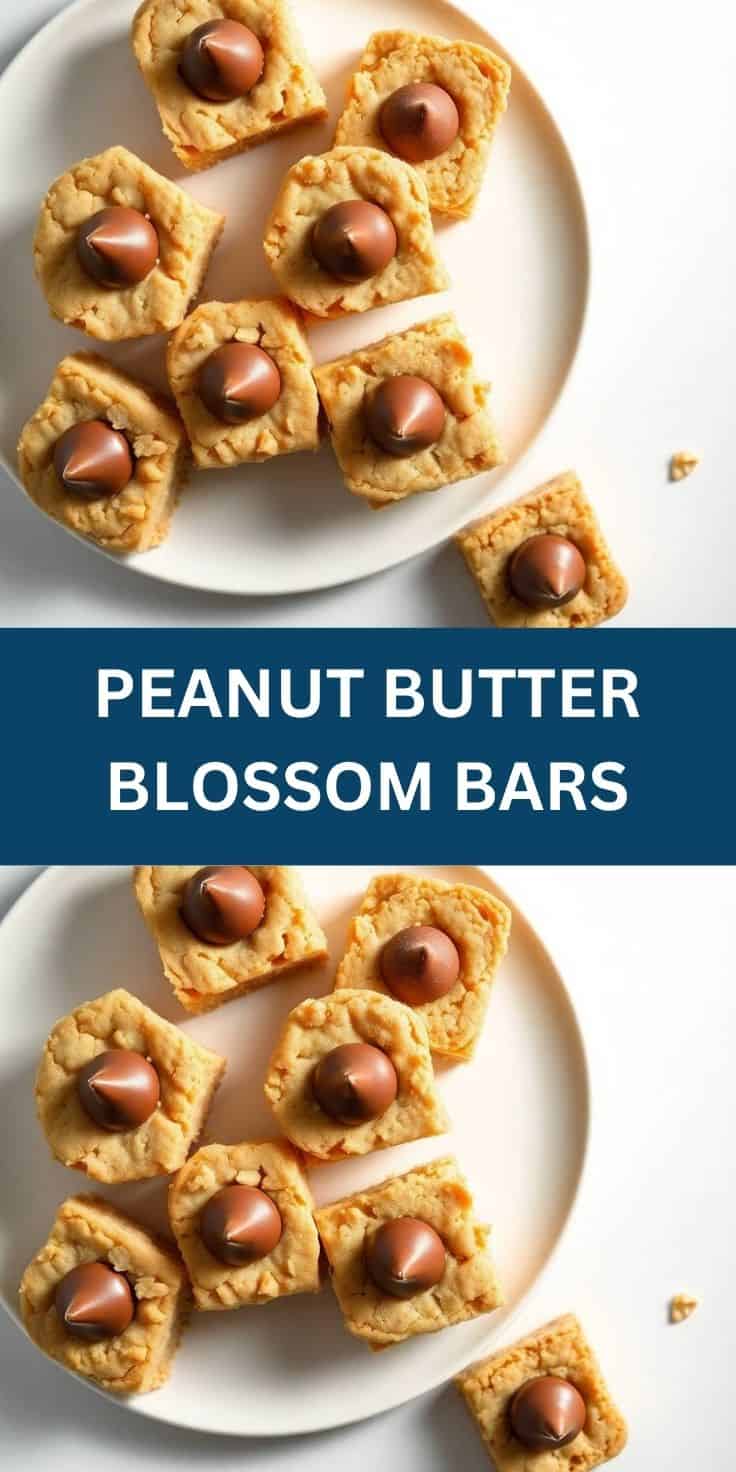
Serve these at room temperature — that's when the peanut butter base is softest and the chocolate is just firm enough to hold its shape. If you're putting them out at a party, arrange them cut-side up on a flat plate or a board so the Kisses are visible. They look impressive for how little effort goes into them. A glass of cold milk is the obvious pairing, but my husband eats his with strong chai and it works perfectly that way too. If you're making a dessert spread and want something a little richer on the table, the Million Dollar Bread Pudding is a great companion — it rounds out a dessert table nicely alongside these bars.
Storage
Store cut bars in an airtight container at room temperature for up to 5 days. They stay soft — I think they're actually best on day 2 after the flavors have had time to settle. If you want to freeze them, let the bars cool and the chocolate set fully, then cut and freeze in a single layer on a sheet pan for an hour before transferring to a zip-lock bag or container. They keep in the freezer for up to 3 months. To thaw, just leave them at room temperature for 30–45 minutes. Don't microwave them — the chocolate gets weird.
Frequently Asked Questions
Can I make these bars ahead of time?
Yes, and I'd actually recommend it. Bake them the day before you need them, let them cool completely, and store in an airtight container overnight at room temperature. The texture is slightly better the next day — the bars firm up just enough that they slice more cleanly and the flavors settle together.
Can I freeze peanut butter blossom bars?
Absolutely. Slice them first, freeze in a single layer until solid, then stack in a freezer-safe container with parchment between layers. They keep for up to 3 months. Thaw at room temperature for about 45 minutes before serving. The texture holds up really well — you'd never know they were frozen.
What can I use instead of Hershey's Kisses?
Mini peanut butter cups work great and are my husband's favorite swap. You can also use chocolate chips — just press a small cluster of 3–4 chips into each bar section — or break up a chocolate bar into small pieces and press those in. Any chocolate that can sit on top and stick when warm will work.
Can I use crunchy peanut butter instead of creamy?
You can, though the texture of the bars will be slightly coarser. If you like a little crunch in your cookies, go for it — it adds a nice texture contrast. Just make sure it's still a regular shelf-stable crunchy peanut butter, not a natural one. Natural peanut butter (the kind you stir) makes the bars greasy and they don't hold together well.
How do I know when the bars are done baking?
The edges should look golden and the center should look just barely set — not wet or glossy, but still slightly soft when you gently press it. They'll continue cooking from residual heat after you take them out of the oven, so pulling them a little early is the right move. If the center looks completely done in the oven, they'll be dry once they cool. I check mine at 12 minutes and go from there.
Final Thoughts
This is one of those recipes I go back to whenever I need something that looks like I put in a lot of effort but actually came together in under an hour. The bars photograph beautifully — that row of Kisses pressed into the warm golden dough looks like you planned it carefully — and people always ask what they are at parties, which is a good sign. But the honest reason I keep making them is that they're reliable. I know how they'll turn out. After a few batches, I know the pan, I know my oven, and I know when to pull them out. That consistency matters when you're baking for people you care about.
I've made these for Eid gatherings, school bake sales, my husband's office, and just regular weeknight desserts when we needed something sweet. They work for all of it. If you're building out a holiday baking list this year, I'd suggest pairing these with the Almond Amaretti Cookies — together they make a nice variety without a lot of overlap in flavor. And if you're in holiday hosting mode, the Ham and Cheese Croissant Breakfast Casserole is worth bookmarking for the morning-after when you need something easy for a crowd.
If you make these, I'd love to know what variation you tried. The sea salt version is my personal favorite, but Zainab votes for the mini peanut butter cup swap every single time. Maybe she's right. 🍫🥜✨
PEANUT BUTTER BLOSSOM BARS
Ingredients
- 1 cup creamy peanut butter
- ½ cup unsalted butter softened
- ½ cup granulated sugar
- ½ cup brown sugar packed
- 1 large egg
- 1 ¼ cups all-purpose flour
- ½ teaspoon baking soda
- ¼ teaspoon salt
- 48 chocolate kisses wrapped, unwrapped before baking
Instructions
Preheat Oven:
- Preheat oven to 350°F (175°C). Line a baking sheet with parchment paper.
Make Dough:
- In a large bowl, cream together peanut butter, butter, granulated sugar, and brown sugar until light and fluffy. Beat in egg.
Add Dry Ingredients:
- In a separate bowl, whisk flour, baking soda, and salt. Gradually add to wet ingredients and mix until combined.
Shape Bars:
- Press dough evenly into a greased 9x13-inch baking pan.
Bake:
- Bake for 12–15 minutes until edges are golden.
Add Kisses:
- Immediately press unwrapped chocolate kisses into warm bars, spacing evenly.
Cool & Serve:
- Allow bars to cool completely before cutting into squares.
Notes
- Make Ahead: Prepare bars a day ahead for best texture.
- Variations: Use dark chocolate or peanut butter chips for different flavors.
- Serving Suggestions: Serve with milk or coffee for a delightful snack.
- Allergy-Friendly: Contains nuts and dairy; not suitable for peanut allergies.
If you liked these bars, here are a few more things on the site worth making:
- Almond Amaretti Cookies — soft, chewy Italian-style cookies that pair beautifully on a holiday platter
- Mardi Gras King Cake — a festive, frosted celebration cake that's easier than it looks
- Million Dollar Bread Pudding — rich, custardy, and genuinely one of my favorite desserts on this site
-






Comments
No Comments