
I made this pie for the first time on a Saturday when the heat was unbearable and I absolutely refused to turn on the oven. I had overripe bananas on the counter, a block of cream cheese in the fridge, and half a jar of peanut butter that needed to be used up. What came out of that slightly desperate afternoon was one of the best no-bake desserts I've made in years — layered, rich, cold, and completely over the top in the best way.
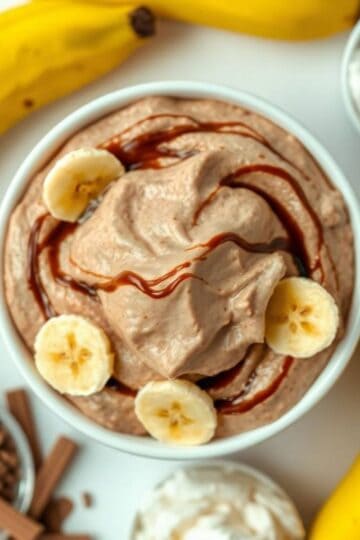
What makes this one work is the crust. I add finely chopped nuts to the graham cracker base — pecans or walnuts, whatever I have — and it gives the whole thing a texture that a plain cracker crust just doesn't have. The filling is a whipped peanut butter and cream cheese mixture that sets firm in the fridge, and the hot fudge swirled on top does exactly what you want it to do. It looks like something that took hours. It didn't.
Zainab spotted it in the fridge before it had even finished chilling and asked if she could have a slice "just to taste." She ended up eating two pieces that evening. My husband had it for breakfast the next day, which I pretended not to notice. I make a full 9-inch pie and it still disappears in less than two days in this house.
One thing I'll say upfront: add the banana slices right before serving if you're making this ahead. I skipped that step the first time and woke up to brown bananas on top of an otherwise beautiful pie. Lesson learned. If you want a no-bake chocolate dessert that's similarly stunning but has a different flavor profile, my Chocolate Chip Cookie Dough Pie is another one that sets up beautifully in the fridge without touching the oven.
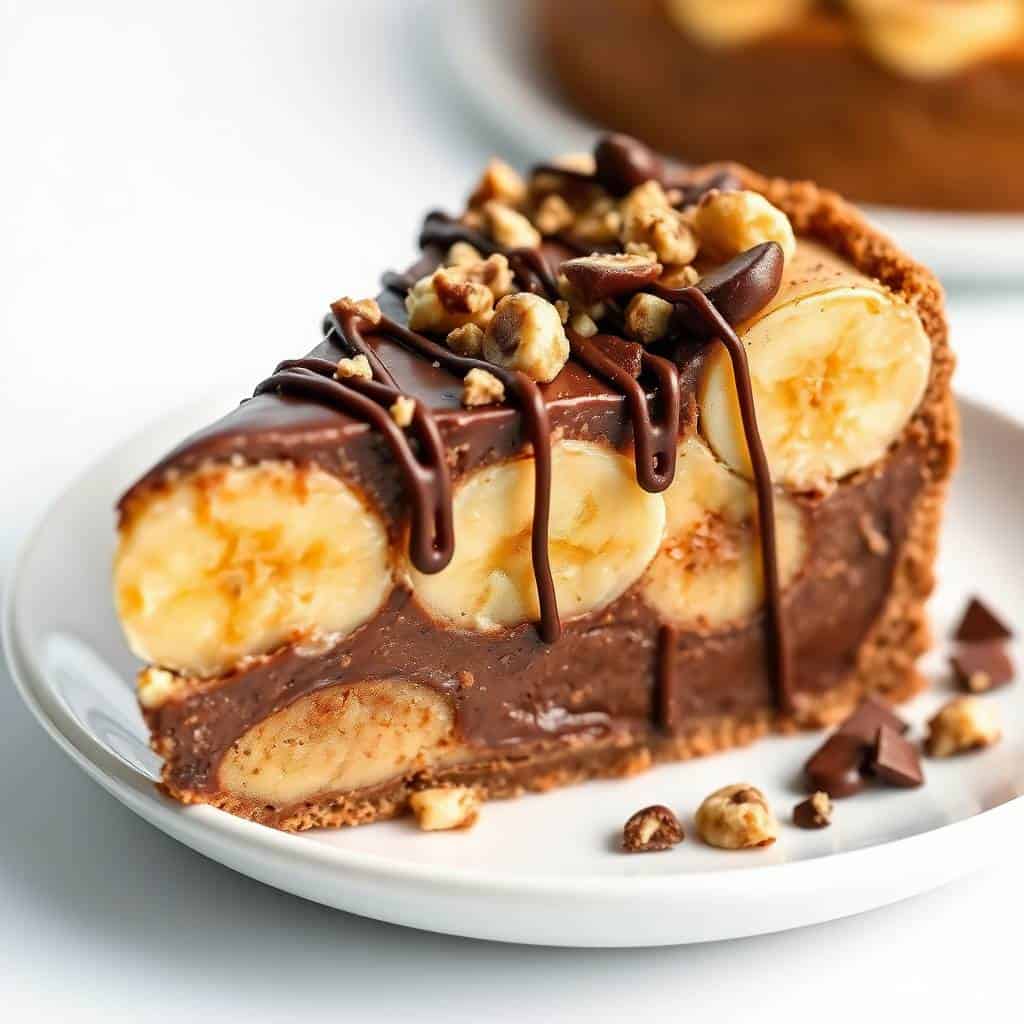
Why You'll Love This Recipe
- No oven, no stress: The whole thing goes together without turning on a single burner beyond melting butter and warming fudge sauce. On a hot summer day that matters more than I can say. I've made this in July when even boiling water felt like too much, and it comes together without breaking a sweat.
- The nutty crust is the secret: Most no-bake pies use a plain graham cracker crust and it's fine, but fine is forgettable. Adding chopped pecans or walnuts to the base gives it a crunch and a toastiness that makes people ask what's in it. It takes about two extra minutes and it's worth every second.
- The filling is light but rich: Folding whipped cream into the peanut butter and cream cheese mixture keeps it from being dense and heavy. It slices cleanly, holds its shape, and still feels airy when you eat it — not like a brick of peanut butter in a crust.
- It looks impressive without being difficult: The swirled fudge on top, the banana slices, the chopped nuts — it photographs beautifully and looks like you put in way more effort than you did. I've brought this to gatherings twice now and both times someone asked for the recipe before dinner was finished.
- Make-ahead friendly: I usually make this the night before I need it. The filling sets up firmer after a full night in the fridge, the crust stays together better, and the flavors all meld. Day-of is good. Day-after is better.
Ingredients
- 1½ cups crushed graham crackers or chocolate cookie crumbs
- ⅓ cup melted butter
- 2 tablespoons sugar
- ½ cup finely chopped pecans or walnuts (for the crust)
- 8 oz cream cheese, softened
- ½ cup creamy peanut butter
- ½ cup powdered sugar
- 1 teaspoon vanilla extract
- 1½ cups whipped topping (like Cool Whip) or freshly whipped heavy cream
- 2 ripe bananas, sliced
- ½ cup hot fudge sauce (jarred is fine — I use Hershey's or Smucker's)
- ¼ cup chopped peanuts or pecans, for topping
- Extra banana slices and whipped topping, for garnish (optional)
Directions
- Step 1: Make the crust — Mix crushed graham crackers, chopped nuts, melted butter, and sugar together in a bowl until everything is coated and holds together when you press it. Press it firmly into a 9-inch pie dish — I use the bottom of a measuring cup to press it evenly up the sides too. Chill in the fridge for at least 15 minutes while you make the filling.
- Step 2: Make the peanut butter filling — Beat the softened cream cheese, peanut butter, powdered sugar, and vanilla together until smooth. If your cream cheese is still cold, it will be lumpy — let it sit out for 20 minutes first. I learned that the hard way. Fold in the whipped topping gently until the mixture is light and airy.
- Step 3: Layer the pie — Lay the banana slices in a single layer across the chilled crust. Spoon the peanut butter filling over the bananas and spread it smooth with a spatula. Don't press too hard or you'll push the bananas around.
- Step 4: Add the fudge topping — Warm the hot fudge sauce just enough to make it pourable — about 15 seconds in the microwave. Drizzle it over the filling and use a butter knife or toothpick to gently swirl it. Don't over-swirl or it will just mix into the filling.
- Step 5: Garnish and chill — Scatter the chopped nuts over the top. If serving soon, add banana slices now. If chilling overnight, wait until right before serving to add the fresh banana slices so they stay bright. Refrigerate for at least 4 hours — overnight is better.
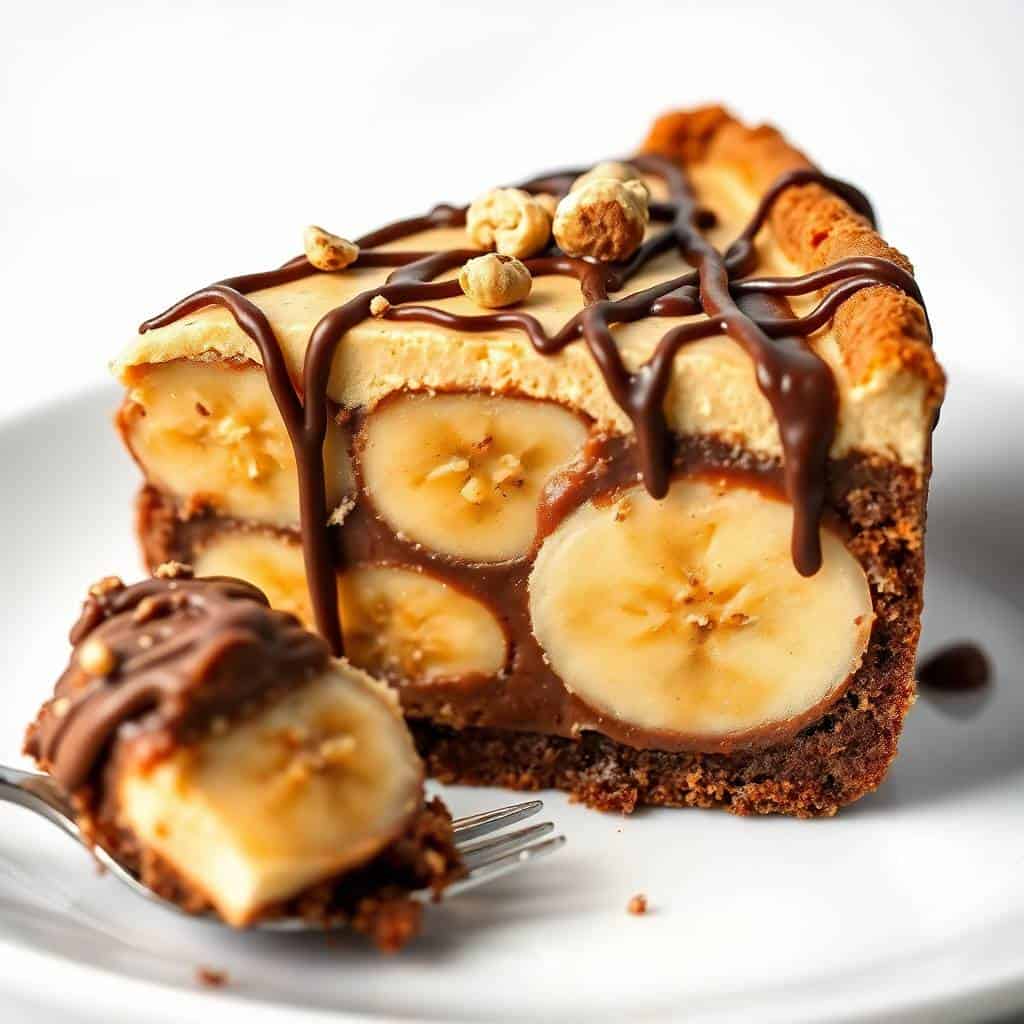
Tips for Success
- Let the cream cheese come to room temperature: This is the one I skip when I'm in a hurry and I always regret it. Cold cream cheese doesn't blend smoothly with peanut butter — you end up with small white lumps throughout the filling. Set it out 20 to 30 minutes before you start and the whole thing comes together in about two minutes of mixing.
- Press the crust firmly and evenly: A loosely pressed crust will crumble when you try to slice the pie. I press mine with the flat bottom of a measuring cup, going up the sides too. If the crust feels like it's shifting when you press on it, it needs more compacting. It should feel almost solid before it goes in the fridge.
- Toast the nuts if you have five extra minutes: I throw the chopped pecans or walnuts into a dry skillet over medium heat for about 3 minutes, stirring constantly. It deepens the flavor noticeably — they go from tasting like raw nuts to something almost buttery. Not essential, but worth it if you're not in a rush.
- Add bananas at the right time: Banana slices that sit overnight in the fridge will brown even inside the pie. I layer bananas between the crust and filling — they're protected there and don't discolor as much. But the banana garnish on top? Always add those right before you bring the pie to the table.
- Chill for the full time: Four hours minimum, overnight is better. I once tried to slice this at the three-hour mark and the filling was still too soft — it fell apart on the spatula. The patience is annoying but the clean slices are worth it.
Variations
- Swap peanut butter for Nutella: Use Nutella in place of the peanut butter for a chocolate-hazelnut filling. The flavor is richer and slightly more intense — my husband actually prefers this version. The assembly is identical, just swap one for the other in the same quantity.
- Chocolate cookie crust: Replace the graham crackers with crushed Oreos (filling removed or left in — honestly, leave it in) and skip the sugar in the crust since the cookies are already sweet. This version is darker and more intense — great if you want to lean harder into the chocolate side of things.
- Add a caramel layer: After spreading the peanut butter filling, drizzle some caramel sauce over it before adding the fudge. The caramel and banana together are a combination I didn't expect to work as well as it does. About 3 tablespoons of caramel is enough — don't go overboard or the topping gets overly sweet.
- Make it nut-free: Skip the nuts in the crust entirely and use all graham crackers. For topping, crushed granola gives you a similar crunch without the nut allergy concern. Sunflower seed butter works as a peanut butter substitute if you need to avoid peanuts too — it tastes a little different but the texture in the filling is the same.
- Make it in a square pan: If you don't have a pie dish, press the crust into an 8x8-inch square baking pan and slice it into bars. It's actually easier to serve this way at parties — like a dessert bar rather than pie slices. I've done this when I needed to transport it somewhere and it travels better in a square pan.
Serving and Storage
Serving
Serve this straight from the fridge — it softens quickly at room temperature and the slices hold their shape best when cold. I use a sharp knife wiped clean between cuts for the cleanest slices. A drizzle of extra hot fudge right before serving makes it look like it just came out of a restaurant kitchen. If you're serving guests, I like to add the fresh banana slices and a small spoonful of whipped topping on each slice at the table. It pairs nicely alongside something light and fruity — or honestly just a cup of coffee.
Storage
Cover the pie tightly with plastic wrap or store slices in an airtight container in the fridge. It keeps well for up to 4 days. I wouldn't freeze this one — the banana texture goes strange after freezing and thawing, and the cream filling can separate. If you're making it ahead, hold off on the top banana garnish until serving day and the rest will stay in good shape overnight.
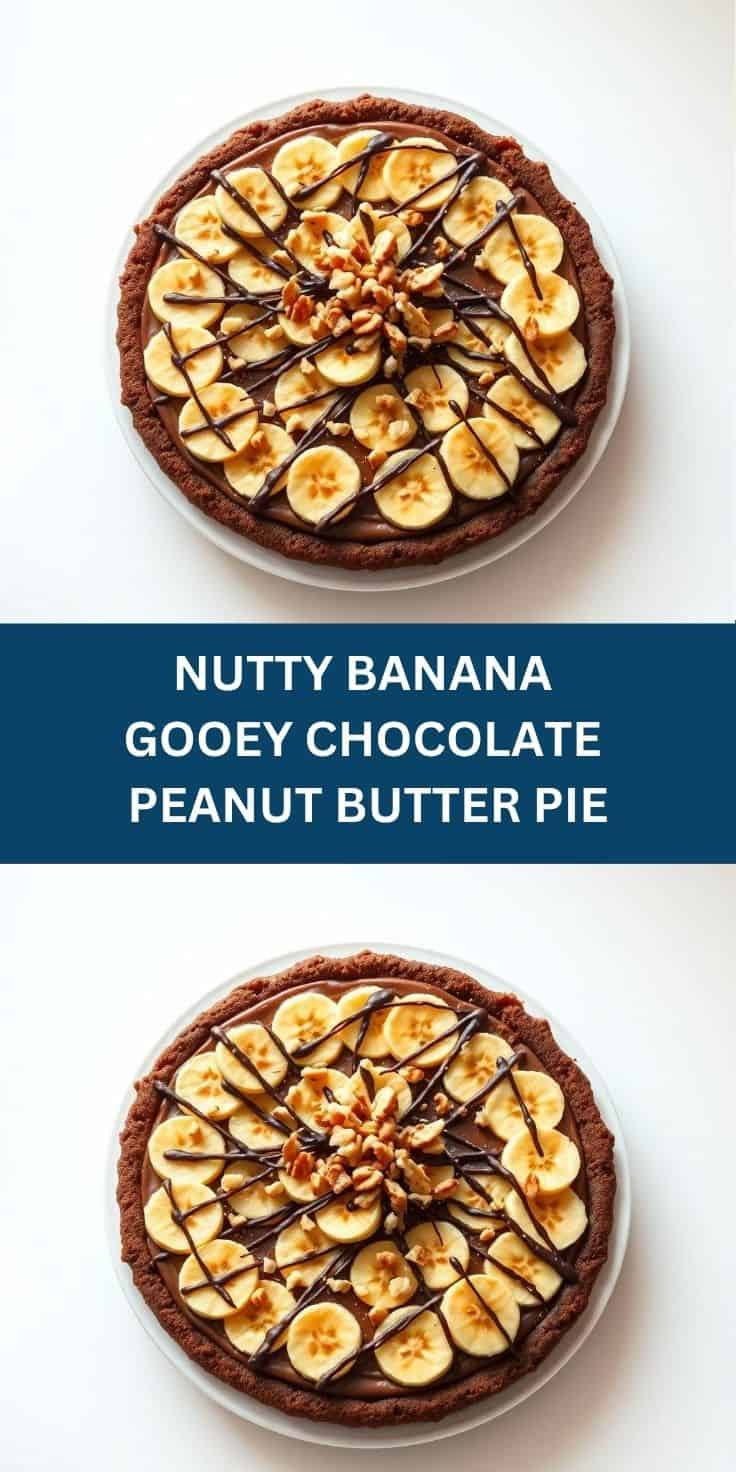
Frequently Asked Questions
Can I use crunchy peanut butter instead of creamy?
Yes, and it actually adds a nice texture to the filling. Just make sure the cream cheese is fully softened before you mix — crunchy peanut butter combined with cold cream cheese will give you a lumpy filling that doesn't smooth out well. If you want crunch in the filling, crunchy peanut butter is the easiest way to get it.
How do I keep the banana slices from browning?
The bananas layered inside the filling stay protected and don't brown as fast. For the topping, add those right before serving — not hours ahead. If you want a little insurance, a light brush of lemon juice on the top slices will slow the browning. I skip this step when I'm in a hurry and just add them at the last minute instead.
Can I make this pie a day ahead?
This is actually one of those recipes that's better the next day. The filling firms up more overnight, the crust stays together, and everything melds. I make it the evening before and pull it out of the fridge right before serving. Just hold the top banana garnish until you're ready to put it on the table.
What if I don't have a 9-inch pie dish?
An 8x8-inch square baking pan works perfectly. Press the crust in the same way and slice it into bars after it sets. You can also use a springform pan if you want clean sides — just line the bottom with parchment first. I've even made individual portions in a muffin tin lined with cupcake papers, which is handy for parties.
Can I freeze this pie?
I wouldn't recommend it. The banana slices go mushy and slightly gray after freezing and thawing, and the cream filling can separate and become grainy. This pie is best made fresh and eaten within 4 days from the fridge. If you need a freezer-friendly no-bake dessert, try something without fresh fruit in the filling.
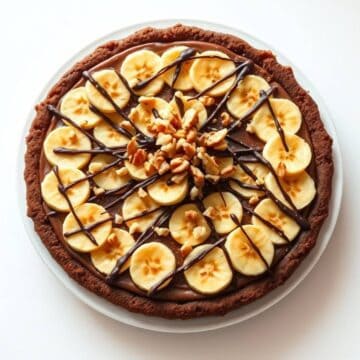
NUTTY BANANA GOOEY CHOCOLATE PEANUT BUTTER PIE
Ingredients
For the Crust:
- 1 ½ cups crushed graham crackers or chocolate cookie crumbs
- ⅓ cup melted butter
- 2 tablespoons sugar
For the Filling:
- 2 ripe bananas sliced
- ½ cup creamy peanut butter
- 8 oz cream cheese softened
- ½ cup powdered sugar
- 1 teaspoon vanilla extract
- 1 ½ cups whipped topping or whipped cream
For the Topping:
- ½ cup hot fudge sauce
- ¼ cup chopped peanuts or pecans
- Extra whipped topping or banana slices optional
Instructions
Make Crust:
- Mix graham cracker crumbs, melted butter, and sugar. Press into a 9-inch pie dish. Chill in fridge for 15 minutes.
Prepare Filling:
- In a bowl, beat cream cheese, peanut butter, powdered sugar, and vanilla until smooth. Fold in whipped topping.
Assemble Pie:
- Layer banana slices on the crust. Spread peanut butter filling over bananas. Drizzle fudge sauce on top and gently swirl with a knife.
Add Toppings:
- Sprinkle with chopped nuts. Add more banana slices or whipped topping if desired.
Chill:
- Refrigerate for at least 4 hours or until firm.
Notes
- Make Ahead: Best made a day in advance for the flavours to set.
- Variations: Use Nutella or almond butter instead of peanut butter.
- Serving Suggestions: Serve chilled with extra fudge drizzle.
- Allergy-Friendly: Contains nuts and dairy; use suitable alternatives as needed.
This pie has become one of those recipes I come back to whenever I need something that looks like it took effort but didn't. The combination of the nutty crust, the whipped peanut butter filling, the banana layer, and that fudge swirl on top — it hits every note without requiring any skill beyond patience and a good night of chilling time. I've made it in summer heat and brought it to a birthday table in February and it works equally well both times.
If you're someone who loves no-bake desserts, my Chocolate Dipped Strawberry Cheesecake is another one I keep in rotation — it has a similar "looks impressive, not complicated" energy and it's a regular request when I have guests coming over. And if you want something completely different to serve alongside this pie at a party table, the Waffle Cookies are a fun, easy addition that people always pick up before I can even finish plating them.
The one thing I'd tell anyone making this for the first time: don't rush the chill. Everything else in this recipe is forgiving — the ratios, the nuts, the fudge brand. But the chill time is not negotiable. Give it the full four hours minimum and you'll get those clean, picture-worthy slices. Give it overnight and you'll wonder why you ever bothered with oven desserts at all. 🍫🍌✨
If you made this, I'd love to know how it turned out — especially if you tried one of the variations. Here are a few more recipes from my kitchen you might want to bookmark:
- Chocolate Chip Cookie Dough Pie (No-Bake, Safe-to-Eat Filling)
- Chocolate Dipped Strawberry Cheesecake (Showstopper Dessert)
- Waffle Cookies
- Iowa Party Bites


Comments
No Comments